Loading ...
Loading ...
Loading ...
To light
the infrared
sear burner
Lighting Using the Control Knob
WARNING:
• Always open the hood prior to lighting.
• Always keep your face and body as far away
from the grill as possible when lighting.
Open the hood. Push the
Infrared knob in and turn to
the lighting position. You will
hear a snapping sound, which
is the igniter sparking. Once lit,
turn the control knob to the
desired setting.
If the burner does not light in
4 seconds, turn the knob to OFF
and wait 5 minutes for any
accumulated gas to dissipate
before trying again.
NOTE: When first lighting the Infrared Sear
Burner after a period of non-use, it may take
longer than four seconds due to the large
internal volume of the burner needing
to be filled with gas.
Lighting Using a Match
WARNING:
Always keep your face and body as far away
from the grill as possible when lighting.
A match stick extension rod is provided inside
the grill drip tray. To match light the infrared
burner, insert the UNLIT match stick securely
into the clip end of the extension rod. Light the
match stick and, holding the end of the rod, pass
the flame of the lit match through the grill grate
and directly above the ceramic perforated
burner surface. Push and turn the control knob,
which is centered on the burner you are trying
to light, to the lighting position. Once lit, turn
the control knob to the desired setting.
Wait 5 minutes before attempting to relight
a burner.
If the burner did not light in 4 seconds, turn all
control knobs to OFF, leave the hood open to
allow any accumulated gas to dissipate and
wait 5 minutes before trying to light it again.
If the burner will not light after several attempts,
see the Problem Solver in the back of this
manual.
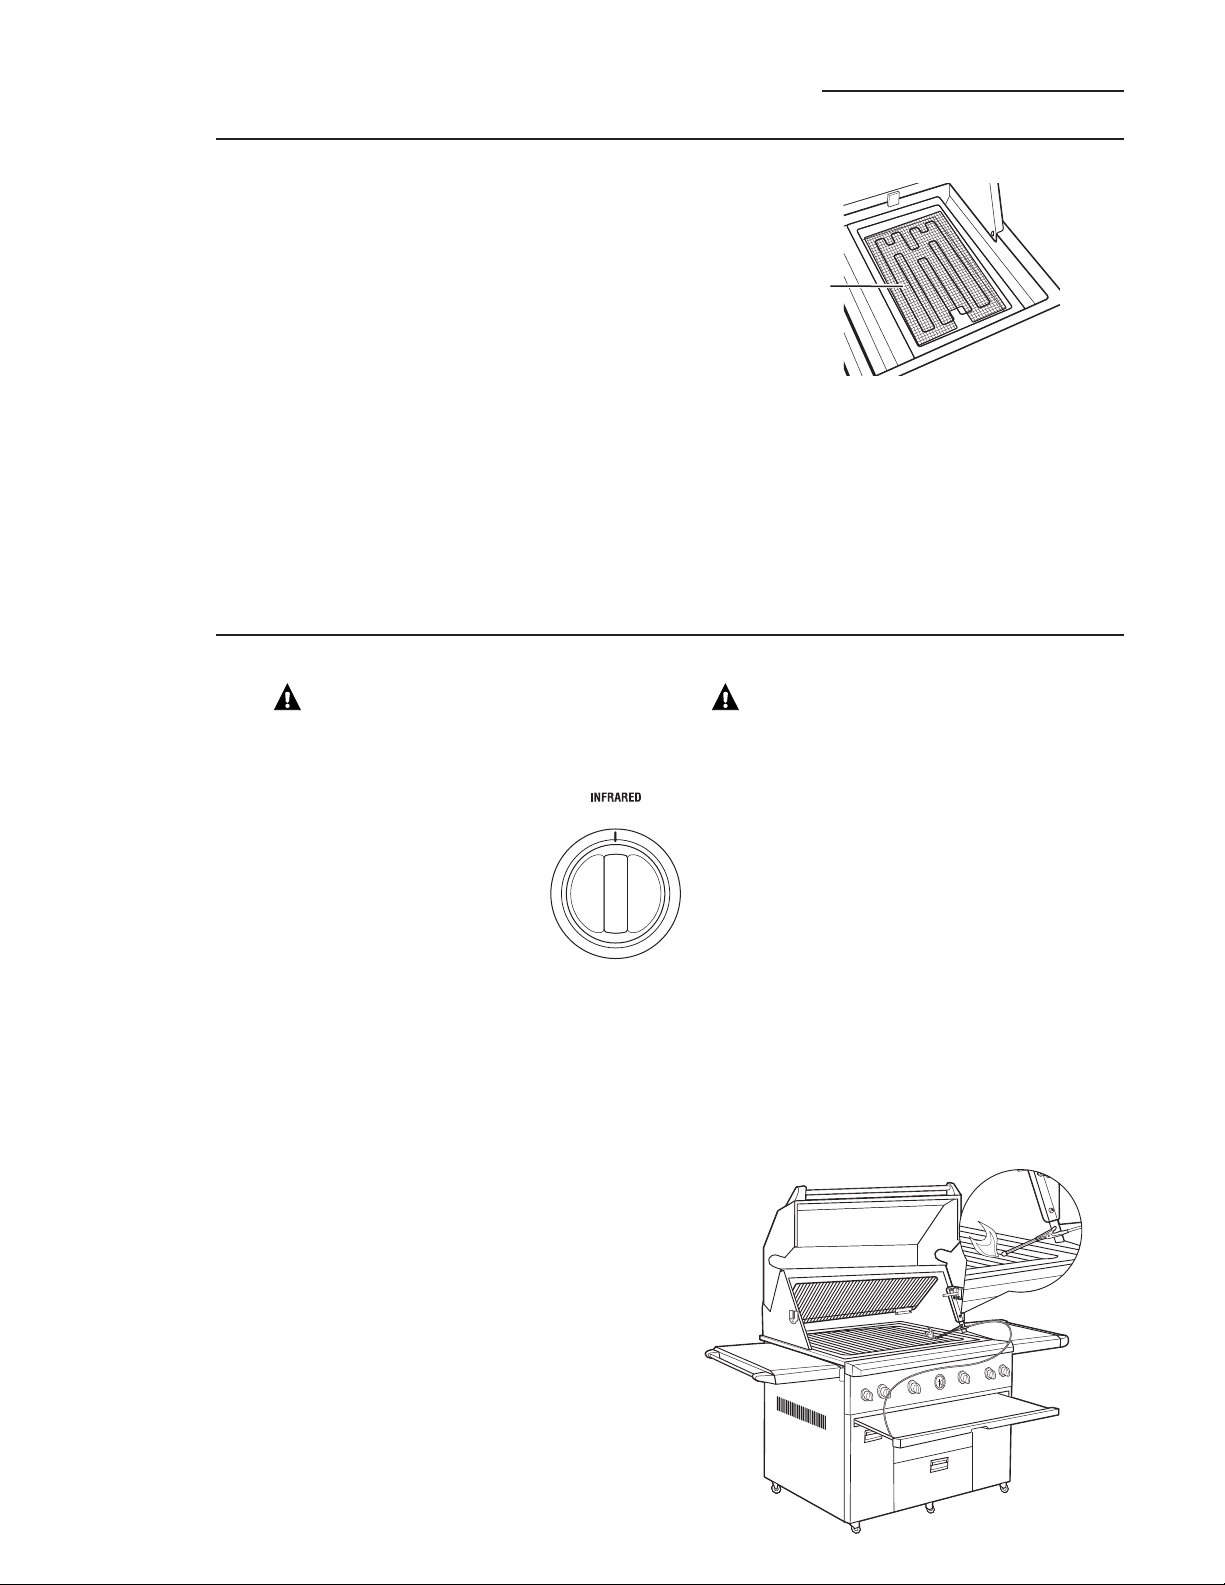
Infrared
sear
burner
(on some
models)
On some models, the grill section has an infrared
sear burner located on the right side. It consists
of a stainless steel grill grate and an infrared
burner with a protective screen.
The grate provides the searing surface.
The infrared burner sears meat for a crispy
flavorful outside and a juicy inside.
NOTE: On models equipped with the Infrared
Sear Burner, the temperature gauge will not
respond when only that burner is turned on.
For the 54" grill model, the temperature gauge
will not respond if only the far left main burner
is turned on.
NOTICE: To prevent damage to the burner:
• Always make sure that the protective screen
is properly in place on the infrared burner.
• Never place food over the infrared burner that
is not lit and preheated.
• Never allow water to contact the infrared
burner.
• On LP models, if lighting the infrared burner
in extremely cold conditions there may
be a possibility of “burn back.” If you hear
a “whooshing” sound, immediately turn
the burner knob off. Wait several minutes
before attempting to relight.
16
The Grill
Professional Outdoor Grills & Cooktops
Infrared sear burner
with protective screen
Loading ...
Loading ...
Loading ...