Loading ...
Loading ...
Loading ...
18
Router Table Assembly
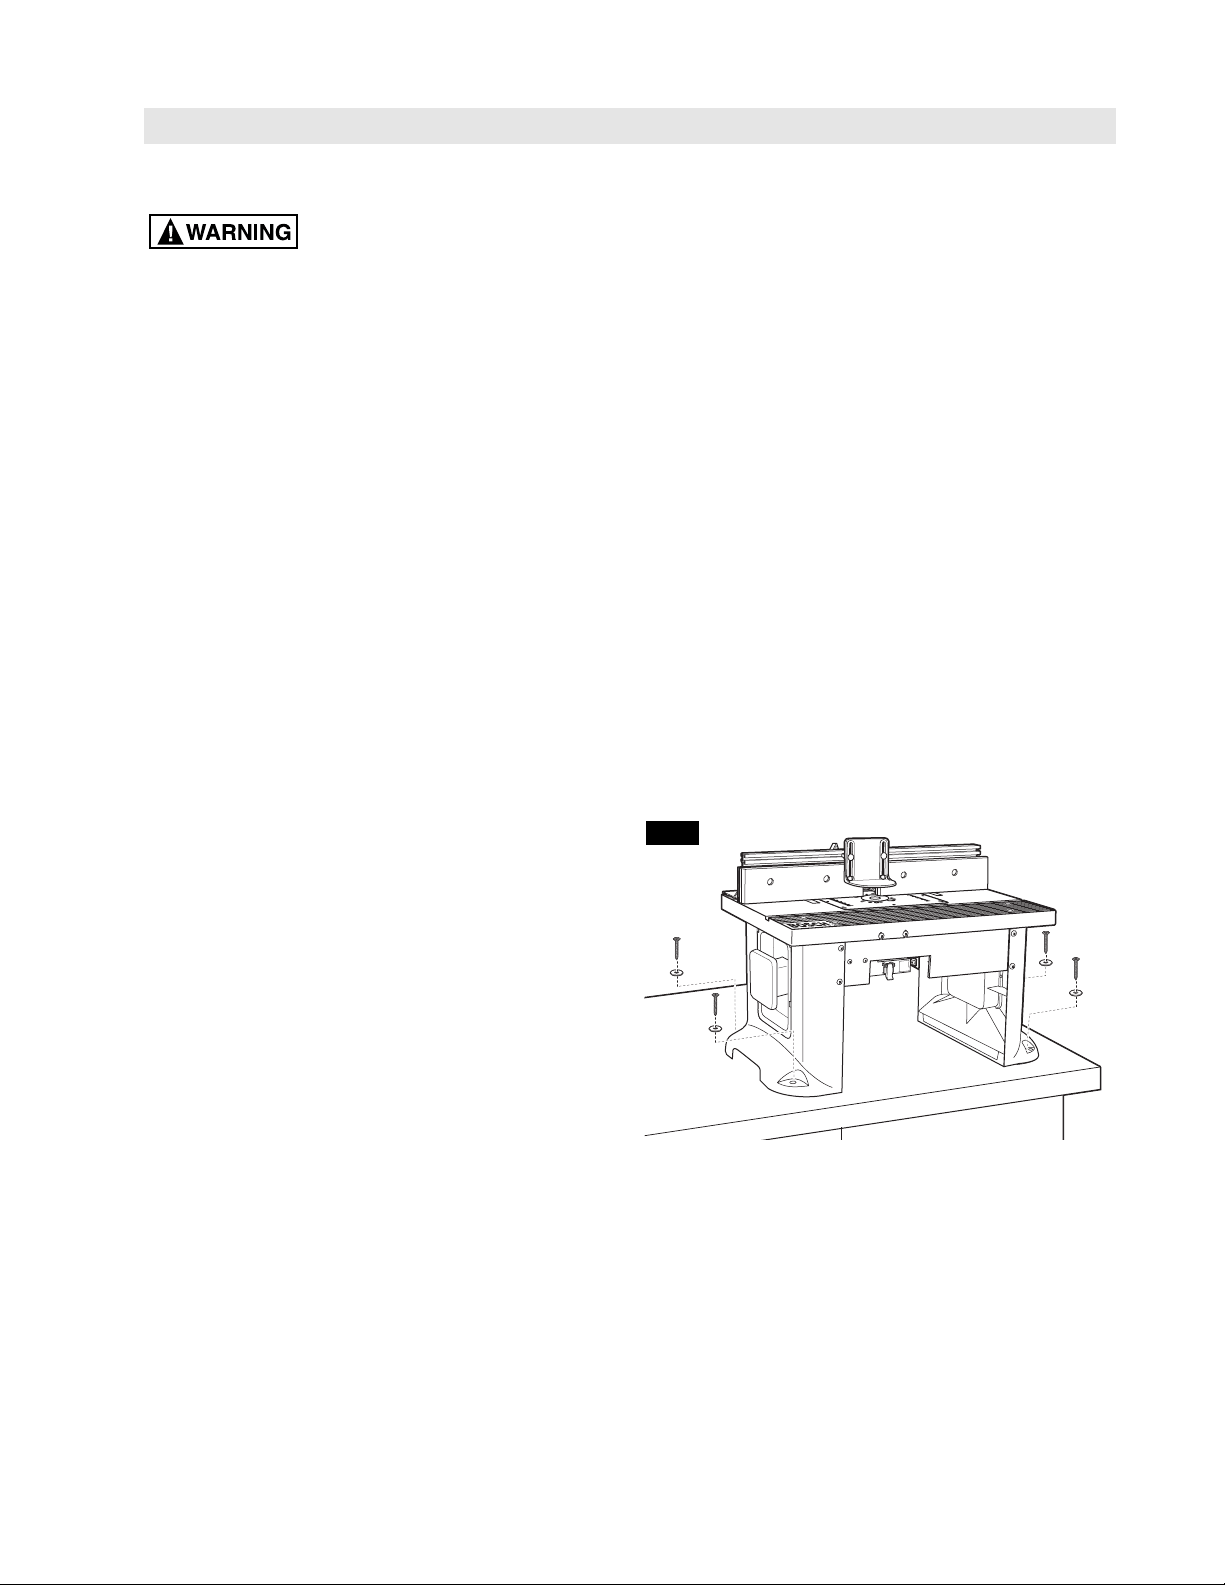
METHOD 1 (Fig. 13)
1.Set the router table on a workbench or other stable
and sturdy surface, with the FRONT (switch side) of
the router table facing toward you.
2.While holding the router table in the desired position,
mark the location of the four mounting holes (one in
each corner).
3.Remove the router table from the workbench and set
it aside.
4.Drill a 1/8″ pilot hole (for wood screws) or an
appropriately sized hole (for machine screws)
at the marked locations.
5.Place the router table on the workbench and align the
mounting holes in the router table legs with the holes
drilled in the workbench.
6.Secure the router table in place using wood screws
and washers (not provided) or machine screws,
washers, and nuts (not provided). If using wood
screws, applying a little bar soap or bees wax to the
screw threads will make it easier to thread the screws
into the pilot holes.
7.TIGHTEN all screws SECURELY.
FIG. 13
MOUNTING THE ROUTER TABLE TO A WORK SURFACE OR WORKBENCH
Before operating, make sure the
entire unit (table with router installed) is placed on
and secured to a solid, flat, level surface and will
not tip. Use of auxiliary in-feed and out-feed sup-
ports is necessary for long or wide workpieces.
Long workpieces without adequate support can cause
the router table to tip over.
TOOLS REQUIRED (not included)
• Phillips screwdriver
• Small-sized adjustable wrench
• Electric or hand drill with drill bits (depending on
mounting method used)
• Fasteners (not included):
• Four #14, #16, or #18 x 2″ pan-head wood
screws (for solid wood work surfaces or
workbenches), or
• Four 5/16″ pan head machine screws, washers,
and hex nuts, or
• Clamps
You may also use the optional Bosch RA1190 Router
Table Floor Stand, available separately through your
Bosch retailer.
The RA1190 Router Table Floor Stand features:
• Places the router table at the optimum
working height.
• Has adjustable nonslip foot pads for leveling the
table on uneven floor surfaces.
• Has two heavy-duty steel shelves for storage.
Loading ...
Loading ...
Loading ...