Loading ...
Loading ...
Loading ...
4
ADJUSTING THE AUDIO SETTINGS
To adjust the audio settings:
1. Press the MENU button on the
remote. The on-screen menu
is displayed.
Use the Arrow buttons on the
remote to highlight Audio and
press OK. The AUDIO menu
is displayed.
3. Use the Arrow buttons to
highlight the setting you wish
to adjust, then press Left/
Right Arrow buttons to change
the setting:
• TV Speakers - Turns the
EXLOWLQVSHDNHUVRQRUR
• Surround Sound6XUURXQGVRXQGXVHV'767UX6XUURXQG
™
WR GHOLYHU DQ LPPHUVLYH VXUURXQG VRXQG H[SHULHQFH IURP
WKH 79ȇV LQWHUQDO VSHDNHUV 7UX6XUURXQG FRPSOHWHV WKH
HQWHUWDLQPHQWH[SHULHQFH E\ SURYLGLQJ GHHSULFKEDVVDQG
E\GHOLYHULQJFULVSGHWDLOVDQGFOHDULQWHOOLJLEOHGLDORJ6HOHFW
On or 2.
• Volume Leveling 9ROXPH OHYHOLQJ XVHV '76 7UX9ROXPH
™
to maintain consistent volume levels during transitions
between program content, AV formats, and input sources.
6HOHFW On or 2. In a few cases, volume leveling may
DUWLȴFLDOO\ VXSSUHVV YROXPH LQFUHDVHV PDNLQJ LW GLɝFXOW WR
KHDU GLDORJ RUȵDWWHQLQJVXGGHQQRLVHV ΖIWKLVRFFXUV WXUQ
YROXPHOHYHOLQJR
• Balance - Adjusts the loudness of the audio output from the
left and right speakers.
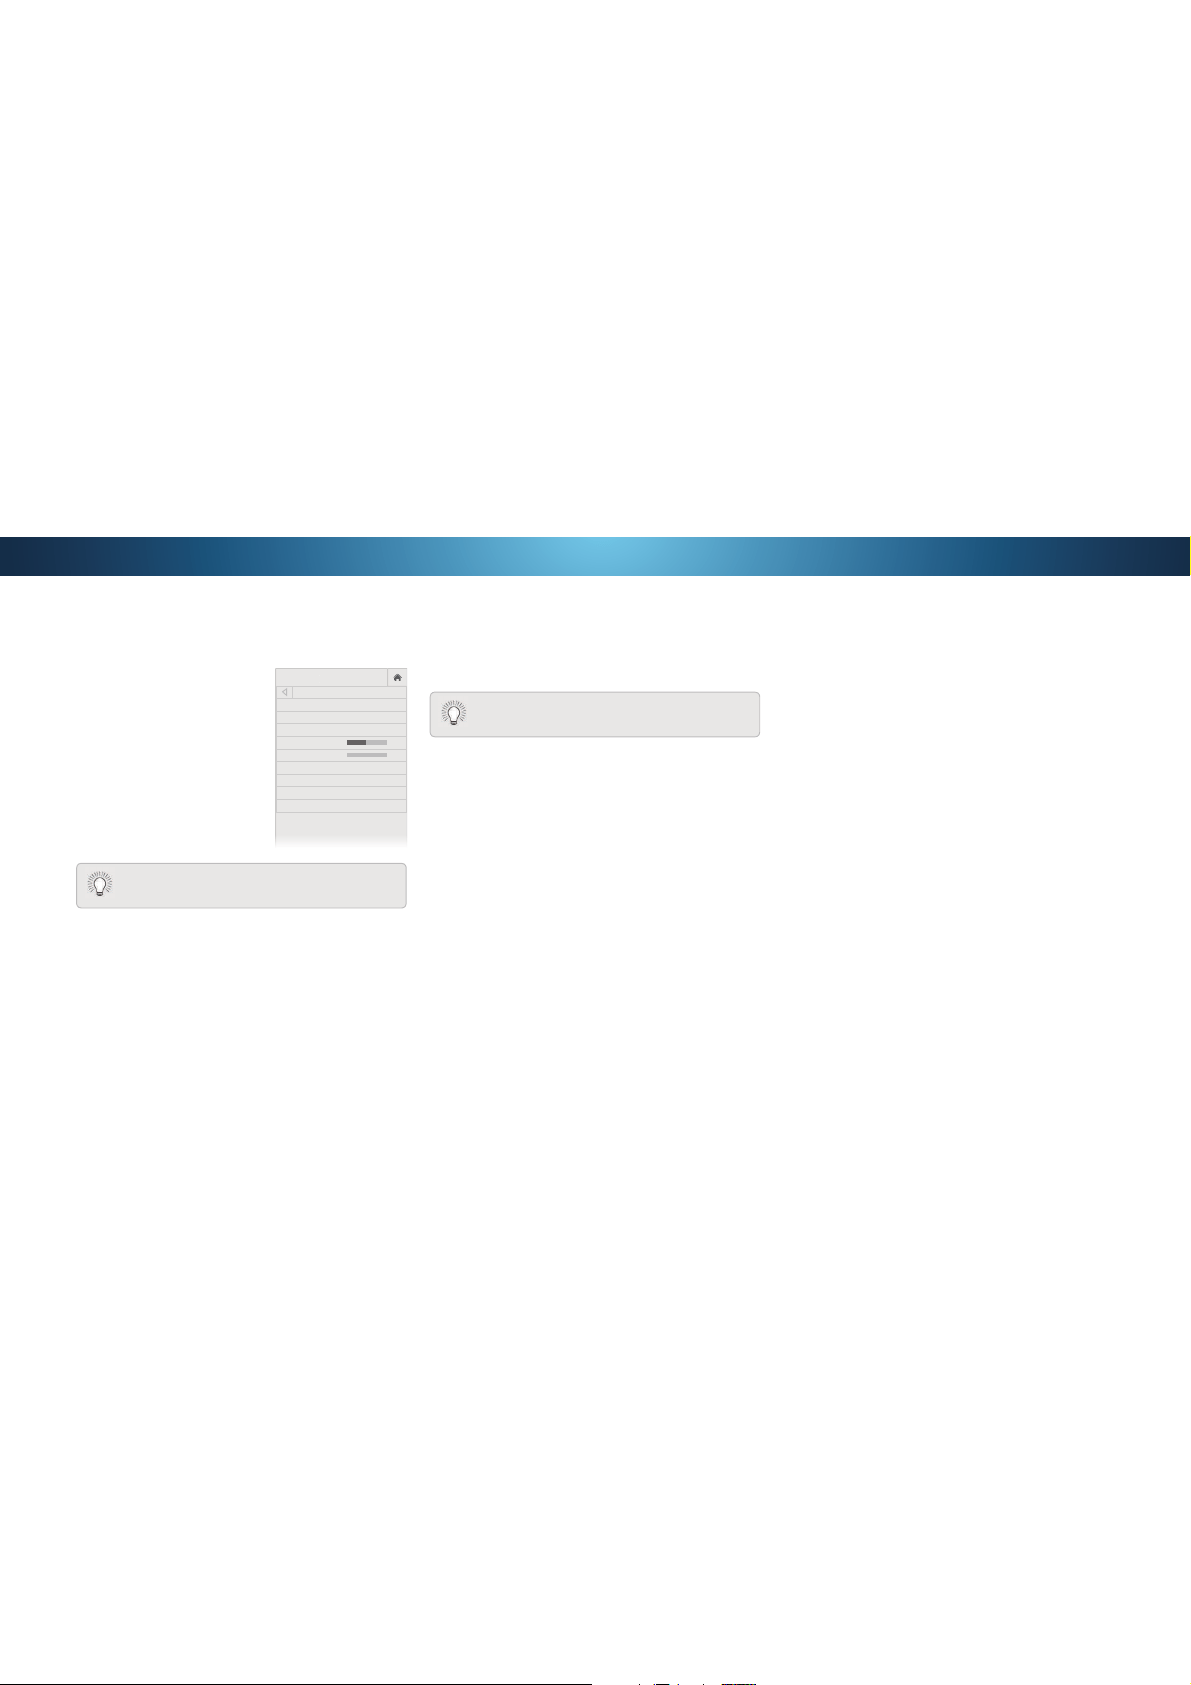
VIZIO
AUDIO
TV Speakers On
Surround Sound On
Volume Leveling On
Balance 0
Lip Sync 0
Digital Audio Out PCM
Analog Audio Out Fixed
Equalizer
Delete Audio Mode
-
+
-
+
When the TV speakers are set to On'76VLJQDOV
cannot be passed through digital audio outputs.
• Lip Sync - Adjusts the synchronization between the display
image and the accompanying audio track.
• Digital Audio Out - Changes the type of processing for
digital audio out and HDMI ARC output when connected to a
KRPHWKHDWHUDXGLRV\VWHP6HOHFWPCM or Bitstream.
• Analog Audio Out6HWVWKH YROXPHFRQWUROSURSHUWLHVIRU
the RCA connector when connected to a home theater audio
V\VWHP6HOHFWVariable if you are controlling the volume with
the TV’s volume controls, or select FixedLIDQH[WHUQDODXGLR
device (sound bar or AV receiver) will control the volume.
• Equalizer $GMXVWV WKH ERRVW RU DWWHQXDWLRQ RI GLHUHQW
IUHTXHQFLHV XVLQJ HLWKHU SUHVHW RU FXVWRP VHWWLQJV 6HH
&KDQJLQJWKH(TXDOL]HU6HWWLQJVRQSDJH
.
• Delete Audio Mode - Deletes a custom audio mode created
XVLQJWKH(TXDOL]HU6HWWLQJV6HH
Deleting the Custom Audio
0RGHRQSDJH
4. :KHQ\RXKDYHȴQLVKHGDGMXVWLQJWKHDXGLRVHWWLQJVSUHVVWKH
EXIT button on the remote.
You must select Bitstream for audio with more than
WZRFKDQQHOVRUIRUH[DPSOH
Changing the Equalizer Settings
The graphic equalizer has several pre-set modes and allows you to
create one custom mode.
To select a pre-set audio mode:
1. Press the MENU button on the remote. The on-screen menu is
displayed.
Use the Arrow buttons on the remote to highlight Audio and
press OK. The AUDIO menu is displayed.
3. Use the Arrow buttons to highlight Equalizer and press OK.
The Audio Mode and equalizer settings screen appears.
4. Use the Left and Right Arrow buttons to select an audio
PRGH7KHHTXDOL]HUEDUVFKDQJHWRUHȵHFWWKHPRGH
5. Press the EXIT button on the remote.
31
Loading ...
Loading ...
Loading ...