Loading ...
Loading ...
Loading ...
25
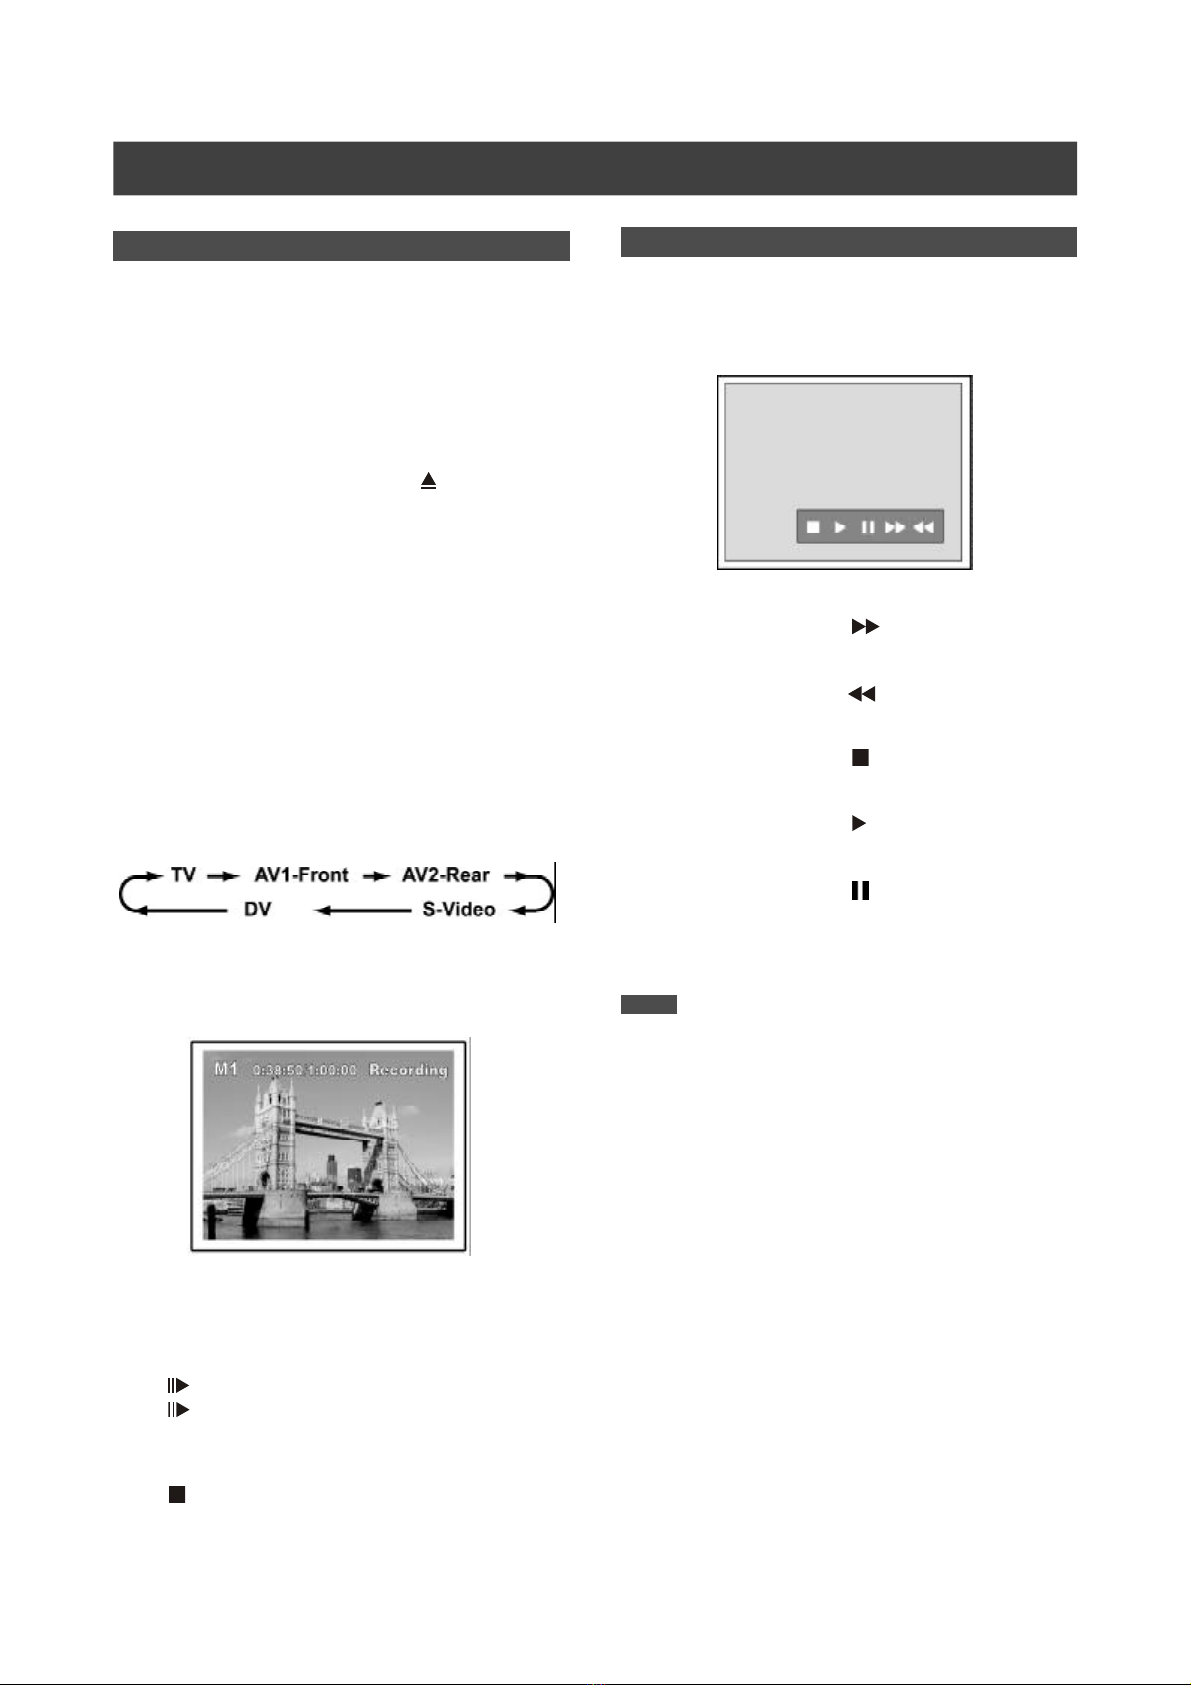
After recording is stopped, a DV control bar will appear on the
screen. This allows basic DV control utilizing this DVD
recorder’s remote control.
1. Press [t] [u] to select ( ) to fast-forward
the DV Camcorder.
2. Press [t] [u] to select ( ) to rewind the DV
Camcorder.
3. Press [t] [u] to select ( ) to stop the DV
Camcorder playing.
4. Press [t] [u] to select ( ) to start the DV
Camcorder playing.
5. Press [t] [u] to select ( ) to pause the DV
Camcorder playing.
Notes:
1. The DV-Link input jack on this unit is for use with DV
compatible camcorders only.
2. Only DV signals can be input to the DV-Link jack on this
DVD recorder.
3. Do not connect a MICRO MV format video camcorder to
this DV-Link (IEEE-1394) jack.
DV control
RECORDING
DV Recording (Con’t)
Before you start to record DV contents
This unit allows basic DV control on screen. The on screen
functions are accessed using the DVD recorder remote control.
1. Power on your TV and this DVD recorder.
2. Press the [HDD/DVD] button to set the target
device for the recording.
If “DVD” is set as the target device, press [ OPEN/CLOSE] to
open the disc tray and insert a recordable DVD disc with the
label side facing up.
3. Connect the DV Cable (IEEE-1394 4-pin to 4-pin
cable) to both the DV Camcorder and this DVD
recorder.
4. Power on the DV Camcorder. Set “Playback
mode” on the DV Camcorder.
5. “Pause” the DV Camcorder at where you want to
record.
6. Press [SOURCE] to change the “Signal-Input
source” and select “DV.”
7. Resume DV Camcorder playback and press
[RECORD] on the DVD Recorder to start
recording.
8. To pause recording.
Press [ PAUSE ] on the remote control to pause recording.
Press [ PAUSE ] again, if you want to resume recording.
9. To stop recording.
Press [ ] to stop recording.
Loading ...
Loading ...
Loading ...