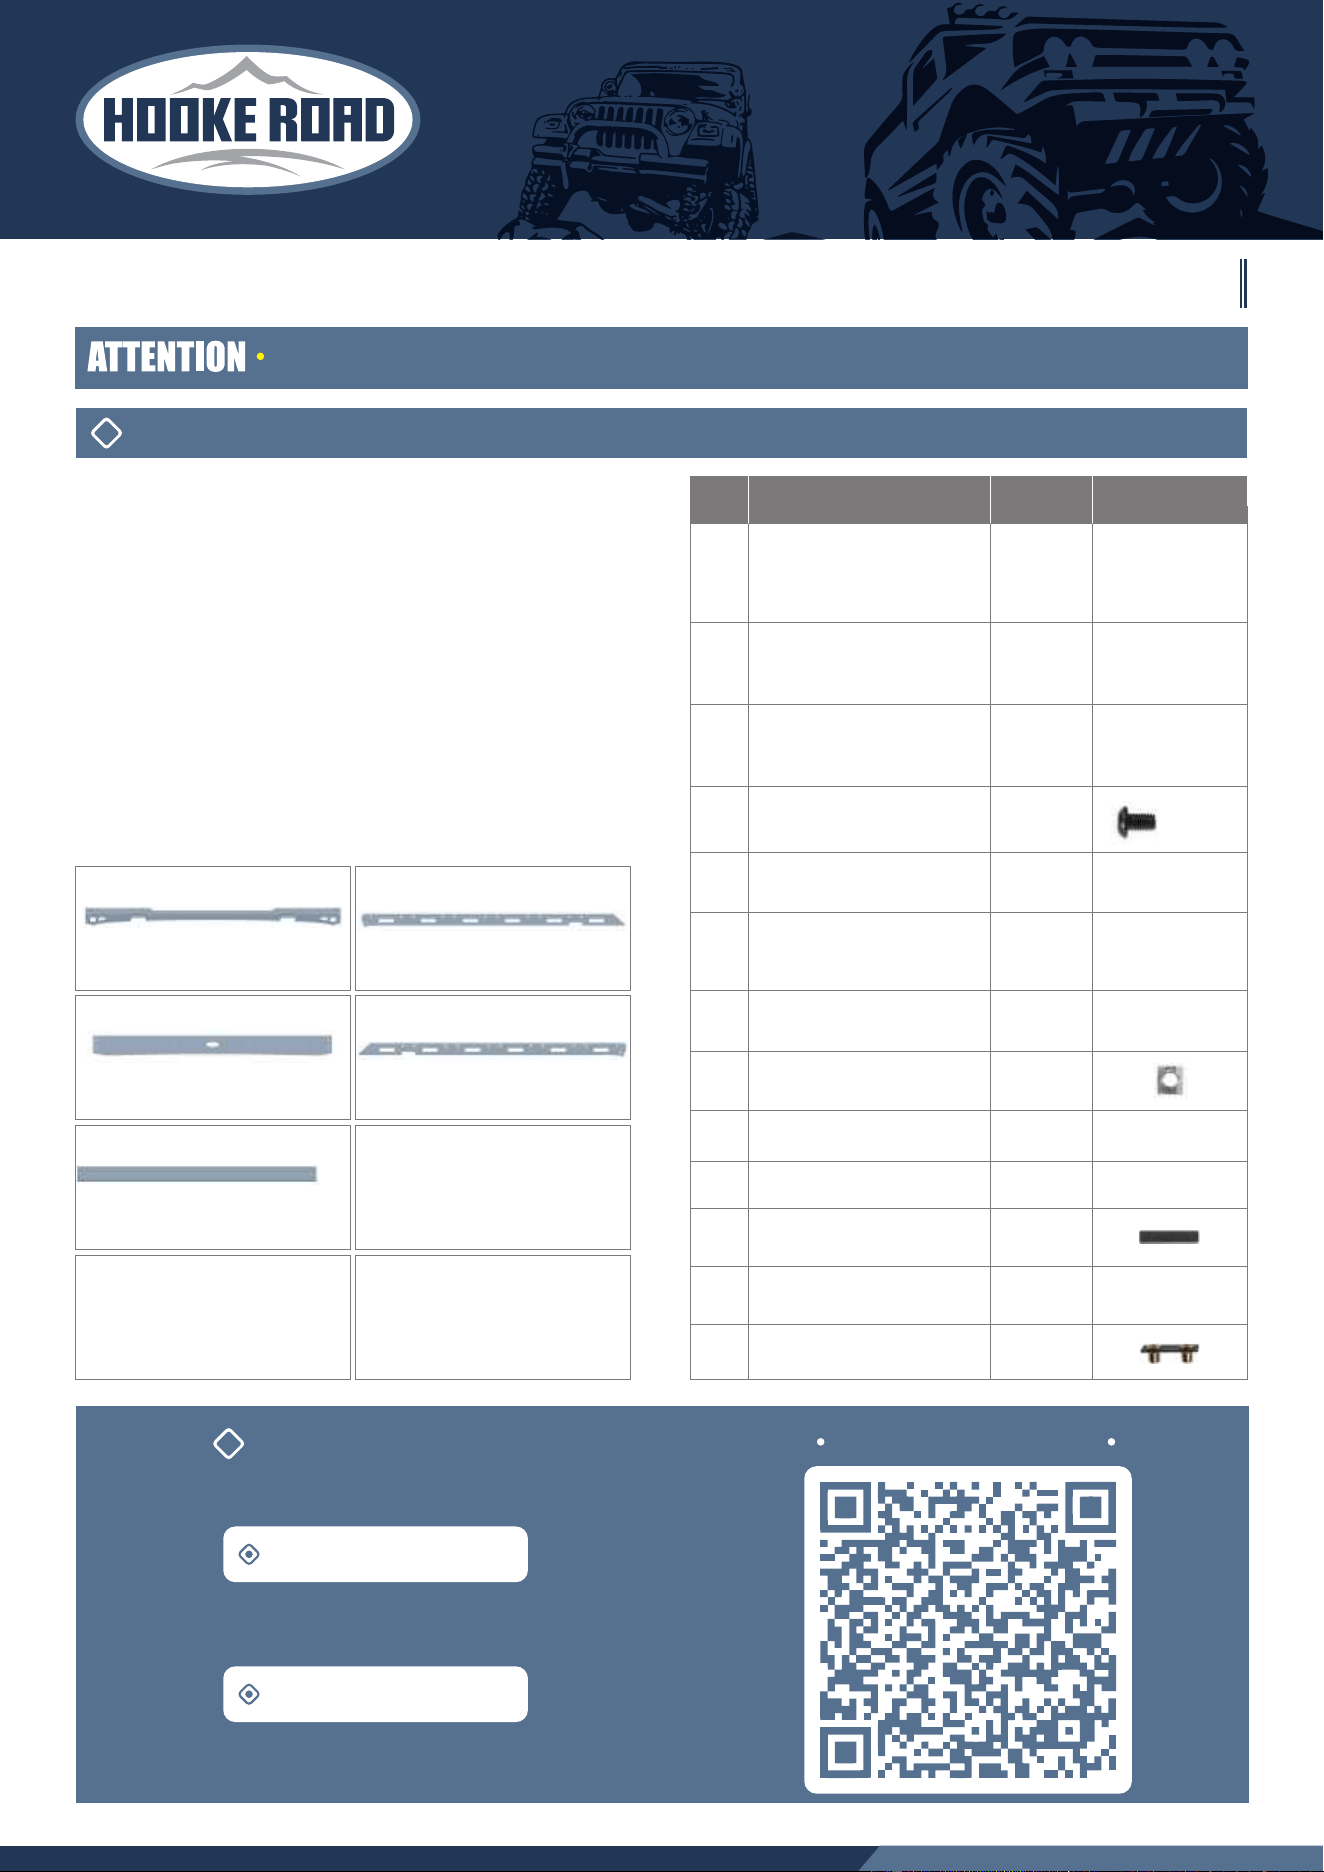
BXG.1069-S
Qty
2
Part Name PictureSize(mm)
M8×25
34
M8×20
8 Button Bolts
Button Bolts
4 M8×20Hex Head Flange Bolts
Button Bolts
M6×10
38
Flat Washer M8×20×1.5
8
Flat Washer M6×12×1.5
8 Flange Hex Lock Nuts M8
8 Tee Sliding Slot Nuts M6
2 68×28×2
2
Mounting Brackets Covers
Rubber Mat
79×15×6
2 Nylon Round Spacer M8×20×7
M82 Rivet Nut Plate
(INSTALLATION INSTRUCTION)
CONTENTS
1
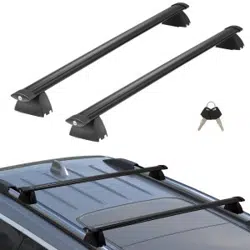
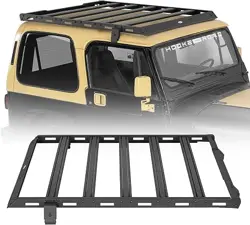
Roof Rack
MAKE A DIFFERENCE
Short Aluminum Crossbar
Long Aluminum Crossbars
Front Faring Driver Side Side Rail
Rear Faring Passenger Side Side Rail
Mounting Brackets
Front
Rear
Front Mounting Brackets Covers
×2
×2
×5
×2
Please verify all parts are present and read instructions carefully before starting installation.
Please feel free to contact your distributor if you have any kind of question about your purchase.
EVA
2 70×37×2EVA
TOOLS REQUIRED
2
Drive Ratchet Handle
4mm, 5mmHex Bit Socket
To view online instruction, please
scan the QR code.
INSTALLATION INSTRUCTION
3
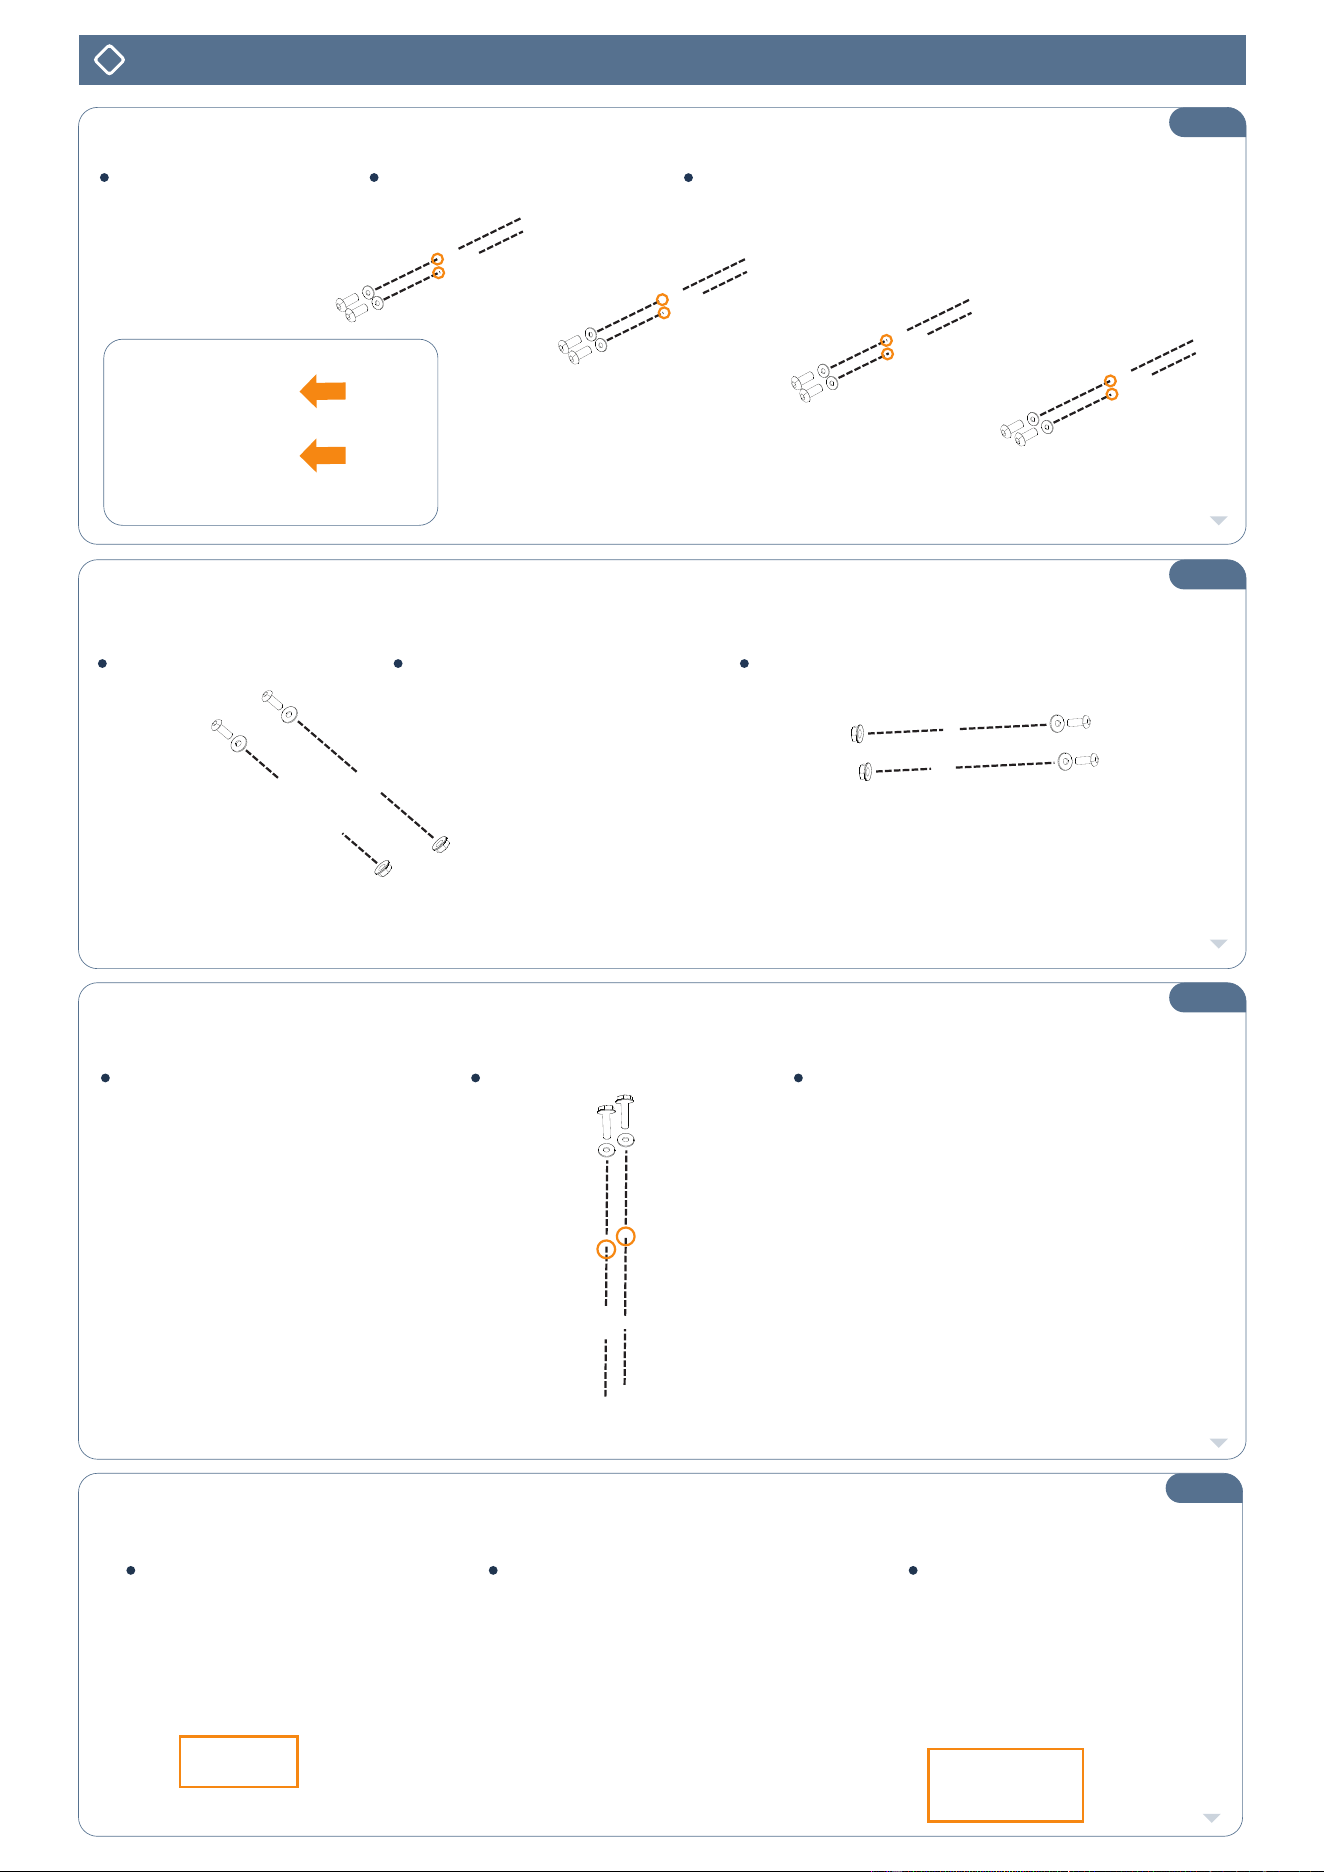
Step 1
Snap the Rubber Mat into the front mounting brackets. Stick the EVA to the front mounting brackets
covers and rear mounting brackets.
Step 4
Short Aluminum Crossbar Assembly.
(8) M6 T-nuts
(8) M6x10 Button Bolts (8) M6x12x1.5 Flat Washers
Step 3
Secure the mounting brackets to the side rails.
Do not fully tighten to allow adjustability. Repeat this step on the other side of the roof rack.
Step 2
Front & Rear Farings Assembly. Repeat this step on the other side of the roof rack. Do not fully tighten to allow
adjustability.
(8) M8x20 Button Bolts (8) M8x20x1.5 Flat Washers (8) M8 Flange Hex Lock Nuts
(4) M8x20 Hex Head Flange Bolts
(2) M8 Rivet Nut Plates
(4) M8x20x1.5 Flat Washers
(2) 79*15*6 Rubber Mat
(2) Front Mounting Brackets
(2) EVA 70×37×2
(2) Front Mounting Brackets Covers
(2) EVA 68×28×2
(2) Rear Mounting Brackets
to find your parts.
Feel Free To Share Your Vehicle
With The Hashtag #hookeroad If You'd Like
@HookeRoad4x4
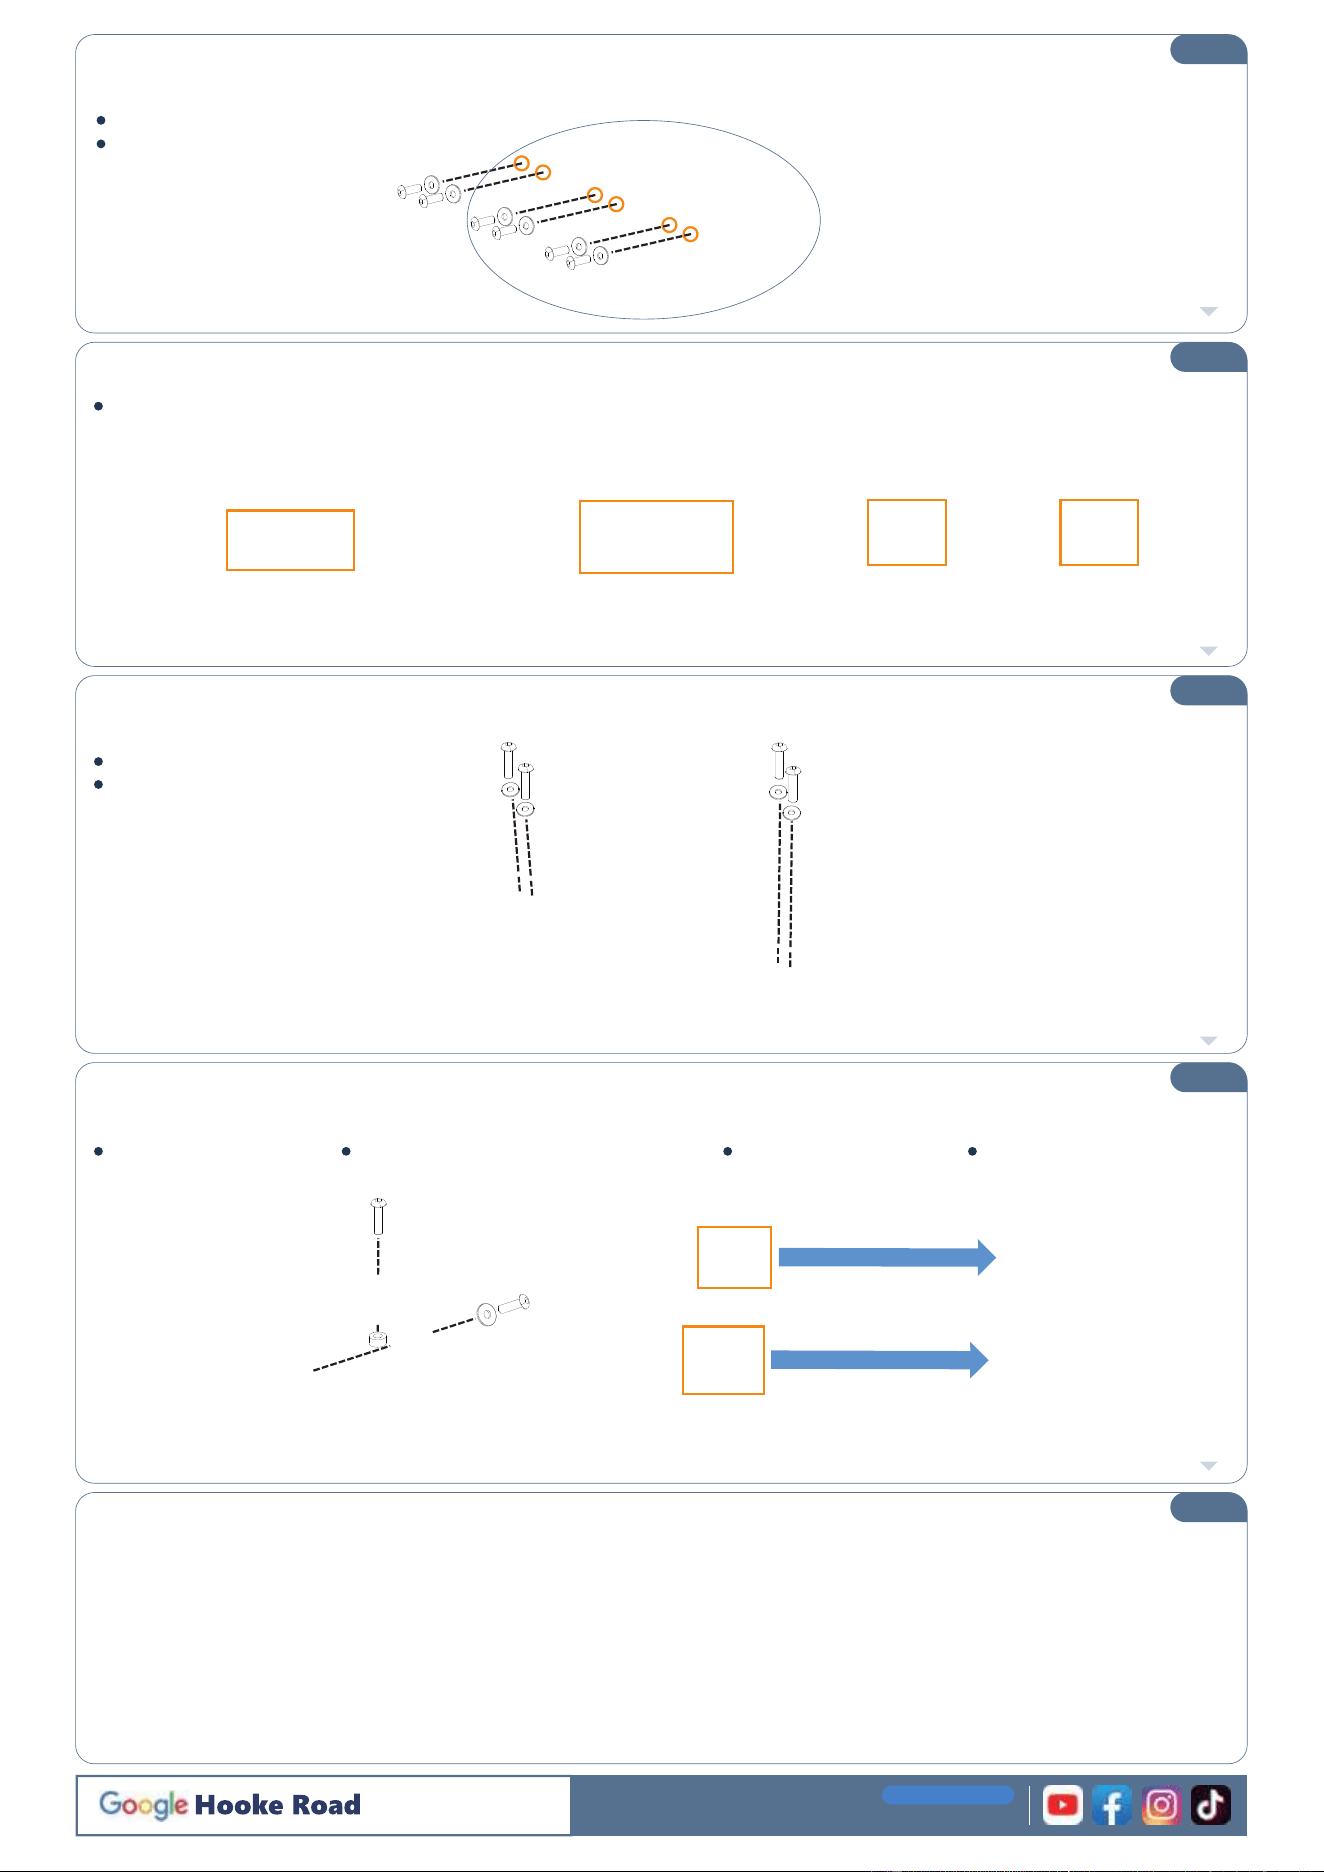
Install the mounting bracket covers.
At last, tighten up all bolts.
Step 5
The installation is complete. We hope you
enjoy a wonderful off-road life with this
quality Hooke Road product!
Step 9
Step 8
(2) M8x25 Buttom Bolts
(2) M8x20 Buttom Bolts (2) M8x20x1.5 Flat Washers
(2) M8×20×7 Nylon Round Spacer
Tighten the upper
bolt first,
and then tighten
the lower bolt.
Secure the rear mounting brackets to the vehicle. Do not fully tighten to allow adjustability.
Step 6
(4) Factory Bolts
Lift the roof rack to the roof of vehicle and adjust it to the desired location. Do not fully tighten to allow
adjustability.
Step 7
Long Aluminum Crossbar Assembly.
Repeat this step on the other position of the roof rack. Do not fully tighten to allow adjustability.
(20) M8x20 Button Bolts
(20) M8x20x1.5 Flat Washers
(4) M8x20 Buttom Bolts
(4) M8x20x1.5 Flat Washers