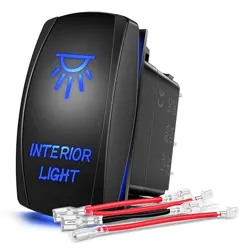
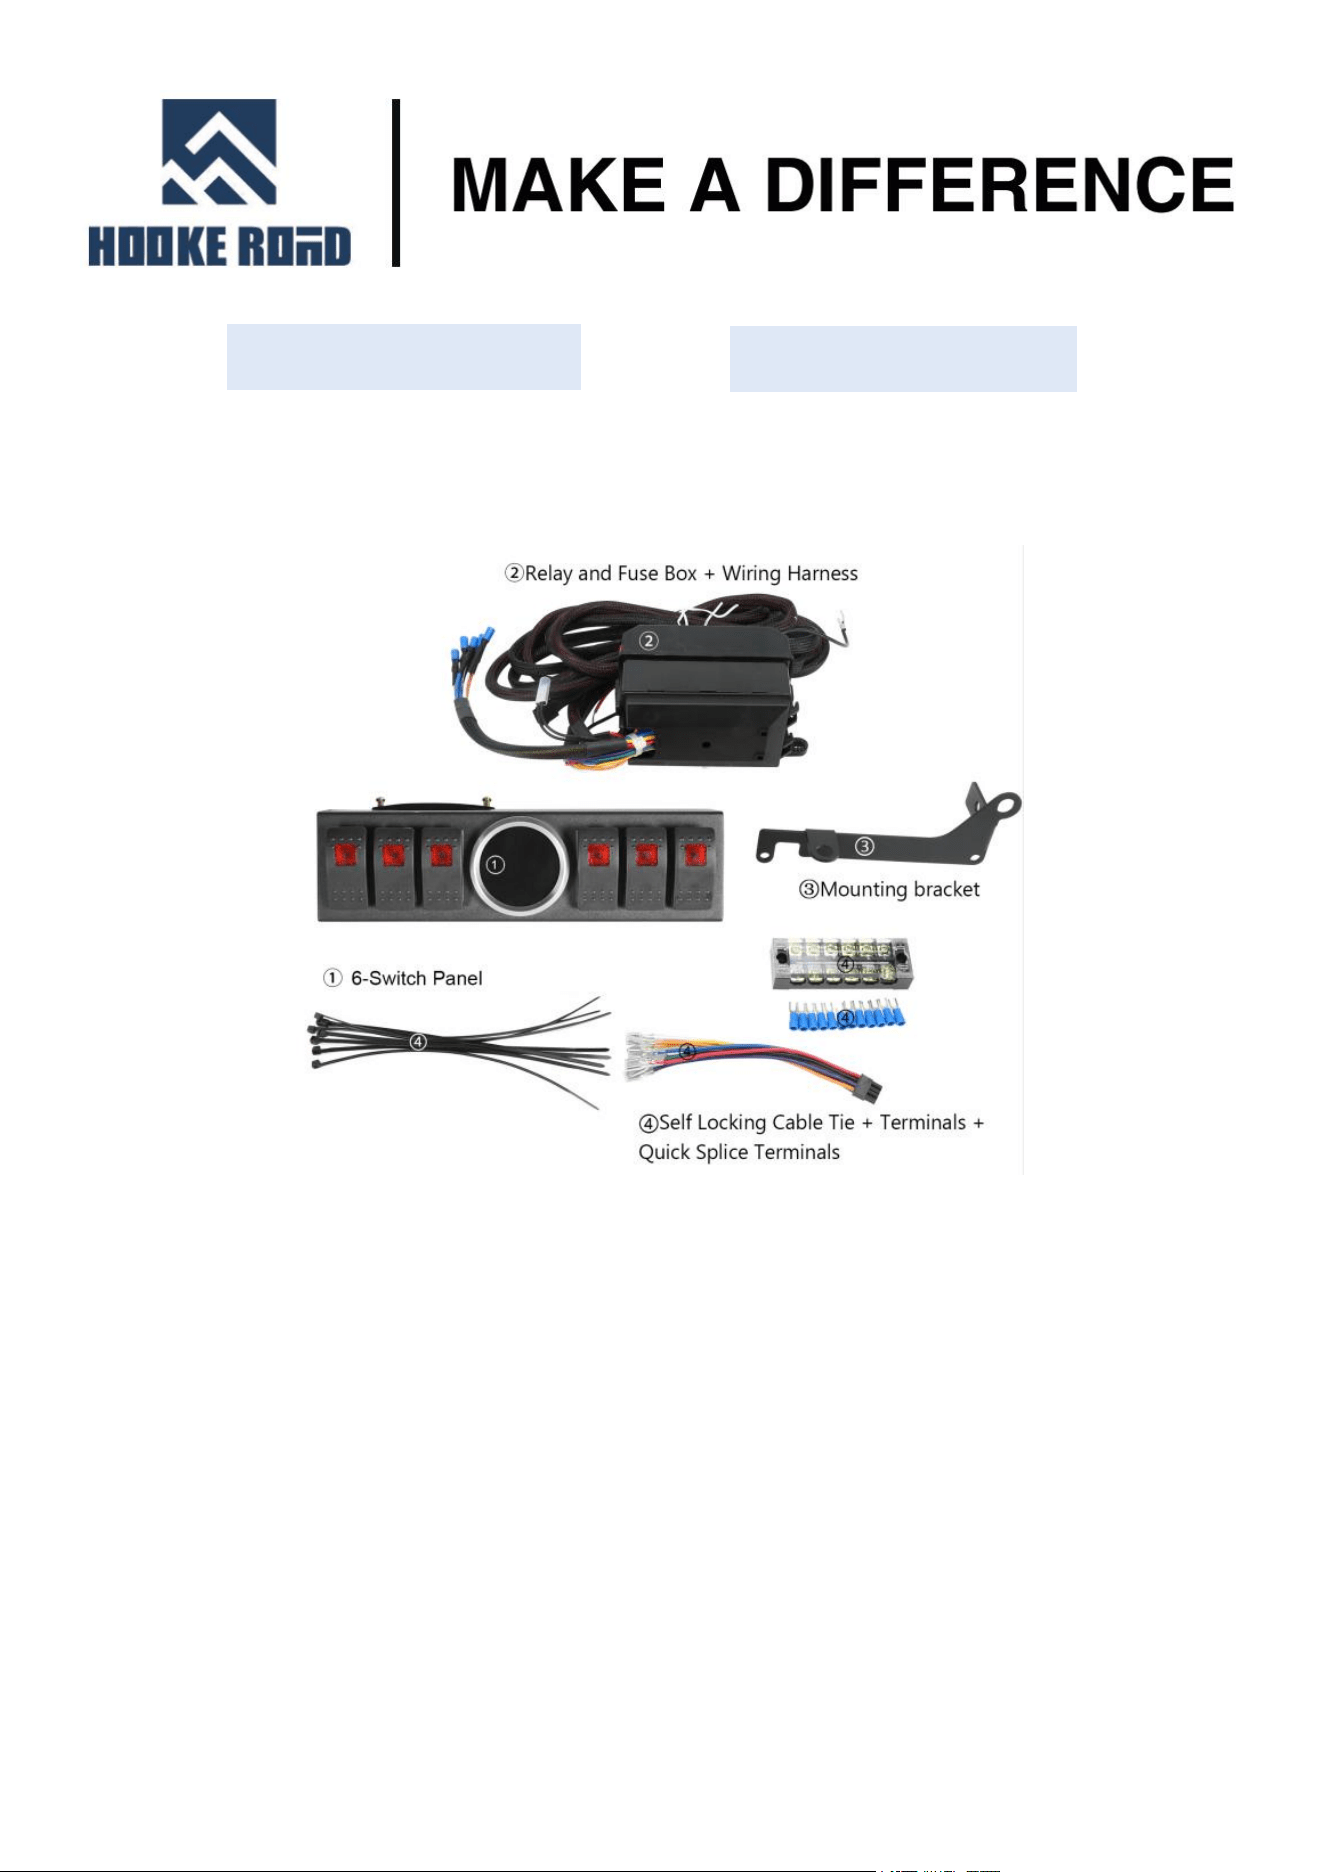
6-Switch Panel
(1)Contents:
(2)Tools required:
a. Socket Wrench;
b. Screwdriver;
QP.MMR-1790
(3)Installation time: About 1.5 hours, 1-2 persons
needed.
(
Installation time is different according to individual person
)
(4)Installation instruction:
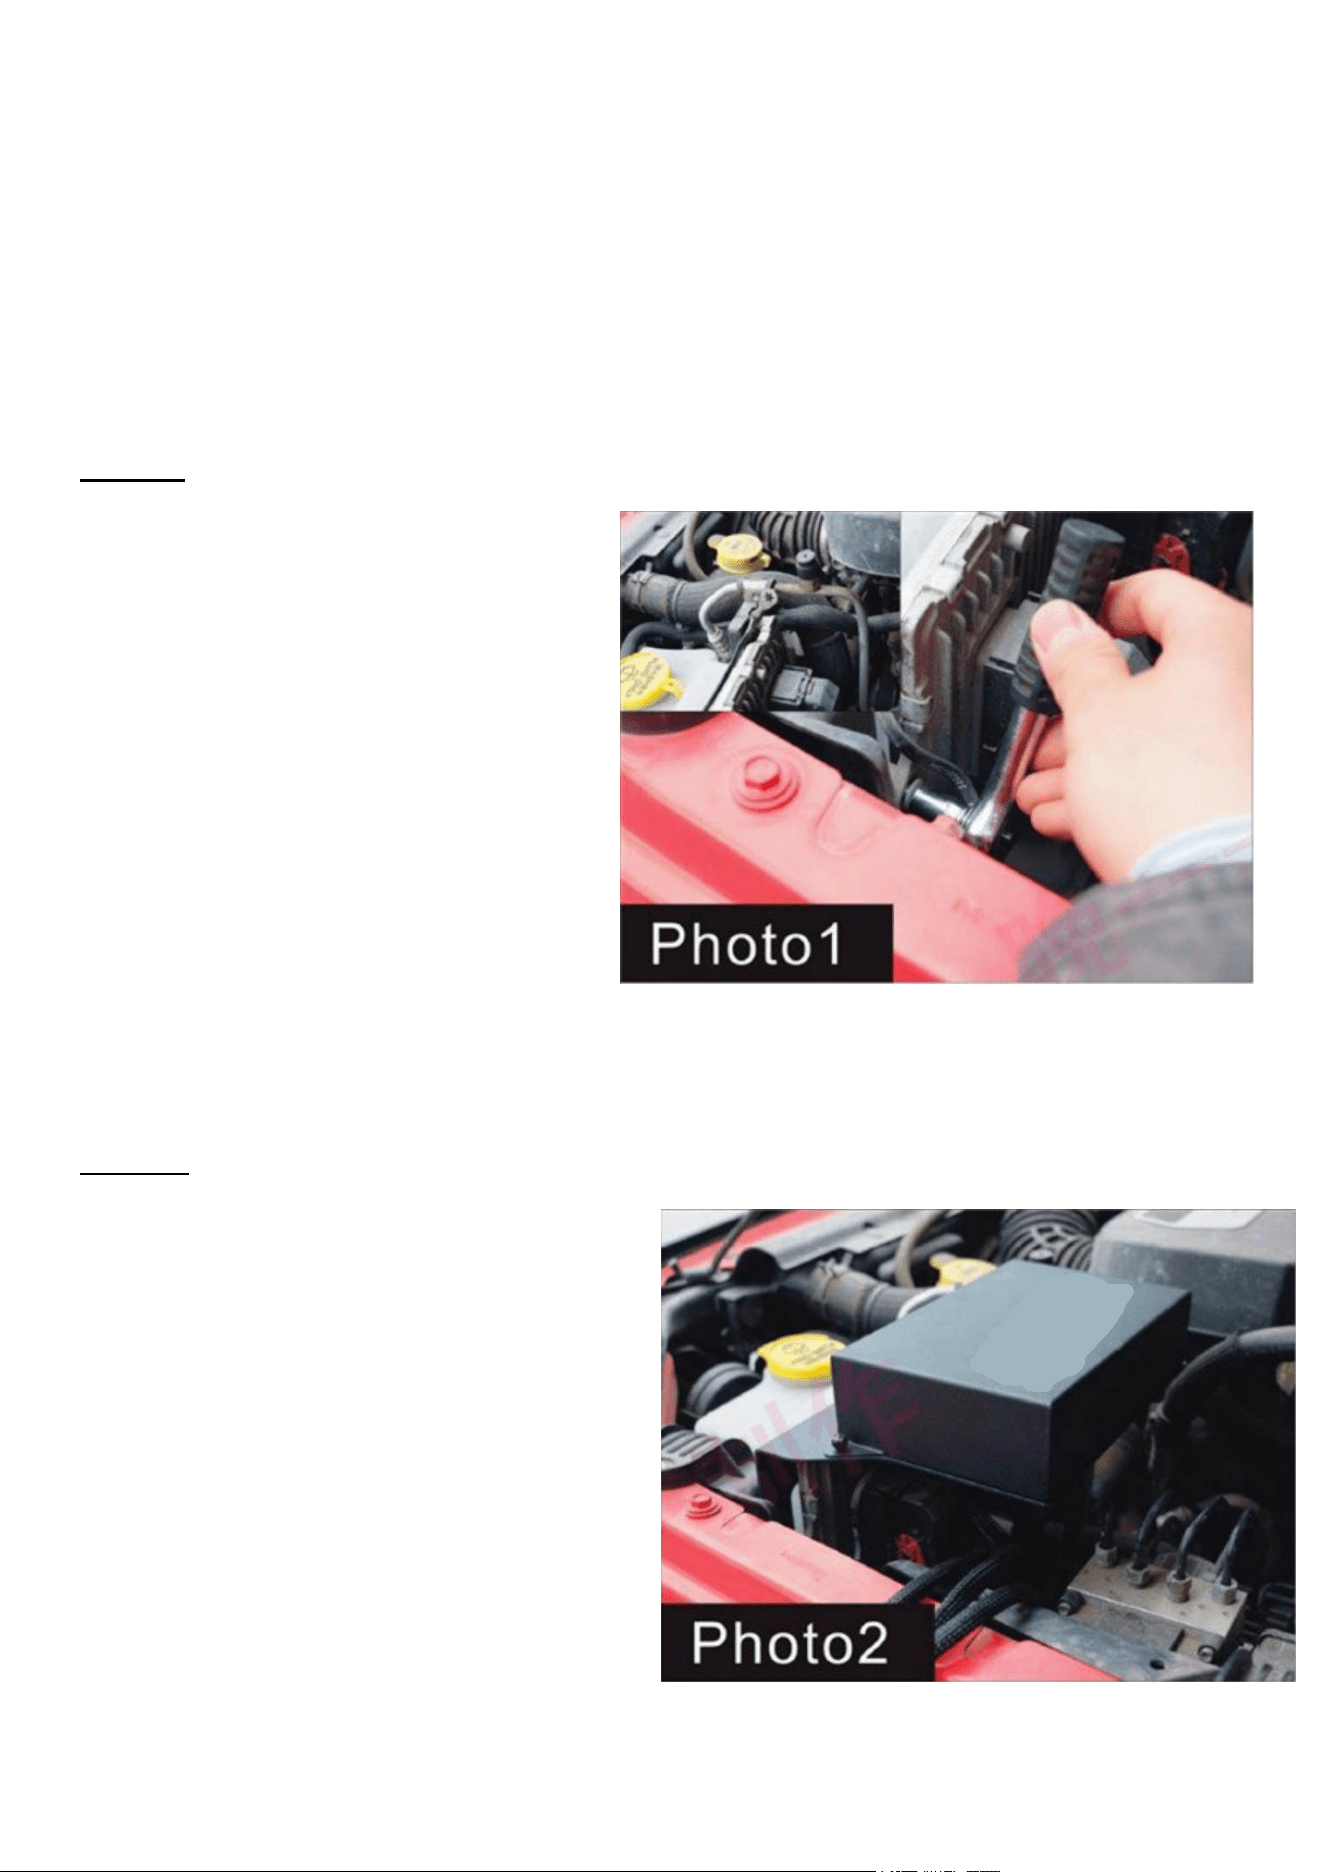
Step 1:
Use the socket wrench to
unscrew the two fixing screws of
the computer board and take out
the grounding wire of the
computer board. When installing
the grounding wire, change it to
the outside of the computer
board.
Step 2:
Install the control box between
the kettle and the computer board,
the inner screw on the grounding
wire, and the long socket wrench
fixing screw.
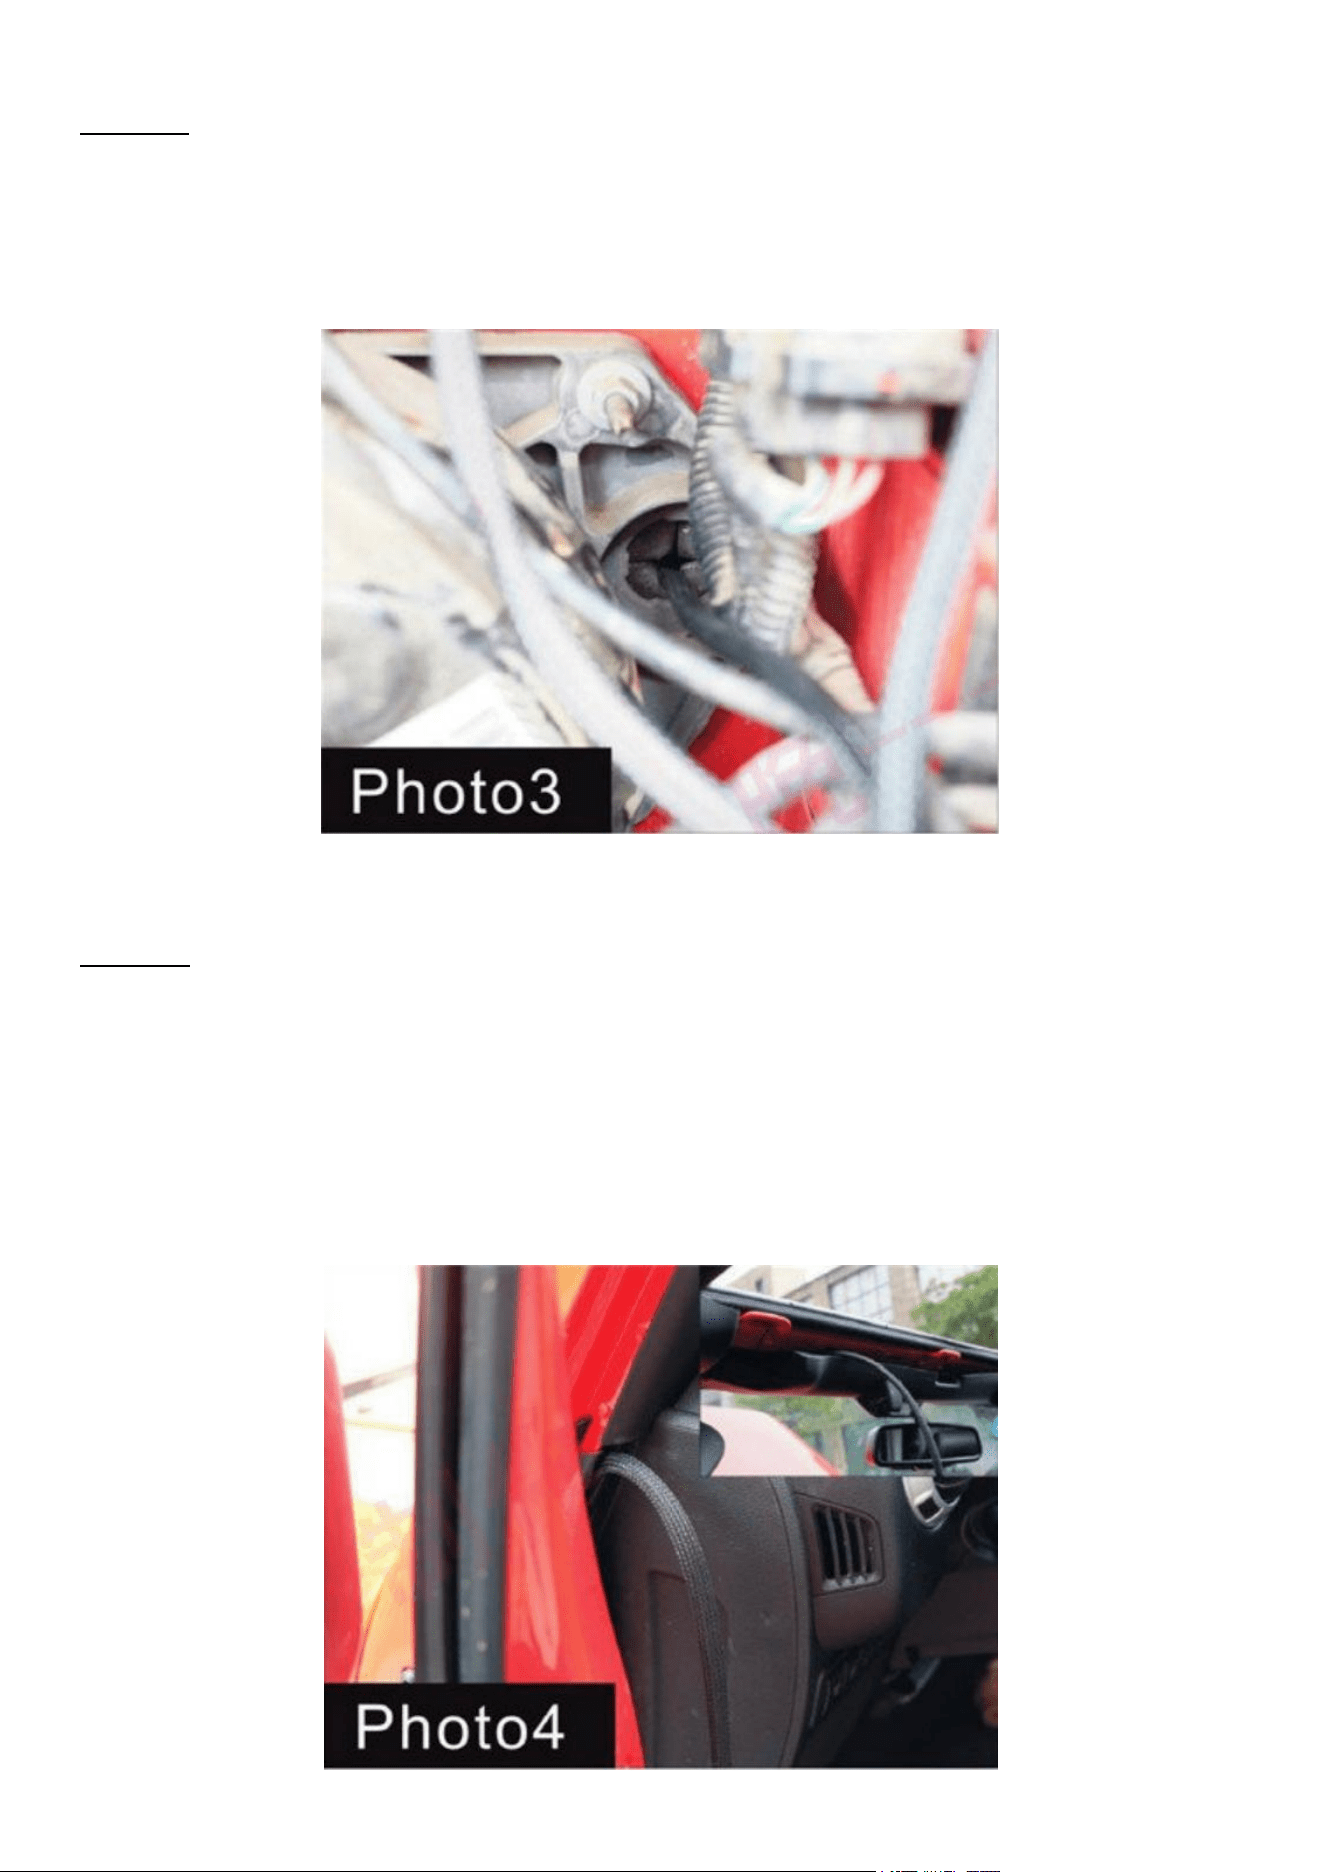
Step 3:
Pass the 8-core control cable from the engine compartment threading
hole to the cab.
Step 4:
Remove the front seat ceiling, pull out the 8-core control line.Insert it
along the edge of the A-pillar plastic panel until it reached the middle
ceiling fixing hook and take it out.
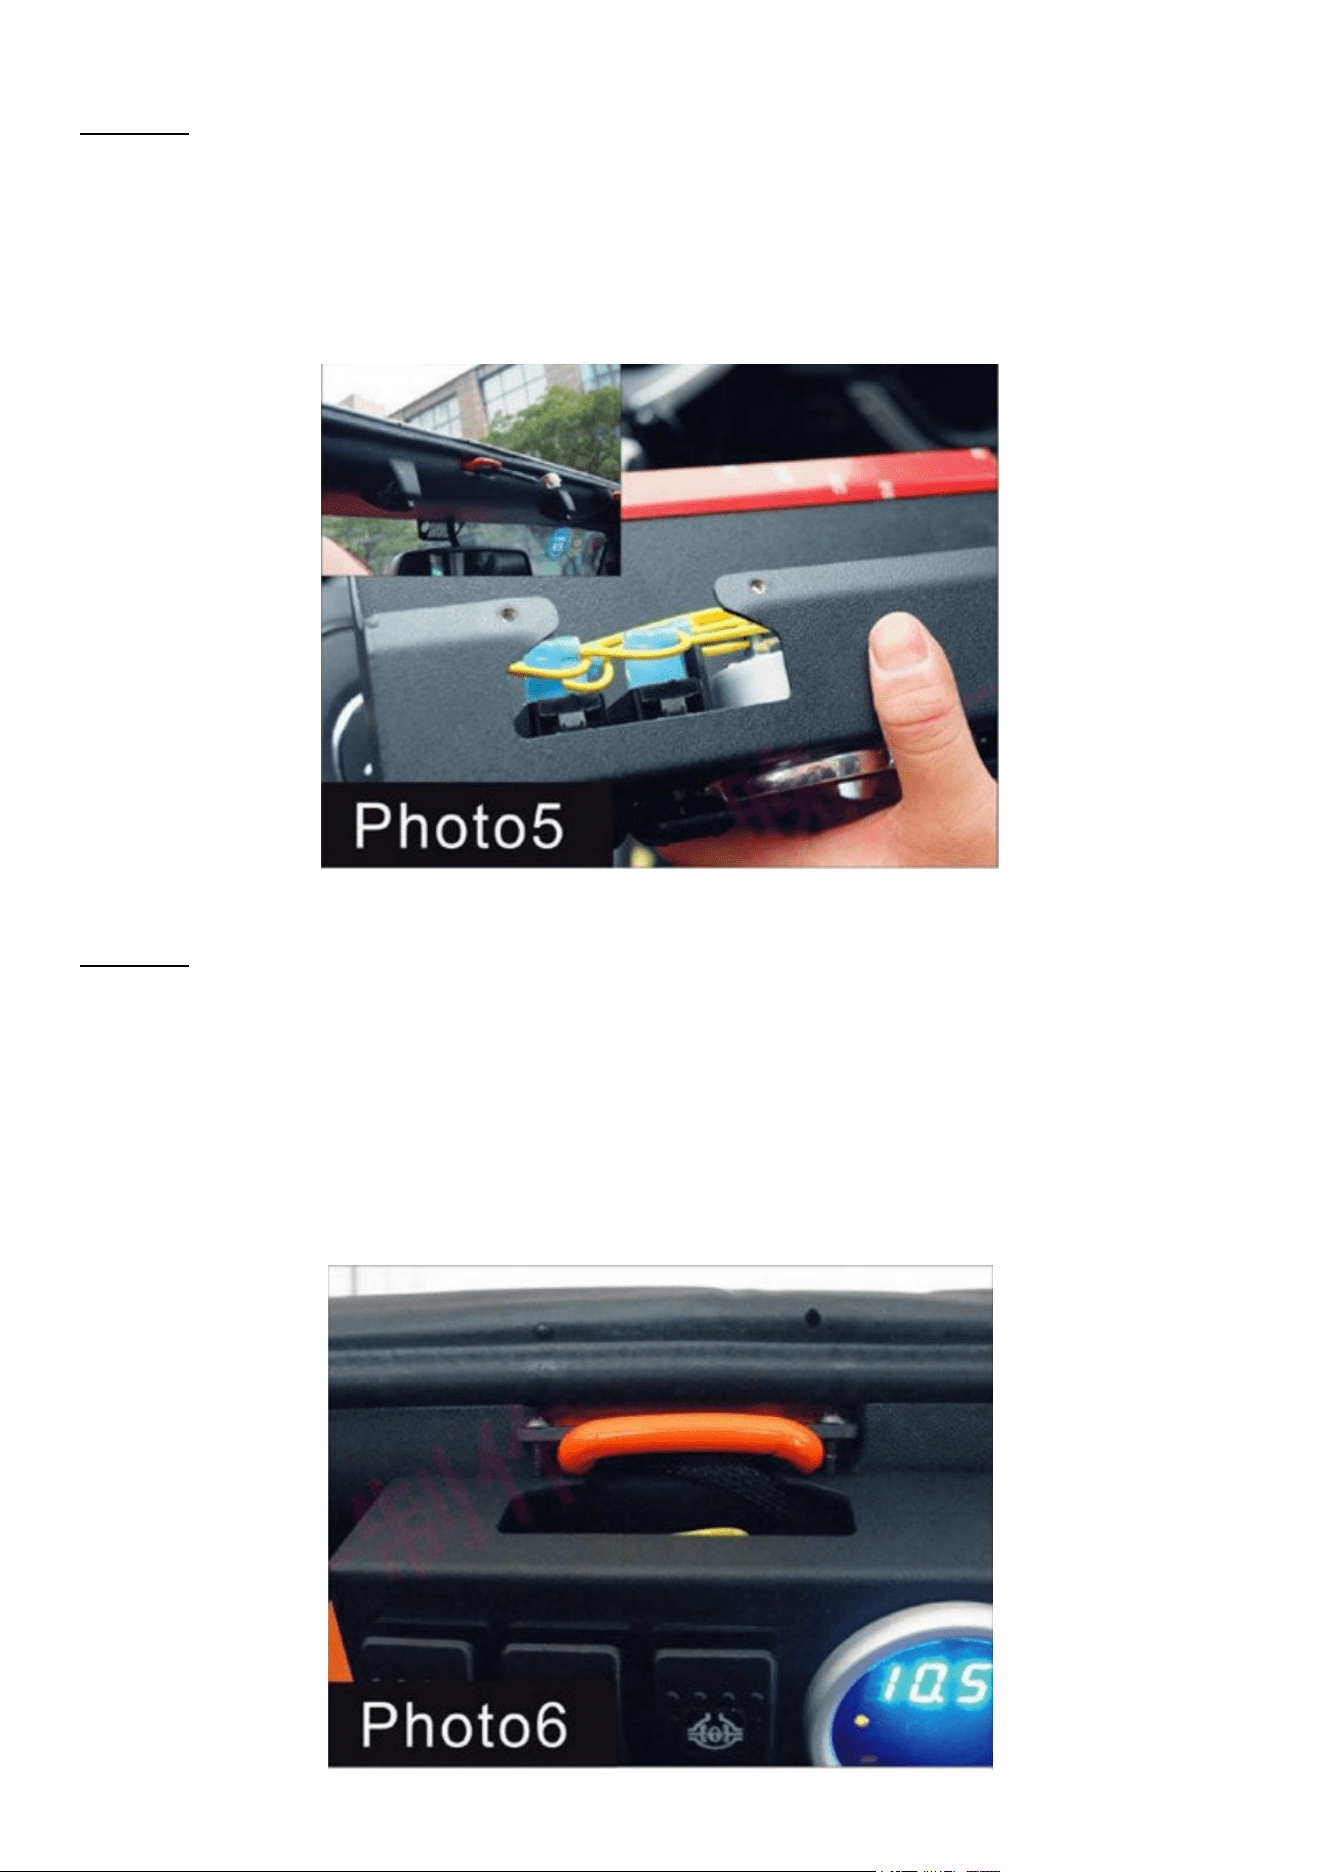
Step 5:
Remove the long-type fixing parts and screws on the switch box, and
tear off the double-sided tape.
Step 6:
Place the ceiling fixing hook and clamped it between the long fitting and
the switch box, then tight the screw to complete the installation of switch
box part.
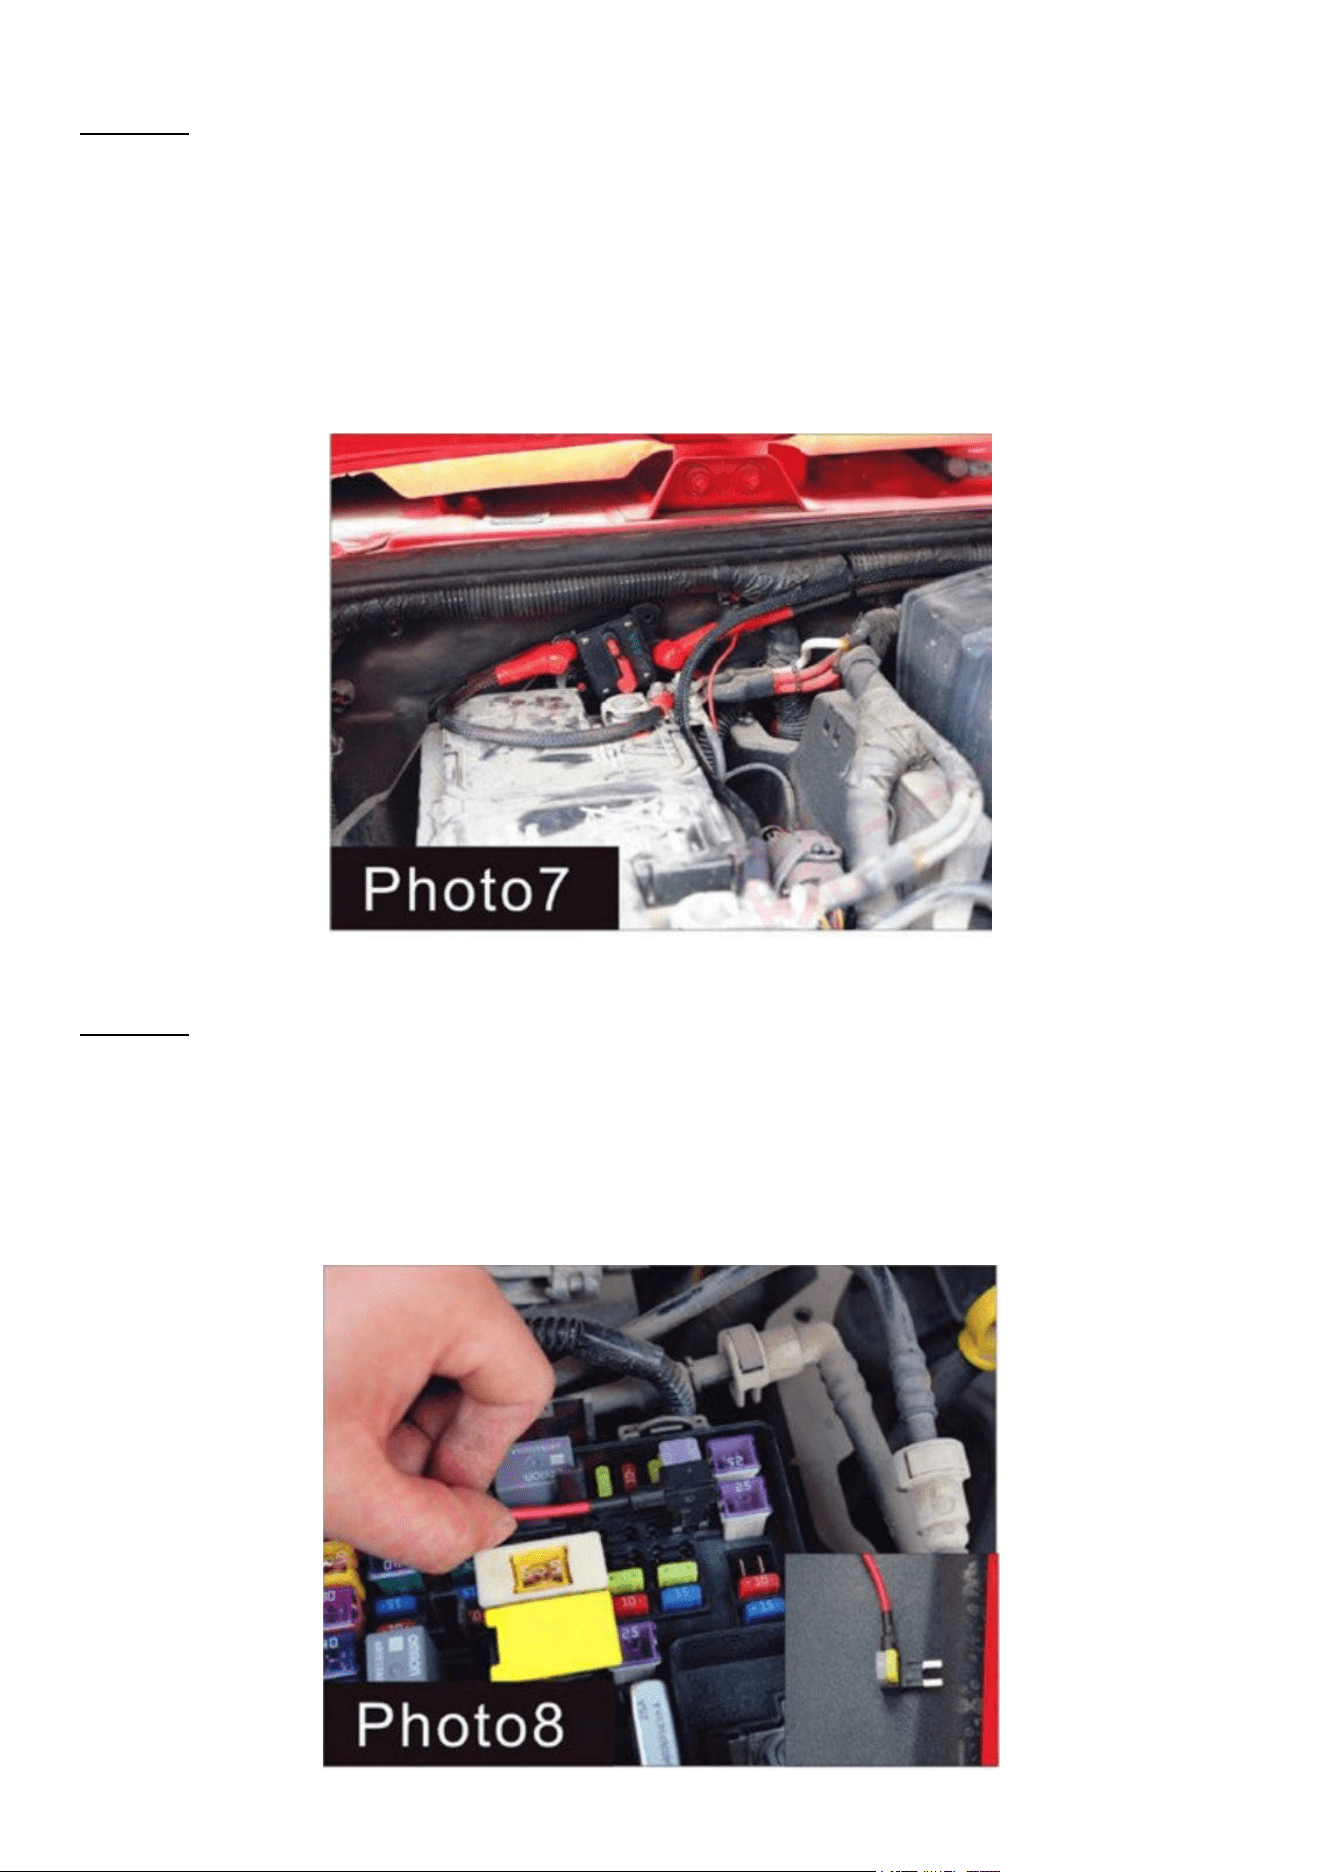
Step 7:
The thick red power wire is connected to the positive pole of the battery,
and the black power wire is connected to the negative pole of the battery.
The overload protection switch is fixed to the screw.
Step 8:
When connecting the AC signal to the appliance, you need to unplug the
M7 fuse in the fuse box and connect it to the charger.
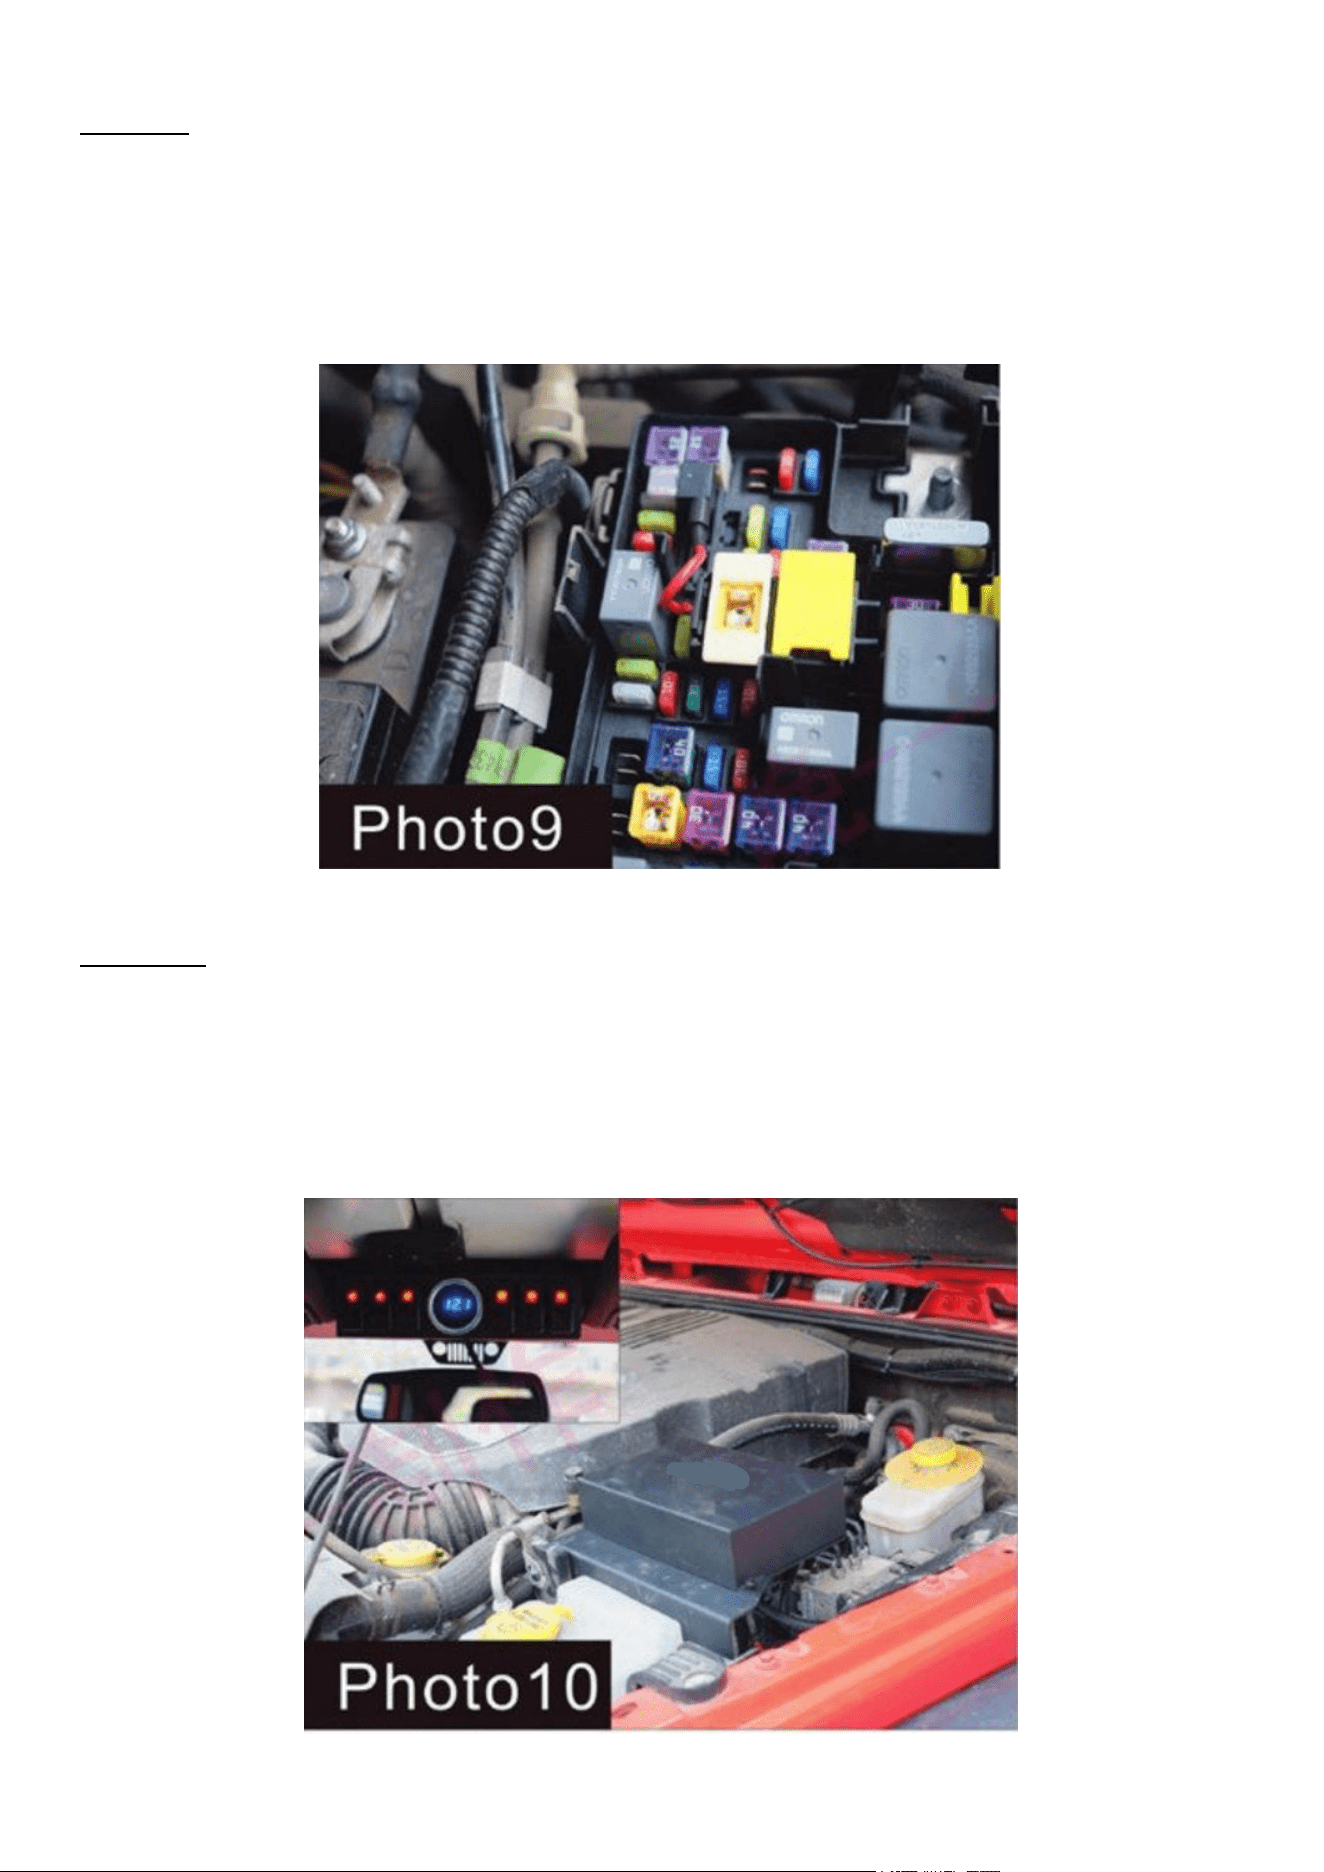
Step 9:
Take the red electrical wires through the small holes in the inside of the
fuse box and crimp it with the thin red wires of the control box.
Step 10:
Finally, turn the car key to the ACC position, and open the switch to check
the battery voltage working status. The system is installed!