Thank
you
Quick Start
Guide
NO
1
PRODUCT BASIC
INTRODUCTION
Cautions
Product Components
Component Guide
If you have any questions, need technical
support, please don't hesitate to contact us.
Our dedicated customer care team is always
here for you and will respond within 24 hours.
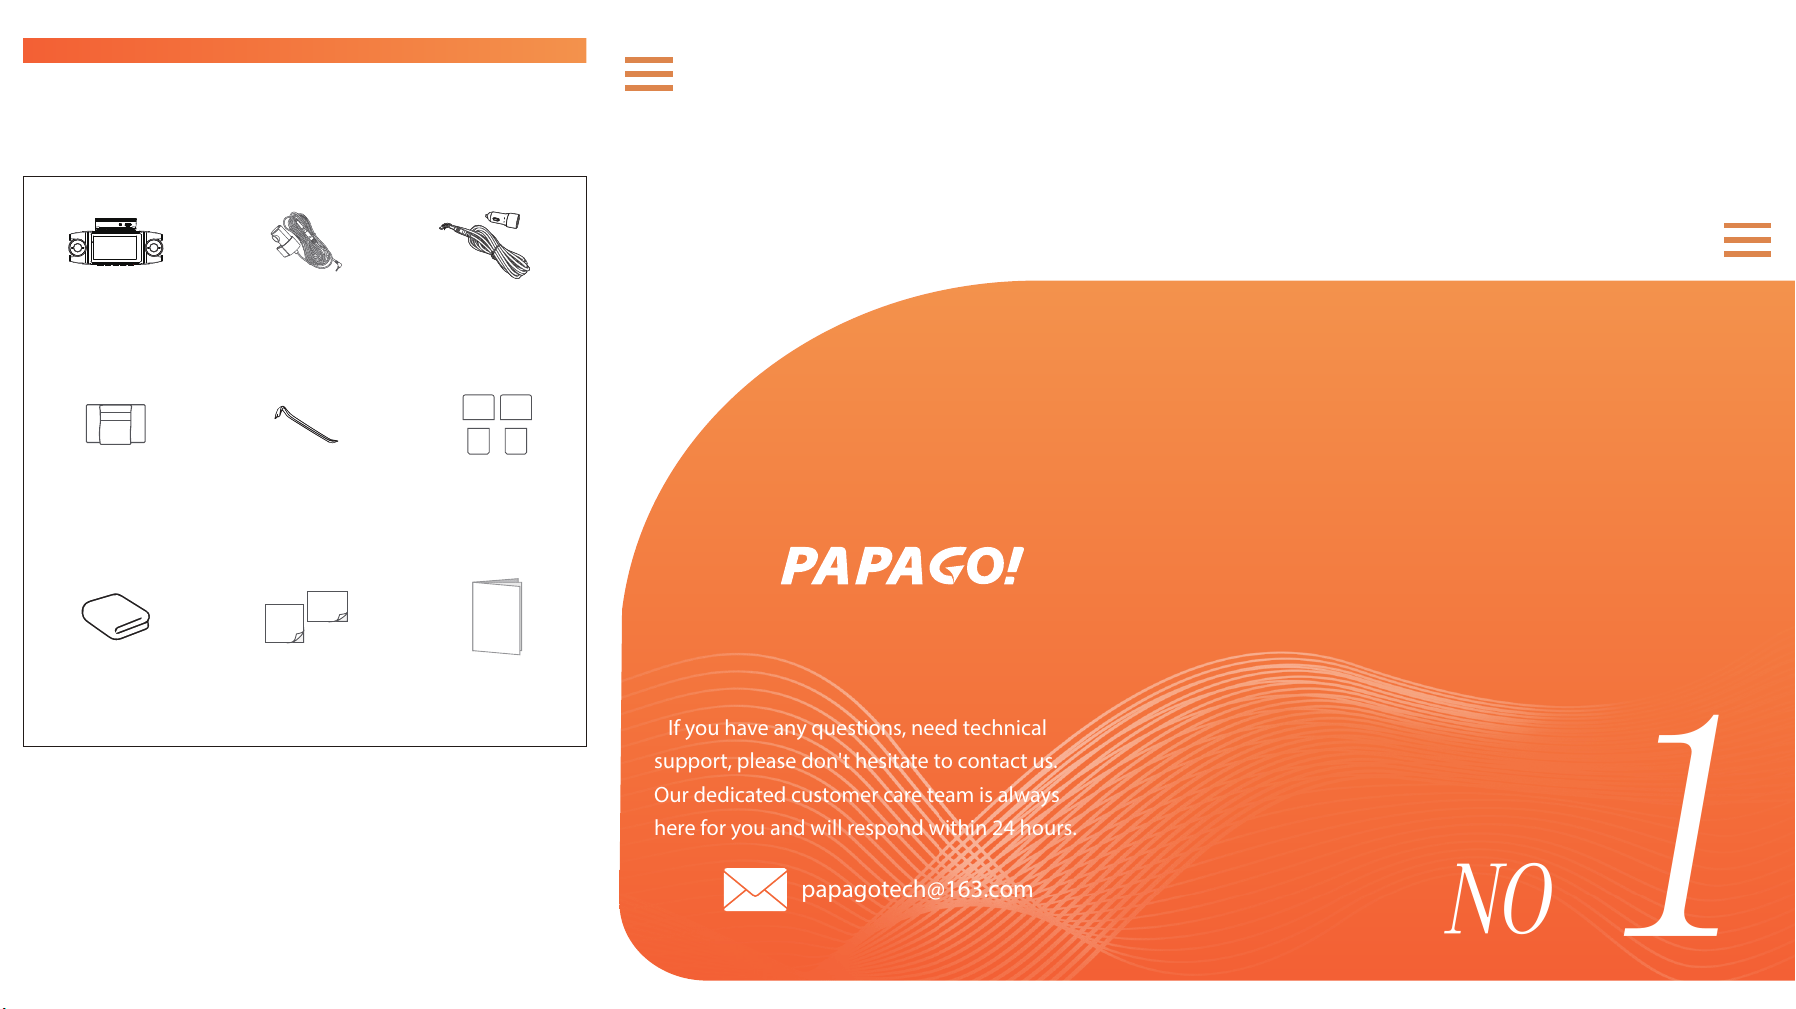
In the Box
Dash Camera
Cleaning Cloth
Adhesive Cable
Clip×4
Easy Pry Tool
Static Stickerx4
Rear Camera
Adhesive Pads
(2on Cameras)
Car Charger
User Manual
To prevent personal injury or equipment damage, please read
and follow the below safety guidelines carefully:
Be sure to read and understand the product manual before
use, and keep it properly for future reference.
Use only genuine accessories provided by the manufacturer.
The company shall not be liable for any damage caused by
non-genuine accessories from other manufacturers.
Do not disassemble, modify or repair the product by yourself;
any damage to the main unit resulting from such actions is
not covered by the warranty.
Do not install the product in high-humidity areas, areas
exposed to direct sunlight or extreme high temperatures,
environments with ammable and explosive gases or liquids,
or any areas that block the driver's line of sight or compromise
driving safety.
In case of abnormal conditions, stop using the product
immediately, disconnect the power supply and contact
customer service.
Drive safely! Never operate the app or the device while driving
to avoid trac accidents caused by distraction. Ensure the
vehicle is parked in a safe area before any operation.
Conduct a power-on test before installation, and remove the
protective lms from the display screen and lens before use.
Be sure to format the memory card on the main unit before
its rst use to ensure stable reading and writing performance
of the card.
The vehicle must only be driven after the product is securely
installed.
Safety
Precautions
01
1
2
3
4
5
6
7
8
9
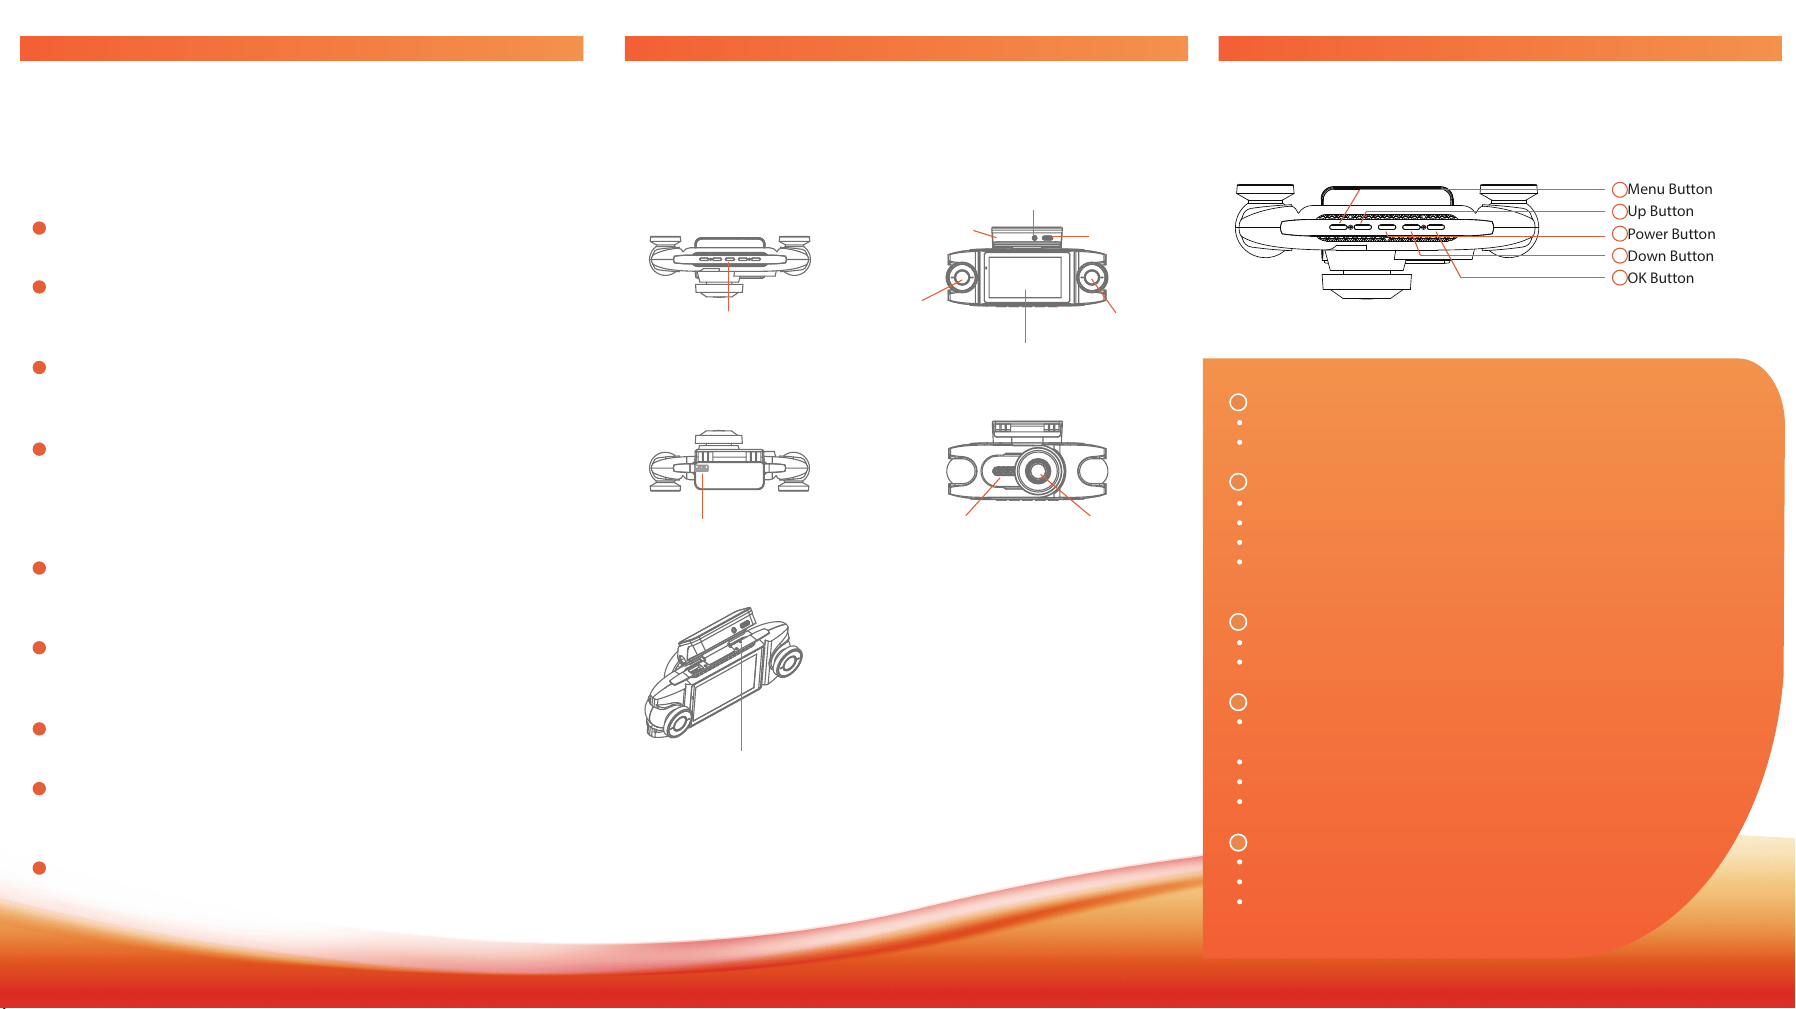
Component
Guide
02
button
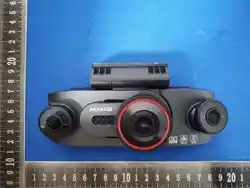
Left Camera
GPS Mount
Rear Camera Port
Type-C Port
Right Camera
Screen
Memory Card Slot Speaker Front Camera
Reset Button
Menu Button
Up Button
Power Button
Down Button
OK Button
1
2
3
4
5
Button
Functions
03
Menu Button
Press Once - to enter/exit settings menu.
Press Once - to go back to the previous screen. (in menu mode)
Up Button
Press Once (Recording Interface) - take photo.
Press Once (Menu Interface) - move up one line .
Press Once (Playback Interface) - previous video.
Hold 3s - lock/unlock video.
(while recording, indicator turns yellow when locked)
Press Once - turn screen o/on. (while device is on)
Hold 3s - power o/on. (while device is on)
Power Button
Down Button
Press Once (Recording Interface) - switch front / rear camera,
spit screen mode.
Press Once (Menu Interface) - move down one line.
Press Once (Playback Interface) - play next video.
Hold 3s - turn Wi-Fi on/o. (in recording mode)
OK Button
Press Once - Pause/Stop Recording.
Press Once - conrm/select. (menu mode)
Hold 3s - Microphone on/o. (in recording mode)
1
2
3
4
5
FCC Warning
This device complies w it h Part 15 of t he FCC Rules. Operat ion is subject t o t he f ollow ing t w o condit ions:
(1) This device may not cause harmf ul int erf erence, and (2) t his device must accept any int erf erence received, including
int erference t hat may cause undesired operat ion.
NOTE 1: This equipment has been t est ed and found t o comply w it h t he limit s f or a Class B digit al device, pursuant t o part 15 of
t he FCC Rules. These limit s are designed t o provide reasonable prot ect ion against harmf ul int erf erence in a resident ial inst allat ion.
This equipment generat es, uses and can radiat e radio f requency energy and, if not inst alled and used in accordance w it h t he
inst ruct ions, may cause harmf ul int erf erence t o radio communicat ions. How ever, t here is no guarant ee t hat int erf erence w ill not
occur in a part icular inst allat ion. If t his equipment does cause harmf ul int erf erence t o radio or t elevision recept ion, w hich can be
det ermined by t urning t he equipment of f and on, t he user is encouraged t o t ry t o correct t he int erf erence by one or more of t he
f ollow ing measures:
- Reorient or relocat e t he receiving ant enna.
- Increase t he separat ion bet w een t he equipment and receiver.
-Connect t he equipment int o an out let on a circuit dif f erent f rom t hat t o w hich t he receiver is connect ed.
-Consult t he dealer or an experienced radio/ TV t echnician f or help.
NOTE 2 : Any changes or modificat ions t o t his unit not expressly approved by t he part y responsible f or compliance could void t he
user's aut horit y t o operat e t he equipment .
RF Exposure St at ement
To maint ain compliance w it h FCC'S RF Exposure guidelines, This equipment should be inst alled and operat ed w it h minimum 20cm
bet w een t he radiat or and your body. This device and it s ant enna(s) must not be co-locat ed or operat ion in conjunct ion w it h any
ot her ant enna or t ransmit t er.