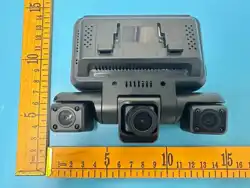
High Definition Dashcam
Smartphone WiFi Version
OPERATING INSTRUCTION
Installation Notes
①Turn off the car engine.
②Insert the TF card into the recorder card slot correctly.
[Note] Please use a high-speed TF card (ABOVE CLASS10), the capacity
is not less than 2MB, the TF card supports up to 128GB.
③Connect the red power line to the 12V power supply, the white ACC
ignition control line, and the black ground. Start the engine, check that
the machine is installed correctly, the red light is on and flashing, and
the machine starts to enter the recording state.
④This manual is a general version, and the functions involved may be
slightly different from the model you purchased. After comparison and
factory test, it has little impact on the use of this model.
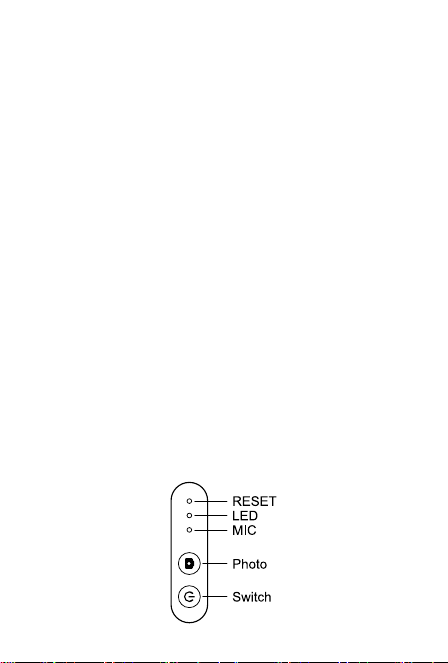
Key function description

SWITCH
In the power-on state, short press to start/pause the recording
function, and long press for 3 seconds to turn off.
PHOTO
In the recording state, short press this key to take pictures.
In the power-on state, long press this button to restore the factory
settings. It can be used to retrieve the default WiFi account and
connection password.
RESET
After the power is turned on, gently poke the button with a sharp
object to reset and restart the system.
LED
Indicator light status, can be used to check whether the car recorder is
in some normal state. Built-in red and blue lights.
The red colour indicates the WiFi operation status, when the hotspot
is not connected, the red light stays on for a long time; when the
hotspot is connected, the red light flashes once every second.
The blue light indicates the recording status, when recording normally,
the blue light flashes once per second; when recording stops or does
not work, the blue light stays on for a long time.
MIC
Used to record the sound at the time while recording. Default is on,
APP can set the default status within the settings after connecting to
the hotspot of the recorder.
INDICATOR STATUS DESCRIPTION
WORKING CONDITION
INDICATOR STATUS
WiFi connected
video record
The red light is always on, and the blue light flashes every
second
No video recording
Red and blue light are always on
WiFi not
connected
video record
Red light flashes fast, blue light flashes every second
INSTALLING
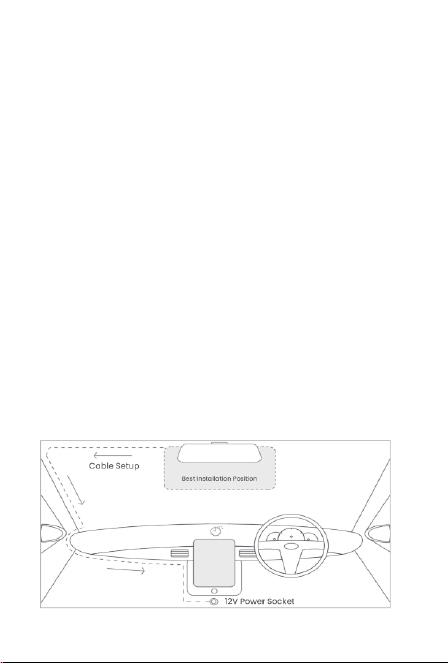
⚫ It is the best to mount the dash camera in the upper edge of the
car’s front windshield, beneath the rear-view mirror or next to it.
⚫ Clean the mounting area carefully and ensure the windshield is not
damp.
⚫ Ensure there is unobstructed view to the camera and that the vision
of the driver is not blocked.
⚫ Ensure that the selected mounting area is suitable for the length of
the USB charging cable
⚫ Remove the protective film of the fastening tape of the camera
holder and fasten the holder by pressing it firmly on the windshield
⚫ Insert an empty microSD card in the dedicated slot.
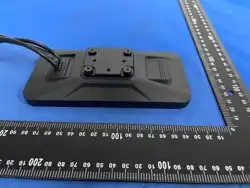
⚫ Connect the camera carefully to camera holder and connect the
USB charging cable. The USB charging cable is long enough so that
in most passenger cars it can be mounted along the edge of the
windshield to the charging socket.
⚫ The camera switches on automatically when the power is turned
on.
INSTALL POSITION
SOFTWARE INSTALLATION AND OPERATION
APP download and installation
1. Wi-Fi function allows to
transmit recordings from the
dash camera directly to the
mobile device and to view
them from there.
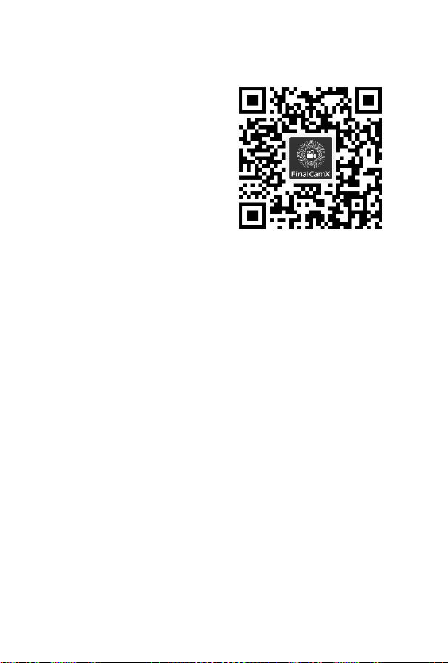
2. Download “FinalCamX”
app for Android or iOS from
Google play or Apple store. or
scan the QR code to install on
the right:
3. Start the Wi-Fi function of the dash camera by power on the
camera. Wi-fi will be auto turn on once camera is turn on.
4. Searched the Wi-fi name and enter password to use the APP:
WiFi Name: CAR_DVR_XXXX
Password: 1234567890
VIDEO/PHOTO PLAYBACK
Playback on APP:
Open the mobile APP to find videos and photos.
COMPUTER:
The recordings can also be viewed in the computer. For this you need
a separate memory card reader for microSD card. The recordings are
in a separate file on the card and they can be freely used and
downloaded in to the computer. No separate program is needed for
downloading or viewing.

FCC Caution.
This device complies with part 15 of the FCC Rules. Operation is
subject to the following two conditions: (1) This device may not
cause harmful interference, and (2) this device must accept any
interference received, including interference that may cause
undesired operation.
Any Changes or modifications not expressly approved by the party
responsible for compliance could void the user's authority to operate
the equipment.
Note: This equipment has been tested and found to comply with the
limits for a Class B digital device, pursuant to part 15 of the FCC
Rules. These limits are designed to provide reasonable protection
against harmful interference in a residential installation. This
equipment generates uses and can radiate radio frequency energy
and, if not installed and used in accordance with the instructions,
may cause harmful interference to radio communications. However,
there is no guarantee that interference will not occur in a particular
installation. If this equipment does cause harmful interference to
radio or television reception, which can be determined by turning
the equipment off and on, the user is encouraged to try to correct
the interference by one ormore of the following measures:
-Reorient or relocate the receiving antenna.
-Increase the separation between the equipment and receiver.
-Connect the equipment into an outlet on a circuit different from
that to which the receiver is connected.
-Consult the dealer or an experienced radio/TV technician for help.
FCC Radiation Exposure Statement:
This equipment complies with FCC radiation exposure limits set forth
for an uncontrolled environment. This equipment should be installed
and operated with minimum distance 20 cm between the radiator &
your body.