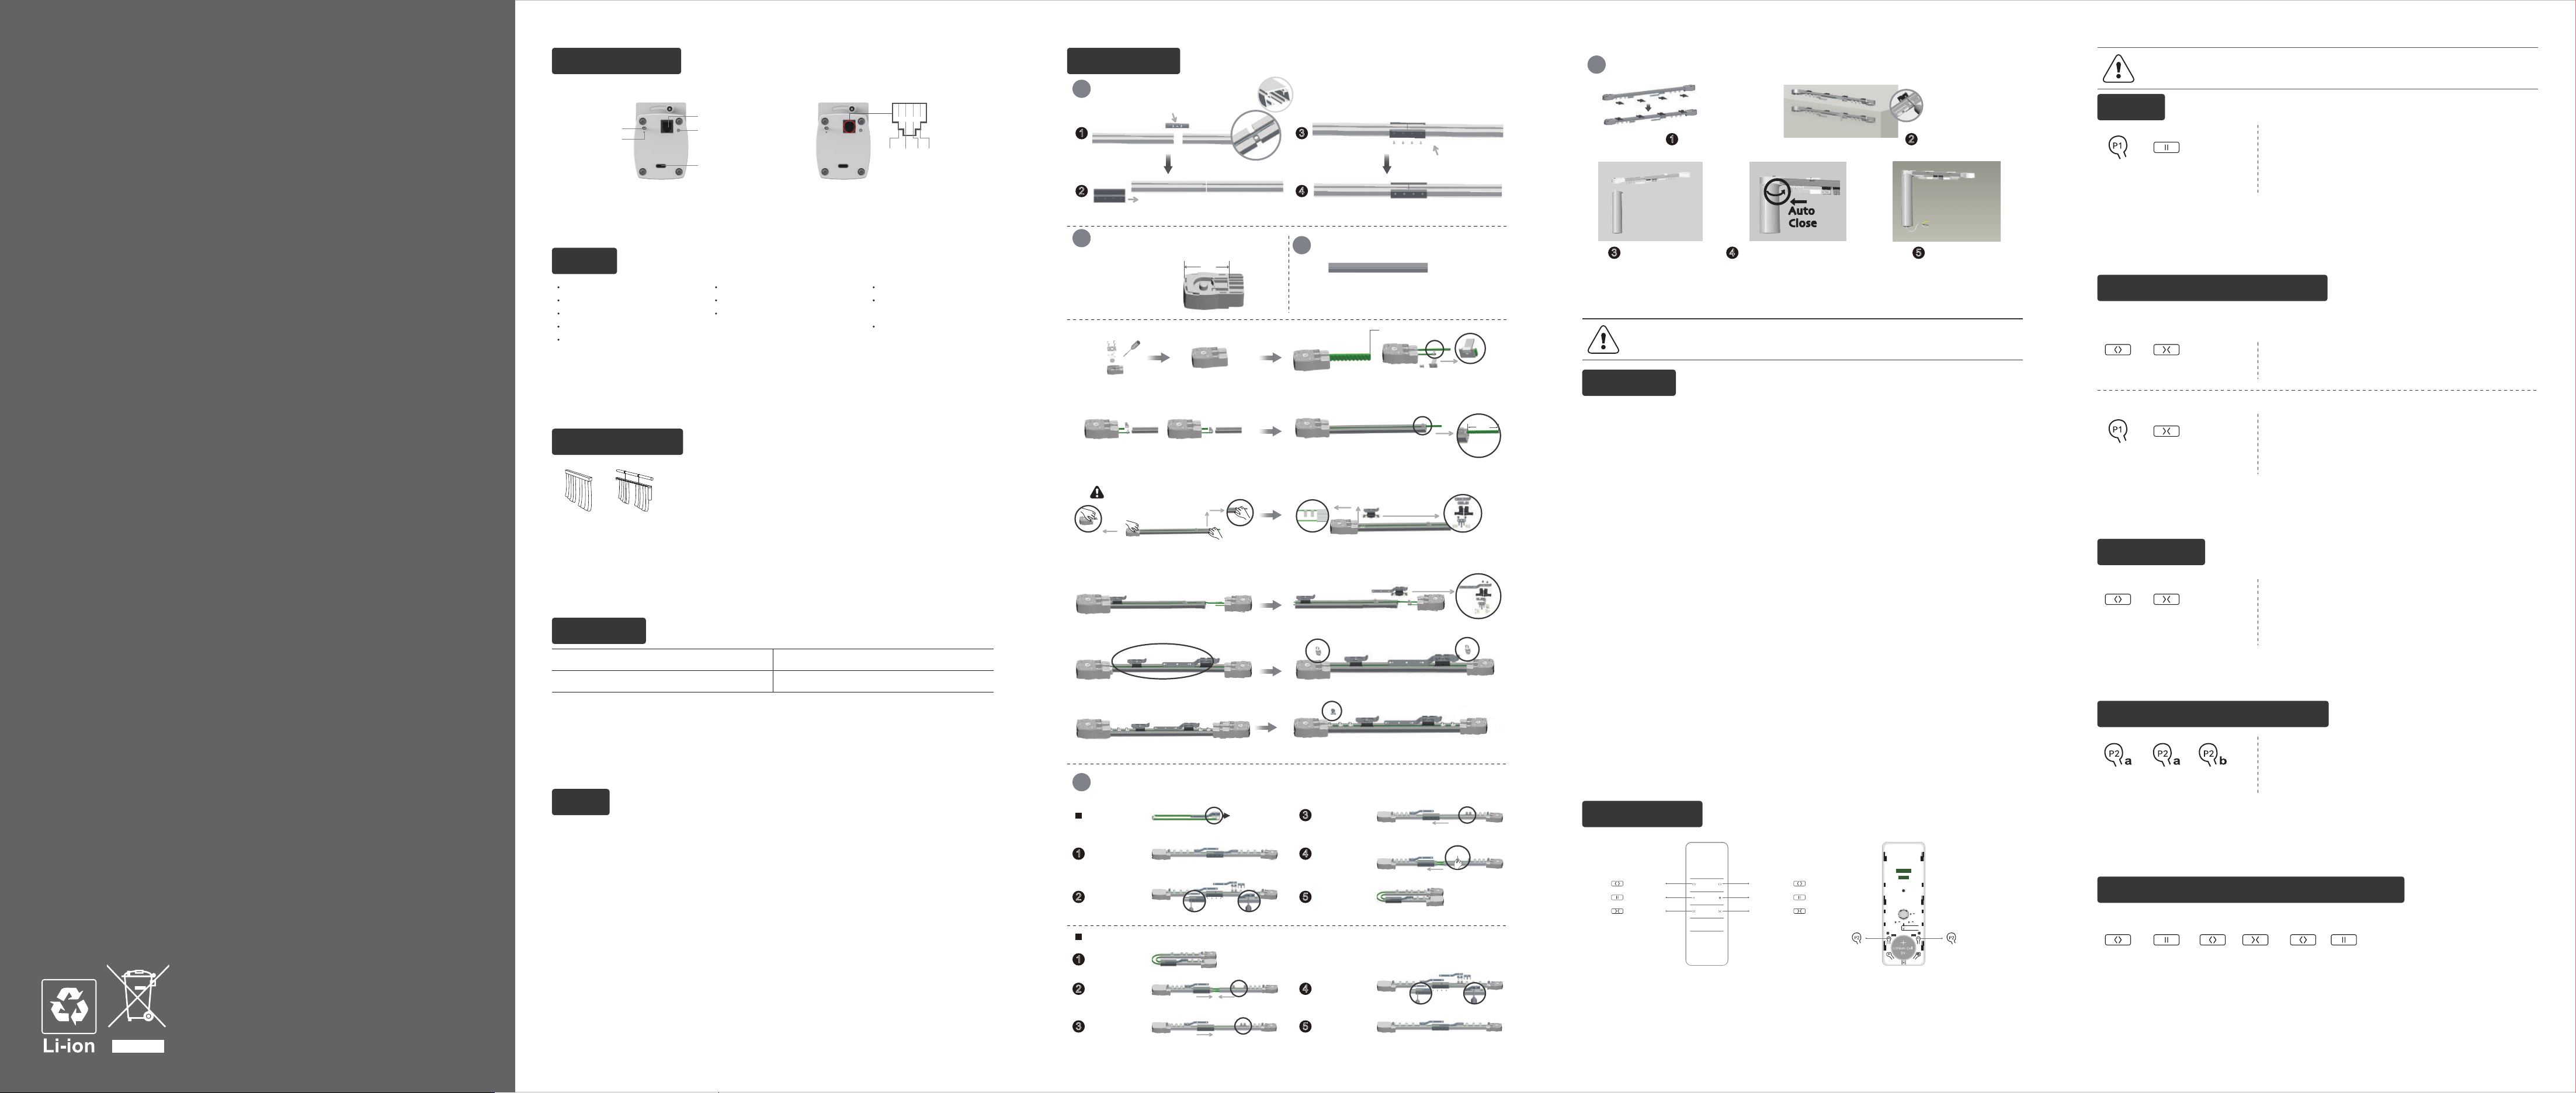
Folding method for joint track (for easy transit)
Search for the sl-
ip part connected
with the ends of
the rubber belt
Take off the screw
of the slip parts
and the connection
bracket
Push the connec-
tion parts to one
side
Pull the slip parts
slightly and separ-
ate the connection
part at the same
time
Fold the track
Track folding
method
Unfold the
folded track
Combine the
track slowly
Push the con-
nection bracket
to the connec-
tion part
Screw the co-
nnection bra-
cket and install
the slip parts
The track is
successfully
assembled
Restoring the track
1
2
3
4
5
3
1
2
3
4
5
Separate the lower cover and the profile. (Hold the
cut end by hand, leaving 12cm outside the profile.)
Fix the belt on the same side (to confirm the position
of the other hanger arm). Make marks for easy
holding of the hanger arm.
Leave one tooth
between these
two belt fastening
button
Install the belt fasten button and
the slip part as in the picture
Install half of the master carrier as shown in the
picture, and insert the track into the lower cover
Slide the master carrier along the track
direction to the right until it is flush with the
profile cut surface at the track end, then fix it.
Leave 12cm at the other end and cut.
Leave half a tooth
Use a screwdriver
to install parts such
as the gear into the
lower cover
Install both lower covers
as shown in the picture
Thread the belt into
the track from one
end and install it into
the lower cover
Install the belt fastening button
at the cut end of the belt
Profile length = Total track length -
End cap length × 2
The total length of track is 2m
The length of profiled material:
200cm-14cm=186cm
Rubber belt assembly for curtain motor
Profile dimension
determination
2
1
Motor Installation
The joint assembly of track
S track
1
2
3
4
Insert the track
joint board into both
ends of the track
Please refer to Rubber belt assembly for curtain
motor for the following installation steps.
Track joint
board
Insert the track joint bracket from one end
to the connection point of both track ends
Tighten the
side screws
Track joint
bracket
Note:1.The track needs to be joined
when the length is less than required
2.The track needs to be engrafted
when inconvenient to transport
4
Curtain motor installation
2
Assemble the curtain
motor track at appropriate
place, then fix with screws
Finish assembling
5
Check whether the assembling is OK
4
Assemble the motor
3
1
Check the position of
brackets,fix it at an
appropriate place on
the track
Keep this end complete
The overlap arm
which is connected
to the two ends of
rubber belt
7cm
End cap length
The hook
The marked position is the middle position
of the other master carrier. Install the
master carrier as shown in the
picture, with half inside the
profile.
12cm
The slip
parts
e.g.
These two slip parts are successfully installed Slide the runners into the track
After one slip part installed,then thread the other
end of the belt through the other lower cover
The runners are installed Place the hook and the upper cover into the track
Install the belt fasten button
and the slip part as in the picture
1. Do not expose motor to humid or extreme temperature conditions.
2. Do not cut the antenna and keep it clear from metal objects.
3. Do not allow children to play with this device.
4. If power cable or connector is damaged, do not use.
5. Ensure power cable and aerial are clear and protected from moving parts.
6. Cable routed through walls shall be properly isolated.
7. Before installation, remove unnecessary cords and disable equipment not needed for powered
operation.
8. Installation and programming to be performed by a qualified professional, use or modification outside
the scope of this instruction may void warranty.
Caution
* For more motor models and specific torque, please refer to the nameplate.
Working Temperature: -10℃~60℃
Input voltage: 5 VDC
Radio Frequency: 433.92 MHz
Max. Single Running Time: 4 min
Specifications
Fields of Application
For motorized curtain and motorized lift curtain.
Features
Matter over Thread
Electronic Limit Memory
Stall Protection
Run/Stop By Pulling Fabric
External Switch Function
Built-in Receiver
Preferred Stop Position
Hand Pull Start/Soft Start
and Soft Stop/Anti Fabric
Compression
Switch Direction
Manual-set the Open
and Close Limits
Reset to Factory Mode
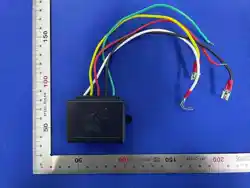
Common wire (black)
Stop wire (red)
Close wire (green)
Open wire (yellow)
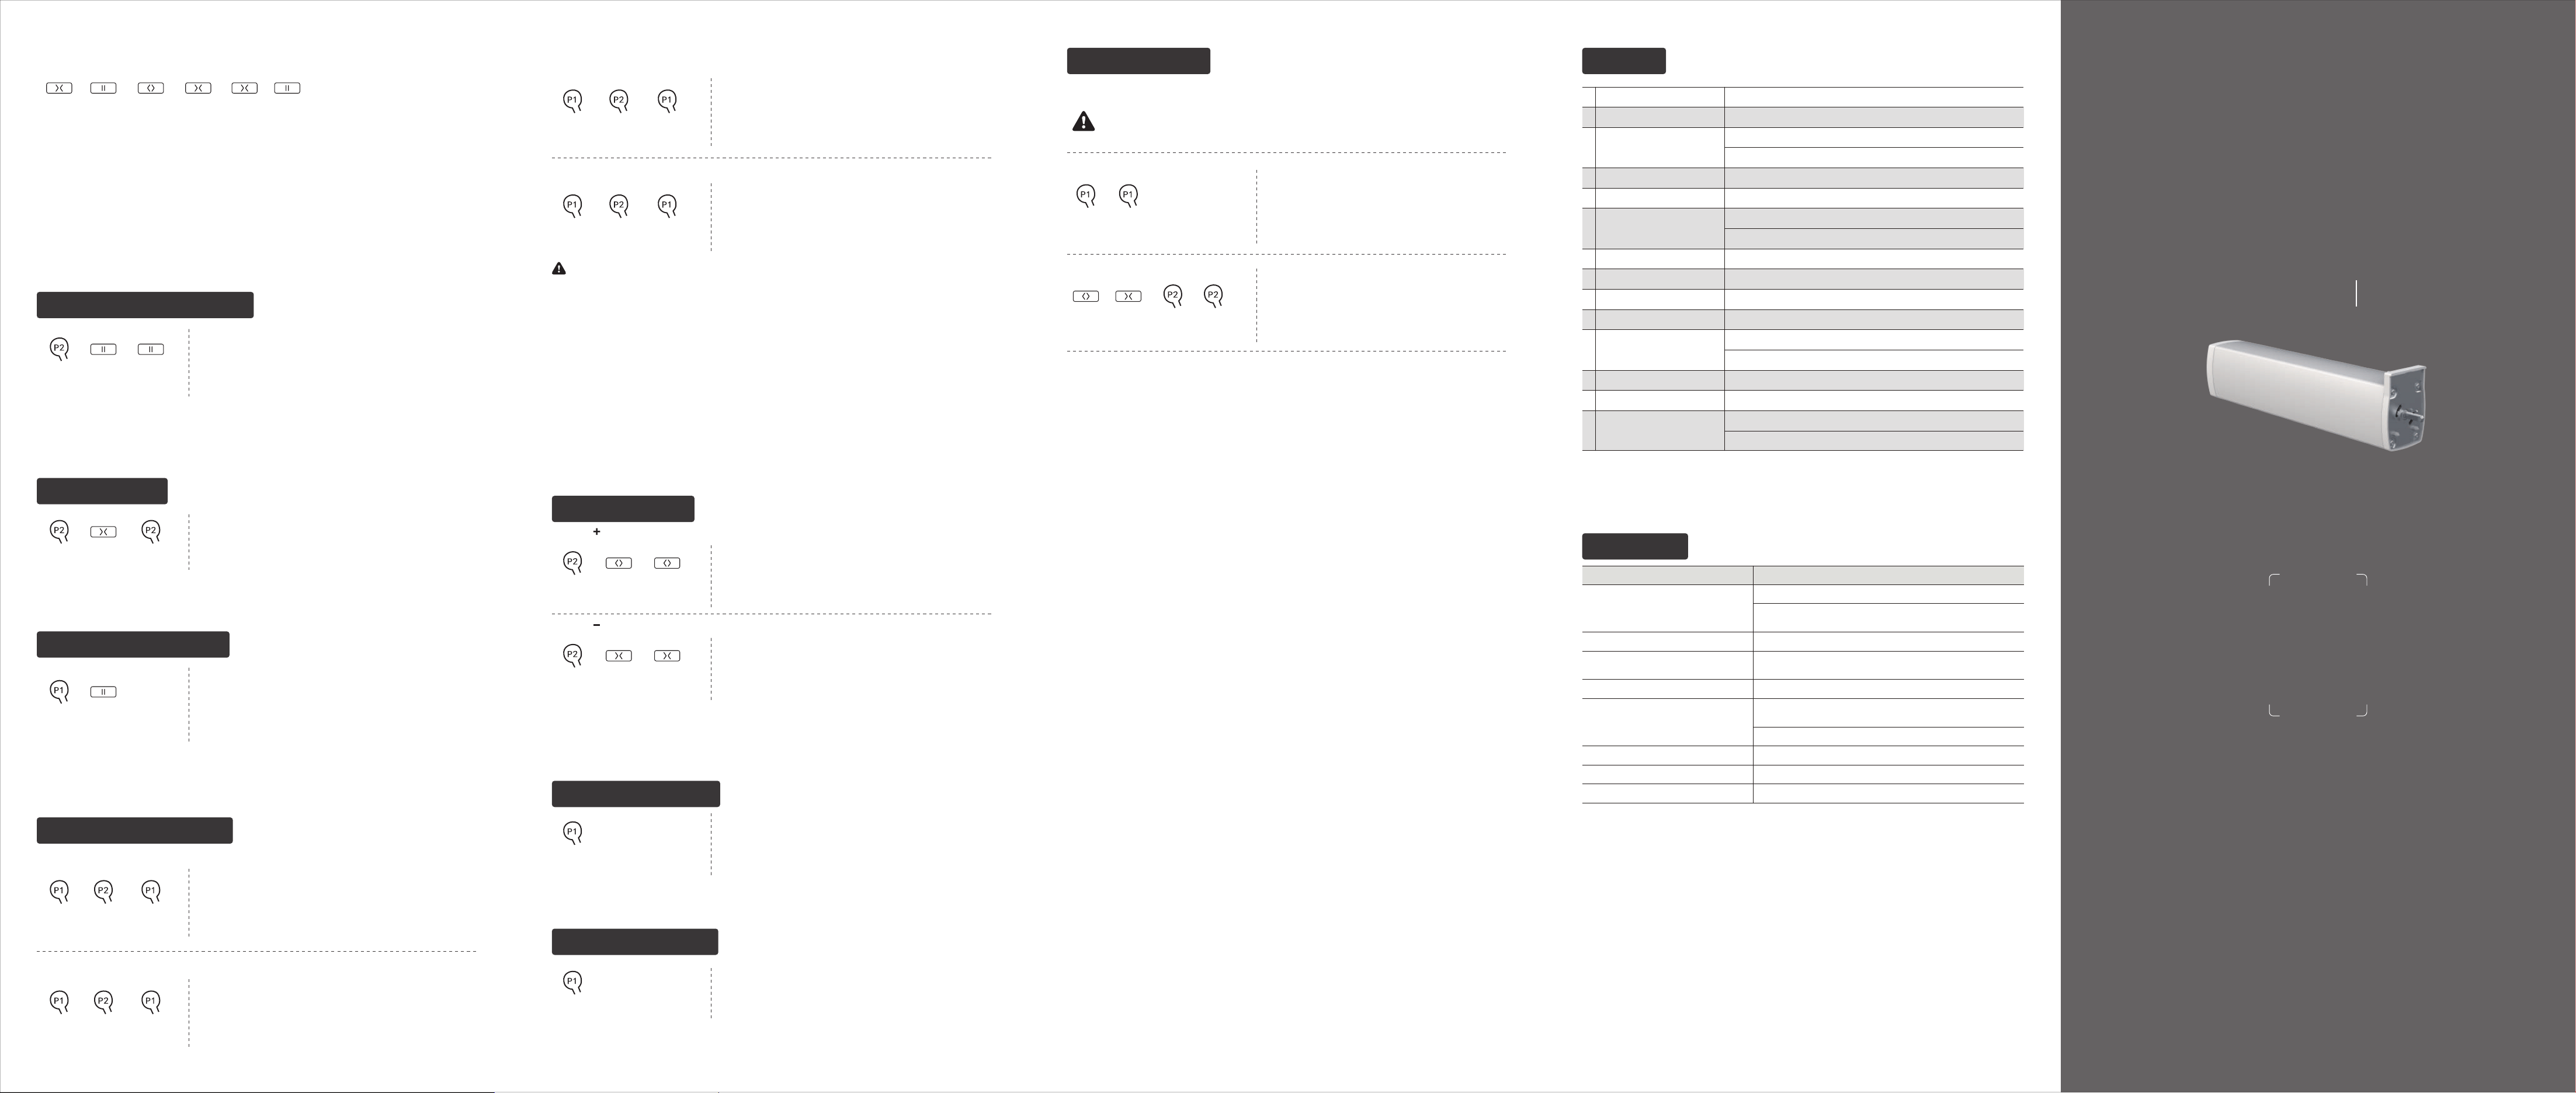
Product Introduction
P1 button
Dry contact interface
LED indicator
Antenna×2
Type-C charging port
1 Manual-set/remove the open limit
or
OPEN CLOSEOPEN
+ → →
STOP OPEN
+
STOP
After setting the limits, after operating the curtains to the desired open limit position, press and hold the
OPEN and STOP buttons simultaneously for 5 seconds (1 slowly flash and 1 long beep), press OPEN or
CLOSE button or manually pull the curtain to adjust it to the desired open limit position, press and hold the
OPEN and STOP buttons simultaneously for 2 seconds (5 flashes and 3 beeps), the new open limit is set.
• Repeating this procedure will remove the open limit.
5 Manual-set/Remove the Open and Close Limits
Press P2 once (1 flash and 1 beep) and P2 once again (1 flash
and 1 beep) on the existing emitter, press P2 once on the new
emitter (5 flashes and 3 beeps), new emitter is paired to the motor.
• Repeating this procedure will delete the newly paired emitter.
→ →
P2(a) P2(a) P2(b)
* (a) as existing emitter, (b) as new emitter to pair/delete.
3 Setting Limits
→
OPEN CLOSE
Press OPEN once, the curtain will open until it stops against
obstacle, the open limit is set. Then press CLOSE once, the curtain
will close until it stops against obstacle, the close limit is set. When
both the open and close limits are set successfully, the motor LED
flashes 5 times and beeps 3 times, the limit is set successfully.
4 Pairing/Deleting Additional Emitter
Essential Settings
Step 1 to 3 must be completed to ensure proper operation.
-4-
1 Pairing
→
P1
STOP
Press and hold the P1 button for 2 seconds (1 flash), release
the button, the motor beeps once, within 10 seconds, press and
hold the STOP for 2 seconds (5 flashes and 3 beeps), new emitter
is paired to the motor.
• Repeating this procedure will delete the newly paired emitter.
* When the motor is powered on, if the emitter has not been paired, it will enter the pairing status and remain there
for 10 seconds.
Method 2
CLOSE
Press and hold the P1 button for 10 seconds, the LED will flash
3 times. After releasing the button, the motor beeps 3 times. Press
CLOSE once (5 flashes and 3 beeps), the direction is switched
successfully.
→
P1
* After the direction has been switched, the limits will be deleted and needs to be reset.
2 Switch Rotating Direction
(Optional)
Press OPEN and motor is closed, try below to switch direction.
Method 1
When the limits are not set, press and hold the OPEN and CLOSE
buttons simultaneously for 2 seconds (5 flashes and 3 beeps), the
direction is switched successfully.
+
OPEN CLOSE
Please read following points of attention carefully before setting.
Important Safety Instructions To Be Read Prior To Operation.
a OPEN
a STOP
a CLOSE
b STOP
b CLOSE
b P2 a P2
b OPEN
* A channel is the same operation as B channel.
Button Instructions
1. Don’t operate the motor when there is low voltage alarm.
①During motor operation, if the battery voltage is low, the motor will stop and beep 5 times as a reminder
to recharge.
②When the motor is plugged into the charger, the red LED will light up if the battery is low; otherwise, the
green LED will light up.
③When the battery is fully charged, the green LED will light up; when the charger is unplugged, the LED
will turn off.
2. Operation:
①Please operate the buttons within 10 seconds. The emitter will exit the setting mode if no operation is
performed within this time.
②The motor LED will flash or beep as a reminder after every setting step, please perform the next step
after the reminder.
3. Limits setting:
①After installing the curtain motor, please set the limits before usage.
②After the settings are completed, the motor retains memory. Upon each power restoration, open or
close the curtain once to restore the limits.
③After replacing the track or the curtains, please cancel the limits then reset again.
4. If the paired emitter is lost, pair a new one following the same steps.
5. Soft start and soft stop: when the curtain is running, the running speed is from slow to fast, and when it
is close to the limit position, the speed is from fast to slow, and the action is more elegant.
6. Stall detection: The motor will stop automatically when it encounters resistance during operation to avoid
accidents. If the motor encounters resistance at the same point three times in a row, use this point as the
reference point to correct the limit, but the total limit length remains unchanged.
7. One motor can store a maximum of 10 remote control channels. Once full, pairing a new channel will
overwrite the least recently used channel (in a circular manner).
Setting Notice
-1- -2- -3-
SAFETY NOTE
Do not dispose of in general waste.
Please recycle batteries and damaged electrical products appropriately.
1. This appliance can be used by children aged from 8 years and
above and persons with reduced physical, sensory or mental
capabilities or lack of experience and knowledge if they have
been given supervision or instruction concerning use of the
appliance in a safe way and understand the hazards involved.
2. Children shall not play with the appliance.
3. Cleaning and user maintenance shall not be made by children
without supervision.
4. If the supply cord is damaged, it must be replaced by the
manufacturer, its service agent or similarly qualified persons in
order to avoid a hazard.
5. WARNING: the drive shall be disconnected from its power
source during cleaning, maintenance and when replacing parts.
6. The instructions shall status that the A-weighted emission sound
pressure level of the drive is equal to or less than 70 dB(A),
e.g. by writing LpA ≤ 70 dB(A).
7. The mass and the dimension of the driven part shall be
compatible with the rated torque and rated operating time.
8. The type of driven part the drive is intended for.
9. WARNING: Important safety instructions. It is important for the
safety of persons to follow these instructions. Save these
instructions.
10. Do not allow children to play with fixed controls. Keep remote
controls away from children.
11. Frequently examine the installation for imbalance and signs of
wear or damage to cables and springs. Do not use if repair or
adjustment is necessary.
12. Watch the moving shutter and keep people away until the
shutter is completely closed.
13. WARNING: Important safety instructions. Follow all instructions,
since incorrect installation can lead to severe injury.
14. Before installing the drive, remove any unnecessary cords and
disable any equipment not needed for powered operation.
15. This appliance is not intended for use by persons (including
children) with reduced physical, sensory or mental capabilities, or
lack of experience and knowledge, unless they have been
given supervision or instruction concerning use of the appliance
by a person responsible for their safety.
16. Children should be supervised to ensure that they do not play
with the appliance.
17. Disconnect the drive from the supply or switch off the automatic
controls when maintenance, such as window cleaning, is being
carried out in the vicinity.
DT82LEU/MT
Instruction A-00
P2
→ →
P1 P1
P2
→ →
P1 P1
Press and hold the P1 button for 10 seconds, the LED will flash
3 times. After releasing the button, the motor beeps 3 times, press
P2 button 3 times (3 flashes and 3 beeps), then press and hold the
P1 button for 2 seconds (5 flashes and 3 beeps), the mode is
switched successfully.
• Dual pushbutton switch mode:
Press the open button of the switch once, the curtains will open, press it again, the curtains will stop;
Press the close button of the switch once, the curtains will close, press it again, the curtains will stop.
• Dual button interlock switch mode:
Press the open button of the switch once, the curtains will open, release button, the curtains will stop;
Press the close button of the switch once, the curtains will close, release button, the curtains will stop.
• Three button electronic switch mode:
Press the open button of the switch once, the curtains will open; Press the close button of the switch
once, the curtains will close; Press the stop button of the switch once, the curtains will stop.
• Single button cycle switch mode:
Press the open/close button once, the curtains will open; Press once again, the curtains will stop; Press
once again, the curtains will close; Press once again, the curtains will stop.
Wiring method: Red wire=STOP wire (only applicable to three button electronic switch);
Black wire=Common wire (COM); Yellow wire=open wire(OPEN); Green wire=close wire(CLOSE).
Press and hold the P1 button for 10 seconds, the LED will flash
3 times. After releasing the button, the motor beeps 3 times, press
P2 button 4 times (4 flashes and 4 beeps), then press and hold the
P1 button for 2 seconds (5 flashes and 3 beeps), the mode is
switched successfully.
3 Three button electronic switch mode
4 Single button cycle switch mode
Press and hold OPEN and CLOSE button simultaneously
for 5 seconds (1 flash and 1 beep), press P2 once (1 flash
and 1 beep), then press P2 once again (3 flashes and
3 beeps), then Matter has been reset and triggered into the
pairing mode, at this moment, the LED for module flashes
rapidly.
P2
→
P2
→+
CLOSEOPEN
2 Matter pairing
Please complete the Matter pairing process within 15 minutes.
Please scan the Matter QR code on the first page of the instruction or enter the setup code to start the
pairing process.
Method 2
→
P1 P1
Method 1
Press and hold P1 button for 2 seconds (1 flash), release
P1 button, the motor beeps once. Within 4 seconds, press
P1 button once again, the LED of motor will flash 3 times
and beep 3 times, then Matter has been reset and triggered
into the pairing mode, at this moment, the LED for module
flashes rapidly.
Note:
* The Matter pairing mode will be valid for 15 minutes.
* Entering the Matter pairing mode will invalidate the existing Matter controller, even if the
new pairing fails or times out.
1 Enter Matter pairing mode/Matter Reset
13 Matter Operations
Radio Emitter Function
P1 (press for 6s)
Speed Regulation
Reset to Factory Mode
P1 (press for 14s)
Low-voltage Switch Modes
P1 (press for 10s) → P2 → P1 (press for 2s)
Settings Steps
Pairing
Switch Rotating Direction
Setting Limits
Manual-set/Remove the Open
and Close Limits
Pairing/Delete Additional Emitter
P1 (press for 2s) → Stop
P1 (press for 10s) → Close
Open + Close
P2 → Stop → Stop
P2 → Close → P2
Open + Stop → Open / Close / Manually
pull the curtain → Open + Stop
Add/Delete Preferred Position
Run/Stop By Pulling Fabric
Remove All Limits
P1 (press for 10s) → Stop
1 Manual-set/remove the open limit
Close + Stop → Open / Close / Manually
pull the curtain → Close + Stop
2 Manual-set/remove the close limit
Open → Close
P2 → Open → Open
P2 → Close → Close
Open + Close → P2 → P2
P1 (press for 2s) → P1
11
10
12
Enter Matter pairing mode/Matter Reset
13
9
6
3
5
2
1
7
8
4 P2(a) → P2(a) → P2(b)
2 Speed
-
setting
1 Speed
+
setting
-5- -6- -7- -8-
* Press and hold the STOP for 2 seconds, the motor moves to the preferred position automatically and stop.
After setting the limits, the motor moves to the desired preferred
position. Press P2 once (1 flash and 1 beep), press STOP once
(1 flash and 1 beep), press STOP once again (5 flashes and
3 beeps), the preferred position is set.
• Repeating this procedure will delete the preferred position.
* After entering the adjusting mode, the hand pull start function is disabled, and it is restored after exiting the
adjusting mode. If the new limit position is not confirmed within 2 minutes, the motor will automatically exit the
setting status and the limit position will remain unchanged.
2 Manual-set/remove the close limit
or
OPEN CLOSECLOSE CLOSE
+ → →
STOP
+
STOP
After setting the limits, after operating the curtains to the desired close limit position, press and hold the
CLOSE and STOP buttons simultaneously for 5 seconds (1 slowly flash and 1 long beep), press OPEN or
CLOSE button or manually pull the curtain to adjust it to the desired close limit position, press and hold the
CLOSE and STOP buttons simultaneously for 2 seconds (5 flashes and 3 beeps), the new close limit is set.
• Repeating this procedure will remove the close limit.
P2
→ →
STOP STOP
6 Add/Delete A Preferred Position
* The run/stop by pulling fabric function is enabled by default.
8 Run/Stop By Pulling Fabric
7 Remove All Limits
→
P1
STOP
P2
→ →
P2
CLOSE
Press P2 once (1 flash and 1 beep), press CLOSE once (1 flash
and 1 beep), and press P2 once again (5 flashes and 3 beeps),
all limits are removed.
Press and hold the P1 button for 10 seconds, the LED will flash
3 times. After releasing the button, the motor beeps 3 times, press
STOP once (5 flashes and 3 beeps), the Run/Stop by pulling fabric
function is disabled.
• Repeating this procedure will enable the run/stop by pulling fabric.
P2
9 Low-voltage Switch Modes
1 Dual pushbutton switch mode (Factory default)
Press and hold the P1 button for 10 seconds, the LED will flash
3 times. After releasing the button, the motor beeps 3 times, press
P2 button once (1 flash and 1 beep), then press and hold the P1
button for 2 seconds (5 flashes and 3 beeps), the mode is switched
successfully.
→ →
P1 P1
P2
Press and hold the P1 button for 10 seconds, the LED will flash
3 times. After releasing the button, the motor beeps 3 times, press
P2 button twice (2 flashes and 2 beeps), then press and hold the
P1 button for 2 seconds (5 flashes and 3 beeps), the mode is
switched successfully.
→ →
P1 P1
2 Dual button interlock switch mode
10 Speed Regulation
P2
→ →
OPEN OPEN
Press P2 once (1 flash and 1 beep), press OPEN once (1 flash and
1 beep), press OPEN once again (5 flashes and 1 long beep), the
motor running speed is accelerated. When the motor is at the Max.
speed, the motor will beep twice and the LED will flash quickly 10
times after the last operation.
P2
→ →
CLOSE CLOSE
Press P2 once (1 flash and 1 beep), press CLOSE once (1 flash and
1 beep), press CLOSE once again (5 flashes and 1 long beep), the
motor running speed is decelerated. When the motor is at the Min.
speed, the motor will beep twice and the LED will flash quickly 10
times after the last operation.
* The motor has 3 speed levels with a tolerance of 10% max, the Max. speed: 100r/min; the Med. speed: 80r/min;
the Min. speed: 50r/min. If no limits, the speed defaults is 50r/min. If with limits, the speed defaults is 100r/min.
2 Speed setting
1 Speed setting
P1
12 Reset to Factory Mode
Press and hold the P1 button for 14 seconds, the LED will flash
8 times and the motor will beep 4 times, the motor clears all settings
and reset to factory status.
P1
11 Radio Emitter Function
Press and hold the P1 button for 6 seconds, the LED will flash
twice. After releasing the button, the motor beeps twice, the radio
emitter function is disabled. Short press P1 button to enable the
radio emitter function.
Troubleshooting
Issues Solution
The emitter cannot control the motor
b. Check if the battery level of the emitter is sufficient.
If the battery level is low, please replace the battery in a timely manner
Replace the wire sequence of the switch
Check if the connecting wires between the external switch and the
motor are properly connected
External switch reverse
External switch cannot control the motor
a. Check whether the direction of the emitter and switch is reversed.
If it is reversed, please follow the “Switch Rotation Direction”
b. Remove limits and reset set limit position
Remove limits and reset set limit position and boundary
The curtains can't close together
Emitter reverse
Curtains always hit or go to the side
Set limit position and boundaryHand pull curtains will get stuck
Check the fixing screws on the upper and lower covers of the trackThe motor against obstacle not stop
Please follow the “Switch Rotation Direction”
a. Check if the emitter pairing
Quick Index

Caution:
This device complies with Part 15 of the FCC Rules. Operation is subject to the following two conditions: (1) this device may not cause harmful interference. (2) this device must accept any interference
received, including interference that may cause undesired operation.
Changes or modifications not expressly approved by the party
responsible for compliance could void the user's authority to operate the
equipment.
This equipment has been tested and found to comply with the limits for
a Class B digital device, pursuant to part 15 of the FCC Rules. These
limits are designed to provide reasonable protection against harmful
interference in a residential installation. This equipment generates
uses and can radiate radio frequency energy and, if not installed and
used in accordance with the instructions, may cause harmful interference
to radio communications. However, there is no guarantee that interference
will not occur in a particular installation. If this equipment does cause
harmful interference to radio or television reception, which can be
determined by turning the equipment off and on, the user is encouraged
to try to correct the interference by one or more of the following
measures:
—
Reorient or relocate the receiving antenna.
—
Increase the separation between the equipment and receiver.
—
Connect the equipment into an outlet on a circuit different from that
to which the receiver is connected.
—
Consult the dealer or an experienced radio/TV technician for help.
MPE Reminding
To satisfy FCC RF exposure requirements, a separation distance of 20 cm or more should be maintained between the antenna of this device and persons during device operation.
To ensure compliance, operations at closer than this distance is not recommended.