MT0001
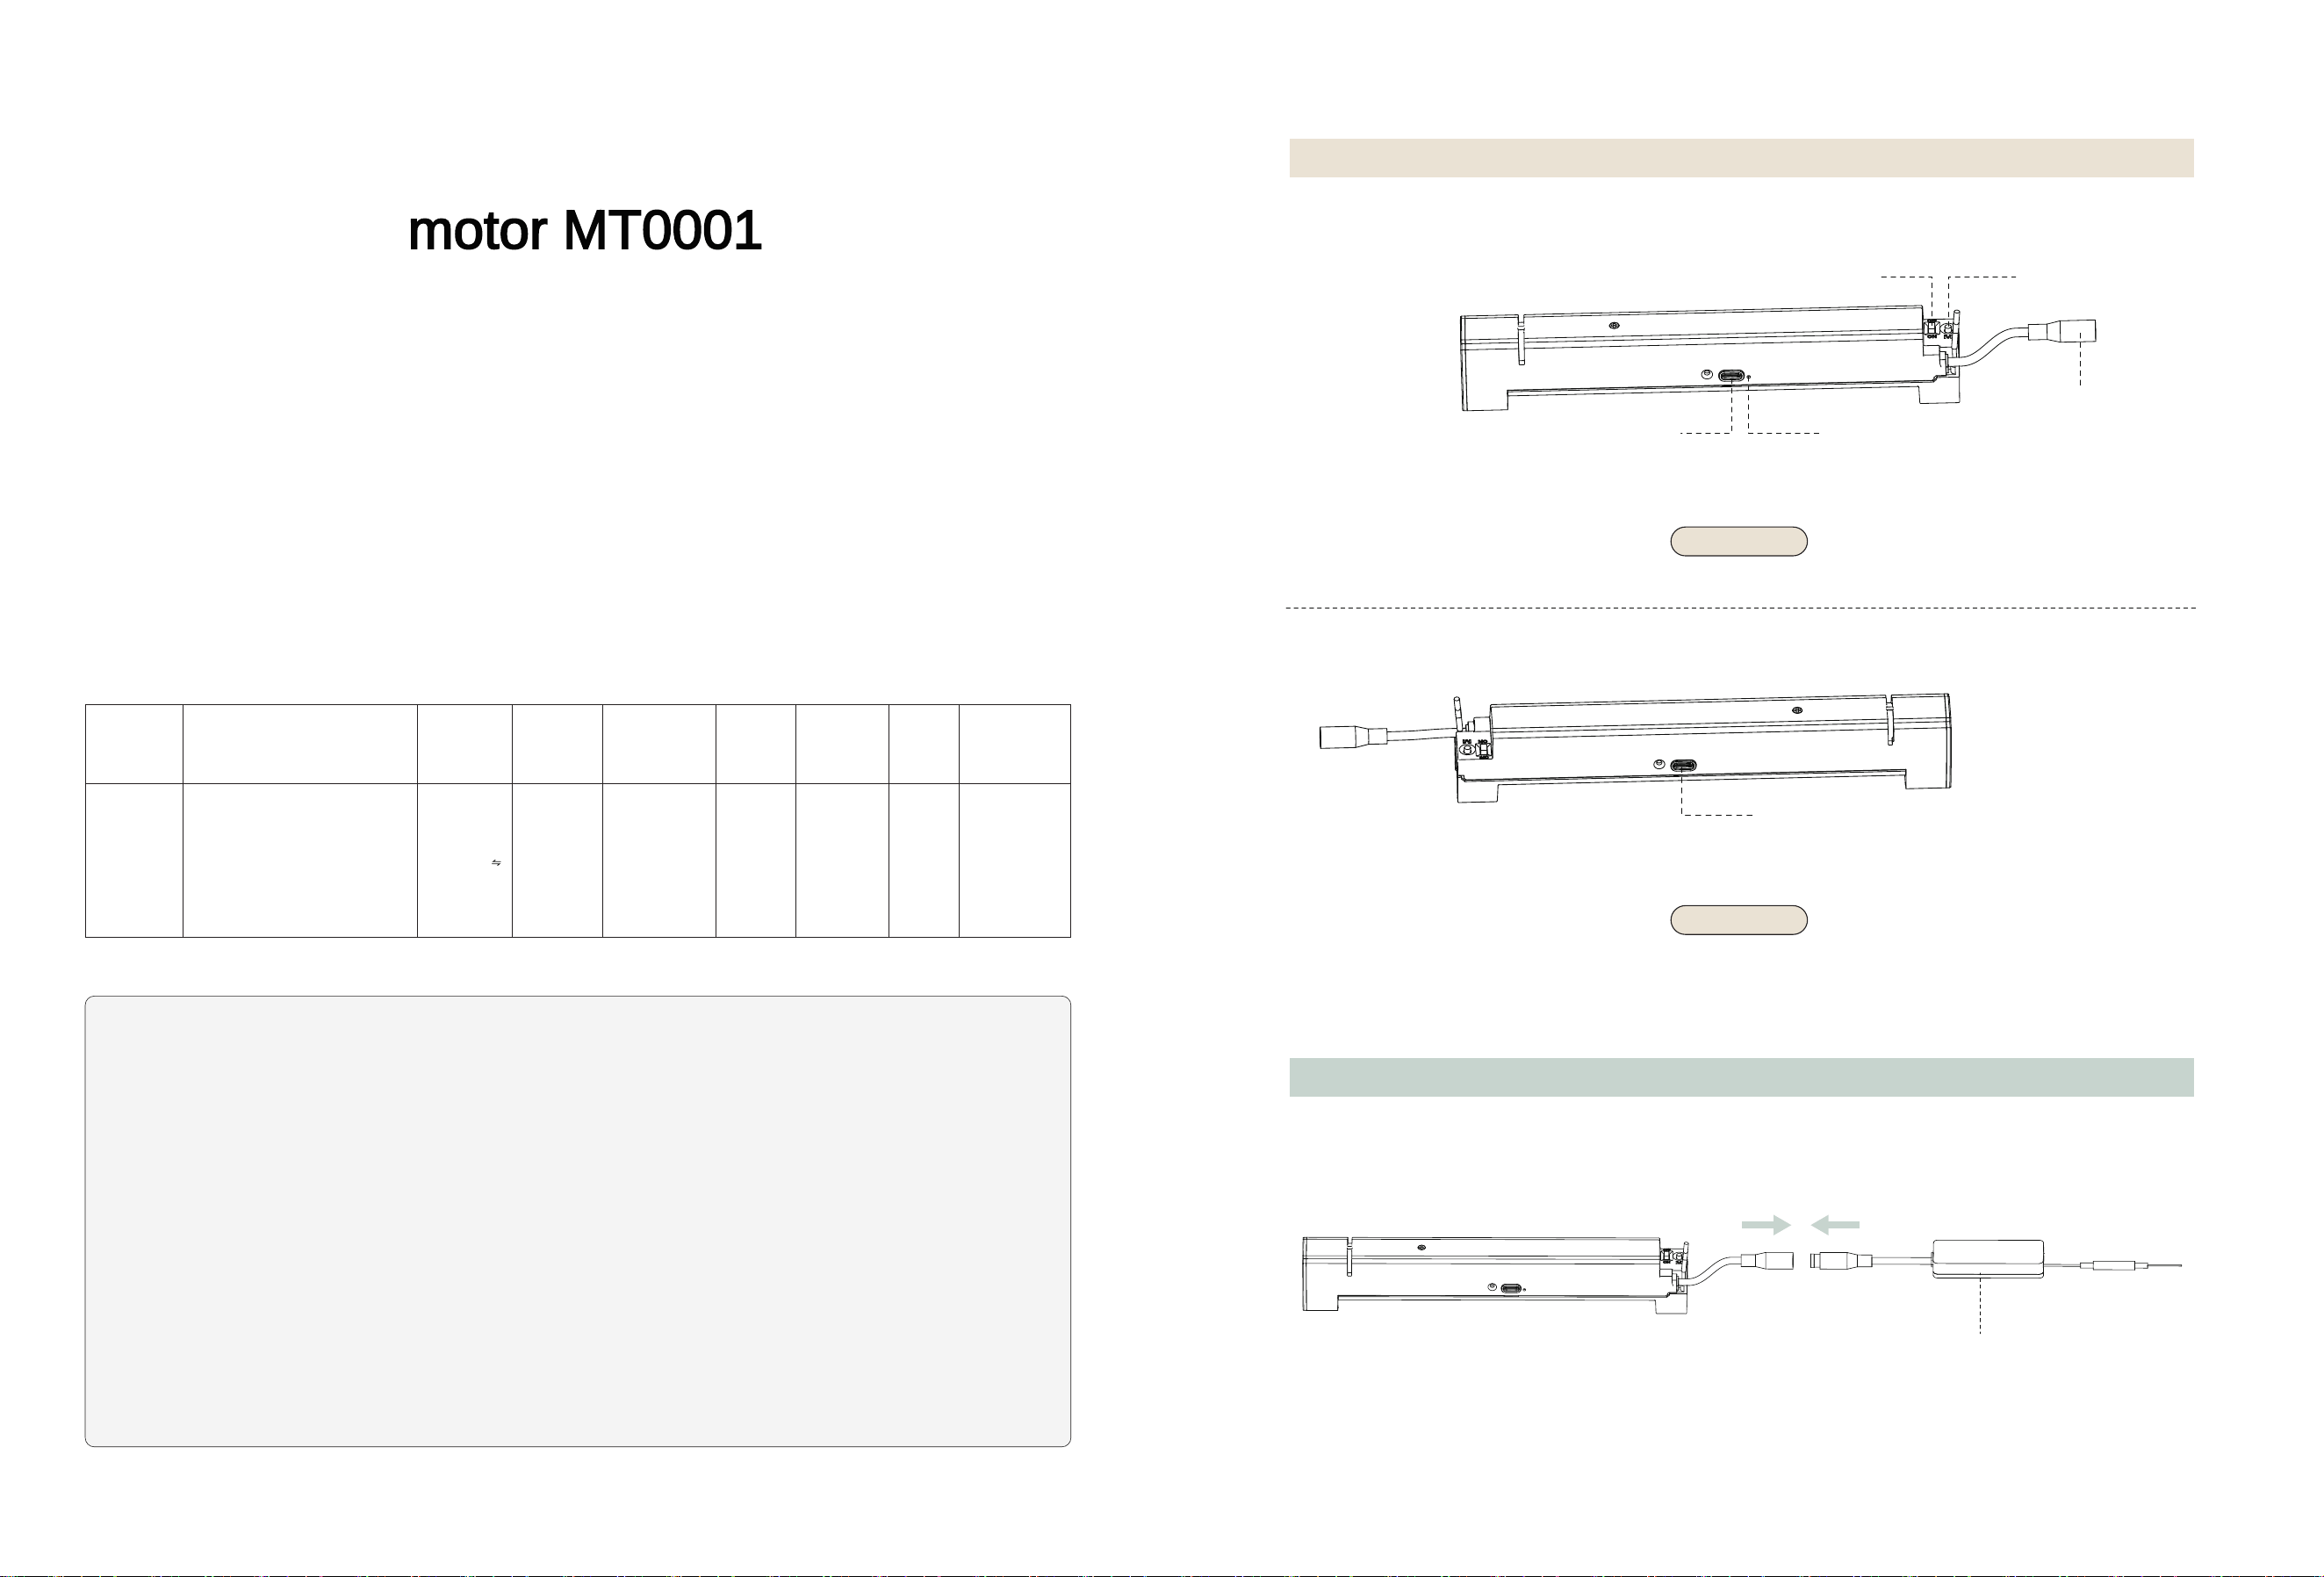
Structure Diagram
Expandable Smart Control Options
USB-C Charging Port
(Compatible with PD fast charging)
USB-C Charging Port
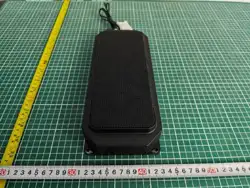
(Solar panel ready)
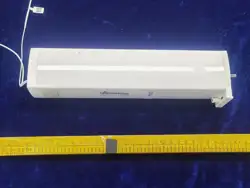
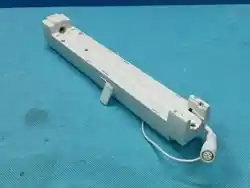
motor MT0001
Quick Start Guide
5.99.02.0147 A/00
FCC Caution:
This device complies with part 15 of the FCC Rules. Operation is subject to the following two conditions: (1) This device may not
cause harmful interference, and (2) this device must accept any interference received, including interference that may cause
undesired operation.
Any changes or modifications not expressly approved by the party responsible for compliance could void the user's authority to
operate the equipment.
NOTE:
This equipment has been tested and found to comply with the limits for a Class B digital device, pursuant to Part 15 of the FCC
Rules. These limits are designed to provide reasonable protection against harmful interference in a residential installation. This
equipment generates, uses and can radiate radio frequency energy and, if not installed and used in accordance with the
instructions, may cause harmful interference to radio communications. However, there is no guarantee that interference will not
occur in a particular installation.
If this equipment does cause harmful interference to radio or television reception,
which can be determined by turning the equipment off and on, the user is encouraged to try to correct the interference by one or
more of the following measures:
-- Reorient or relocate the receiving antenna.
-- Increase the separation between the equipment and receiver.
-- Connect the equipment into an outlet on a circuit different from that to which the receiver is connected.
-- Consult the dealer or an experienced radio/TV technician for help.
The device has been evaluated to meet general RF exposure requirement. The device can be used in portable exposure condition
without restriction.
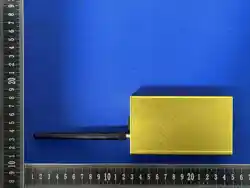
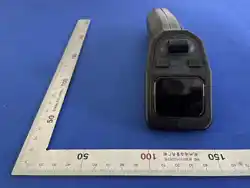
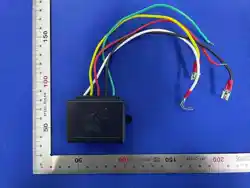
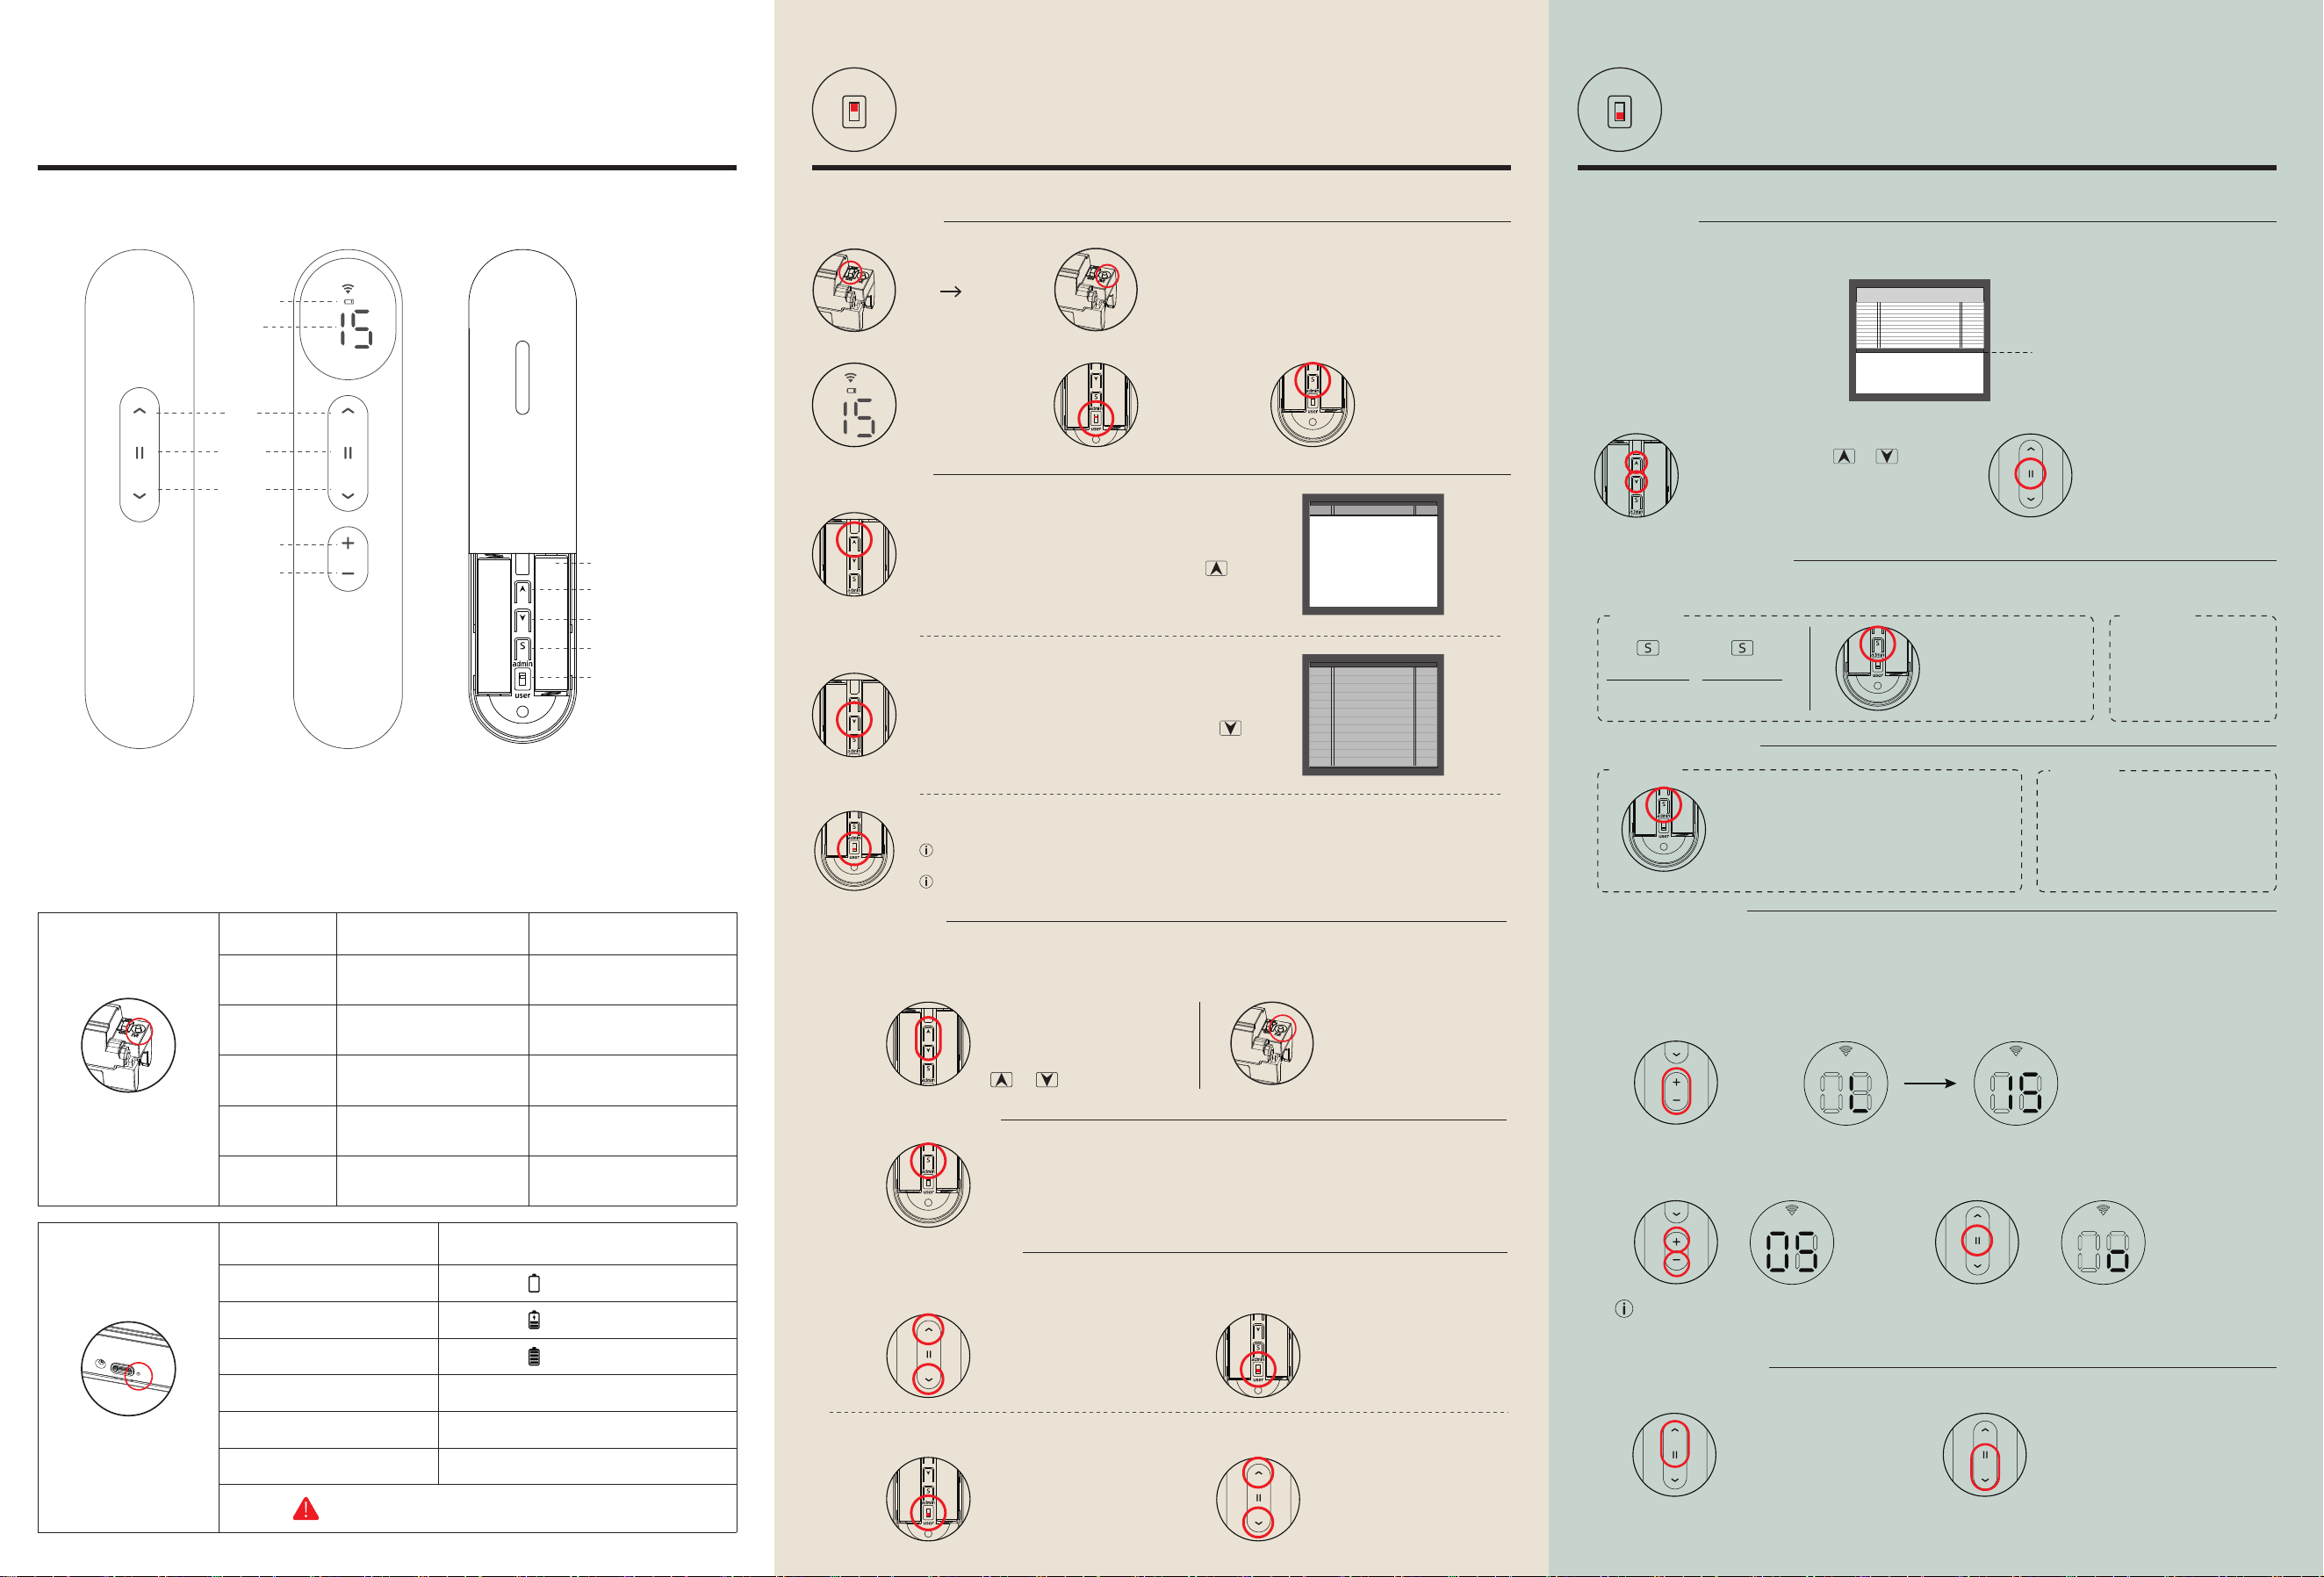
Smart module
Front
M Key
Module connection cable
Motor Indicator Light
Back
MT0001 433MHz
0-40℃4W25Rpm
USB-C
5V/2A
0.4N.m
Radio Control,Wireless Remote
Control, Electronic Limit,
Memorized Setting, Stall
Protection, Speed Regulation,
Third Limiting Site, Built-in
Lithium Battery, Wireless Signal
Encryption
Wireless
Frequency
Main
Features
The Rated
Torque
Output Rotary
Speed
Rated
Power
Working
Temperature
Main
Parameter
Battery
Charging
Voltage
Li-ion 3.6V
2500mAh
Power Switch
user
admin
user
admin
Indicator Light
Functional Specifications
Indicator Status Reason
Charging>90%
Low Battery
In The Charging
Operation
Repeated
Short Press
Press For 2”
Press For 5”
Press For 10”
Press For 15”
Moto”M”key
Functional
Specifications
The Motor Feedback
Motor Rotation
The First Times
Motor Rotation The First Times
Green Light Flashing Slowly
Motor Rotation The Second Time
Green Light Flashing Rapidly
Motor Rotation
The Third Time
Motor Rotation
The Fourth Time
Motor Reversing
Restore The Factory
Function
The Motor Enters
The Matching State
The Motor Enters The Matching State
The user can proceed normally, Operation and use, will not be
wrong operation of the motor
“user” mode
1. Favorite Point
In “admin” mode, Remote channel shows slow flash,
Channel "00" invalid
“admin” mode
4.Delete Remote matches
“S”Press 5 times,motor rotation once.
Deleting completed
Users need to set a common shading effect, As the chart below shows.This position can be set to the Favorite point.
Motor and Remote Description
The Motor Enters
The Network Configuration Mode
The Motor Enters
The Network Configuration Mode
Emergency Switch
Charge it at least every 6 months to make sure it works
Charging Green Light On
Red Light Flashes
Charging Red Light On
STEP 2
press the motor "M" button for 2”
The motor rotates back and forth once
The motor enters the matching state,
(Valid for 60 seconds)
Select the
channel you
want to match
③
Long press "S" for 2”
The motor will rotate
back and forth once .
Match successfully
The switch
selects
"admin" mode
1. Quick Matching
②①
STEP 3:
STEP 1
Hypothesise this operation when the Shade runs in the opposite direction to the transmitter button. Only
dual motor reversing at the same time! If only the direction of a pair of Shades is opposited, the
direction of winding rope needs to be modulated.
+
3.Motor Reversing
Press M key 10”motor
rotation the third time
Method 2Method 1
Press both togetheruntil the
motor rotates once
To ”user” mode. Limits setup successful, normal use
In Admin mode, Shade operation will switch between inching operation and continuous operation, so
as to set the stroke more accurately
Use the front button of the transmitter to stop the
Shade at the required up travel point press for 2
seconds , motor rotation once,Upper limit is set.
Step 1: Set Upper Limits
Use the front button of the transmitter to stop the
Shade at the desired down travel point press for
2 seconds , motor rotation once,Lower limit is set.
Step 2: Set Lower Limits
2. Setting Limits
If you need to modify the route, repeat the above route setting method.
Both Hold
Until the motor jog
up one gear
Both Hold
Until the motor jog
reduced by one gear
5.Motor Speed Regulation
The running speed of the motor is three gears in total, and the default is gear 1. Slower and quieter.
Only one gear can be raised or lowered in one operation. When switching to the corresponding gear, the
number of motor rotation is the same as that of the gear
Operate the product to desired
preferred position, + press
both together for 2 seconds,motor
rotation once. Set to complete. Repeat ,
set a new favorite point.
When the Shade stops,long
press any stop button on the
front of the transmitter for 3
seconds,and run to the third
limits point.
Reserved channels can only be counted from channel 1. For example, 1-5. No support
for 3-7. Repeat the operation to adjust the final required number of channels.
One channel of transmitter controls one motor, and 15 channels control up to 15 motors. For example,
the 15 channel transmitter only uses 1-5 channels, the remaining 6-15 channels are not used and can
be hidden without display
② Use channel switch button
Select channels to keep
③ Using the Remote Control stop key
Confirm the channel to be reserved
① Remote control access channel selection
Press and hold two channel switch keys at the same time Remote Control display, “L” appears first,
then “15” words appear, then release the key
4.Remote Lock Channel
Yellow Light Flashing or Steady On
Green Light Flashing Slowly
Green Light Flashing Rapidly
Motor overload indication
(Valid only when limits unset or in admin mode)
5.Light Modulation Function
At the same time, long press for
three seconds, the motor rotates
forth and back once, the setting is
successful.
* Repeated cancellation
Short press to
modulate light
Long press 2 seconds,
run up and down
Switch to “user mode”
normal use
Switch to “user mode”
If you want to match the venetian blind curtain , You need to increase the independent light modulation
function (”admin” mode)
The used method of light modulation function (”user” mode)
Third Limiting Site
Back
Upper Confirm
Lower Confirm
“S”key
Selector Switch
AAA Dry Battery
Channel
Channel +
AC2201-15A
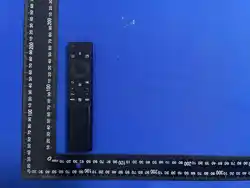
15-Channel Remote
Up
Stop
Down
Channel -
AC2201-01A
1-Channel Remote
Remote
battery level
Remote control B ,
"Quick matching"
Method 1 Method 2
2. Add a new Remote Control
Normally, Remote control A controls the motor, Remote control B also needs to control.
Press 2 times Press 1 times
A B
Press the S key once,
The motor rotates
once
3. Pair The Smart Devices
Method 1 Method 2
After the remote control is paired, in user
mode, press the S button briefly 4 times in
succession. On the 1st, 2nd, and 4th
presses, the motor rotates once each time.
The green light is blinking fast.The motor
then enters smart devieces pairing mode.
Press and hold the motor's M
setting button for 5 seconds. The
motor will rotate back and forth
twice.The green light is blinking
fast.The motor then enters smart
devieces pairing mode.
OFF ON.