www.silverstonetek.com
User manual
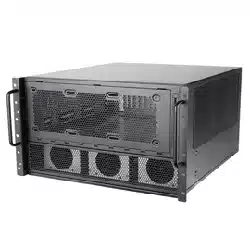
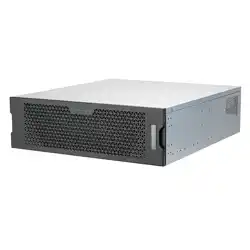
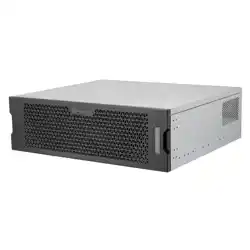
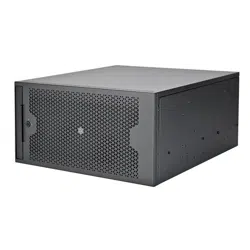
5U rackmount server chassis
with enhanced liquid cooling compatibility
RM53-502
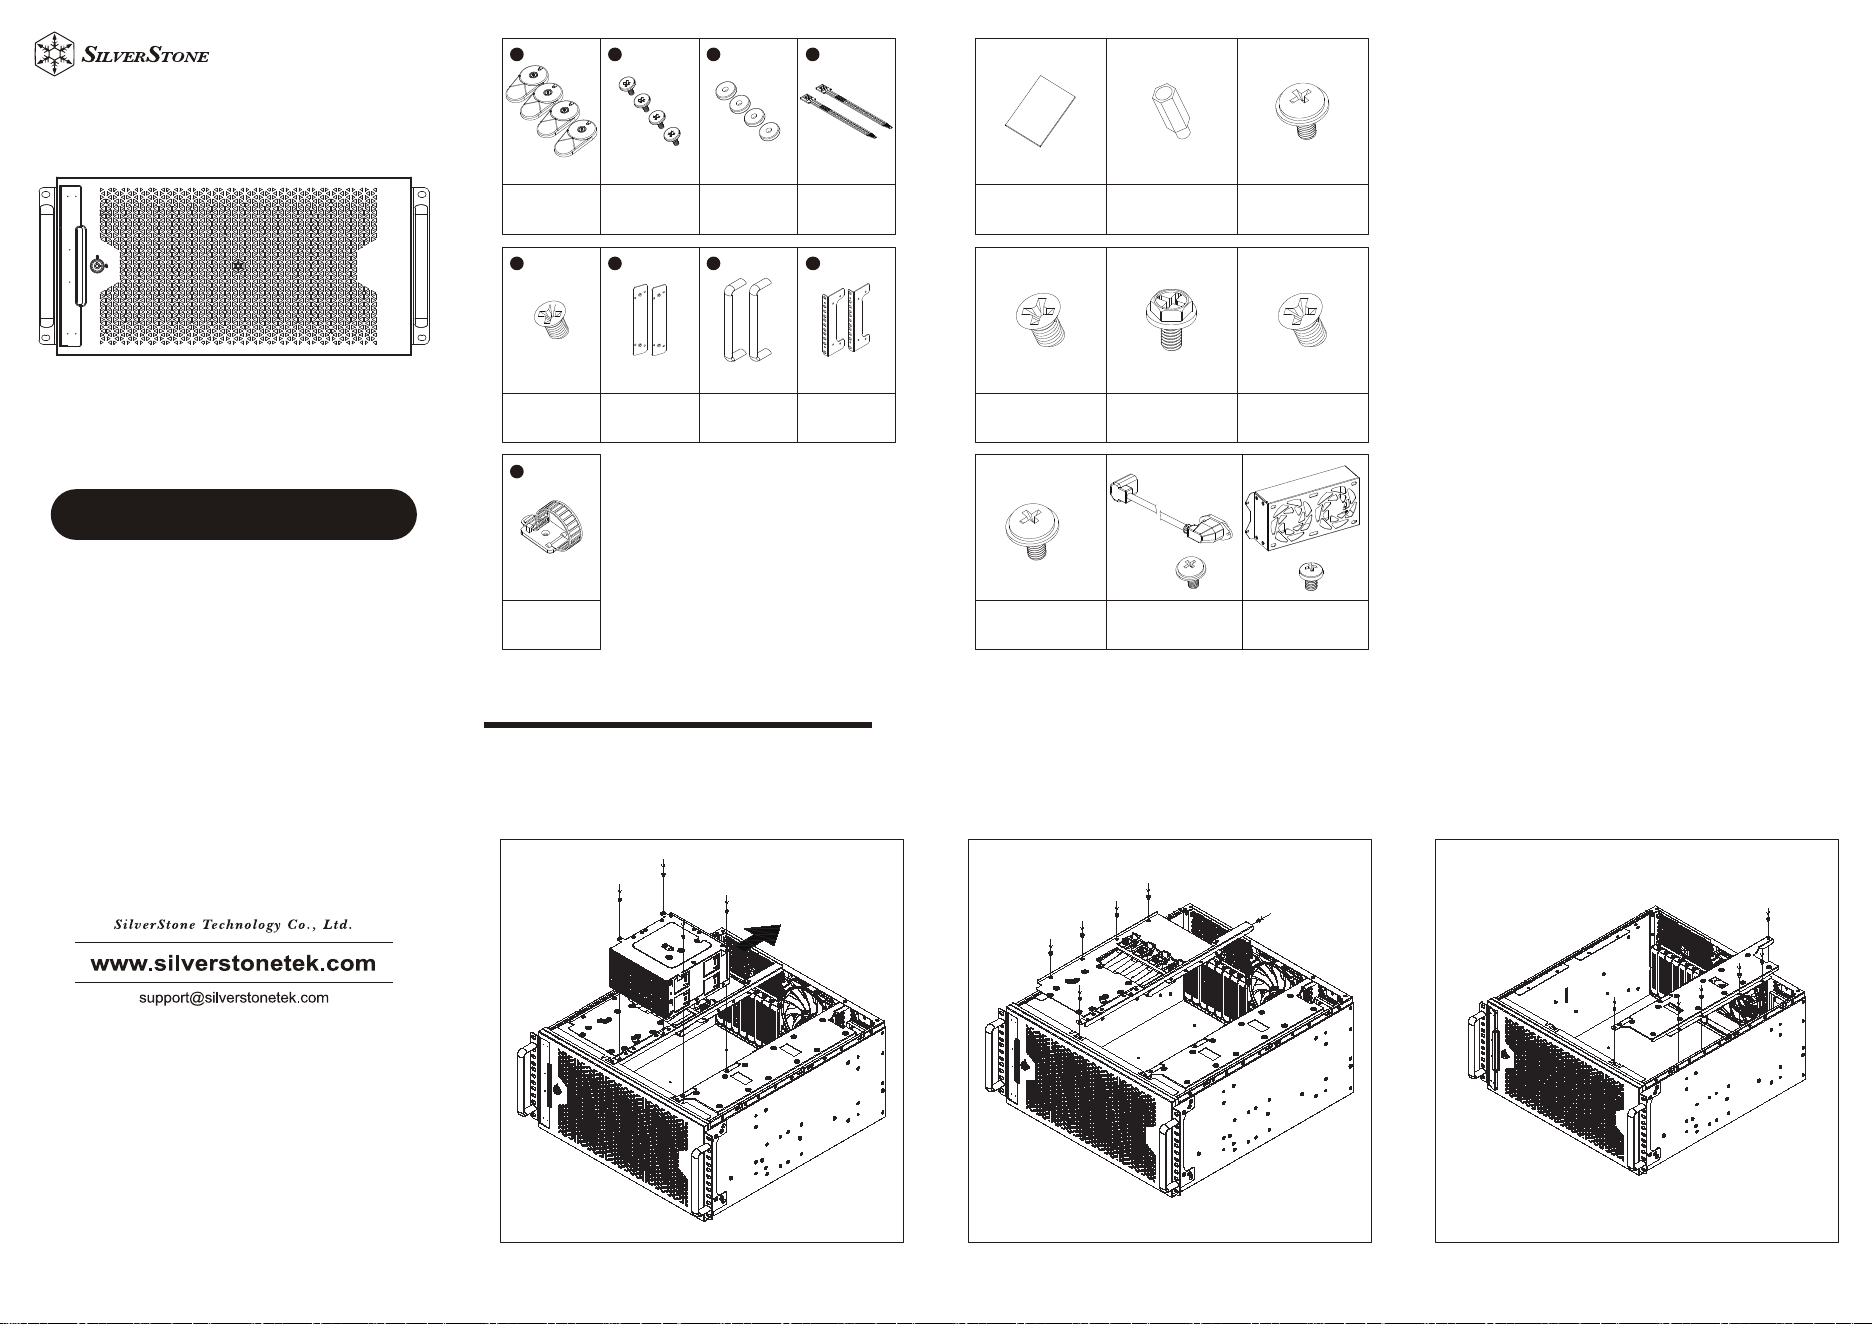
A
E
F G
H
D
I
B
C
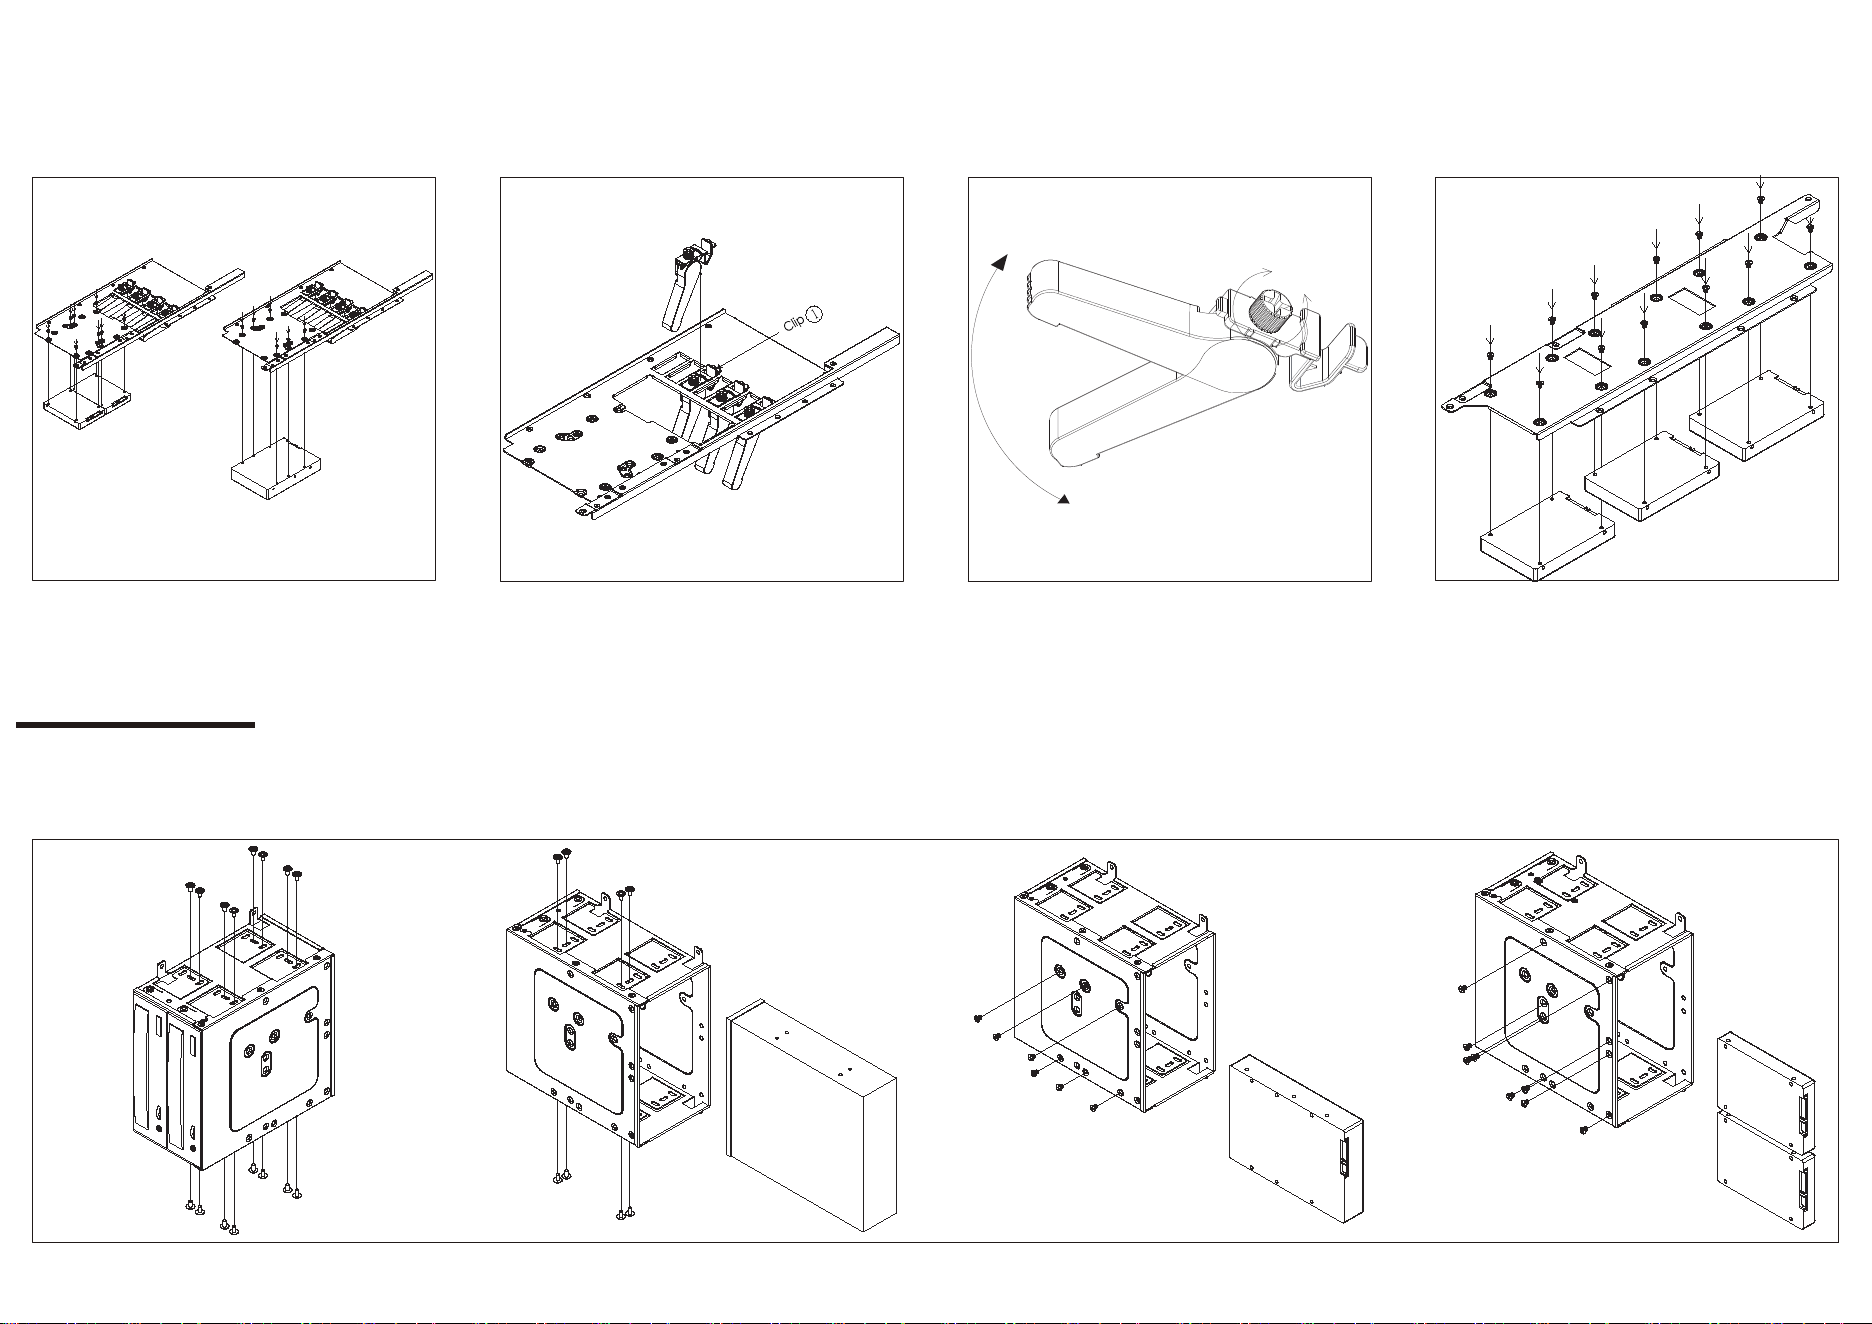
A:Foot pad B:Foot pad screw C:Foot pad rubber
E:Handlebar
bracket screws
H:L-shaped
brackets
F :Handlebar
brackets
G:Handlebars
D:Cable tie
I:Cable
management
buckle
Accessories Content
User manual
PSU mounting screws2.5” SSD screws (M3-5)
Motherboard standoff Motherboard,
5.25" Device Screw
Ǝ66'WUD\screws
3.5” HDD screws (#6-32)
C.80mm fan cage
D.Fan cage screw
$6HFRQGDU\368
extension adapter
B.Extension adapter screw
᧤$᧥ ᧤&᧥
᧤%᧥
᧤'᧥
1. Remove the four screws securing the upper 5.25" bracket, then
slide it backward to remove it
Hard Drive and Card Holder Instructions
2.Remove the screws from the top and rear to detach the left bracket 3.Remove the screws from the top to detach the right bracket
4.The left bracket can accommodate either one 3.5" hard drive or two
2.5" hard drives
5-1.Remove thumbscrews and clamps 5-2.Unfasten the captive thumbscrew(s), and adjust the angle of the clip
to best secure the graphics card in place
Tighten
Loosen
6.The right bracket can accommodate three 2.5" hard drives
1. 5.25'' Cage Compatibility
5.25'' Cage Compatibility
2.5.25'' ODD*1 3.3.5'' HDD*1 4.2.5'' SSD*2
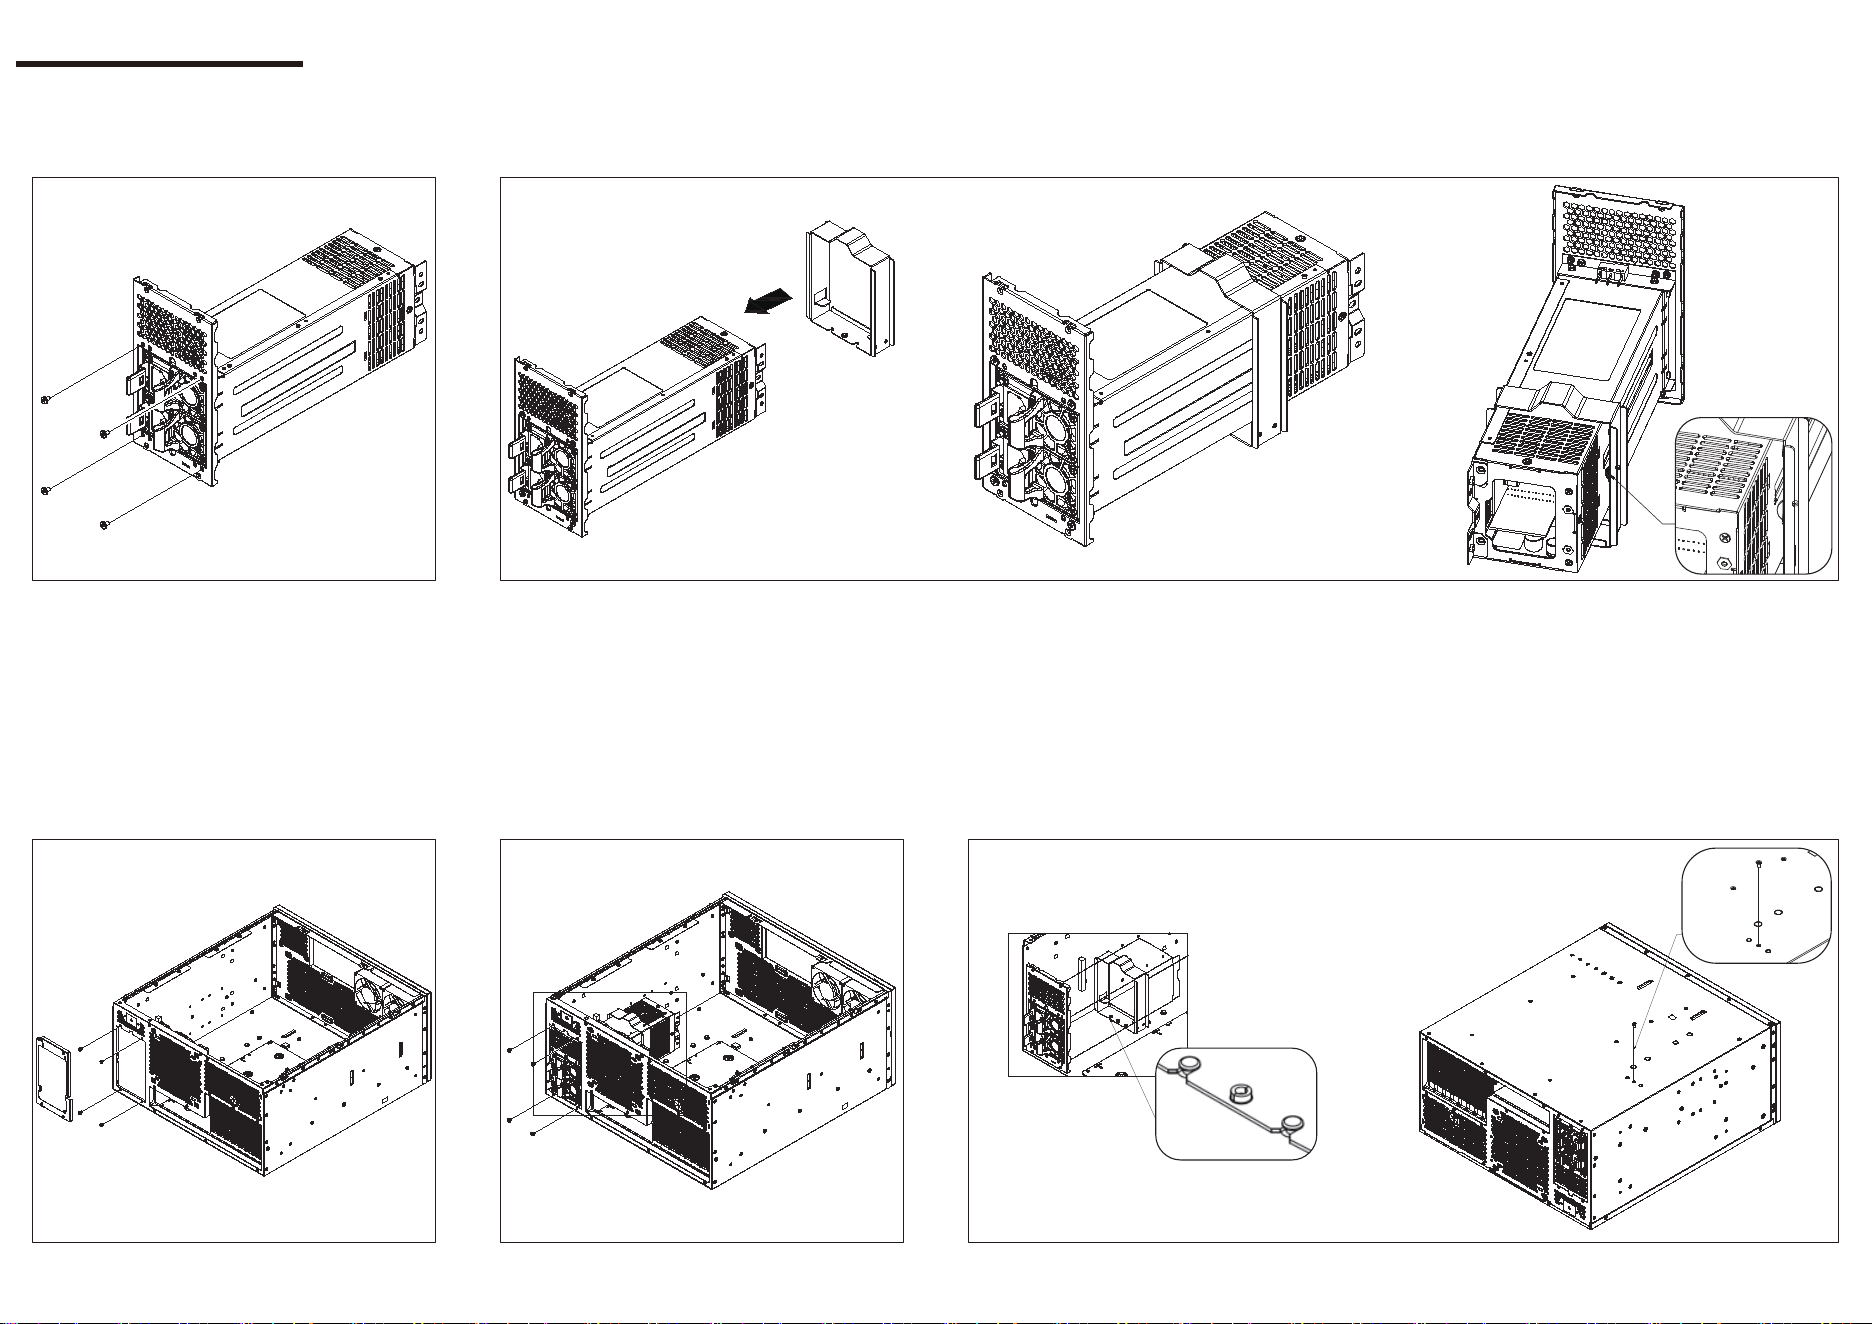
1. Secure the 2U/1+1 CRPS power backplane to the power supply.
2U/1+1 CRPS PSU Installation
Rubber
2. Slide the power supply into the mounting bracket.
If using a 1+1 CRPS power supply, attach rubber pads for additional support.
3. Remove the ATX power supply bracket. 4. Secure the assembled power supply unit.
5. Ensure the bottom of the bracket is properly aligned with the positioning post inside the chassis.
Fasten the bracket to the chassis by securing screws at the bottom.
6. When installing a 2U/1+1 CRPS power supply, SFX power supply, or a
3.5" HDD, the HDD cage cannot be used.
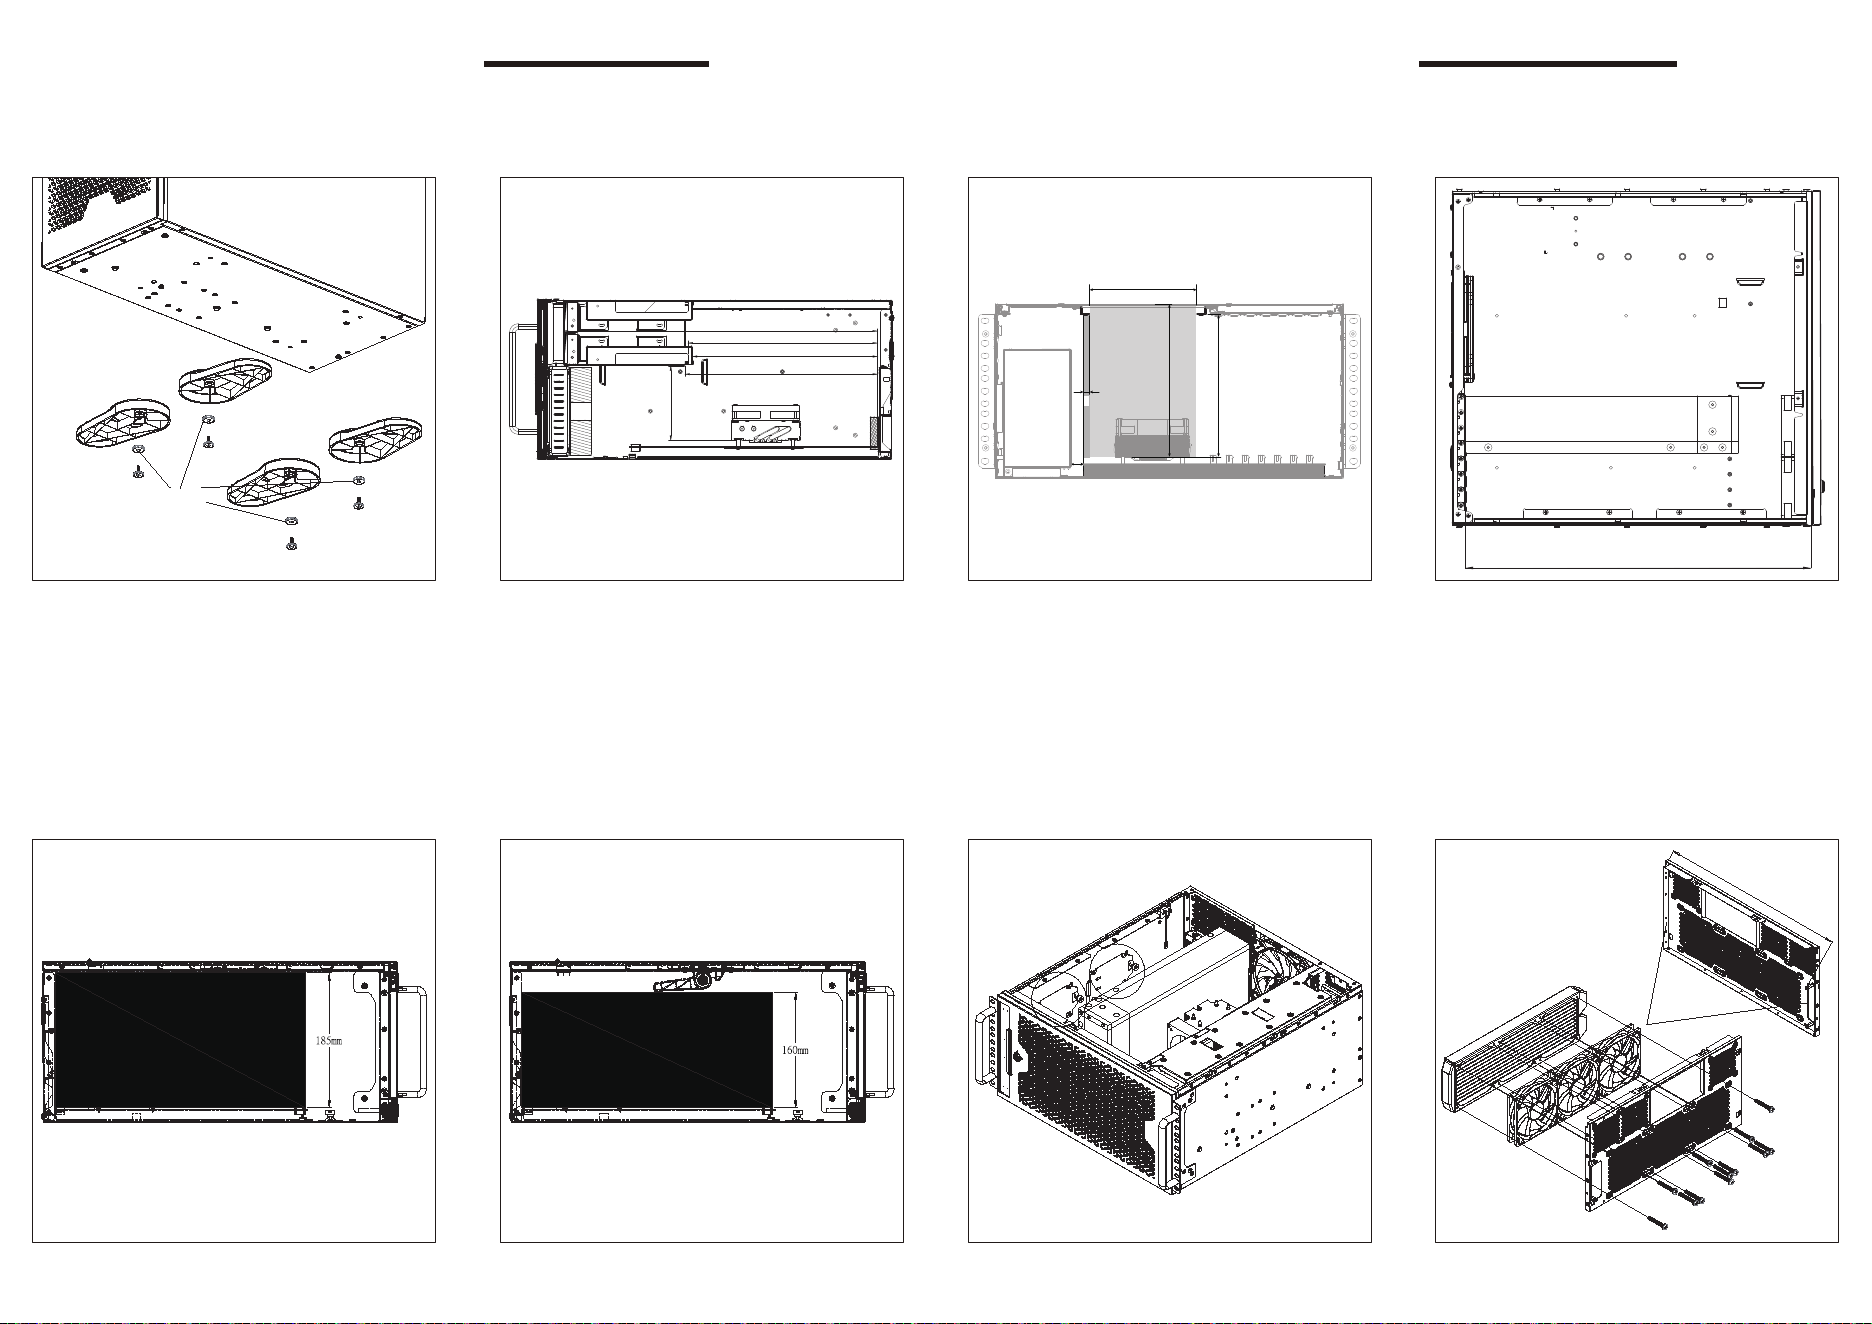
1. Remove the side mounting screws.
SFX PSU or 3.5” HDD Bracket Installation
2. Shift the cage off the buckle then remove the cage. 3. When SFX PSU bracket is installed, the depth limitation (including
adequate cable space) for the primary PSU is 219mm or 183mm.
183mm
219mm
4. Insert 3.5” HDD into the cage, align it with the mounting holes, and
secure it with screws.
5. Alternatively, place the SFX PSU into position, align it with the mounting
holes, and secure it with screws.
6. To install the SFX PSU, first remove the plate that sits on the PSU
extension adapter pass-through hole with a Phillips screwdriver.
7. Insert the extension adapter cable through the rear of the pass-through
hole, then fasten the screws.
8. Left side: Install 2.5" SSD on to 2.5" SSD trays. 9. Right side: When installing two 3.5'' HDDs, the available cable routing
space above is 47mm.
47mm
10. If a power supply is to be installed, there is 173mm of available space,
which supports SFX-L power supplies.
173mm
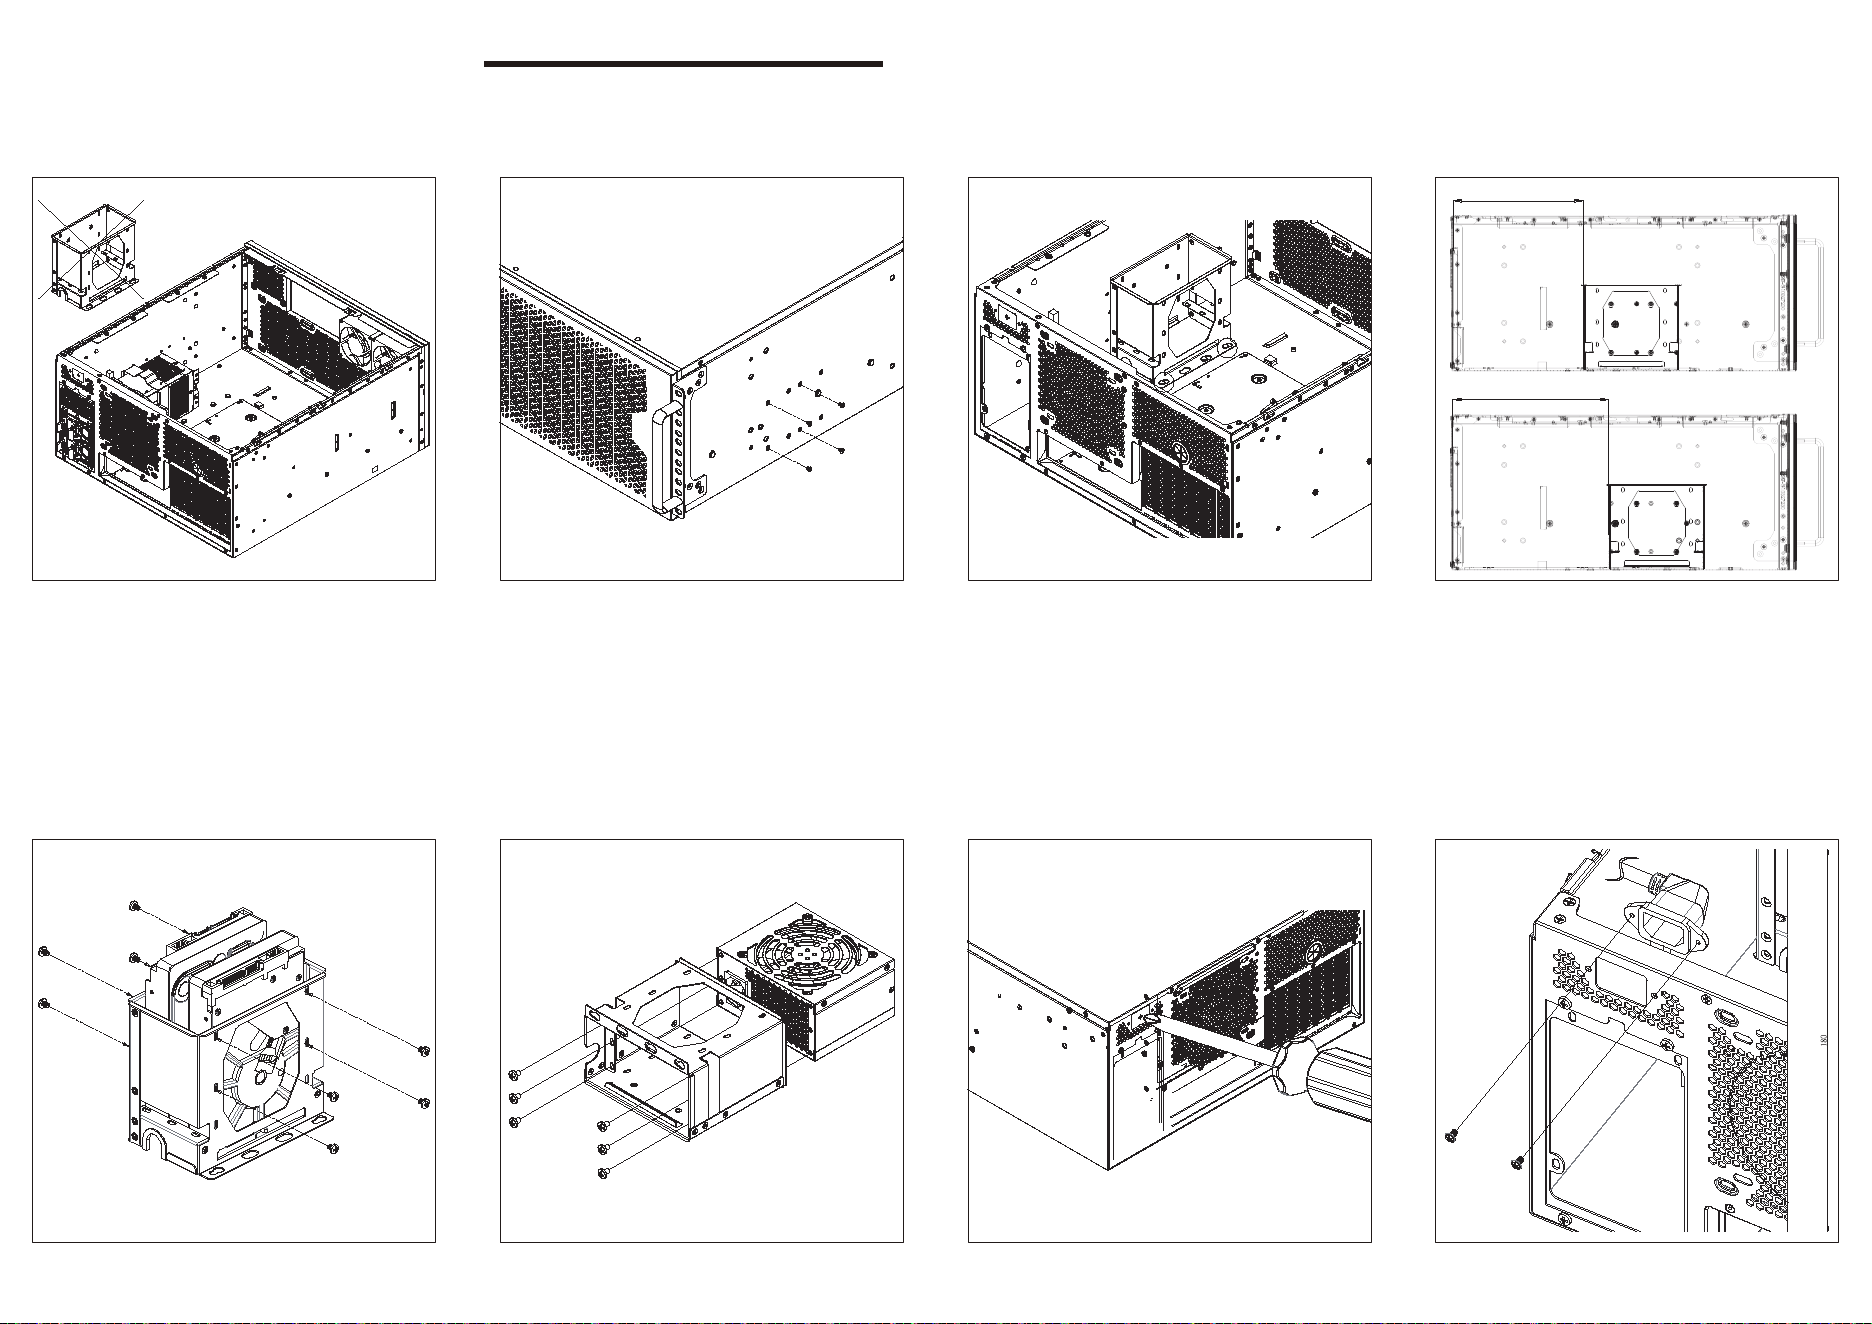
1. Install two 80mm fans onto the fan bracket
(fan thickness must not exceed 38mm)
80mm External Fan Cage Installation
2. Hook the metal clips of the fan bracket into place and mount it onto the
rear of the chassis.
Run the cable through the pass-through hole
3. Secure the fan bracket with two screws (#6-32) 1. Assemble the handle bars with the L-shaped bracket, then secure the
assembly on both sides of the chassis.
Vertical Orientation Installation
X2
2. Install handle bar onto the flat handle bar bracket.
3. Install case feet (including case feet washers)
Rubber Washer
1. If the bracket is installed, the maximum CPU cooler height is 101mm.
Distance from the rear edge of the motherboard to the front of the 5.25" bracket: 430mm
Distance from the rear edge of the motherboard to the rear of the 5.25" bracket: 263mm
Distance from the rear edge of the motherboard to the rear of the 2.5" drive: 259mm
Distance from the rear edge of the motherboard to the rear of the 3.5" drive: 253mm
CPU Cooler Limitations
Maximum 101mm
430
259
253
263
2. There is a 15mm buffer space from the power supply to the edge of the
motherboard that can be used for the cooler.
Within the 135mm-wide center area between the left and right brackets,
the maximum CPU cooler height is 192mm.
Outside of this area, the maximum supported cooler height is 178mm.
15
192
178
PSU
135
MB
8
1. The maximum length limitation for graphics cards, front panel case fans,
and radiator is 454mm
Expansion card limitations
Graphics card
Maximum 454mm
1. If the expansion card retainer is not installed, the supported width limit
for expansion cards is 185mm.
3. If the expansion card retainer or a 3.5'' HDD is installed, the supported
width limit for expansion cards is 160mm.
4. If the 8
th
expansion slot is used, the left-side 2.5'' drive tray must be
removed.
5. If the radiator length exceeds 398mm, the fan must be installed in front
of the radiator.
MAX 398mm
Warranty terms & conditions
Warranty Information
This product has a limited 1 year warranty in North America and Australia.
For information on warranty periods in other regions, please contact your reseller or SilverStone authorized distributor.
㦻ℶ❐呹徼㡴怆᧨ℝ₼⦌⦿◉᧤ₜ▔⚺䉂桷᧨氨䂾䔈Ⓔ嫛㟎◉᧥℺㦘㦘棟徲↊≬⦉᧤捷⒕ℶ❐ℛ᧨ₘ㒥℣᧥ᇭ
幵兕≬⦉棟庆♑䏶⸧㡈几䵨KWWSVVLOYHUVWRQHWHNFRPFQ⏻をℶ❐⨚⚆∬㗽ᇭ
3URGXFWFRPSRQHQWGHIHFWVRUGDPDJHVUHVXOWHGIURPGHIHFWLYHSURGXFWLRQLVFRYHUHGXQGHU
ZDUUDQW\'HIHFWVRUGDPDJHVZLWKWKHIROORZLQJFRQGLWLRQVZLOOEHIL[HGRUUHSODFHGXQGHU
6LOYHU6WRQH7HFKQRORJ\ಬVMXULVGLFWLRQ
D8VDJHLQDFFRUGDQFHZLWKLQVWUXFWLRQVSURYLGHGLQWKLVPDQXDOZLWKQRPLVXVHRYHUXVH
RURWKHULQDSSURSULDWHDFWLRQV
E'DPDJHQRWFDXVHGE\QDWXUDOGLVDVWHUWKXQGHUILUHHDUWKTXDNHIORRGVDOWZLQGLQVHFW
DQLPDOVHWFಹ
F3URGXFWLVQRWGLVDVVHPEOHGPRGLILHGRUIL[HG&RPSRQHQWVQRWGLVDVVHPEOHGRU
UHSODFHG
G:DUUDQW\PDUNVWLFNHUVDUHQRWUHPRYHGRUEURNHQ/RVVRUGDPDJHVUHVXOWHGIURP
FRQGLWLRQVRWKHUWKDQRQHVOLVWHGDERYHDUHQRWFRYHUHGXQGHUZDUUDQW\
8QGHUZDUUDQW\6LOYHU6WRQH7HFKQRORJ\ಬVPD[LPXPOLDELOLW\LVOLPLWHGWRWKHFXUUHQWPDUNHW
YDOXHIRUWKHSURGXFWGHSUHFLDWHGYDOXHH[FOXGLQJVKLSSLQJKDQGOLQJDQGRWKHUIHHV
6LOYHU6WRQH7HFKQRORJ\LVQRWUHVSRQVLEOHIRURWKHUGDPDJHVRUORVVDVVRFLDWHGZLWKWKHXVH
RISURGXFW
8QGHUZDUUDQW\6LOYHU6WRQH7HFKQRORJ\LVREOLJDWHGWRUHSDLURUUHSODFHLWVGHIHFWLYH
SURGXFWV8QGHUQRFLUFXPVWDQFHVZLOO6LOYHU6WRQH7HFKQRORJ\EHOLDEOHIRUGDPDJHVLQ
FRQQHFWLRQZLWKWKHVDOHSXUFKDVHRUXVHLQFOXGLQJEXWQRWOLPLWHGWRORVVRIGDWDORVVRI
EXVLQHVVORVVRISURILWVORVVRIXVHRIWKHSURGXFWRULQFLGHQWDORUFRQVHTXHQWLDOGDPDJH
ZKHWKHURUQRWIRUHVHHDEOHDQGZKHWKHURUQRWEDVHGRQEUHDFKRIZDUUDQW\FRQWUDFWRU
QHJOLJHQFHHYHQLI6LOYHU6WRQH7HFKQRORJ\KDVEHHQDGYLVHGRIWKHSRVVLELOLW\RIVXFK
GDPDJHV
:DUUDQW\FRYHUVRQO\WKHRULJLQDOSXUFKDVHUWKURXJKDXWKRUL]HG6LOYHU6WRQHGLVWULEXWRUVDQG
UHVHOOHUVDQGLVQRWWUDQVIHUDEOHWRDVHFRQGKDQGSXUFKDVHU
<RXPXVWSURYLGHVDOHVUHFHLSWRULQYRLFHZLWKFOHDULQGLFDWLRQRISXUFKDVHGDWHWRGHWHUPLQH
ZDUUDQW\HOLJLELOLW\
,IDSUREOHPGHYHORSVGXULQJWKHZDUUDQW\SHULRGSOHDVHFRQWDFW\RXUUHWDLOHUUHVHOOHU6LOYHU-
6WRQHDXWKRUL]HGGLVWULEXWRUVRU6LOYHU6WRQHKWWSZZZVLOYHUVWRQHWHNFRP
3OHDVHQRWHWKDWL<RXPXVWSURYLGHSURRIRIRULJLQDOSXUFKDVHRIWKHSURGXFWE\DGDWHG
LWHPL]HGUHFHLSWLL<RXVKDOOEHDUWKHFRVWRIVKLSSLQJRURWKHUZLVHWUDQVSRUWLQJWKH
SURGXFWWR6LOYHU6WRQHDXWKRUL]HGGLVWULEXWRUV6LOYHU6WRQHDXWKRUL]HGGLVWULEXWRUVZLOOEHDU
WKHFRVWRIVKLSSLQJRURWKHUZLVHWUDQVSRUWLQJWKHSURGXFWEDFNWR\RXDIWHUFRPSOHWLQJWKH
ZDUUDQW\VHUYLFHLLL%HIRUH\RXVHQGWKHSURGXFW\RXPXVWEHLVVXHGD5HWXUQ
0HUFKDQGLVH$XWKRUL]DWLRQಯ50$ರQXPEHUIURP6LOYHU6WRQH8SGDWHGZDUUDQW\
Additional info & contacts
For North America ([email protected])
SilverStone Technology in North America may repair or replace defective product with refurbished
product that is not new but has been functionally tested. Replacement product will be warranted
for remainder of the warranty period or thirty days, whichever is longer. All power supplies should
be sent back to the place of purchase if it is within 30 days of purchase, after 30 days, customers
need to initiate RMA procedure with SilverStone Technology in USA by first downloading the
“USA RMA form for end-users” form from the below link and follow its instructions.
http://silverstonetek.com/contactus.php
For Australia only ([email protected])
Our goods come with guarantees that cannot be excluded under the Australian Consumer Law.
You are entitled to a replacement or refund for a major failure and for compensation for any other
reasonably foreseeable loss or damage. You are also entitled to have the goods repaired or
replaced if the goods fail to be of acceptable quality and the failure does not amount to a major
failure. Please refer to above “Warranty terms & conditions” for further warranty details.
SilverStone Technology Co., Ltd. 12F No. 168 Jiankang Rd., Zhonghe Dist., New Taipei City 235
Taiwan R.O.C. +886-2-8228-1238 (standard international call charges apply)
For Europe ([email protected])
For China ([email protected])
For all other regions ([email protected])
᳝↦᳝ᆇ⠽䋼ܗ㋴ঞ݊࣪ᄺ䞣㸼
䚼ӊৡ⿄
亢
ᴎ
˄䞥ሲ˅
∲
(Hg)
䬝
(Cd)
݁Ӌ䫀
(Cr(VI))
⒈㘨㣃
(PBB)
⒈Ѡ㣃䝮
(PBDE)
ƻ ƻ ƻ ƻ ƻ
䪙
3E
ƻ
ƻ ƻ ƻ ƻ ƻƻ
㒓ᴤ
ƻ ƻ ƻ ƻ ƻƻ
㶎ϱ
ƻ ƻ ƻ ƻ ƻ
ƻ
ࣙᴤ
ƻ ƻ ƻ ƻ ƻ
ƻ
ƻ˖㸼⼎䆹᳝↦᳝ᆇ⠽䋼䆹䚼ӊ᠔᳝ഛ䋼ᴤ᭭Ёⱘ䞣ഛ*%7㾘ᅮⱘ䰤䞣
㽕∖ҹϟDŽ
ᴀ㸼Ḑձ6-7ⱘ㾘ᅮ㓪ࠊ
h˖㸼⼎䆹᳝↦᳝ᆇ⠽䋼㟇ᇥ䆹䚼ӊⱘᶤϔഛ䋼ᴤ᭭Ёⱘ䞣䍙ߎ*%7㾘ᅮⱘ
䰤䞣㽕∖DŽ
G11254970