
Q8- V1.0
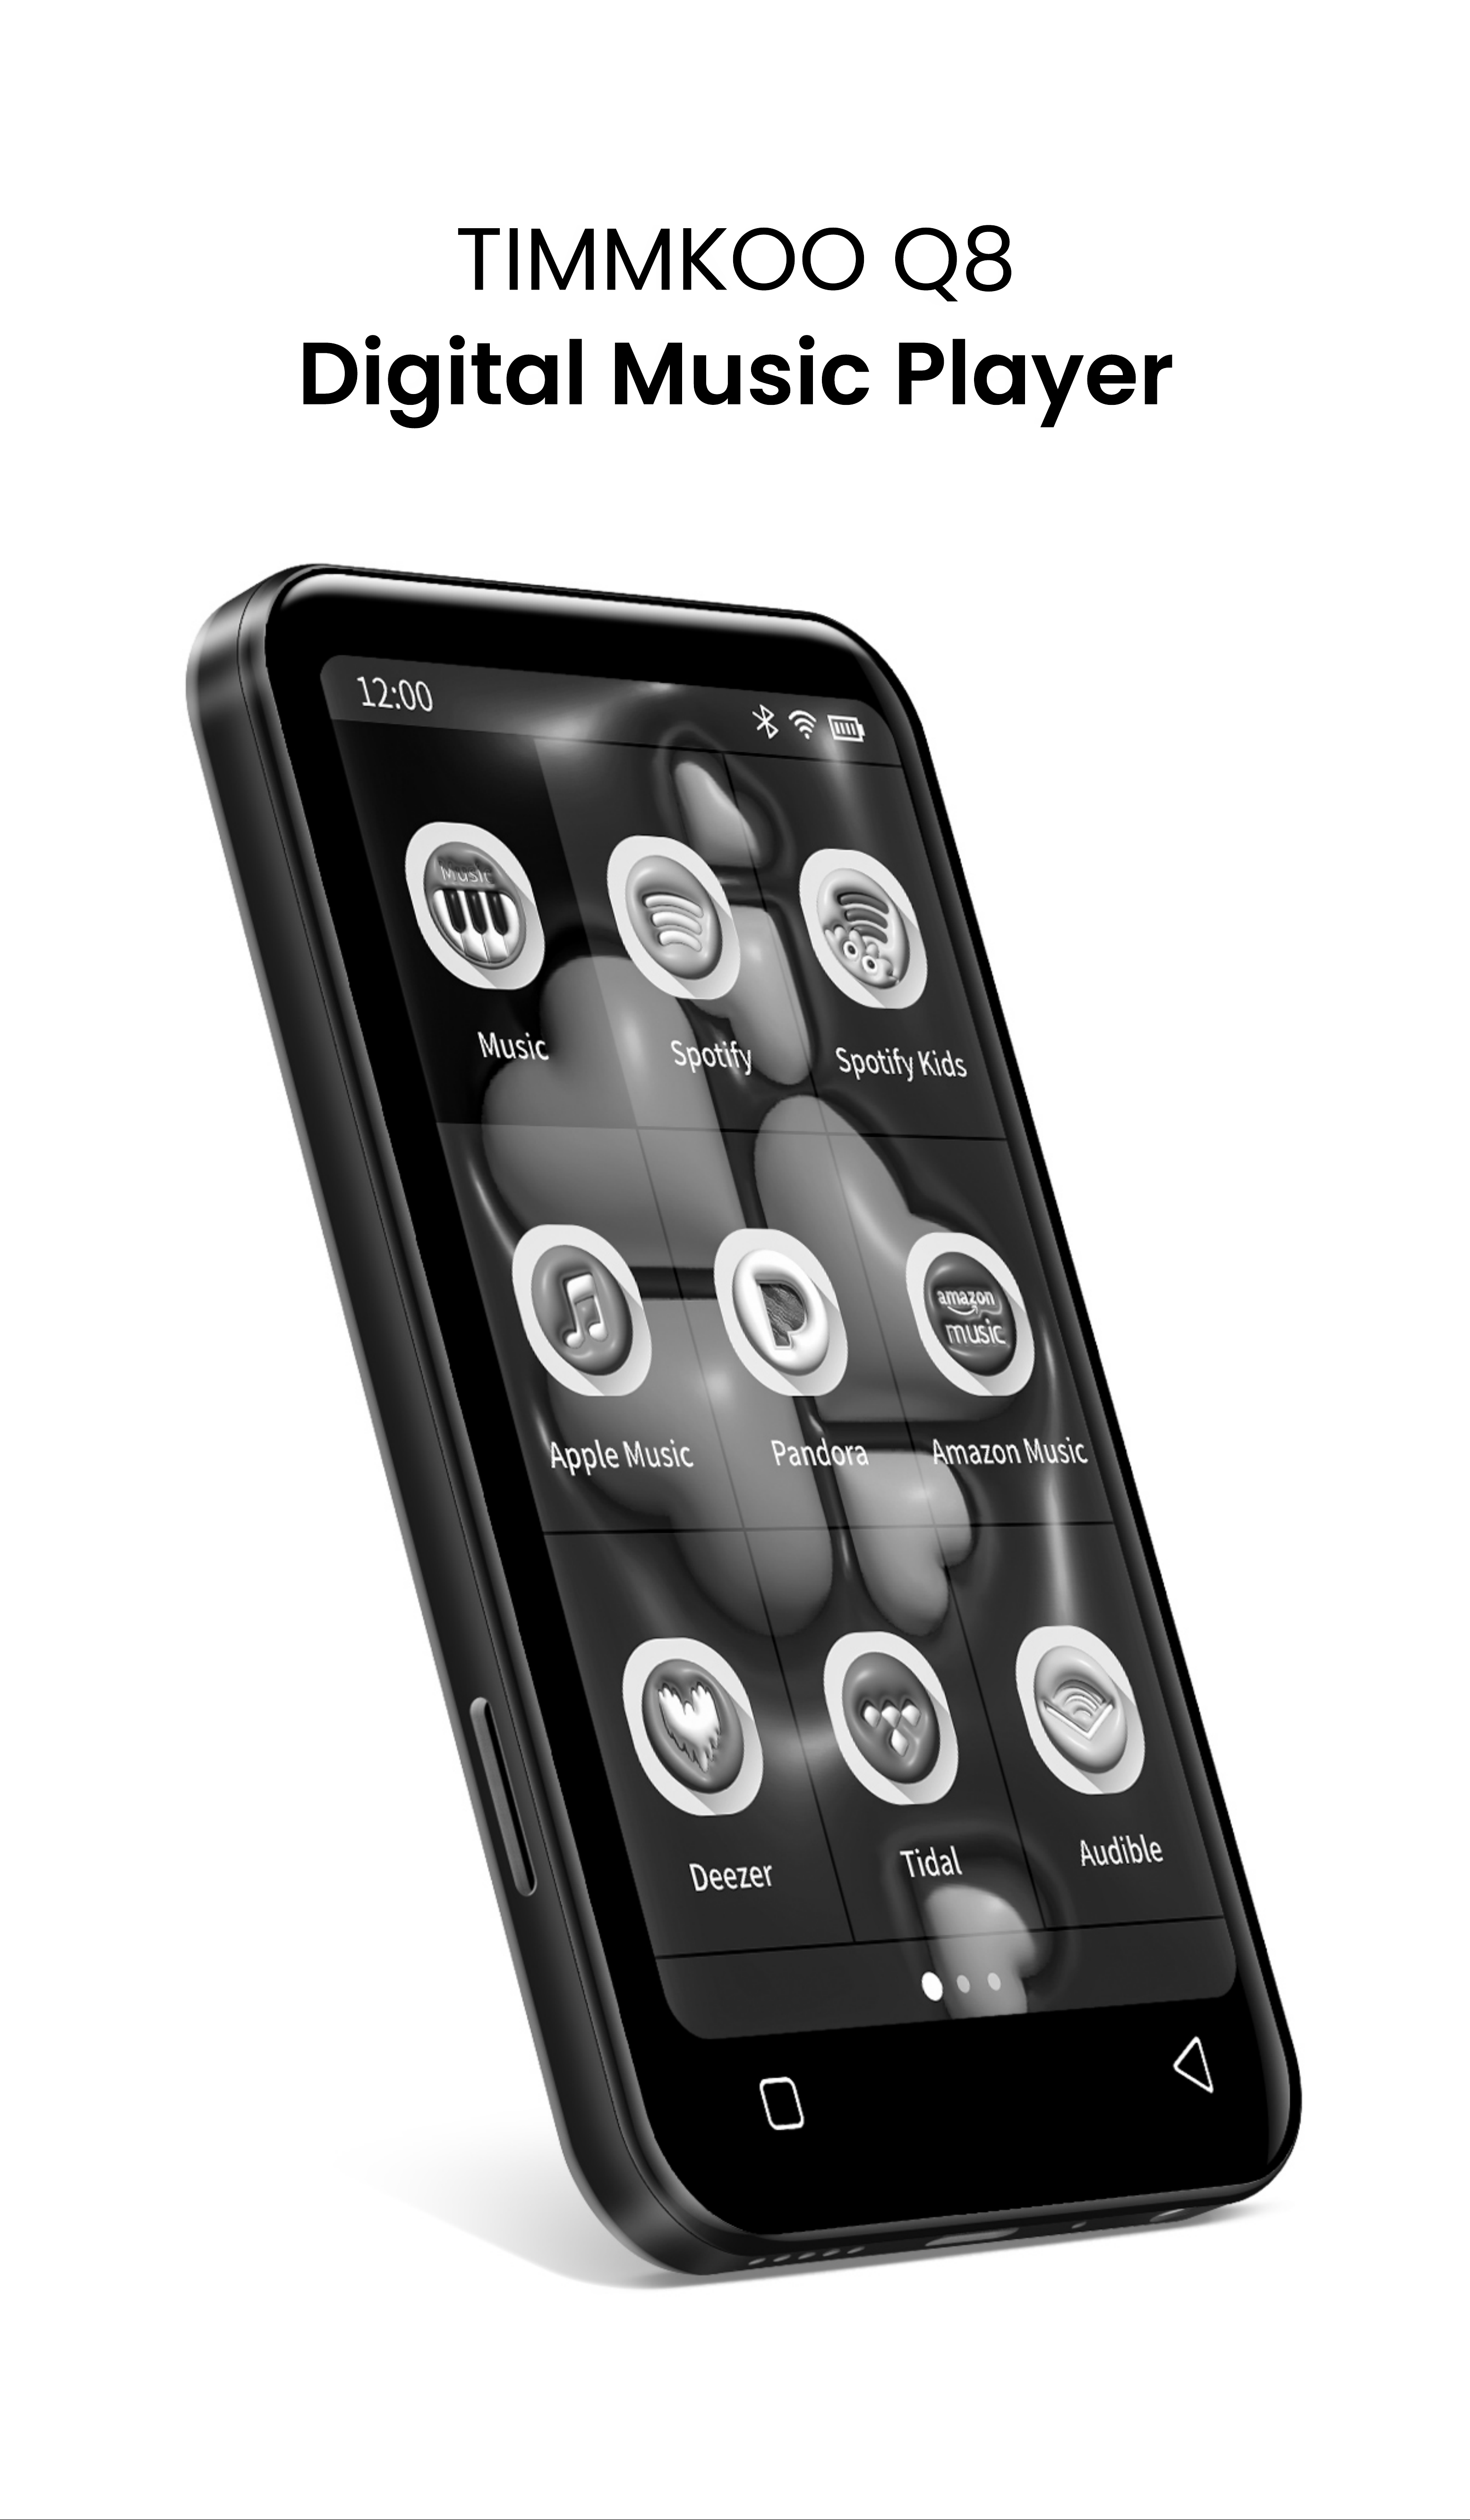
TIMMKOO Q8
Digital Music Player
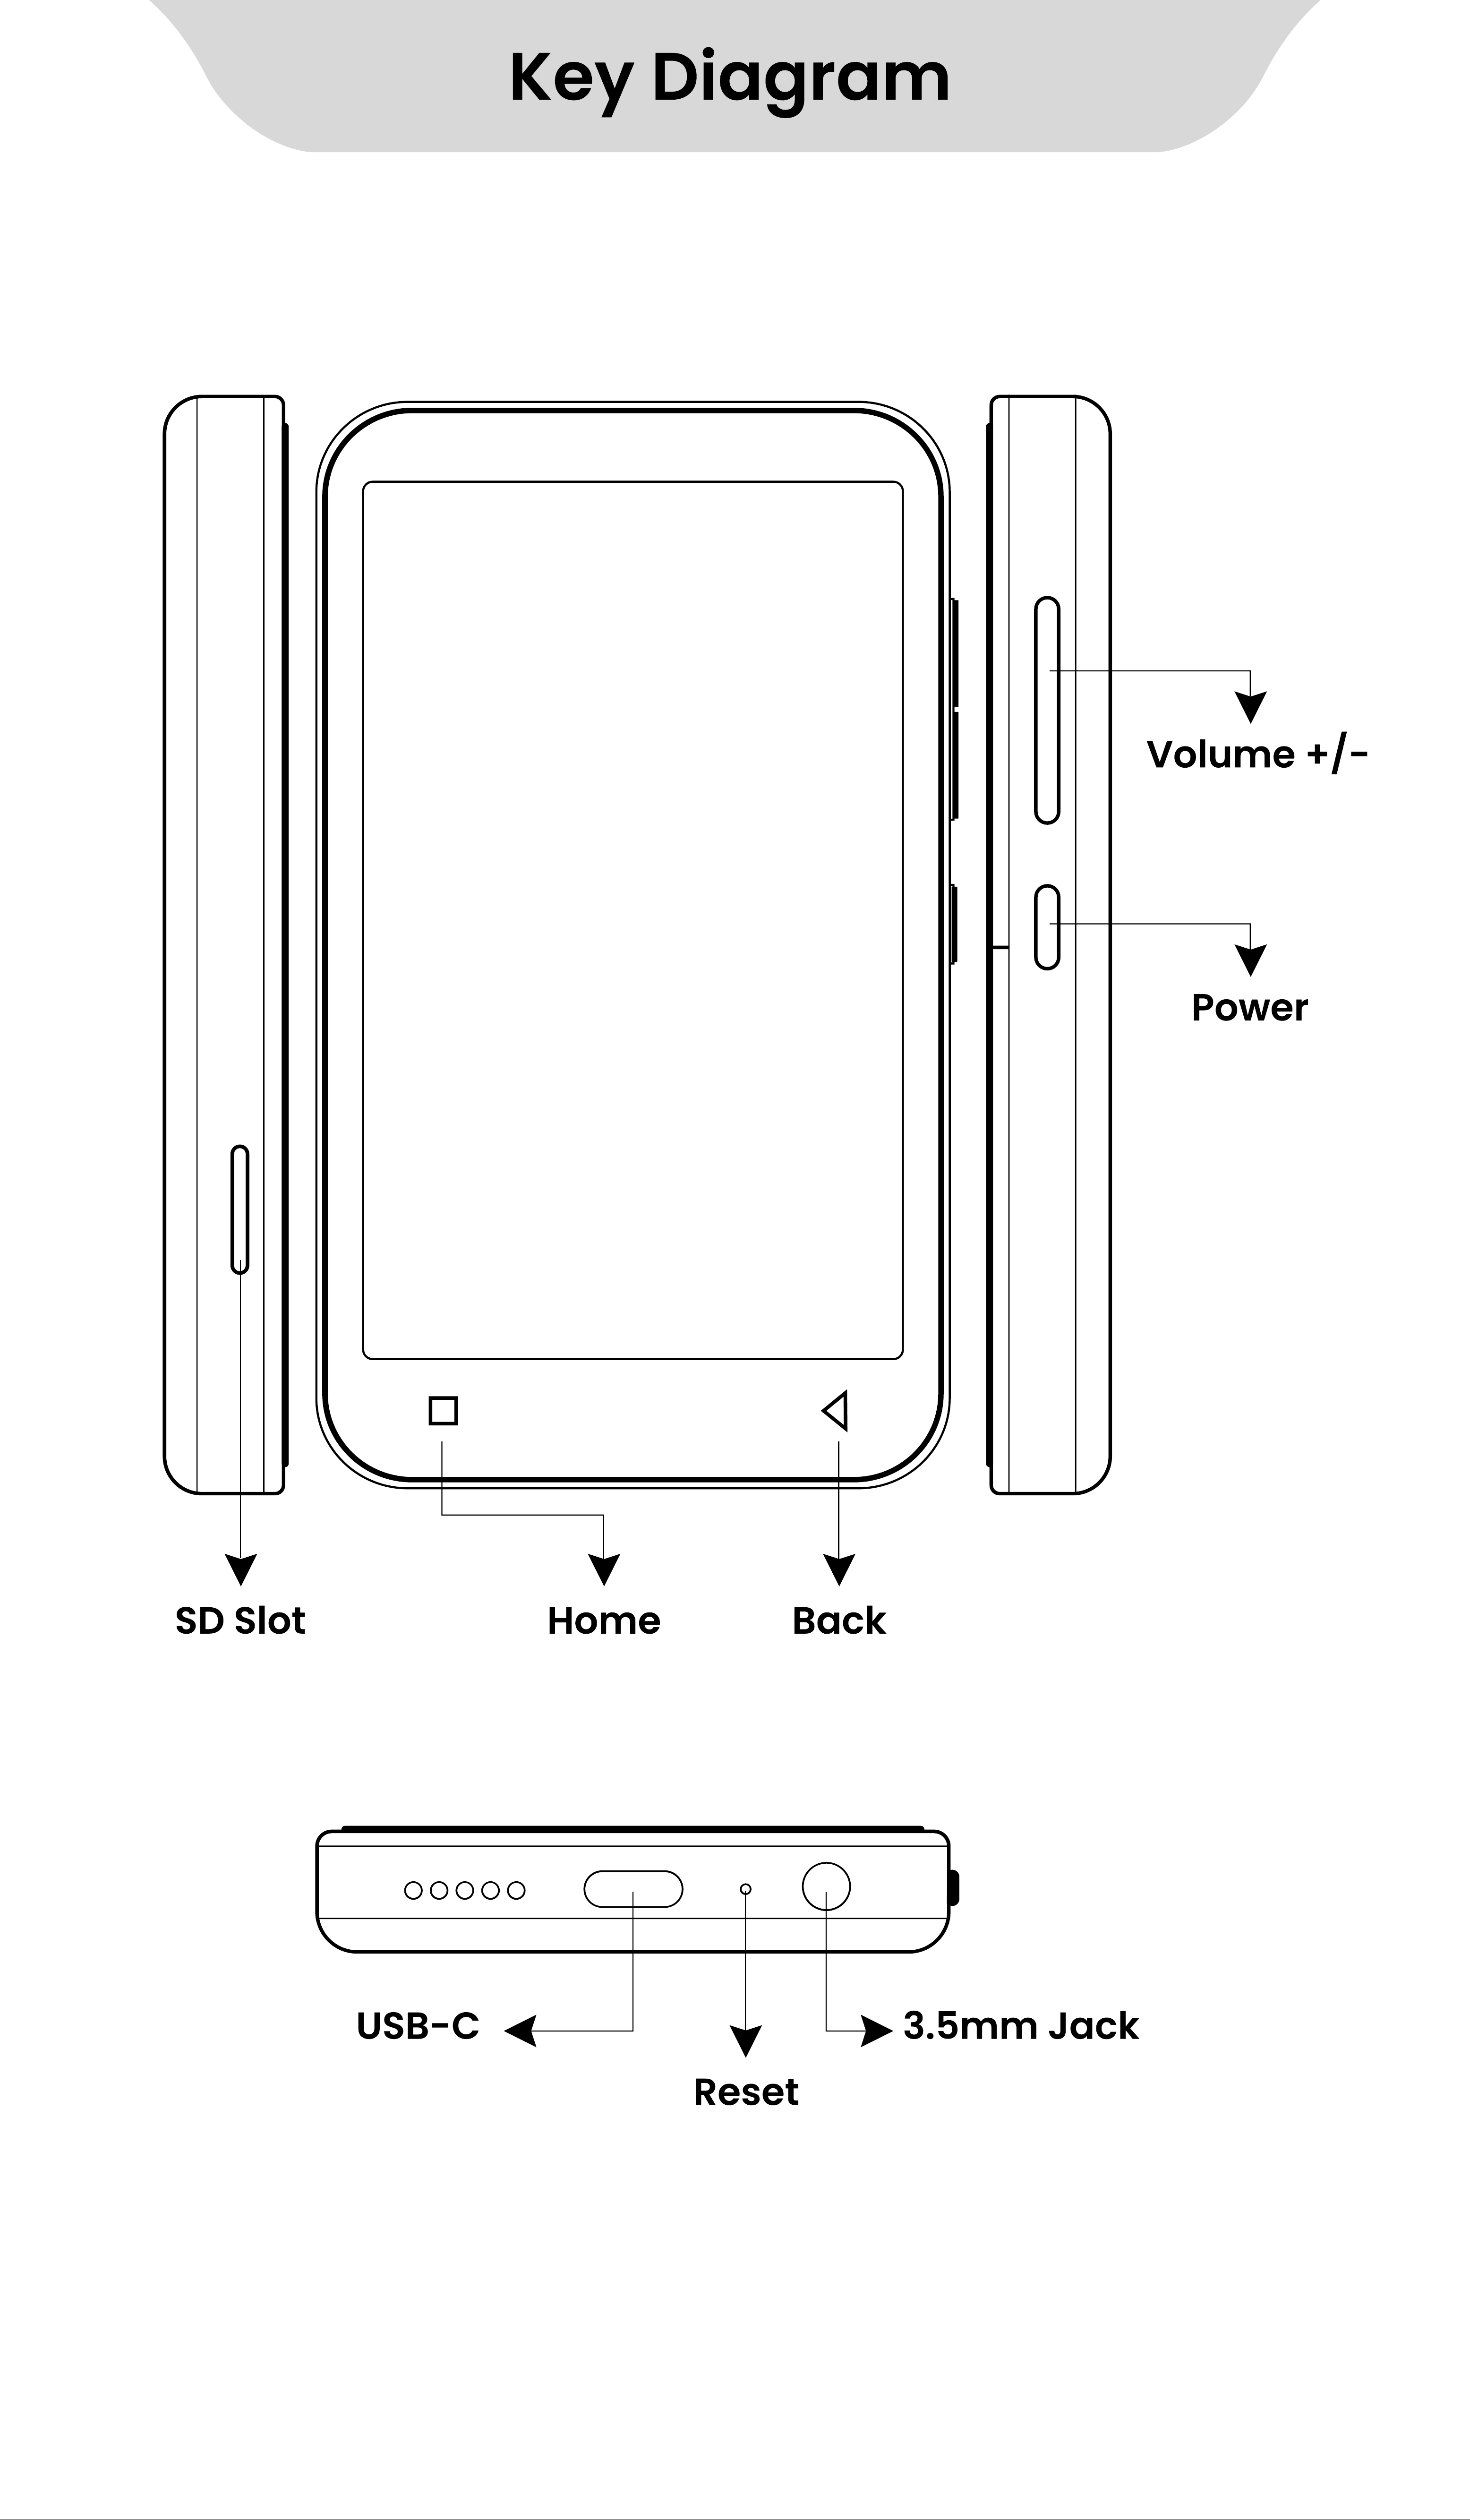
Key Diagram
Volume +/-
Power
Back
USB- C 3.5mm Jack
Reset
HomeSD Slot
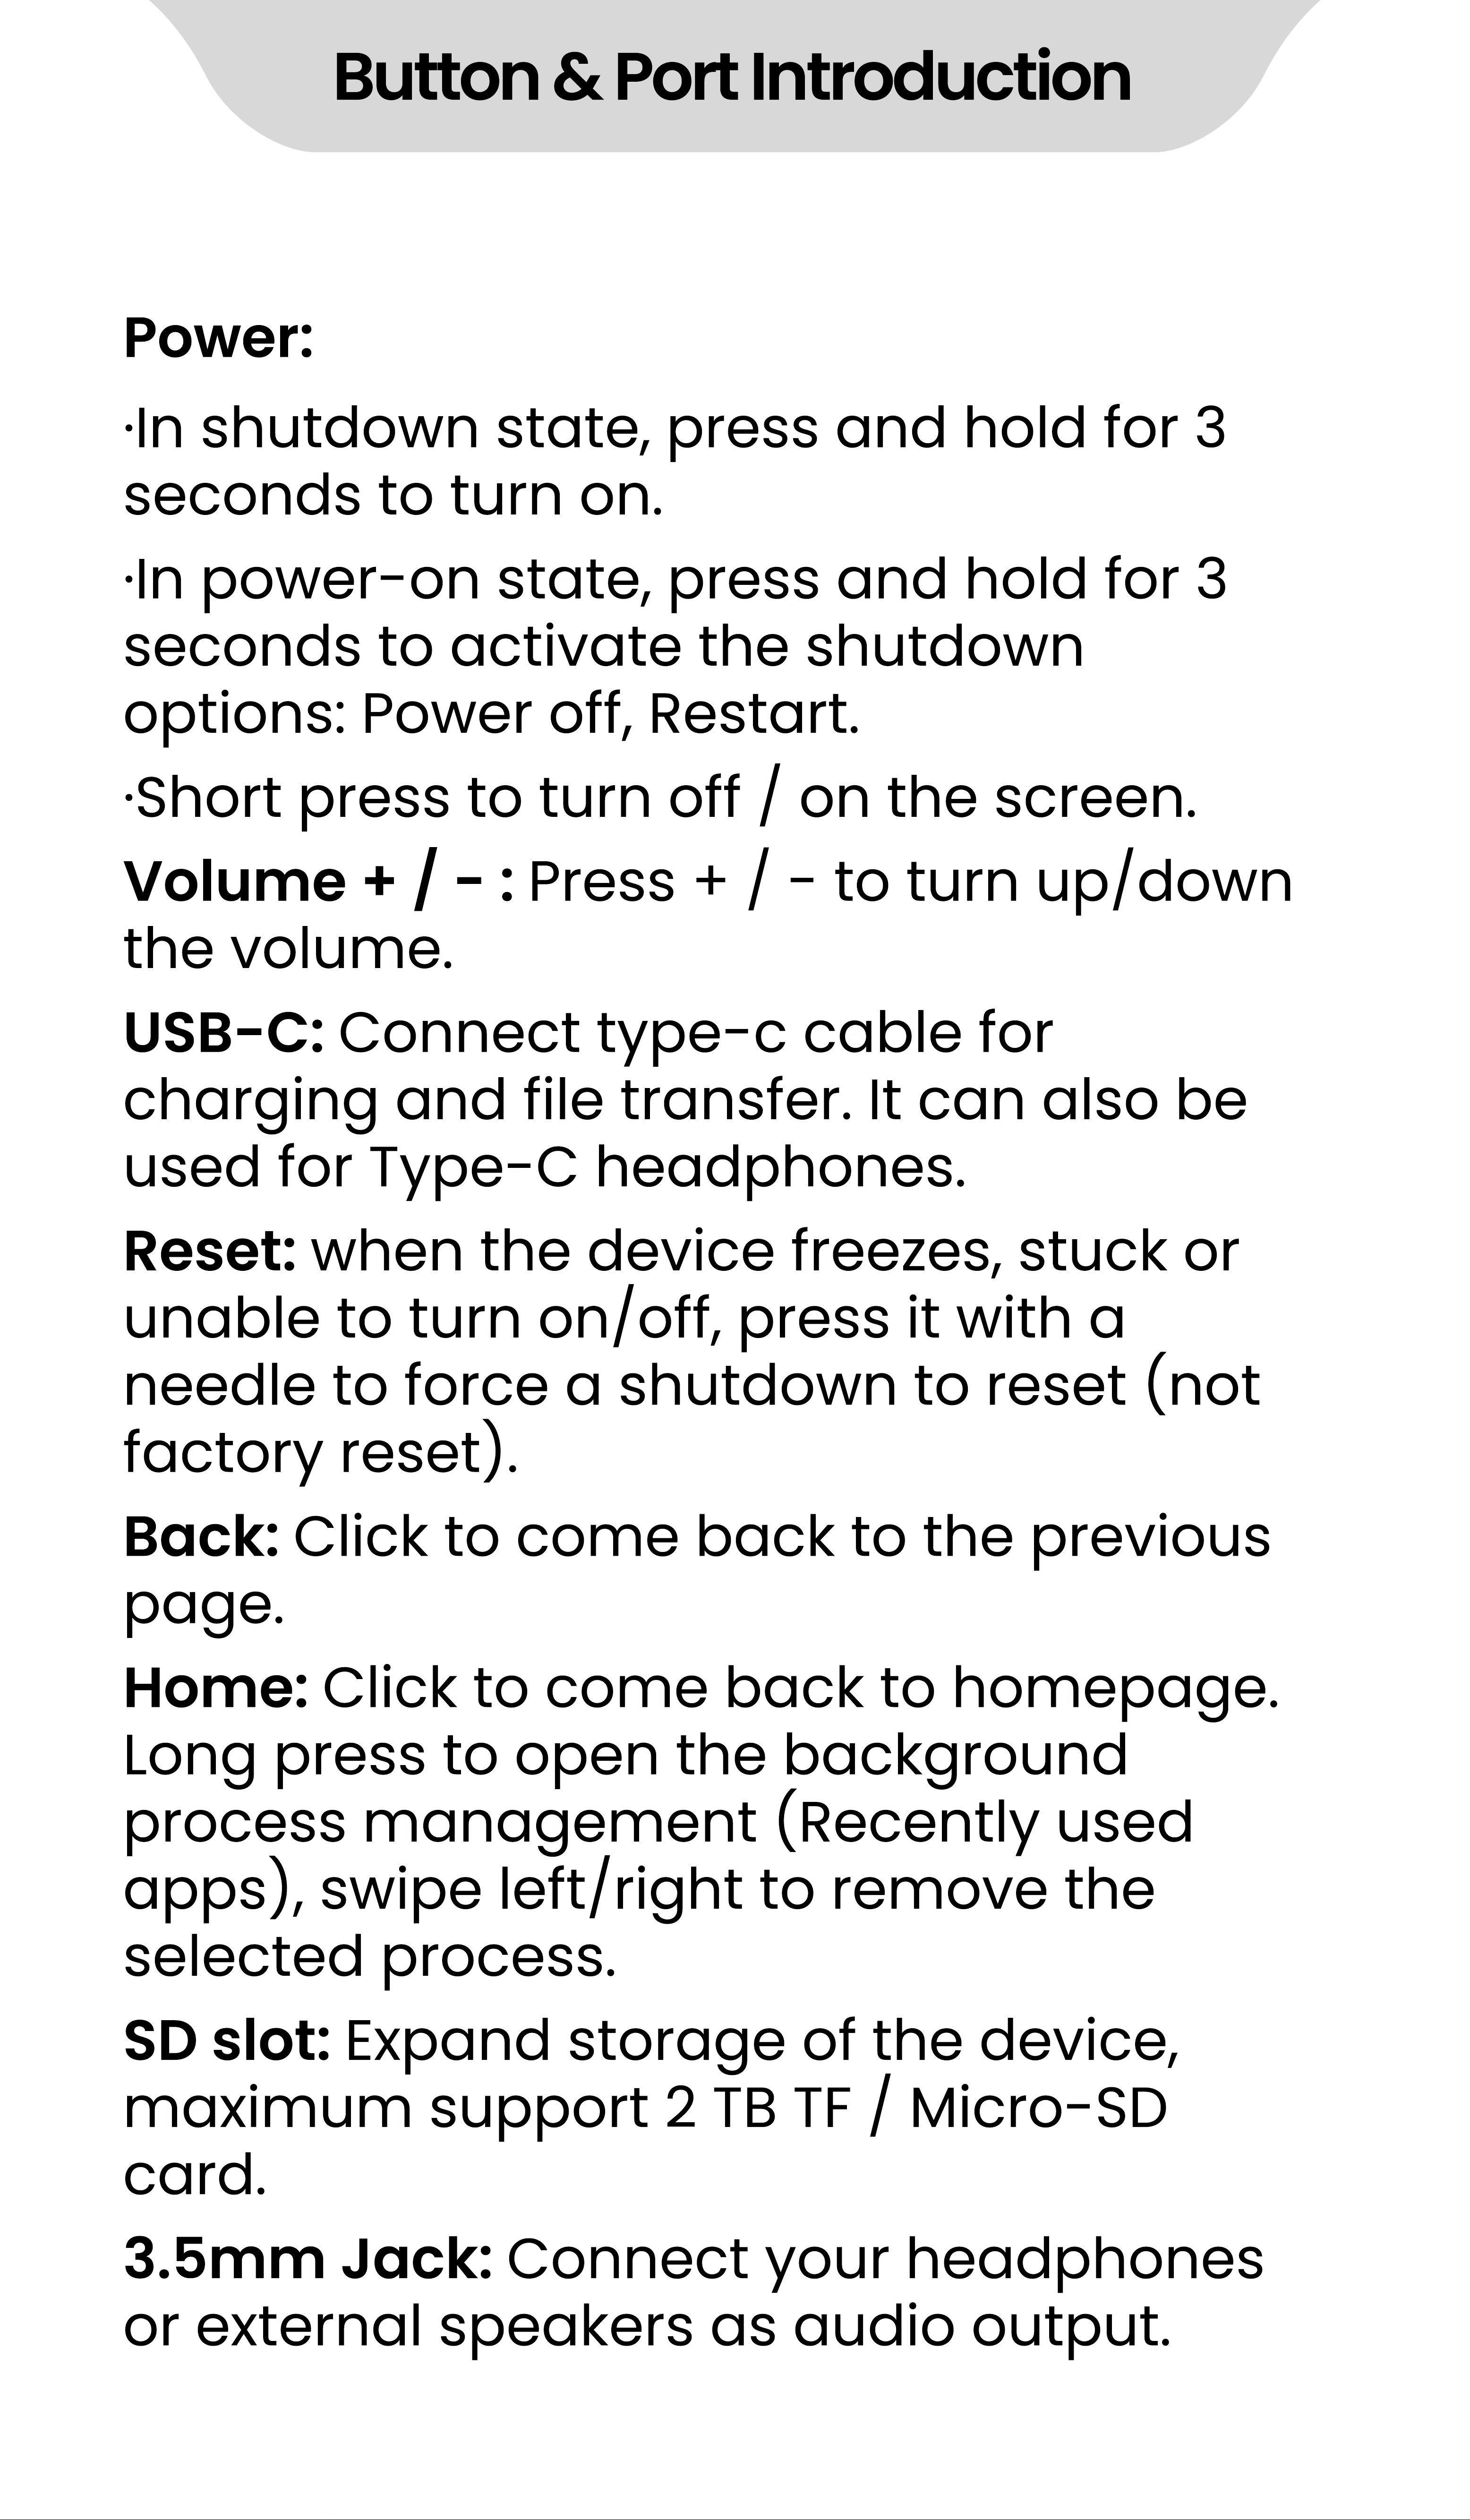
Button & Port Introduction
Power:
·
In shutdown state, press and hold for 3
seconds to turn on.
·
In power- on state, press and hold for 3
seconds to activate the shutdown
options: Power off, Restart.
·
Short press to turn off / on the screen.
Volume + / - : Press + / - to turn up/down
the volume.
USB- C: Connect type- c cable for
charging and file transfer. It can also be
used for Type- C headphones.
Reset: when the device freezes, stuck or
unable to turn on/off, press it with a
needle to force a shutdown to reset (not
factory reset).
Back: Click to come back to the previous
page.
Home: Click to come back to homepage.
Long press to open the background
process management (Recently used
apps), swipe left/right to remove the
selected process.
SD slot: Expand storage of the device,
maximum support 2 TB TF / Micro- SD
card.
3.5mm Jack: Connect your headphones
or external speakers as audio output.
How to Transfer Music or Video
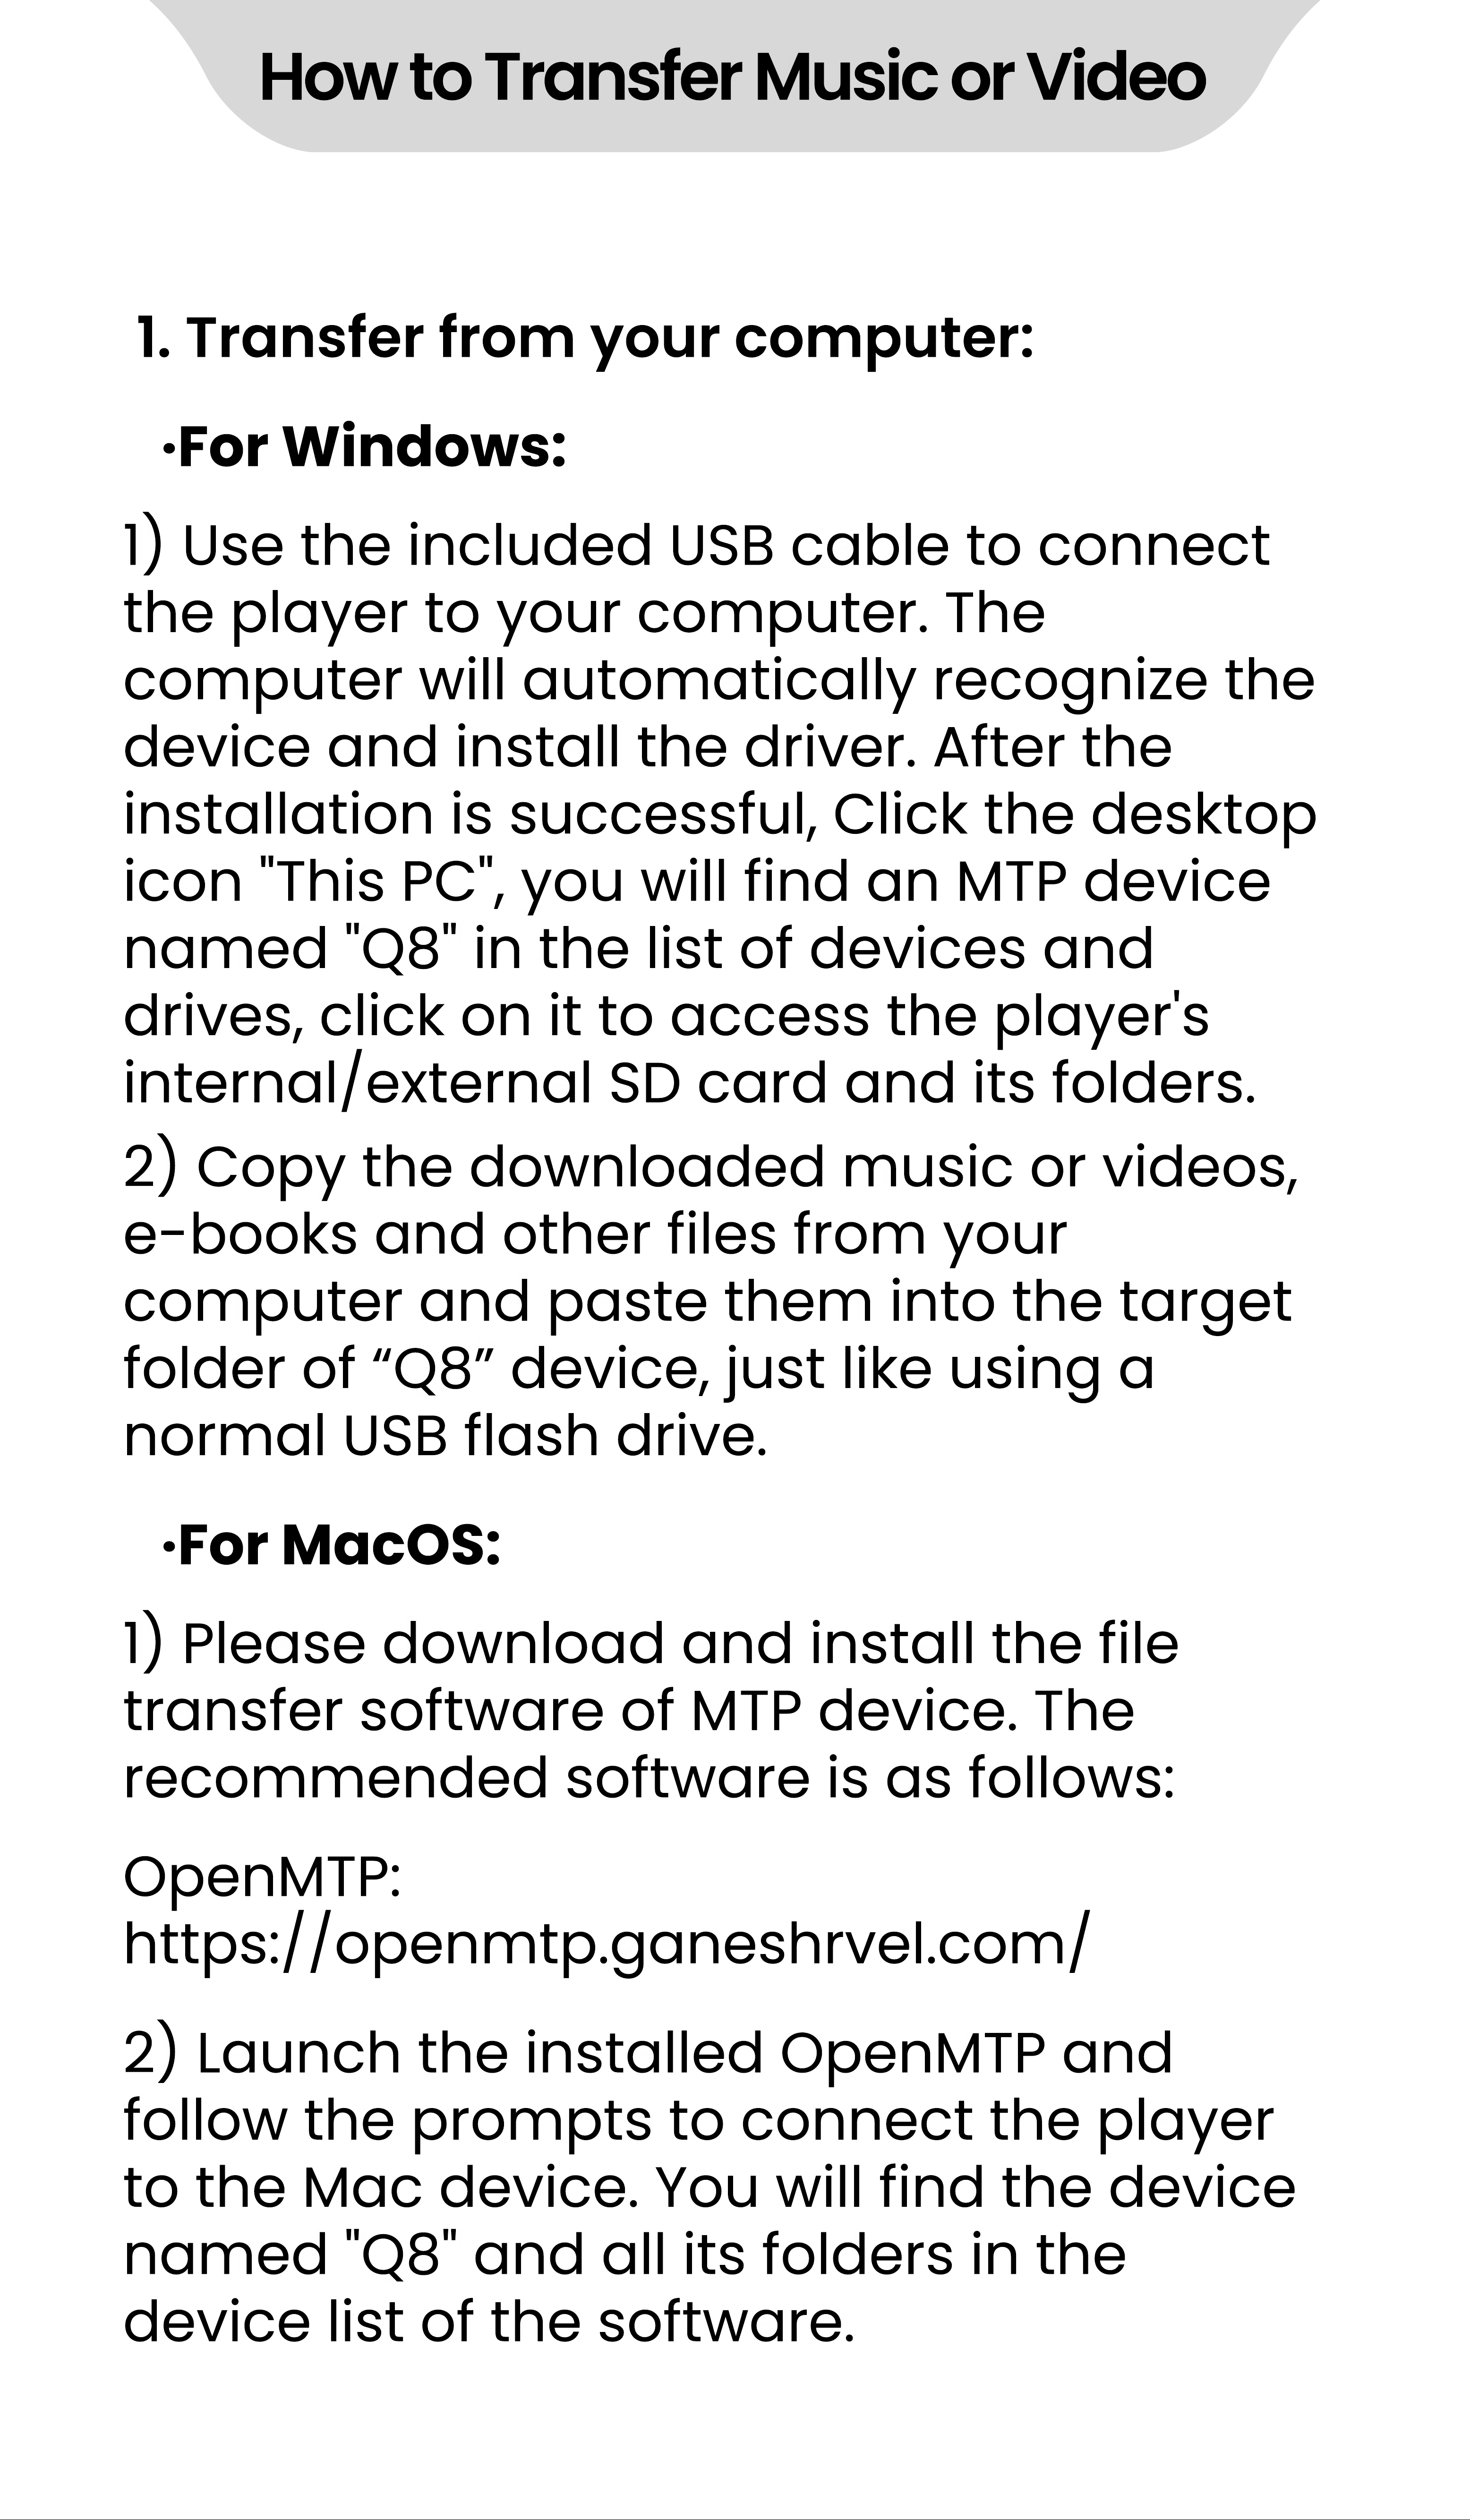
1. Transfer from your computer:
·
For W indows:
·
For MacOS:
1) Use the included USB cable to connect
the player to your computer. The
computer will automatically recognize the
device and install the driver. After the
installation is successful, Click the desktop
icon "This PC", you will find an MTP device
named "Q8" in the list of devices and
drives, click on it to access the player's
internal/external SD card and its folders.
1) Please download and install the file
transfer software of MTP device. The
recommended software is as follows:
2) Launch the installed OpenMTP and
follow the prompts to connect the player
to the Mac device. You will find the device
named "Q8" and all its folders in the
device list of the software.
OpenMTP:
https://openmtp.ganeshrvel.com/
2) Copy the downloaded music or videos,
e- books and other files from your
computer and paste them into the target
folder of
“
Q8
”
device, just like using a
normal USB flash drive.
How to Transfer Music or Video
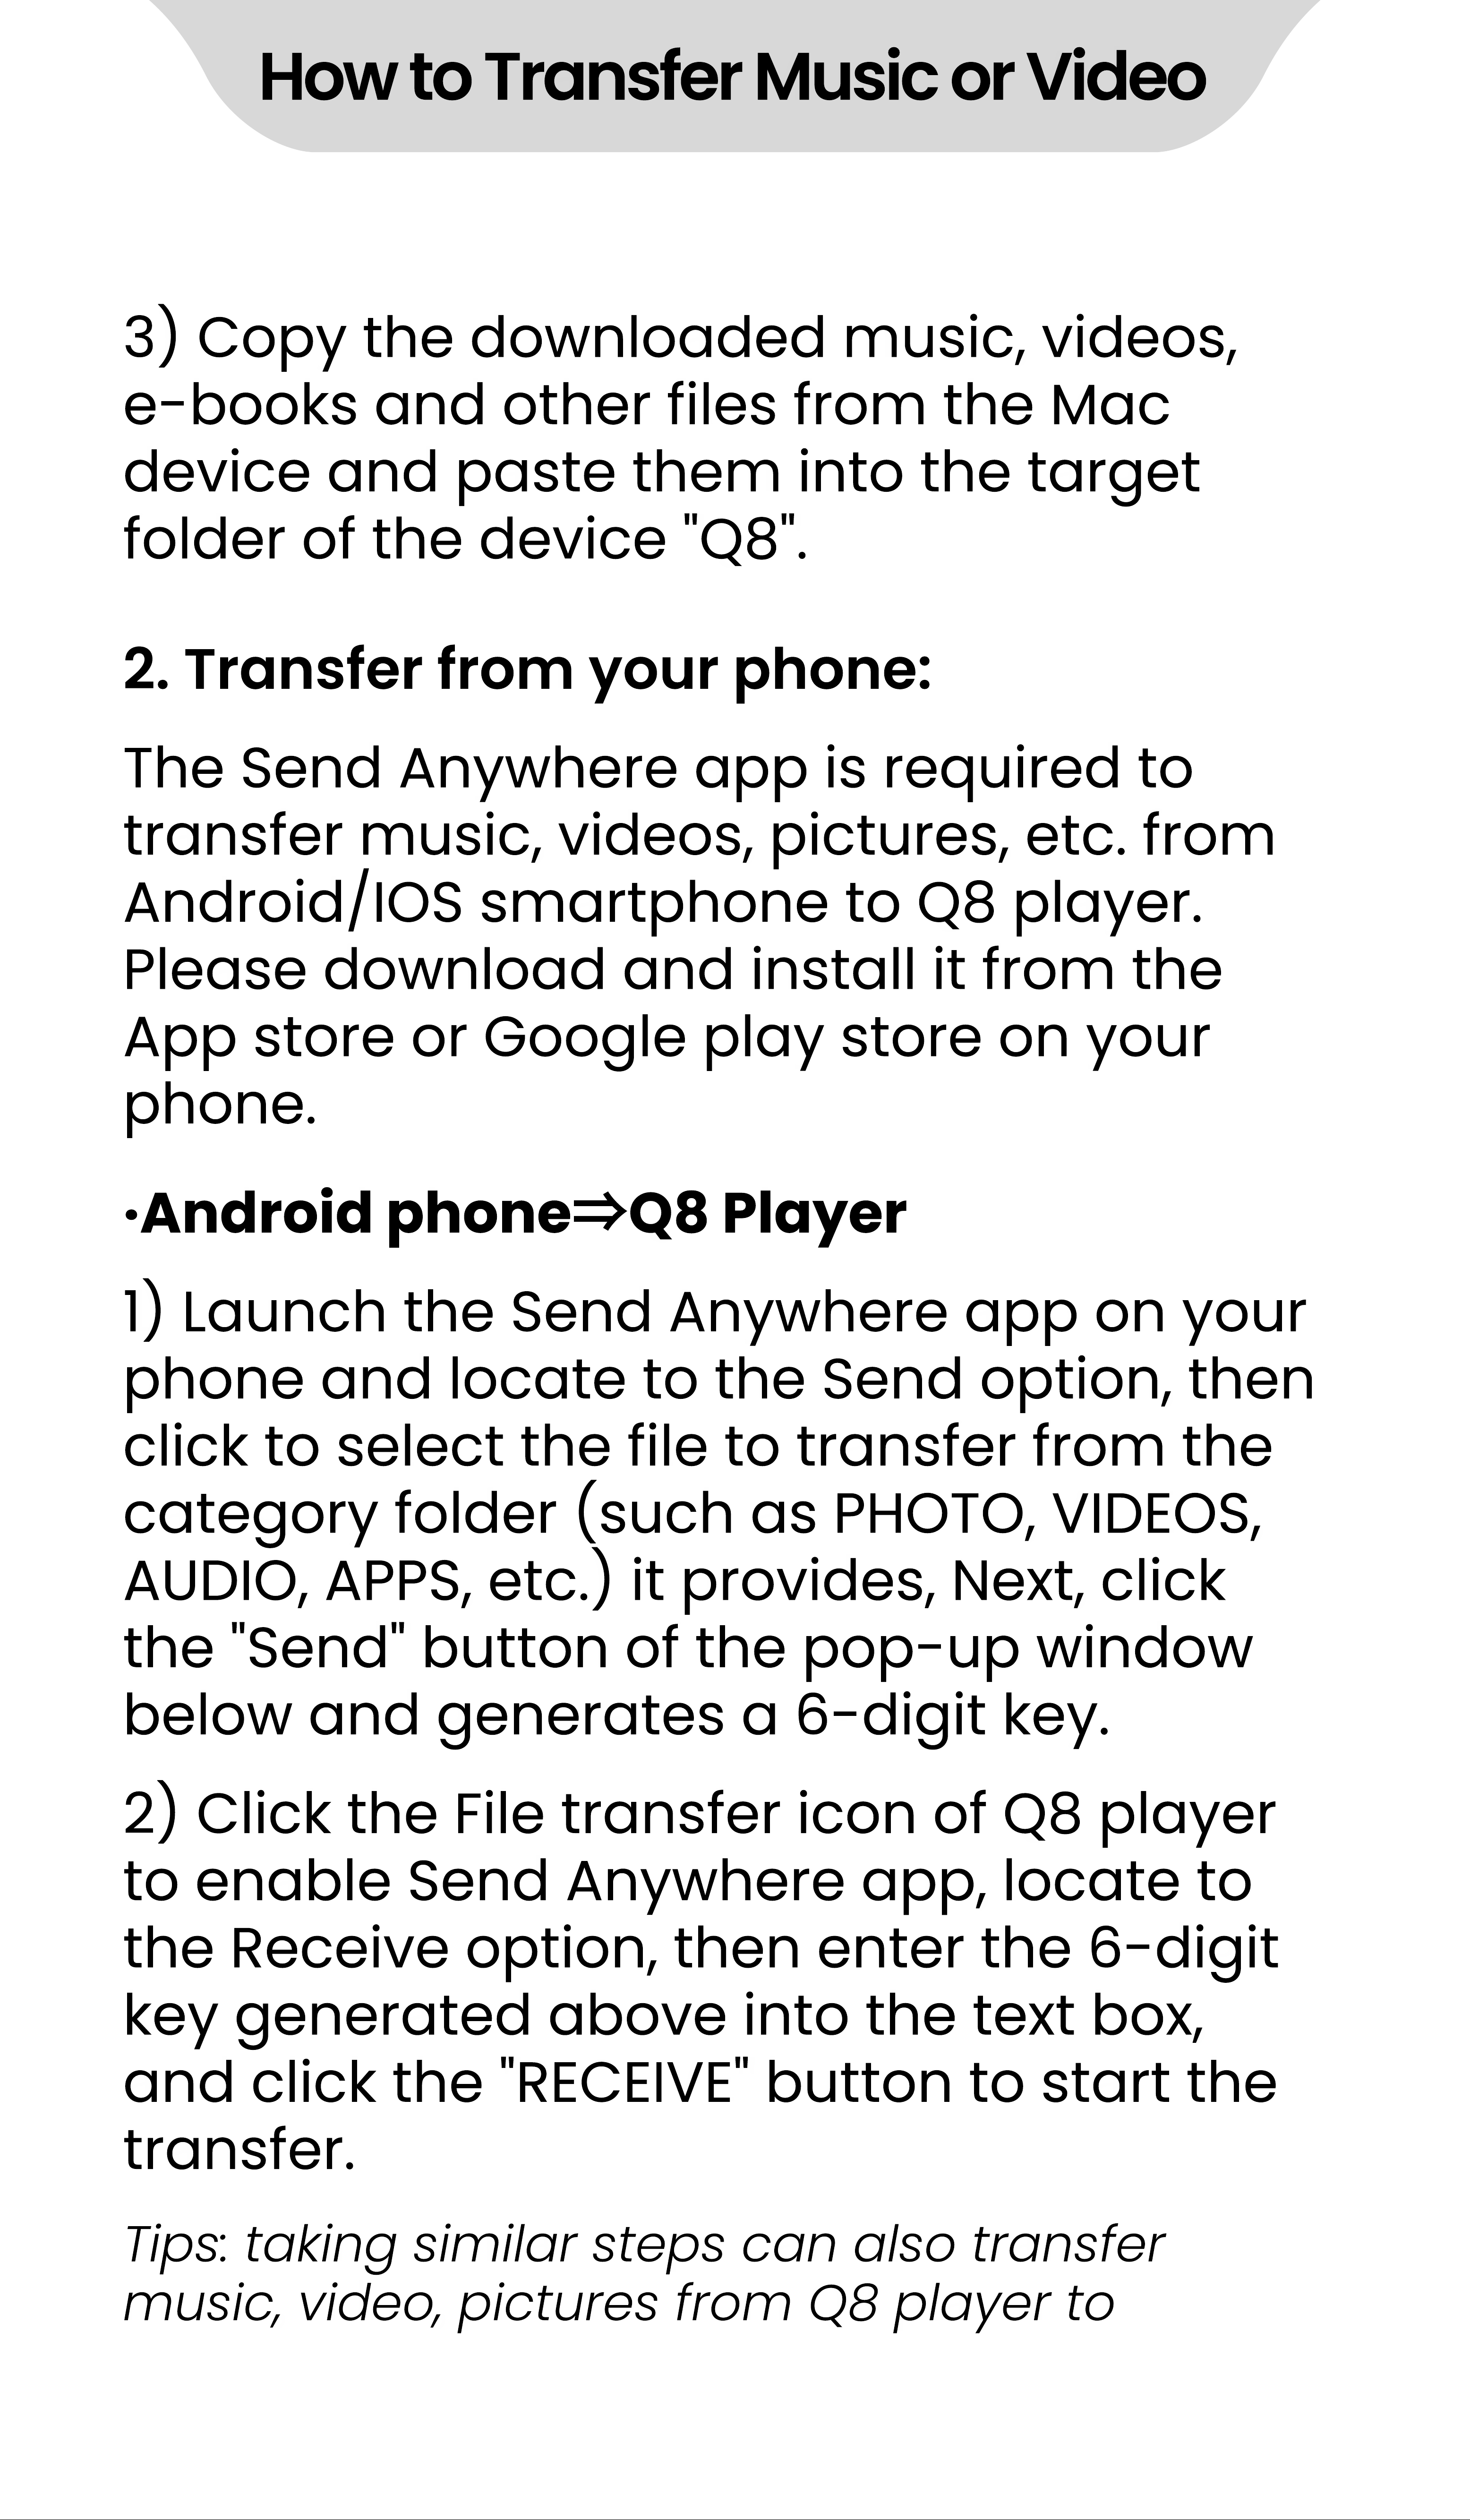
3) Copy the downloaded music, videos,
e- books and other files from the Mac
device and paste them into the target
folder of the device "Q8".
The Send Anywhere app is required to
transfer music, videos, pictures, etc. from
Android/IOS smartphone to Q8 player.
Please download and install it from the
App store or Google play store on your
phone.
1) Launch the Send Anywhere app on your
phone and locate to the Send option, then
click to select the file to transfer from the
category folder (such as PHOTO, VIDEOS,
AUDIO, APPS, etc.) it provides, Next, click
the "Send" button of the pop- up window
below and generates a 6- digit key.
2) Click the File transfer icon of Q8 player
to enable Send Anywhere app, locate to
the Receive option, then enter the 6- digit
key generated above into the text box,
and click the "RECEIVE" button to start the
transfer.
Tips: taking similar steps can also transfer
music, video, pictures from Q8 player to
2. Transfer from your phone:
·
Android phone
⇒
Q8 Player
How to Transfer Music or Video
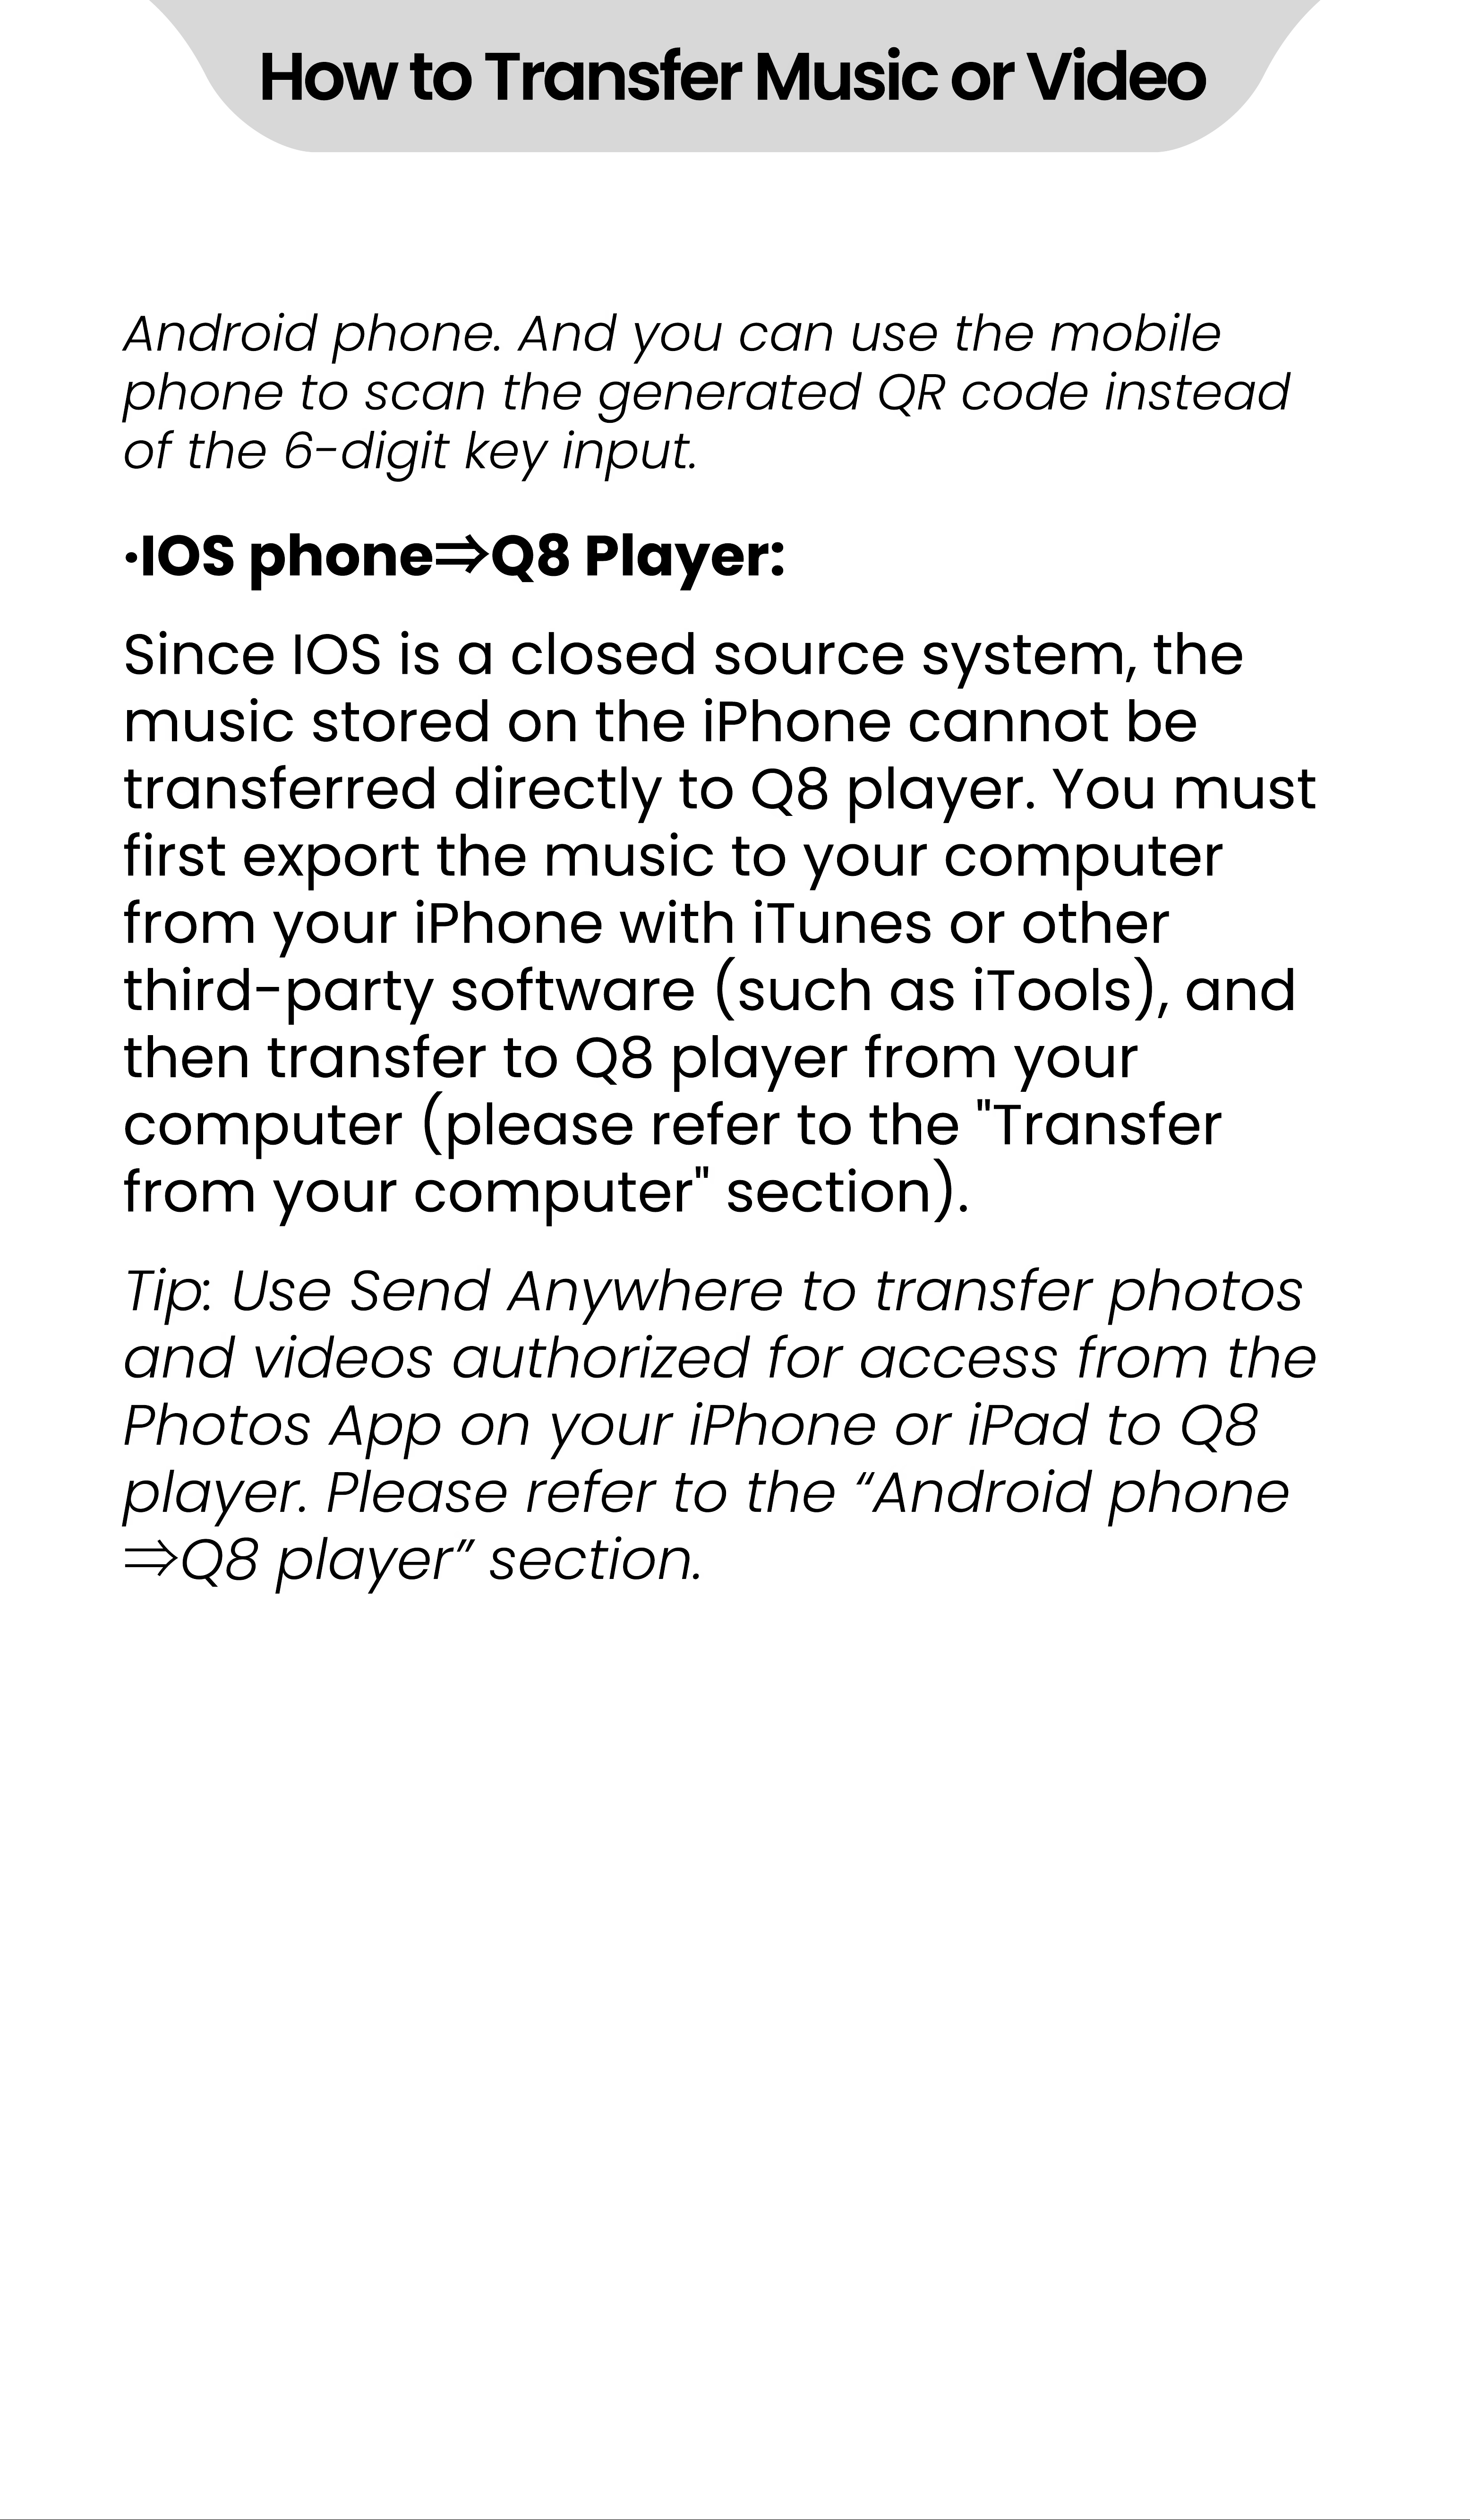
Android phone. And you can use the mobile
phone to scan the generated QR code instead
of the 6- digit key input.
Tip: Use Send Anywhere to transfer photos
and videos authorized for access from the
Photos App on your iPhone or iPad to Q8
player. Please refer to the
“
Android phone
⇒
Q8 player
”
section.
·
IOS phone
⇒
Q8 Player:
Since IOS is a closed source system, the
music stored on the iPhone cannot be
transferred directly to Q8 player. You must
first export the music to your computer
from your iPhone with iTunes or other
third- party software (such as iTools), and
then transfer to Q8 player from your
computer (please refer to the "Transfer
from your computer" section).
APP introduction
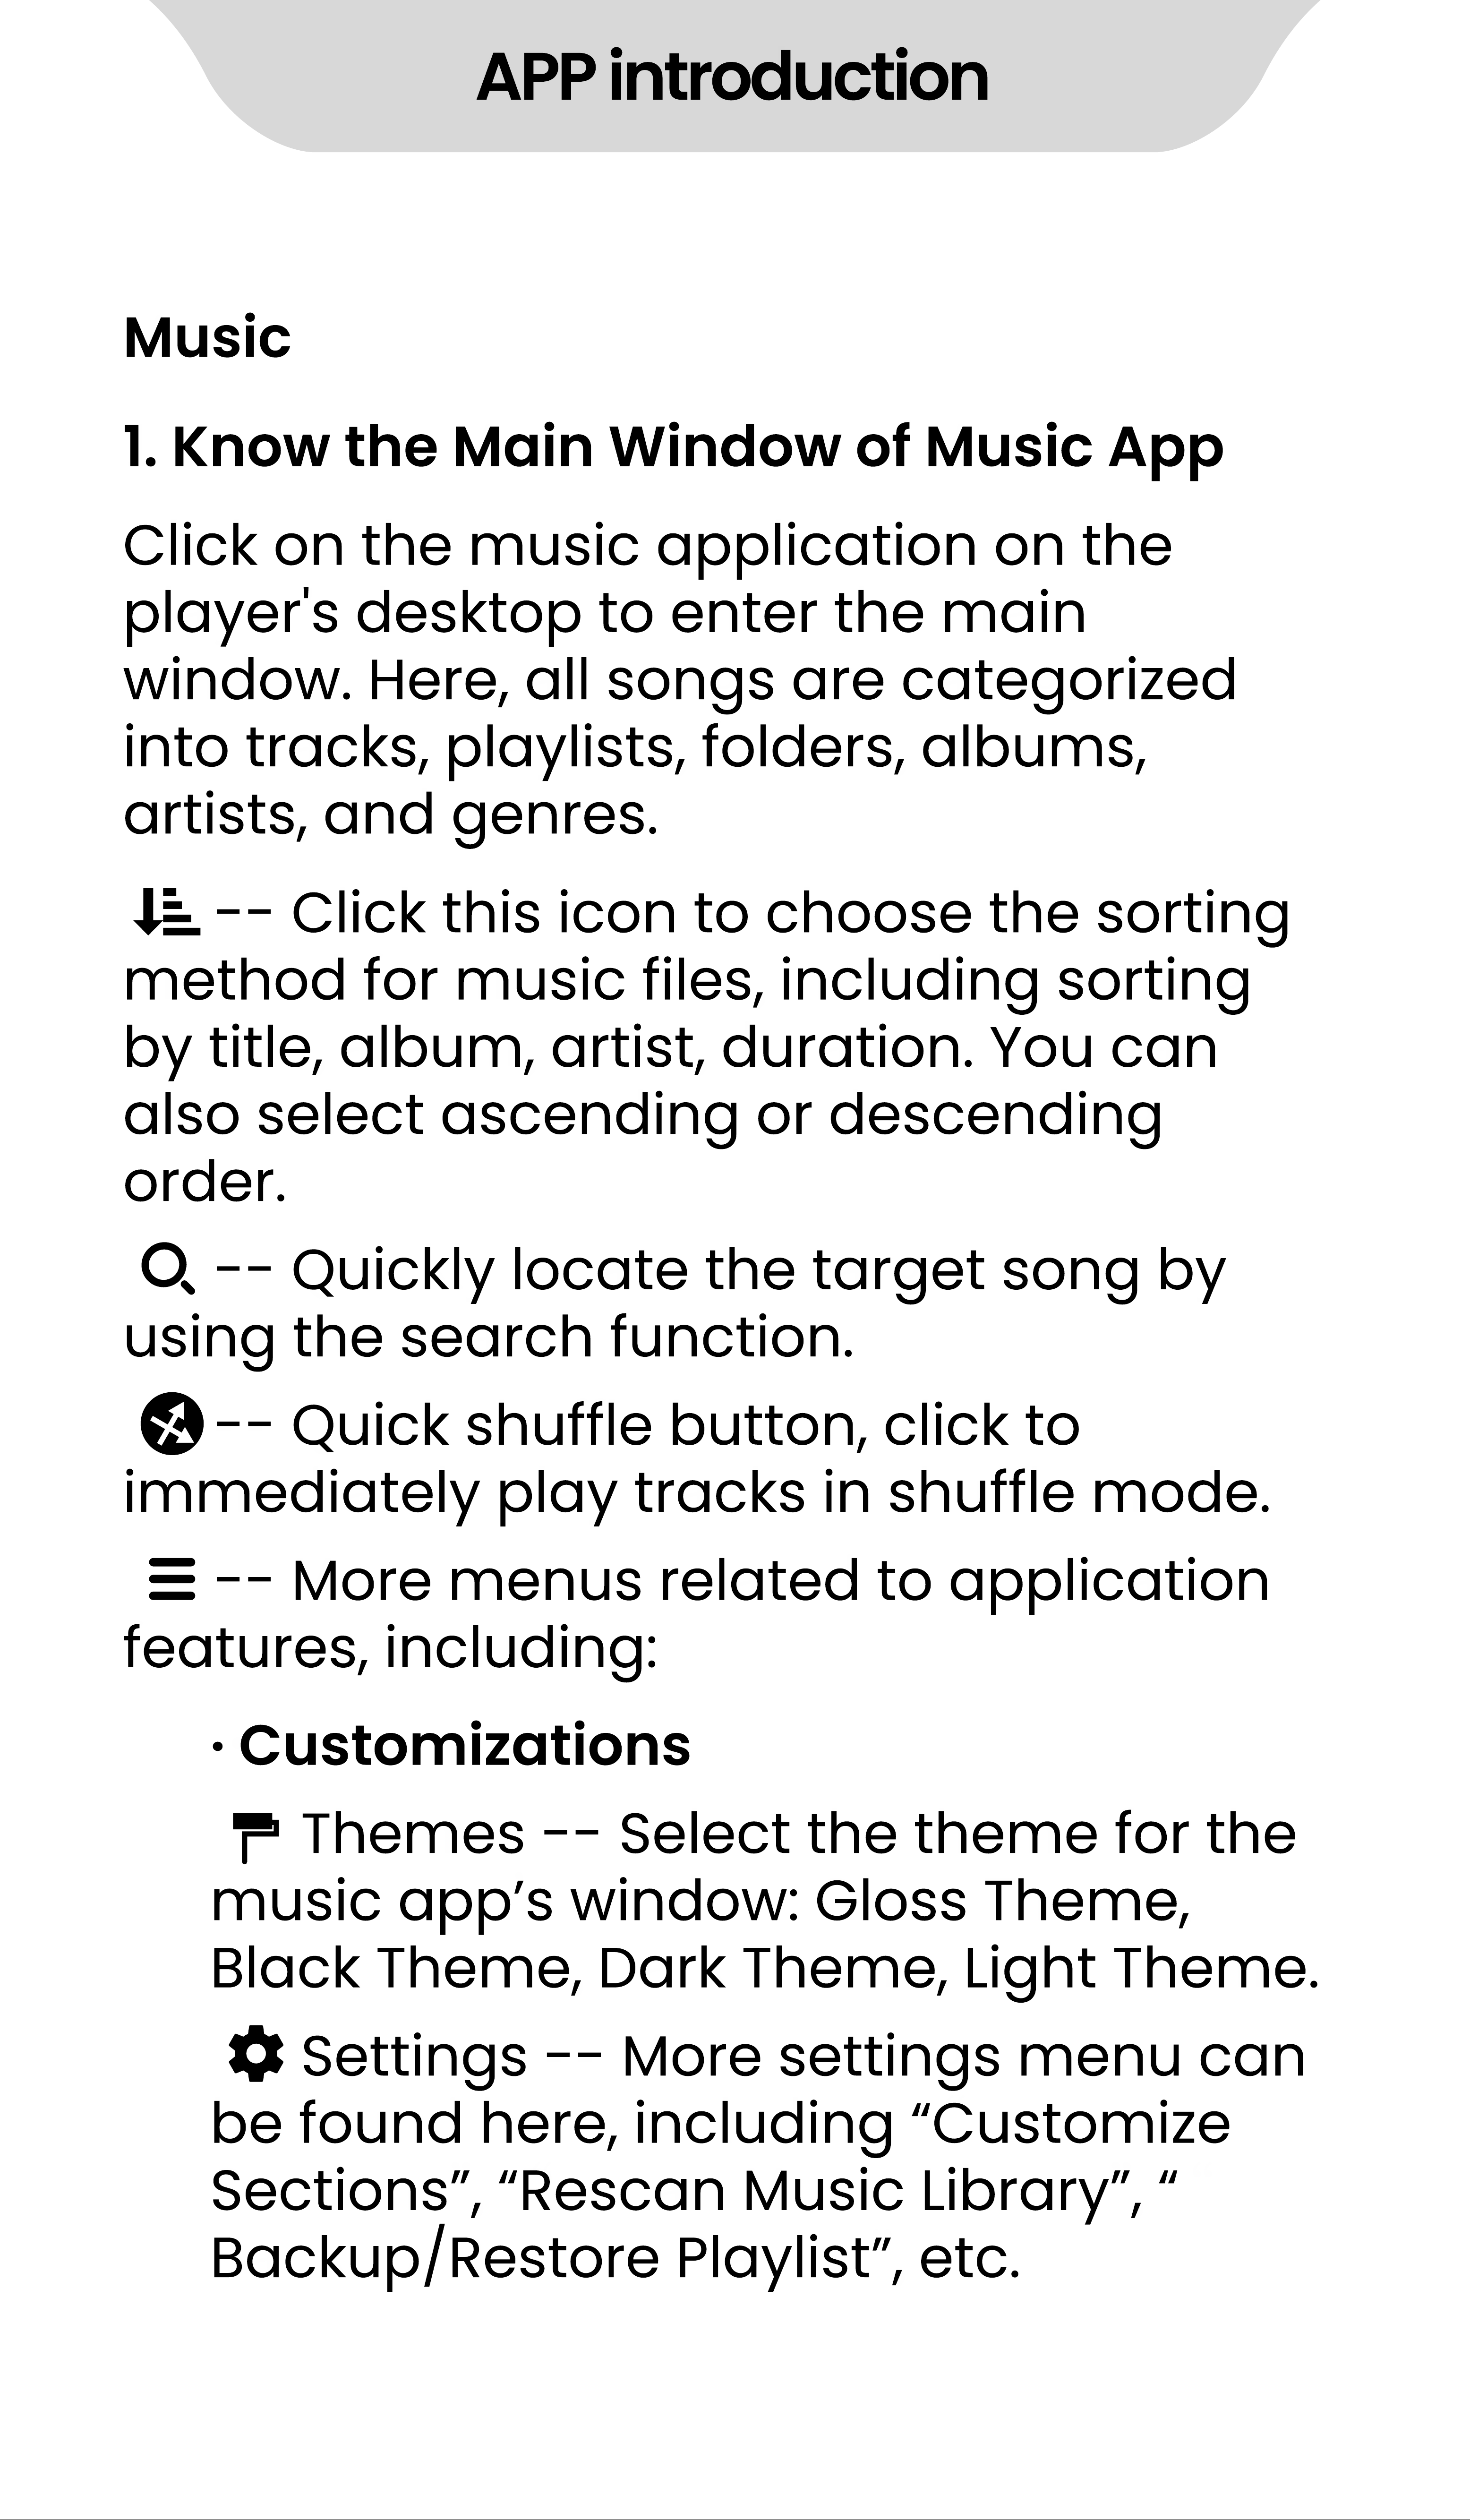
Music
·
Customizations
1. Know the Main Window of Music App
Click on the music application on the
player's desktop to enter the main
window. Here, all songs are categorized
into tracks, playlists, folders, albums,
artists, and genres.
- - Click this icon to choose the sorting
method for music files, including sorting
by title, album, artist, duration. You can
also select ascending or descending
order.
- - Quickly locate the target song by
using the search function.
- - Quick shuffle button, click to
immediately play tracks in shuffle mode.
- - More menus related to application
features, including:
Themes - - Select the theme for the
music app
’
s window: Gloss Theme,
Black Theme, Dark Theme, Light Theme.
Settings - - More settings menu can
be found here, including
“
Customize
Sections
”
,
“
Rescan Music Library
”
,
“
Backup/Restore Playlist
”
, etc.
APP introduction
·
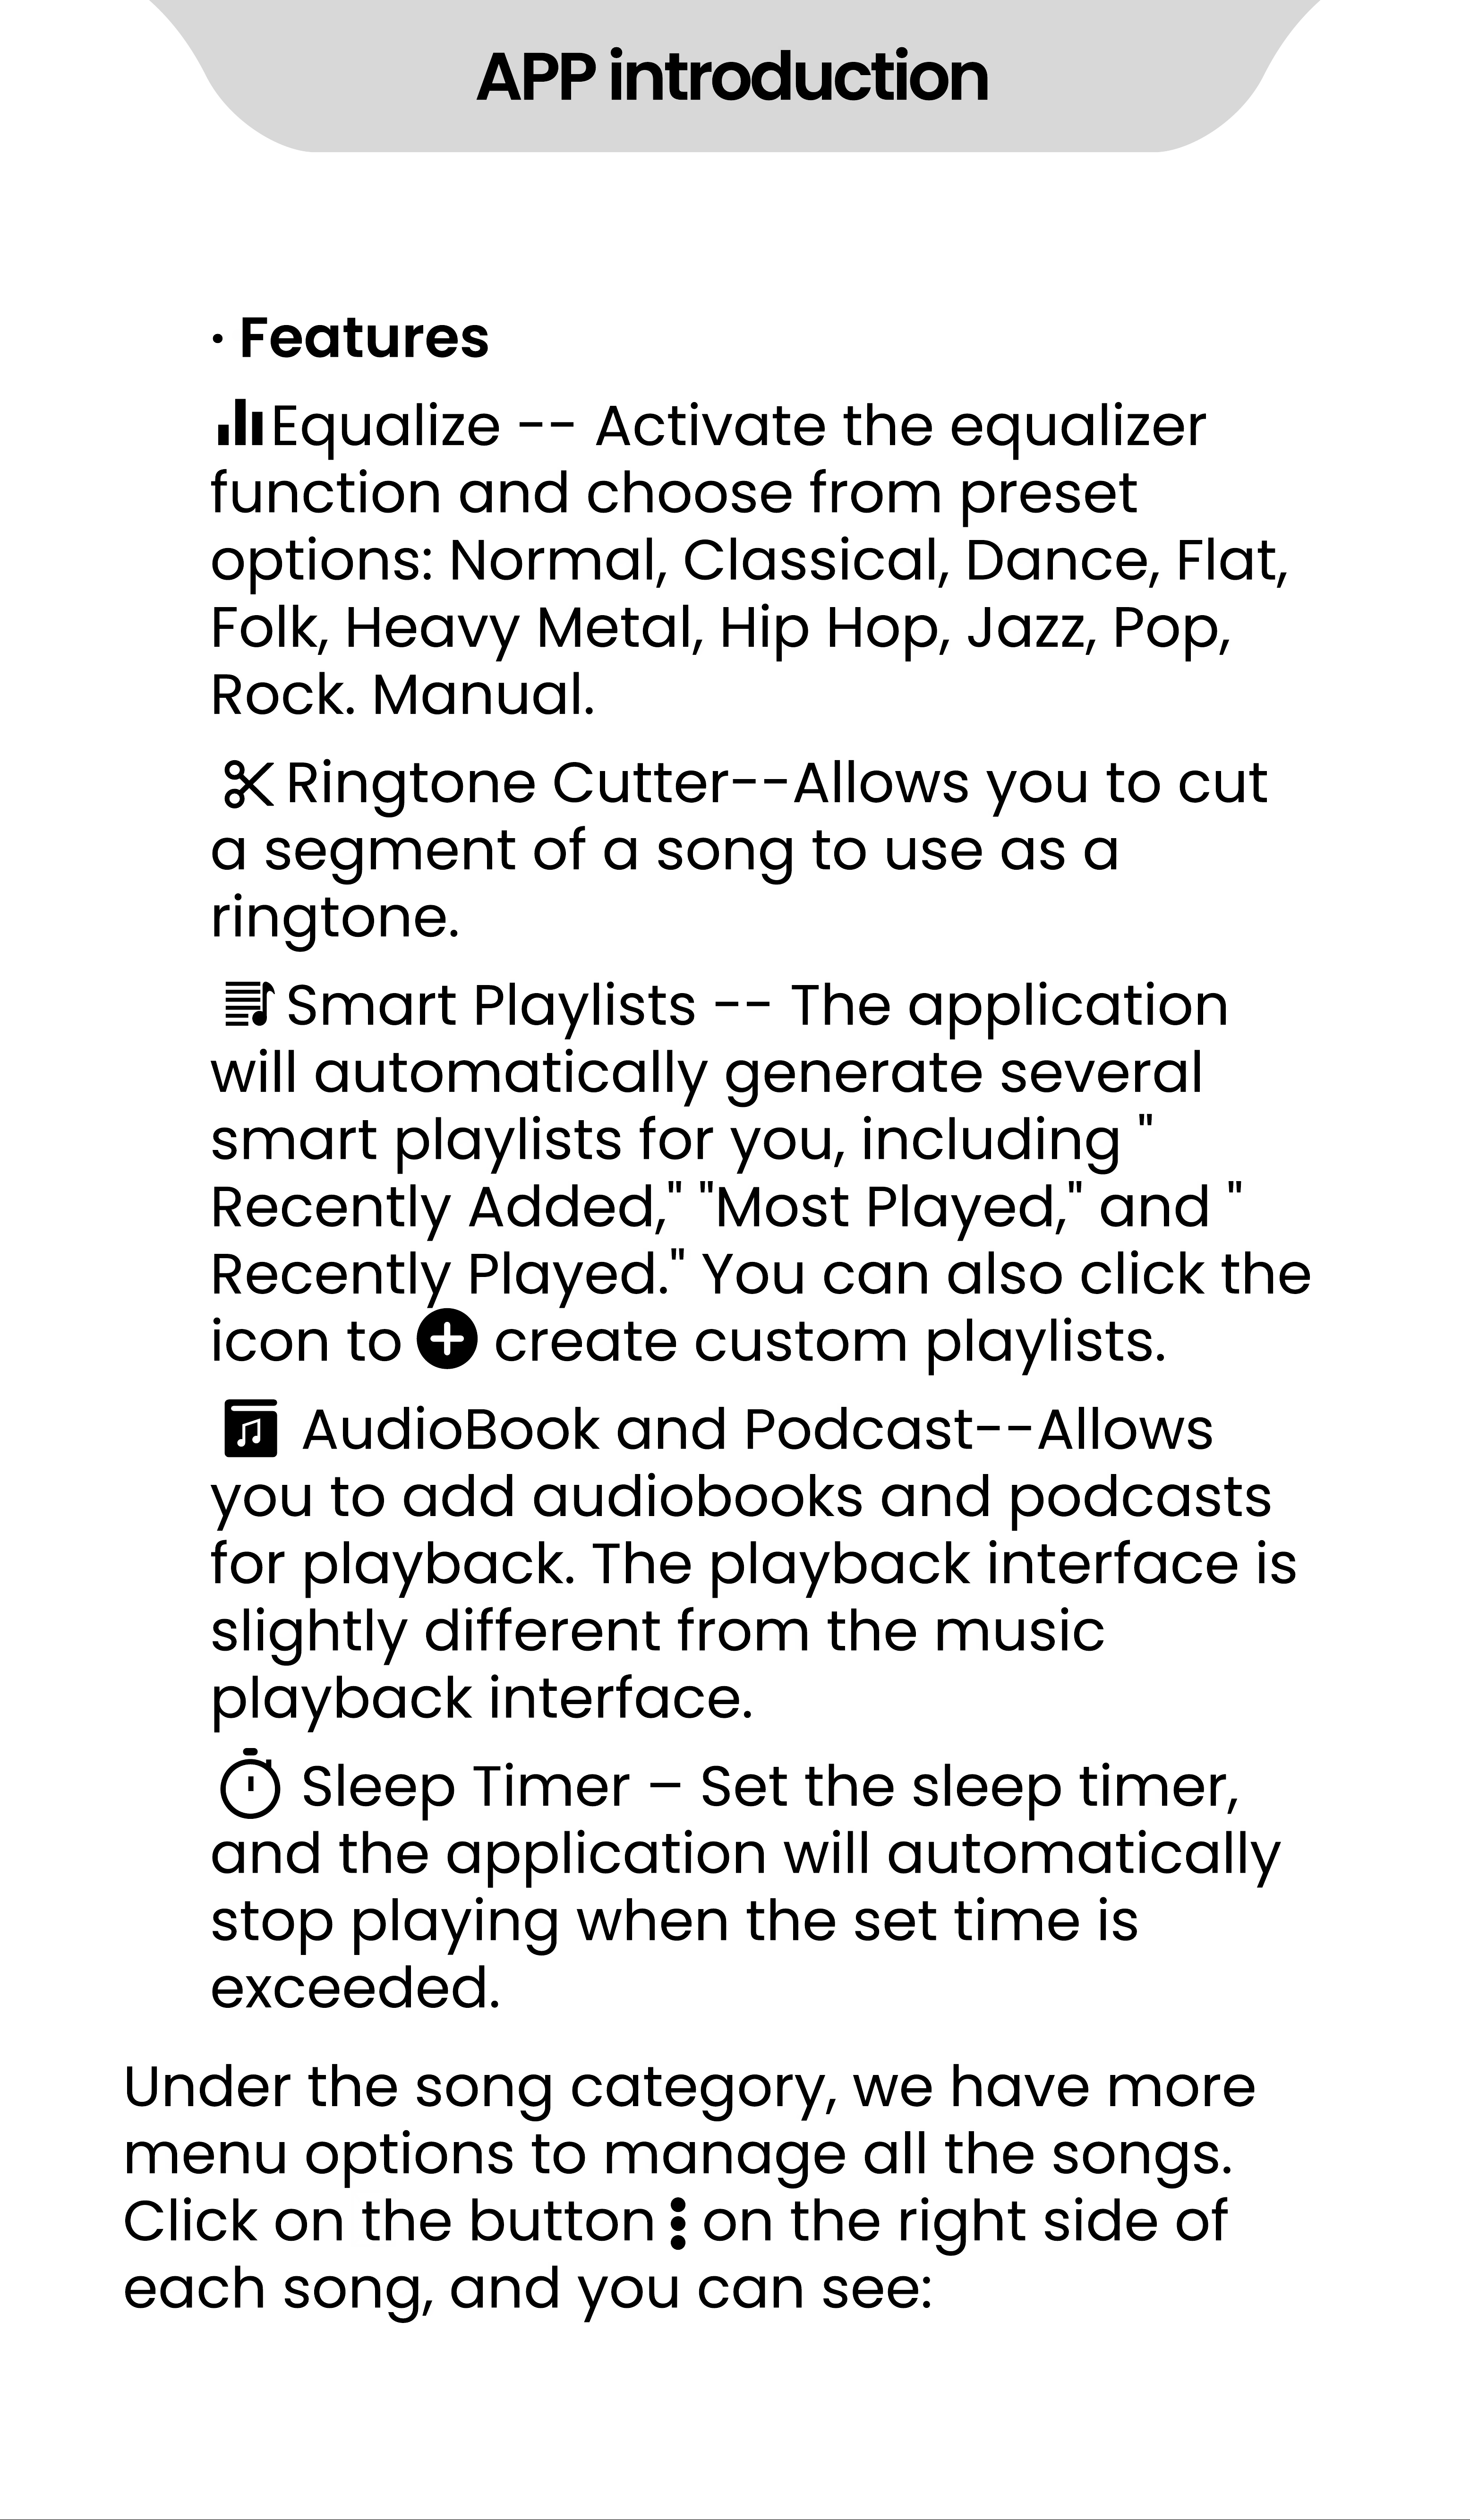
Features
Equalize - - Activate the equalizer
function and choose from preset
options: Normal, Classical, Dance, Flat,
Folk, Heavy Metal, Hip Hop, Jazz, Pop,
Rock. Manual.
Ringtone Cutter- - Allows you to cut
a segment of a song to use as a
ringtone.
Smart Playlists - - The application
will automatically generate several
smart playlists for you, including "
Recently Added," "Most Played," and "
Recently Played." You can also click the
icon to create custom playlists.
AudioBook and Podcast- - Allows
you to add audiobooks and podcasts
for playback. The playback interface is
slightly different from the music
playback interface.
Sleep Timer
‒
Set the sleep timer,
and the application will automatically
stop playing when the set time is
exceeded.
Under the song category, we have more
menu options to manage all the songs.
Click onthe button on the right side of
each song, and you can see:
APP introduction
·
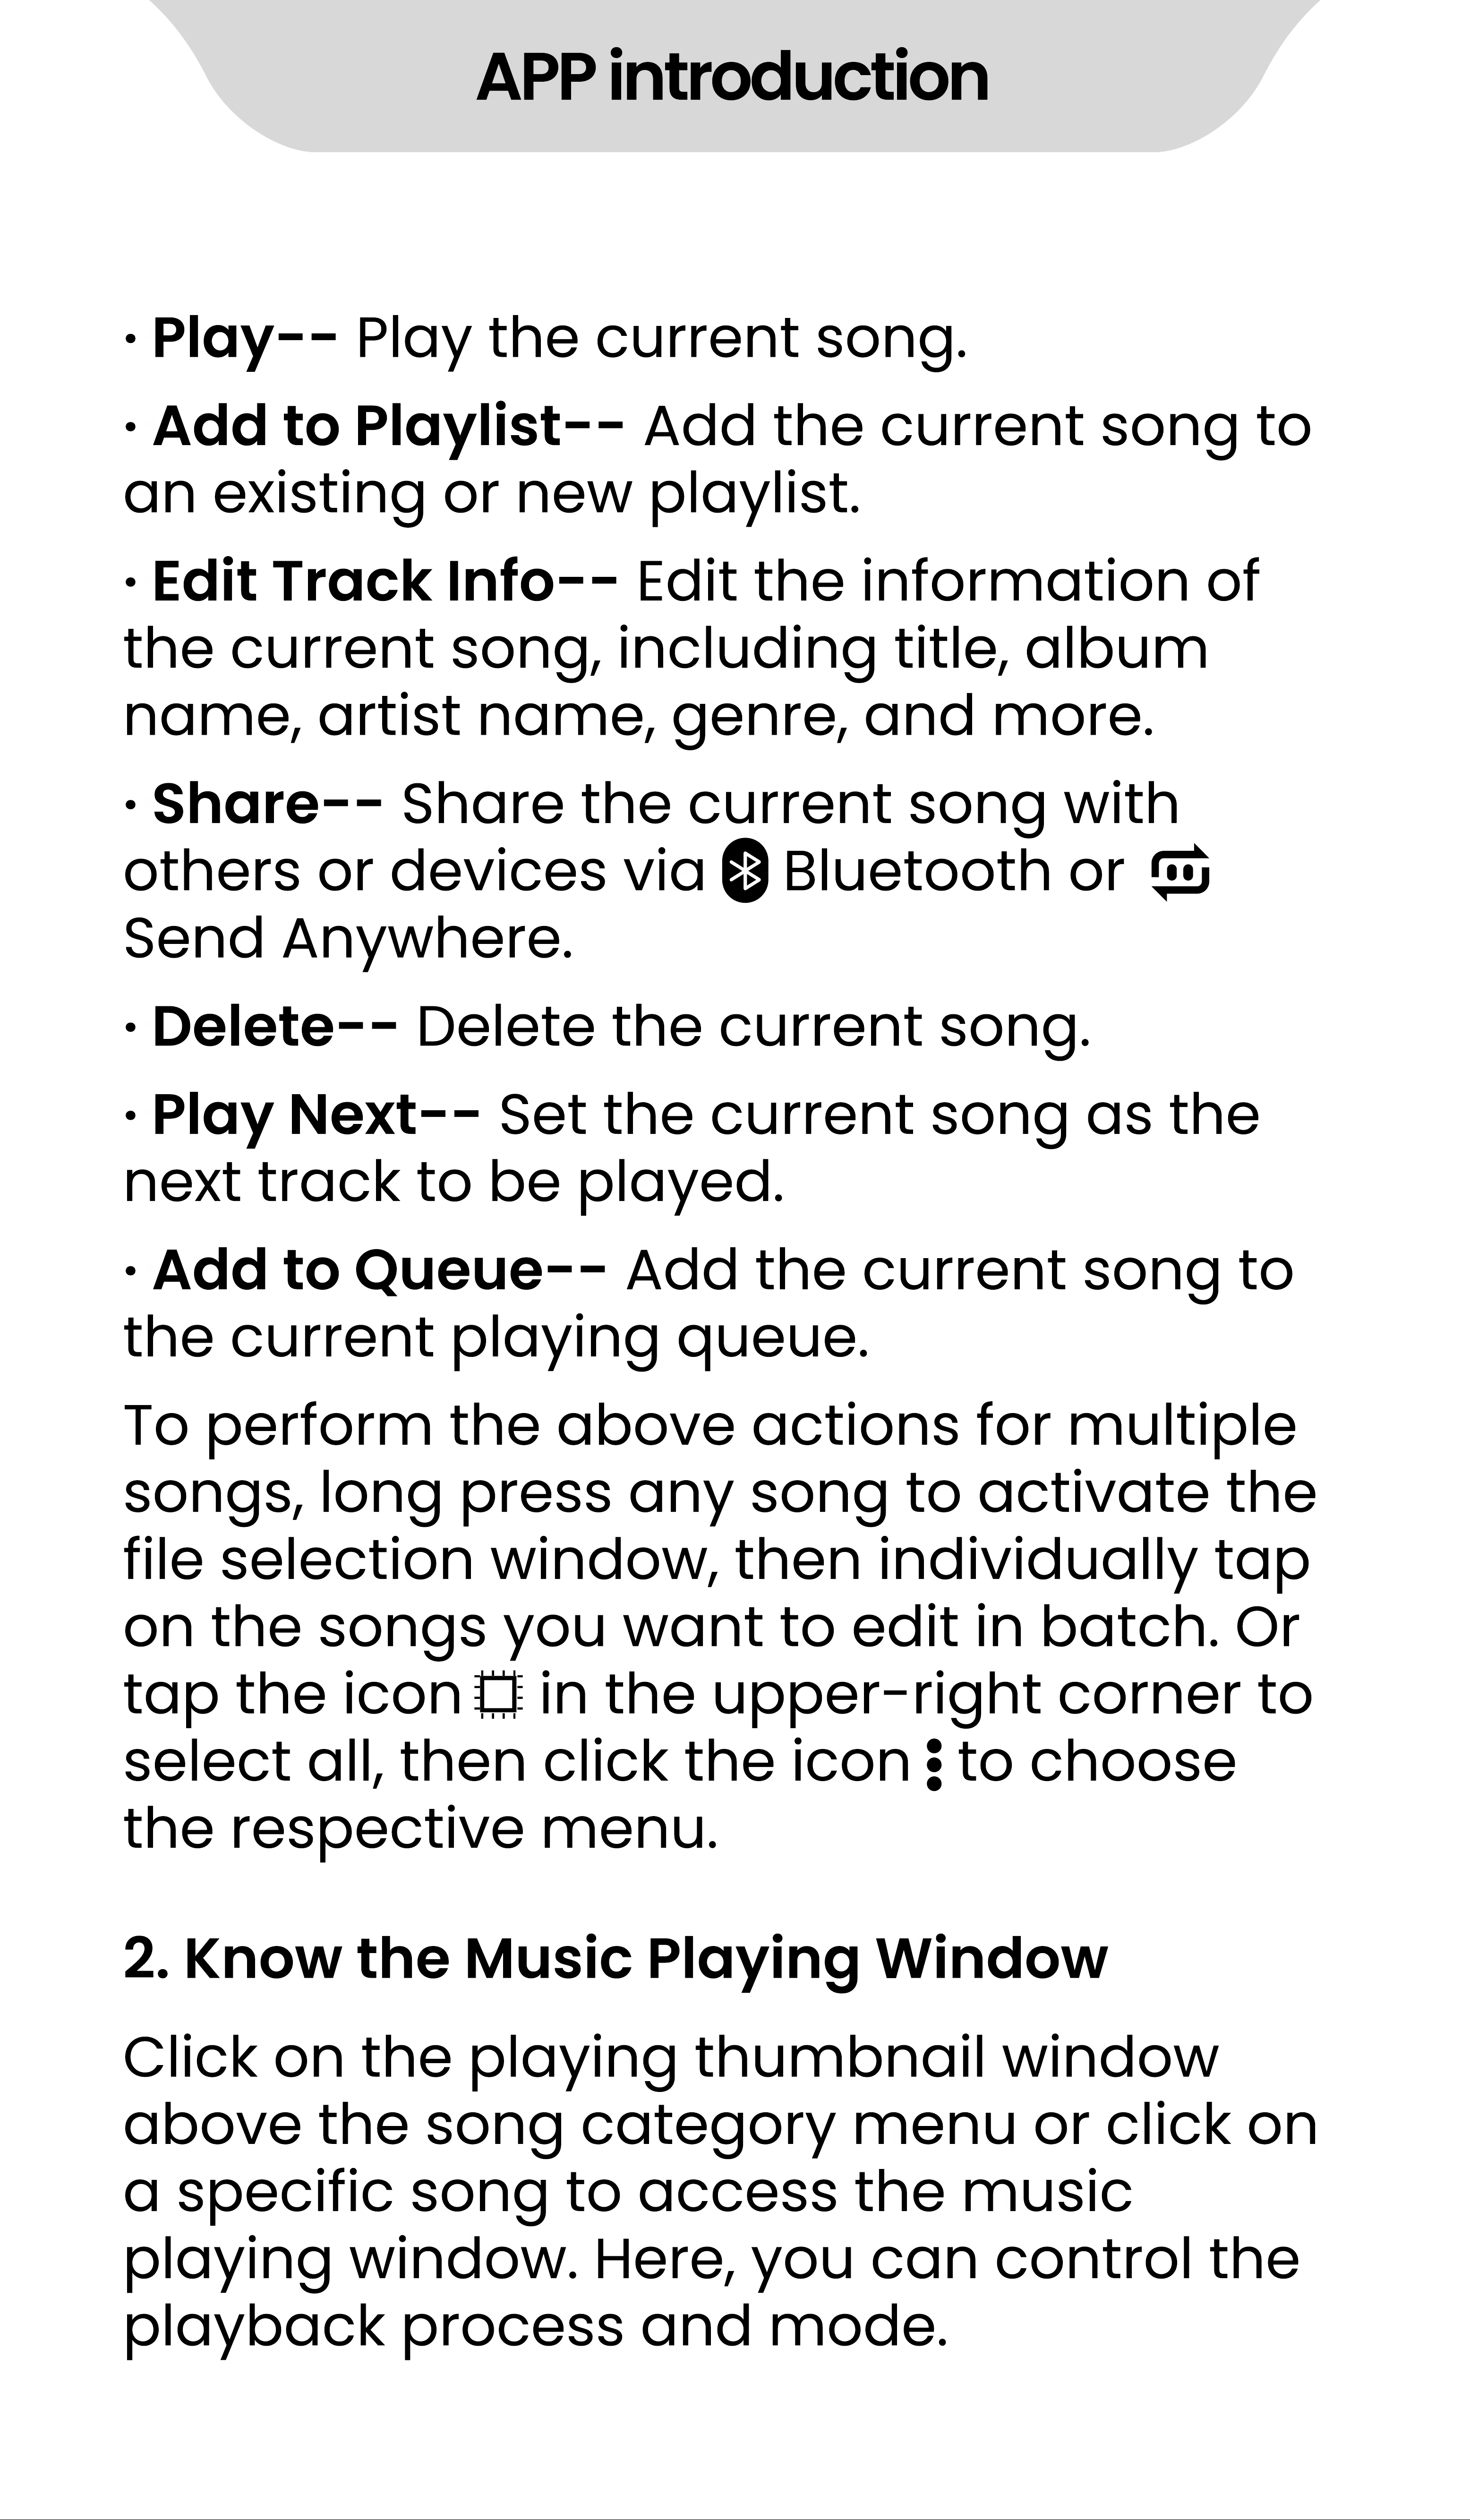
Play- - Play the current song.
·
Add to Playlist- - Add the current song to
an existing or new playlist.
·
Edit Track Info- - Edit the information of
the current song, including title, album
name, artist name, genre, and more.
·
Share- - Share the current song with
others or devices via Bluetooth or
Send Anywhere.
·
Delete- - Delete the current song.
·
Play Next- - Set the current song as the
next track to be played.
·
Add to Queue- - Add the current song to
the current playing queue.
To perform the above actions for multiple
songs, long press any song to activate the
file selection window, then individually tap
on the songs you want to edit in batch. Or
tap the icon in the upper- right corner to
select all, then click the icon to choose
the respective menu.
Click on the playing thumbnail window
above the song category menu or click on
a specific song to access the music
playing window. Here, you can control the
playback process and mode.
2. Know the Music Playing Window
APP introduction
·
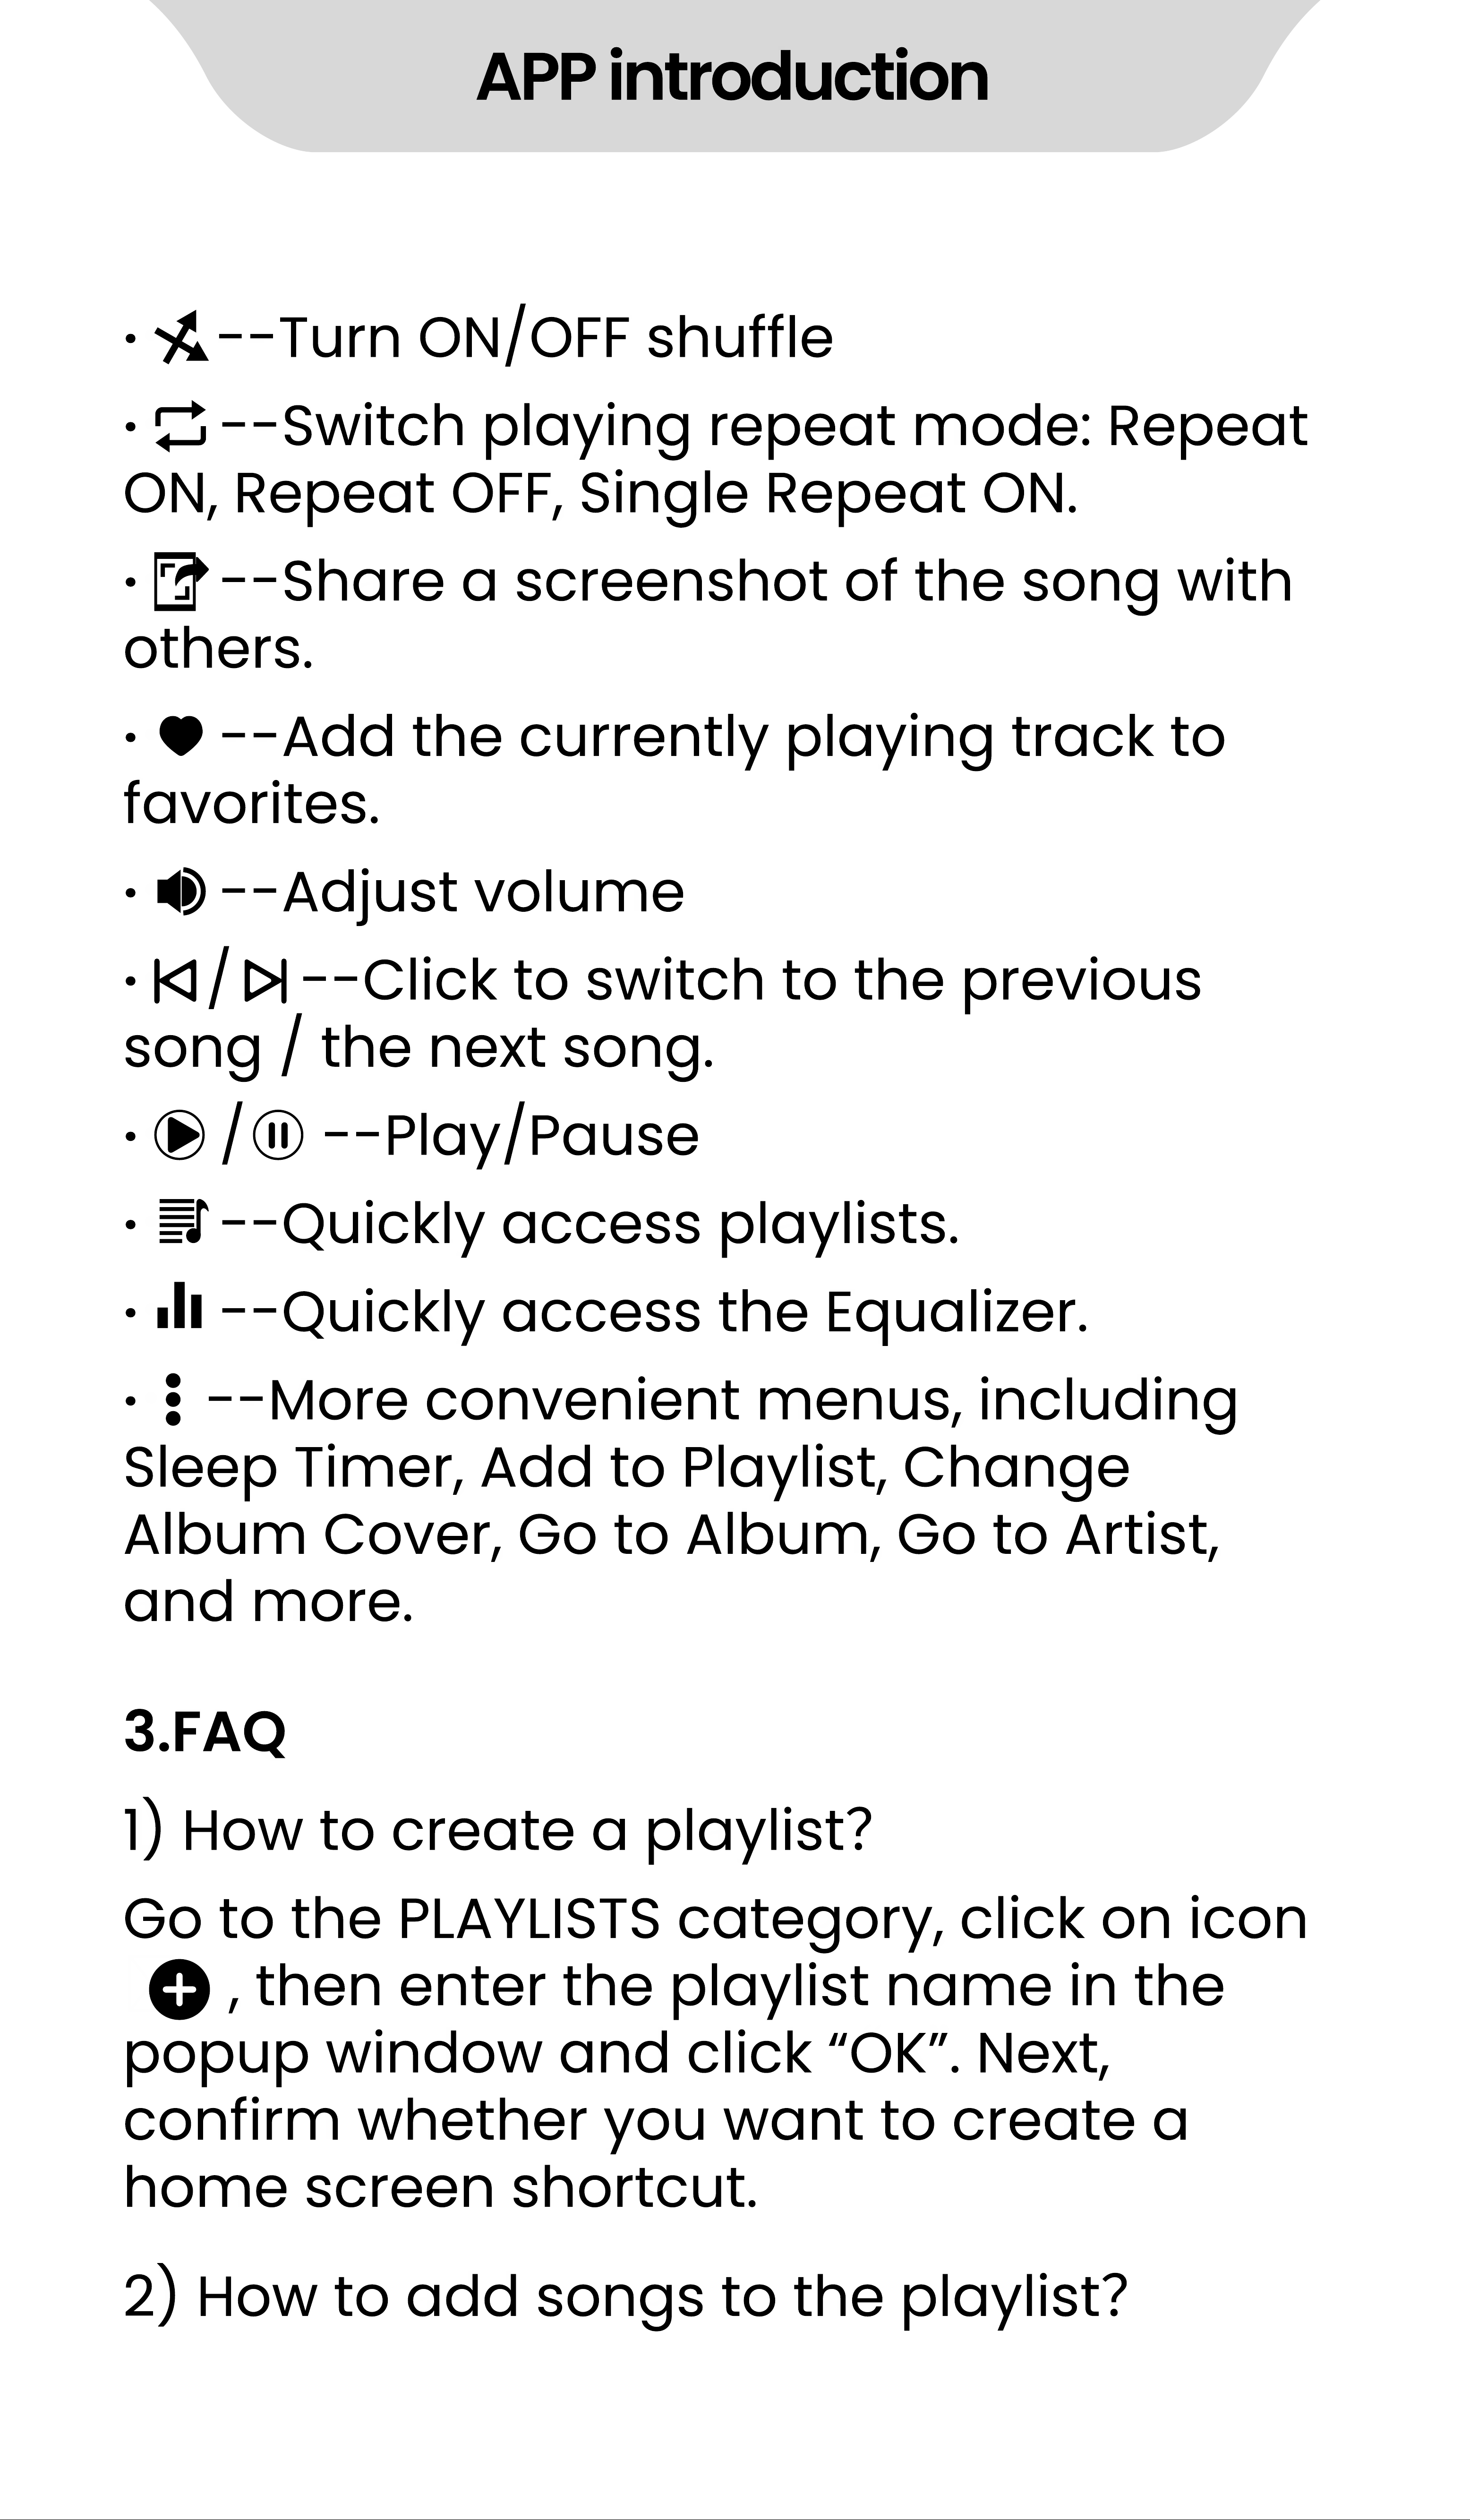
- - Turn ON/OFF shuffle
·
- - Switch playing repeat mode: Repeat
ON, Repeat OFF, Single Repeat ON.
·
- - Share a screenshot of the song with
others.
·
- - Add the currently playing track to
favorites.
·
- - Adjust volume
·
/ - - Click to switch to the previous
song / the next song.
·
/ - - Play/Pause
·
- - Quickly access playlists.
·
- - Quickly access the Equalizer.
·
- - More convenient menus, including
Sleep Timer, Add to Playlist, Change
Album Cover, Go to Album, Go to Artist,
and more.
1) How to create a playlist
?
2) How to add songs to the playlist
?
Go to the PLAYLISTS category, click on icon
, then enter the playlist name in the
popup window and click
“
OK
”
. Next,
confirm whether you want to create a
home screen shortcut.
3.FAQ
APP introduction
·
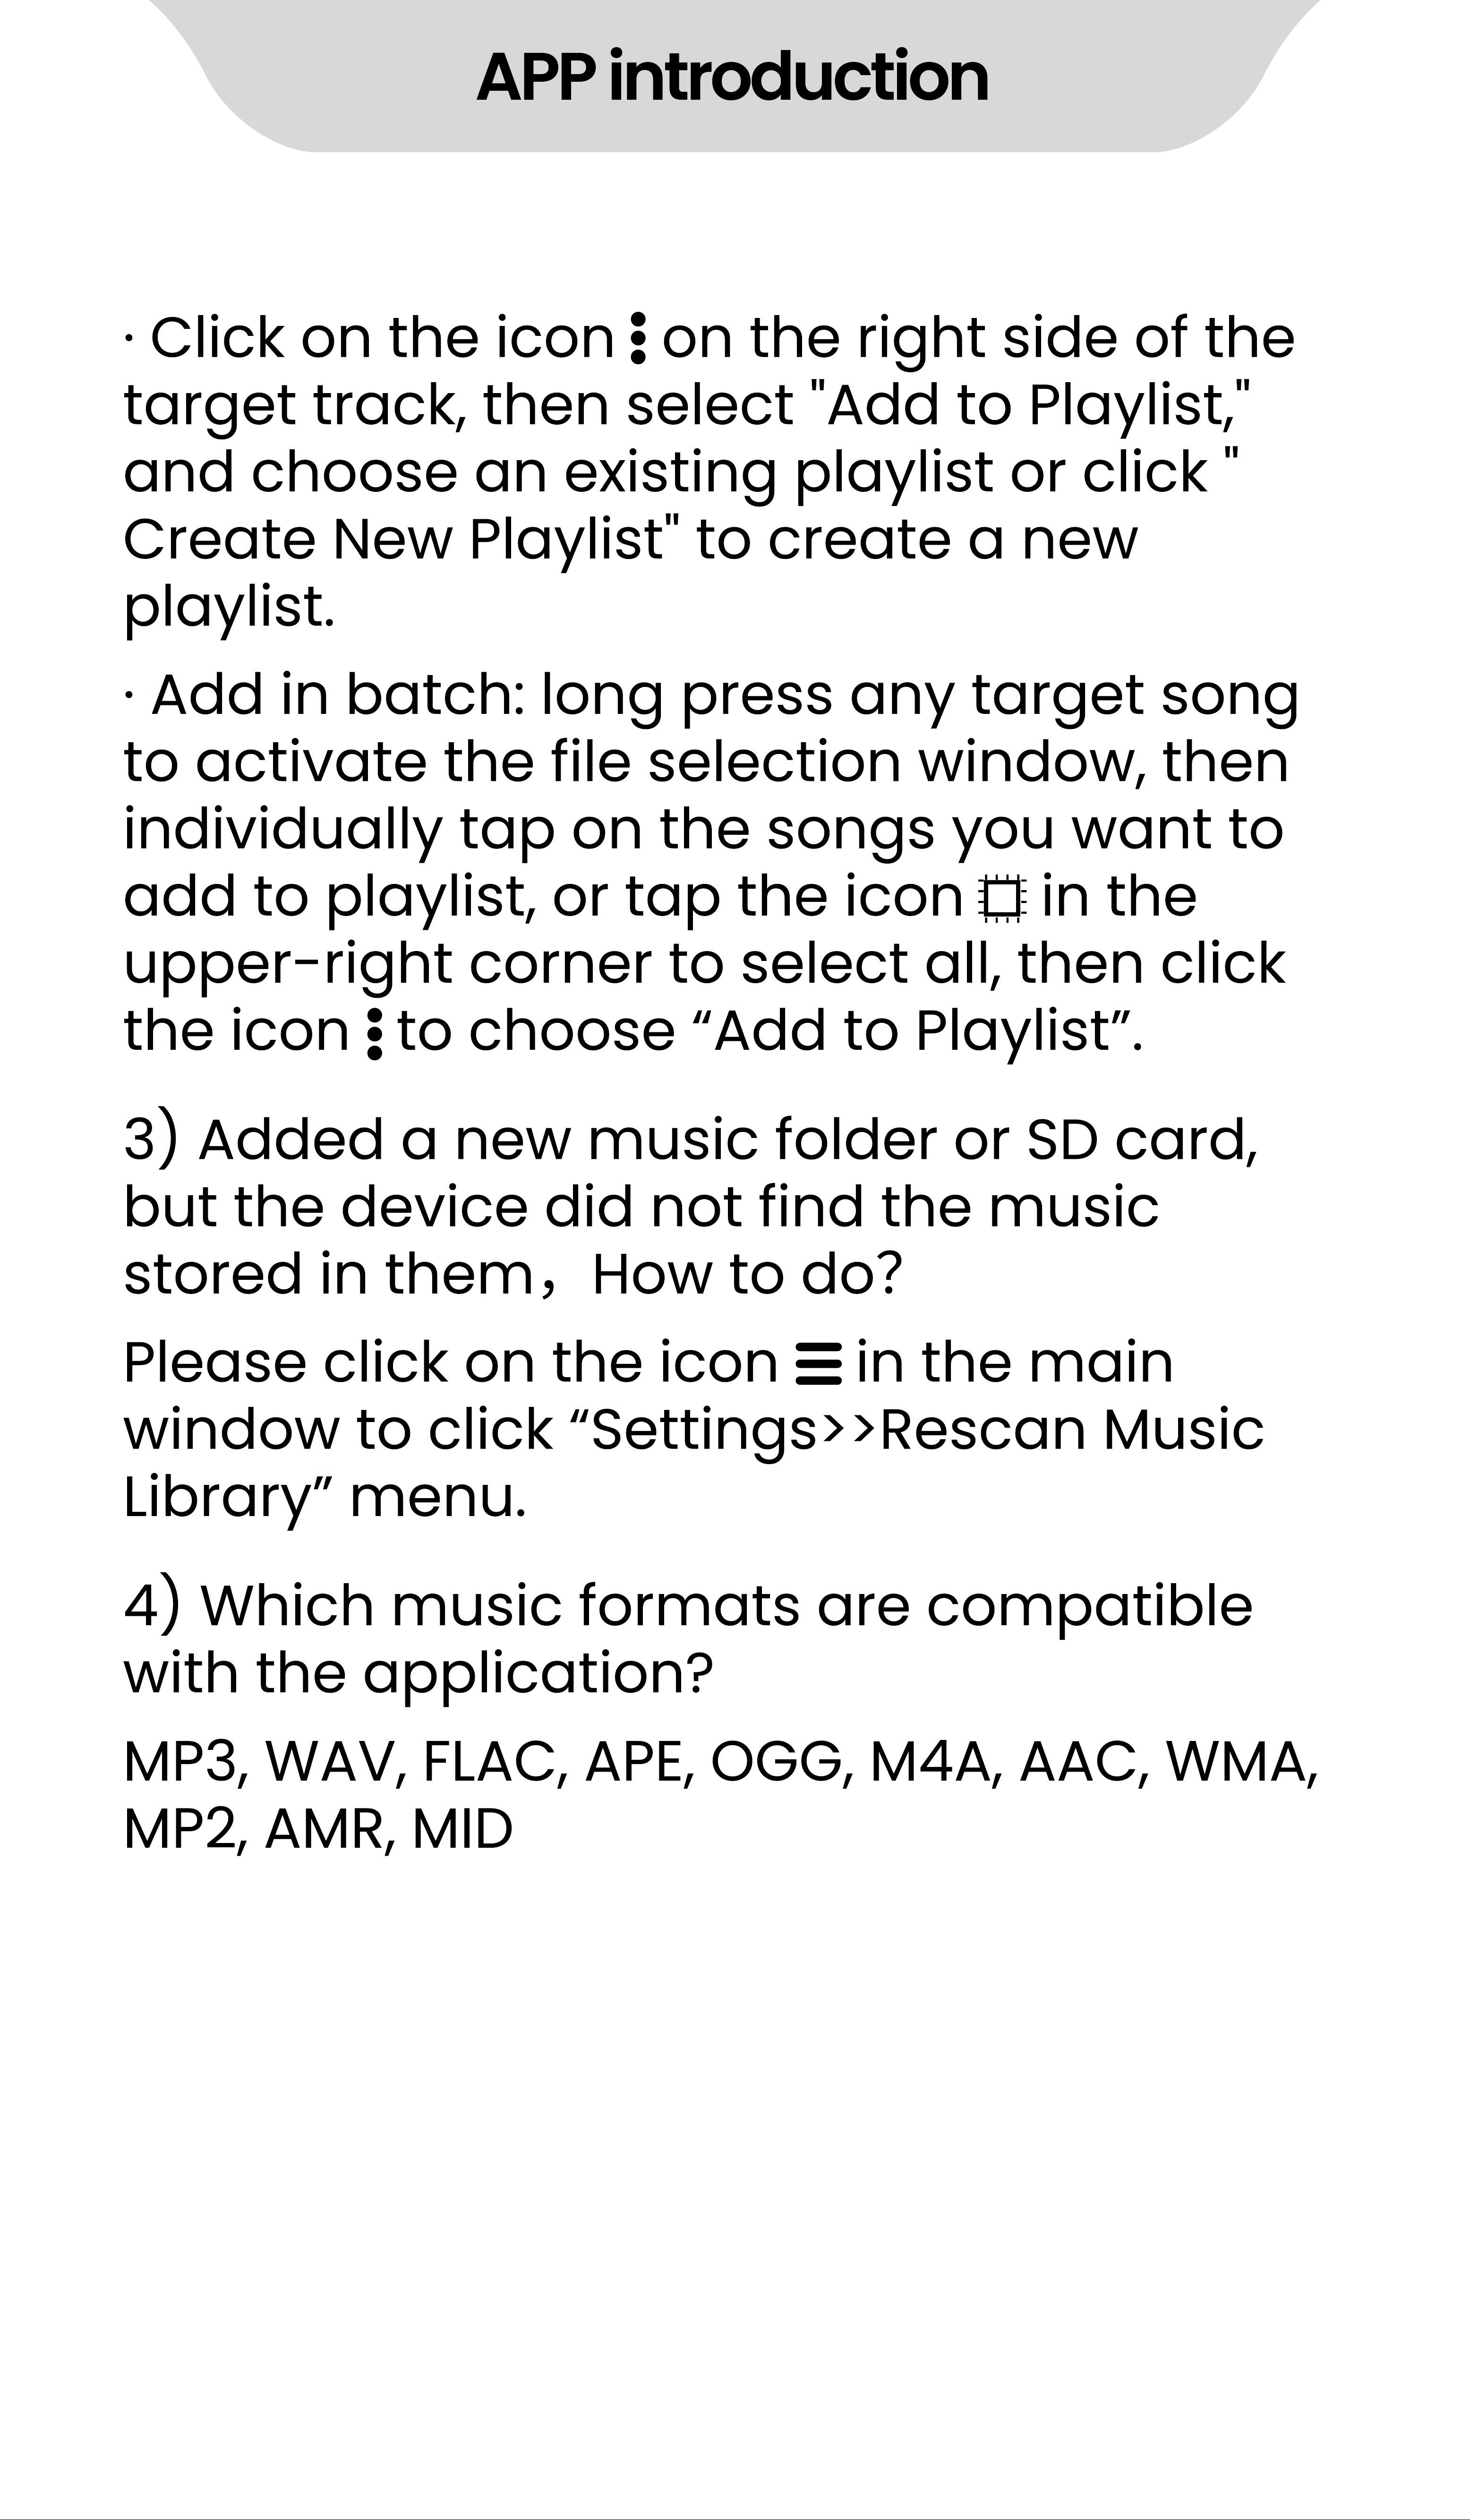
Click on the icon on the right side of the
target track, then select "Add to Playlist,"
and choose an existing playlist or click "
Create New Playlist" to create a new
playlist.
3) Added a new music folder or SD card,
but the device did not find the music
stored in them
,
How to do
?
4) Which music formats are compatible
with the application?
Please click on the icon in the main
window to click
“
Settings>>Rescan Music
Library
”
menu.
MP3, WAV, FLAC, APE, OGG, M4A, AAC, WMA,
MP2, AMR, MID
·
Add in batch: long press any target song
to activate the file selection window, then
individually tap on the songs you want to
add to playlist, or tap the icon in the
upper- right corner to select all, then click
the icon to choose
“
Add to Playlist
”
.
APP introduction
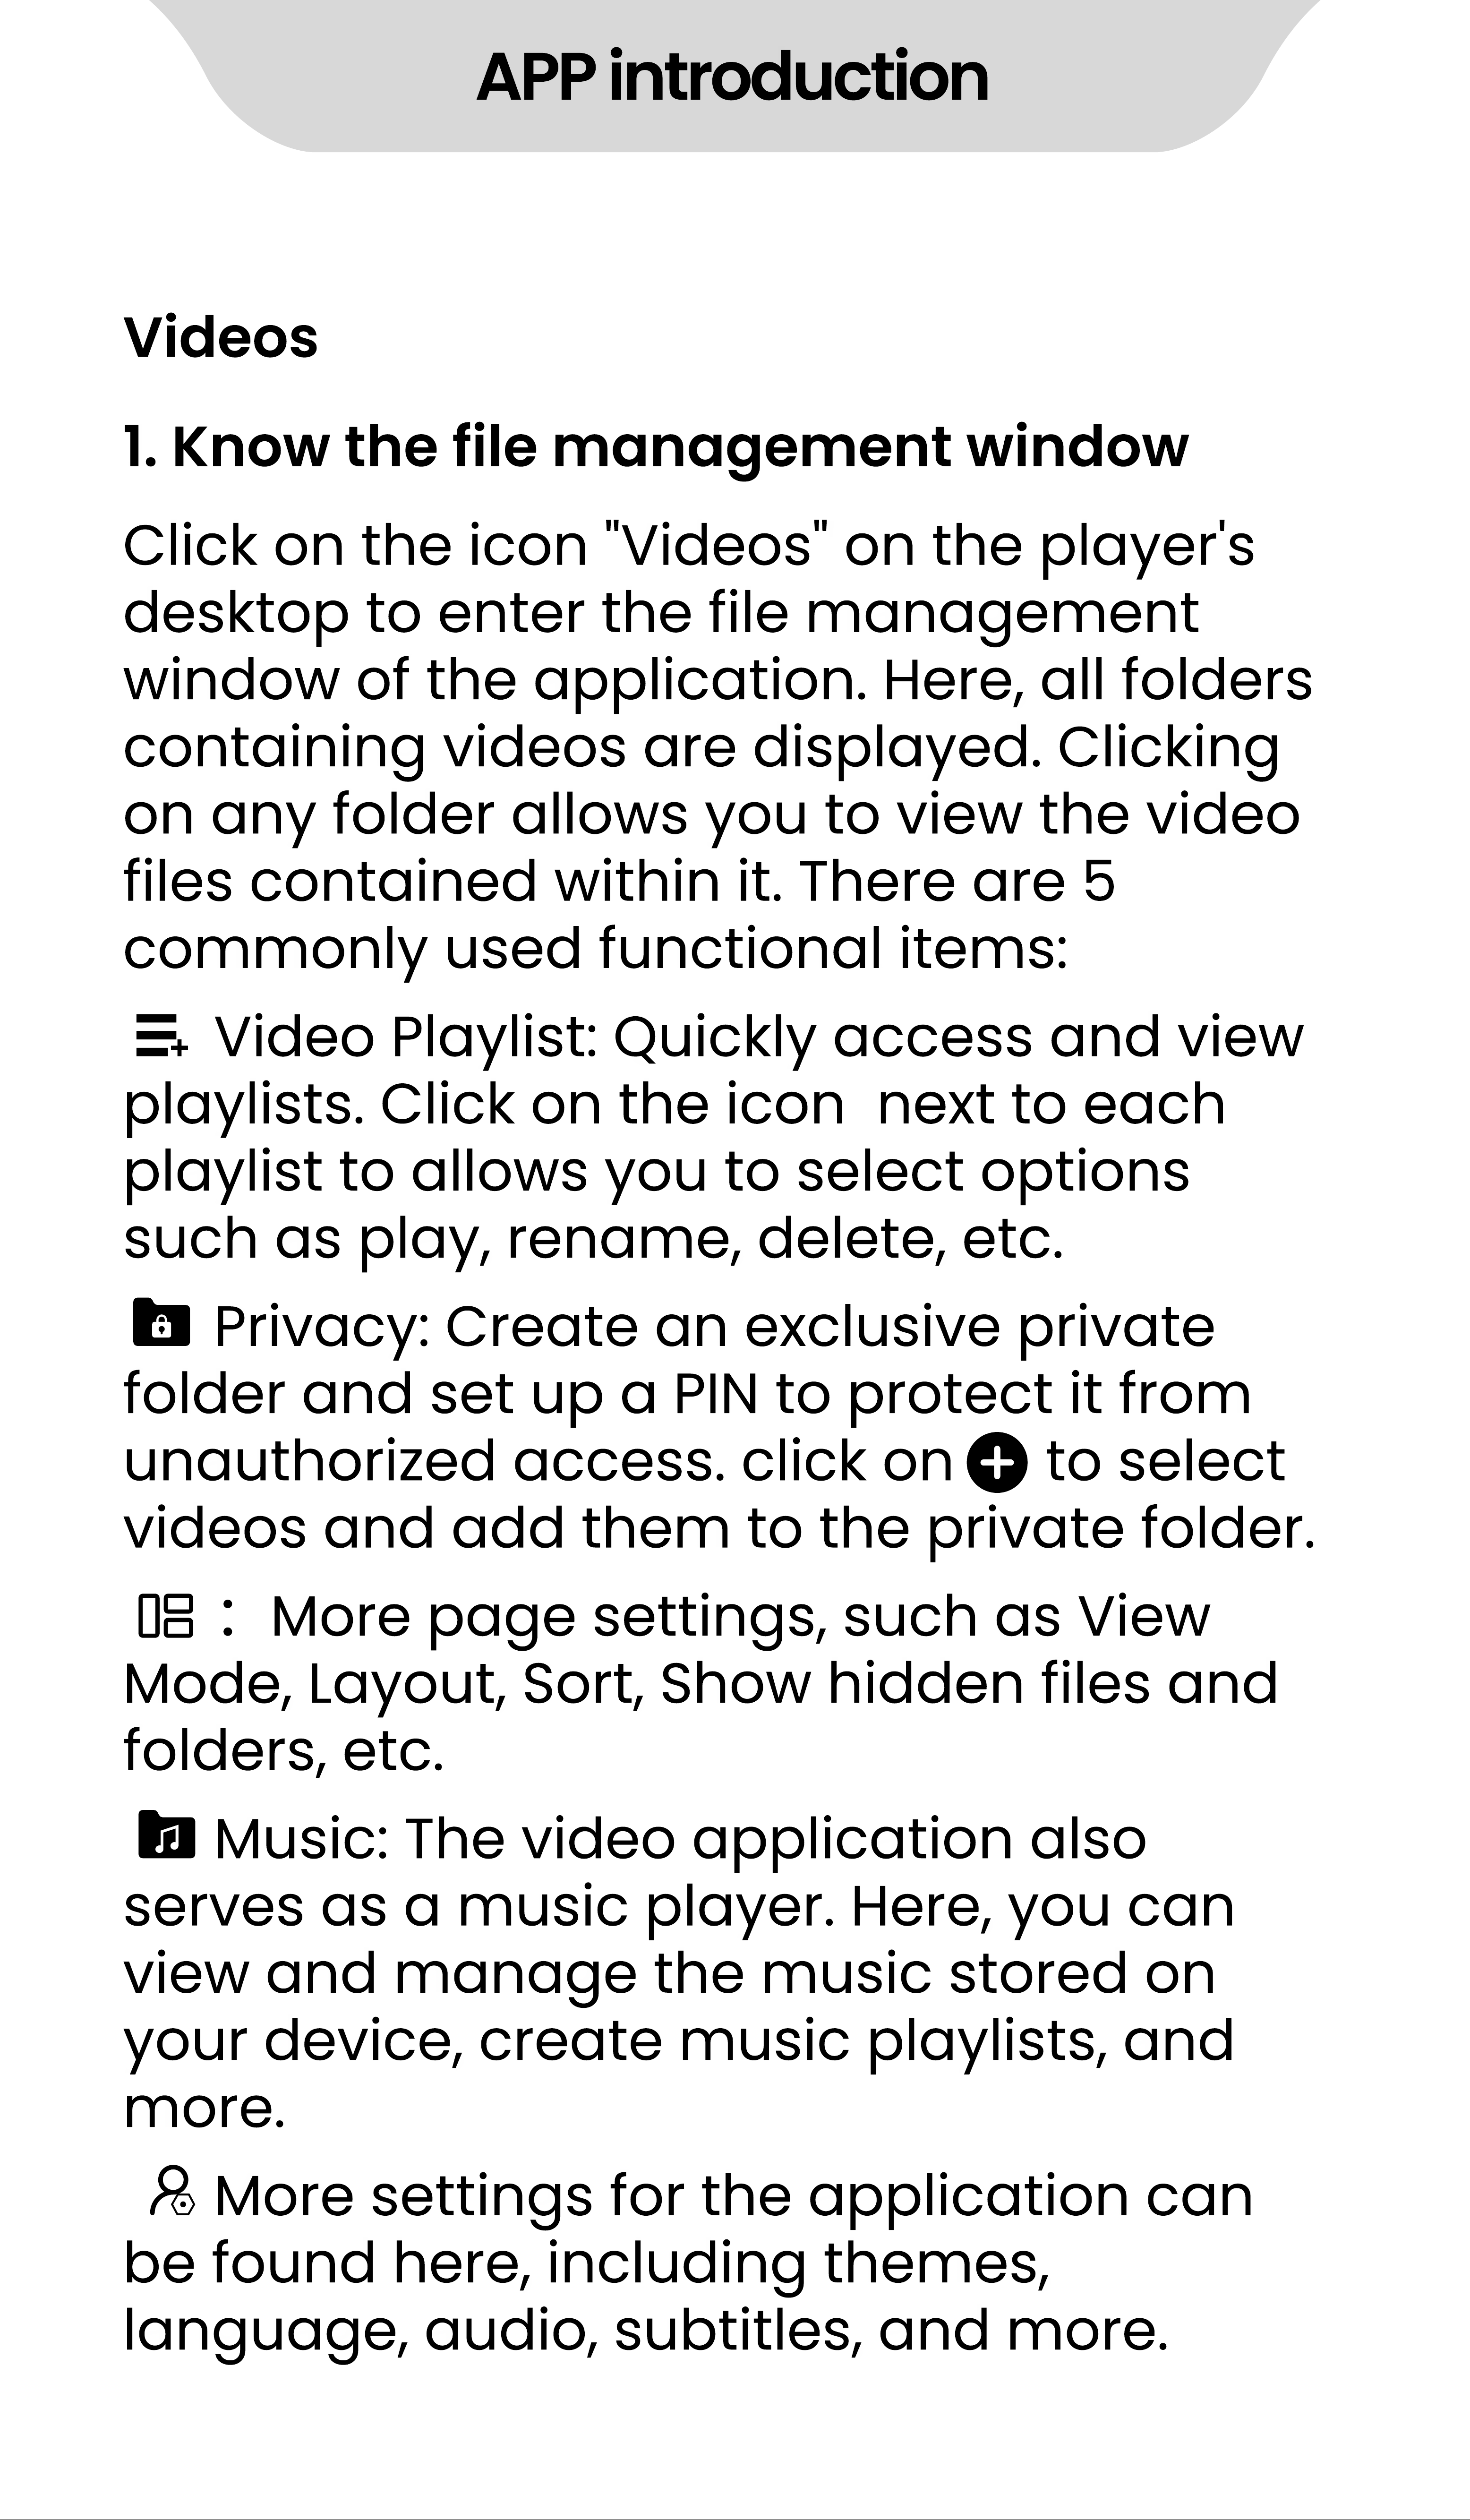
Videos
1. Know the file management window
Click on the icon "Videos" on the player's
desktop to enter the file management
window of the application. Here, all folders
containing videos are displayed. Clicking
on any folder allows you to view the video
files contained within it. There are 5
commonly used functional items:
Video Playlist: Quickly access and view
playlists. Click on the icon next to each
playlist to allows you to select options
such as play, rename, delete, etc.
Privacy: Create an exclusive private
folder and set up a PIN to protect it from
unauthorized access. click on to select
videos and add them to the private folder.
:
More page settings, such as View
Mode, Layout, Sort, Show hidden files and
folders, etc.
Music: The video application also
serves as a music player. Here, you can
view and manage the music stored on
your device, create music playlists, and
more.
More settings for the application can
be found here, including themes,
language, audio, subtitles, and more.
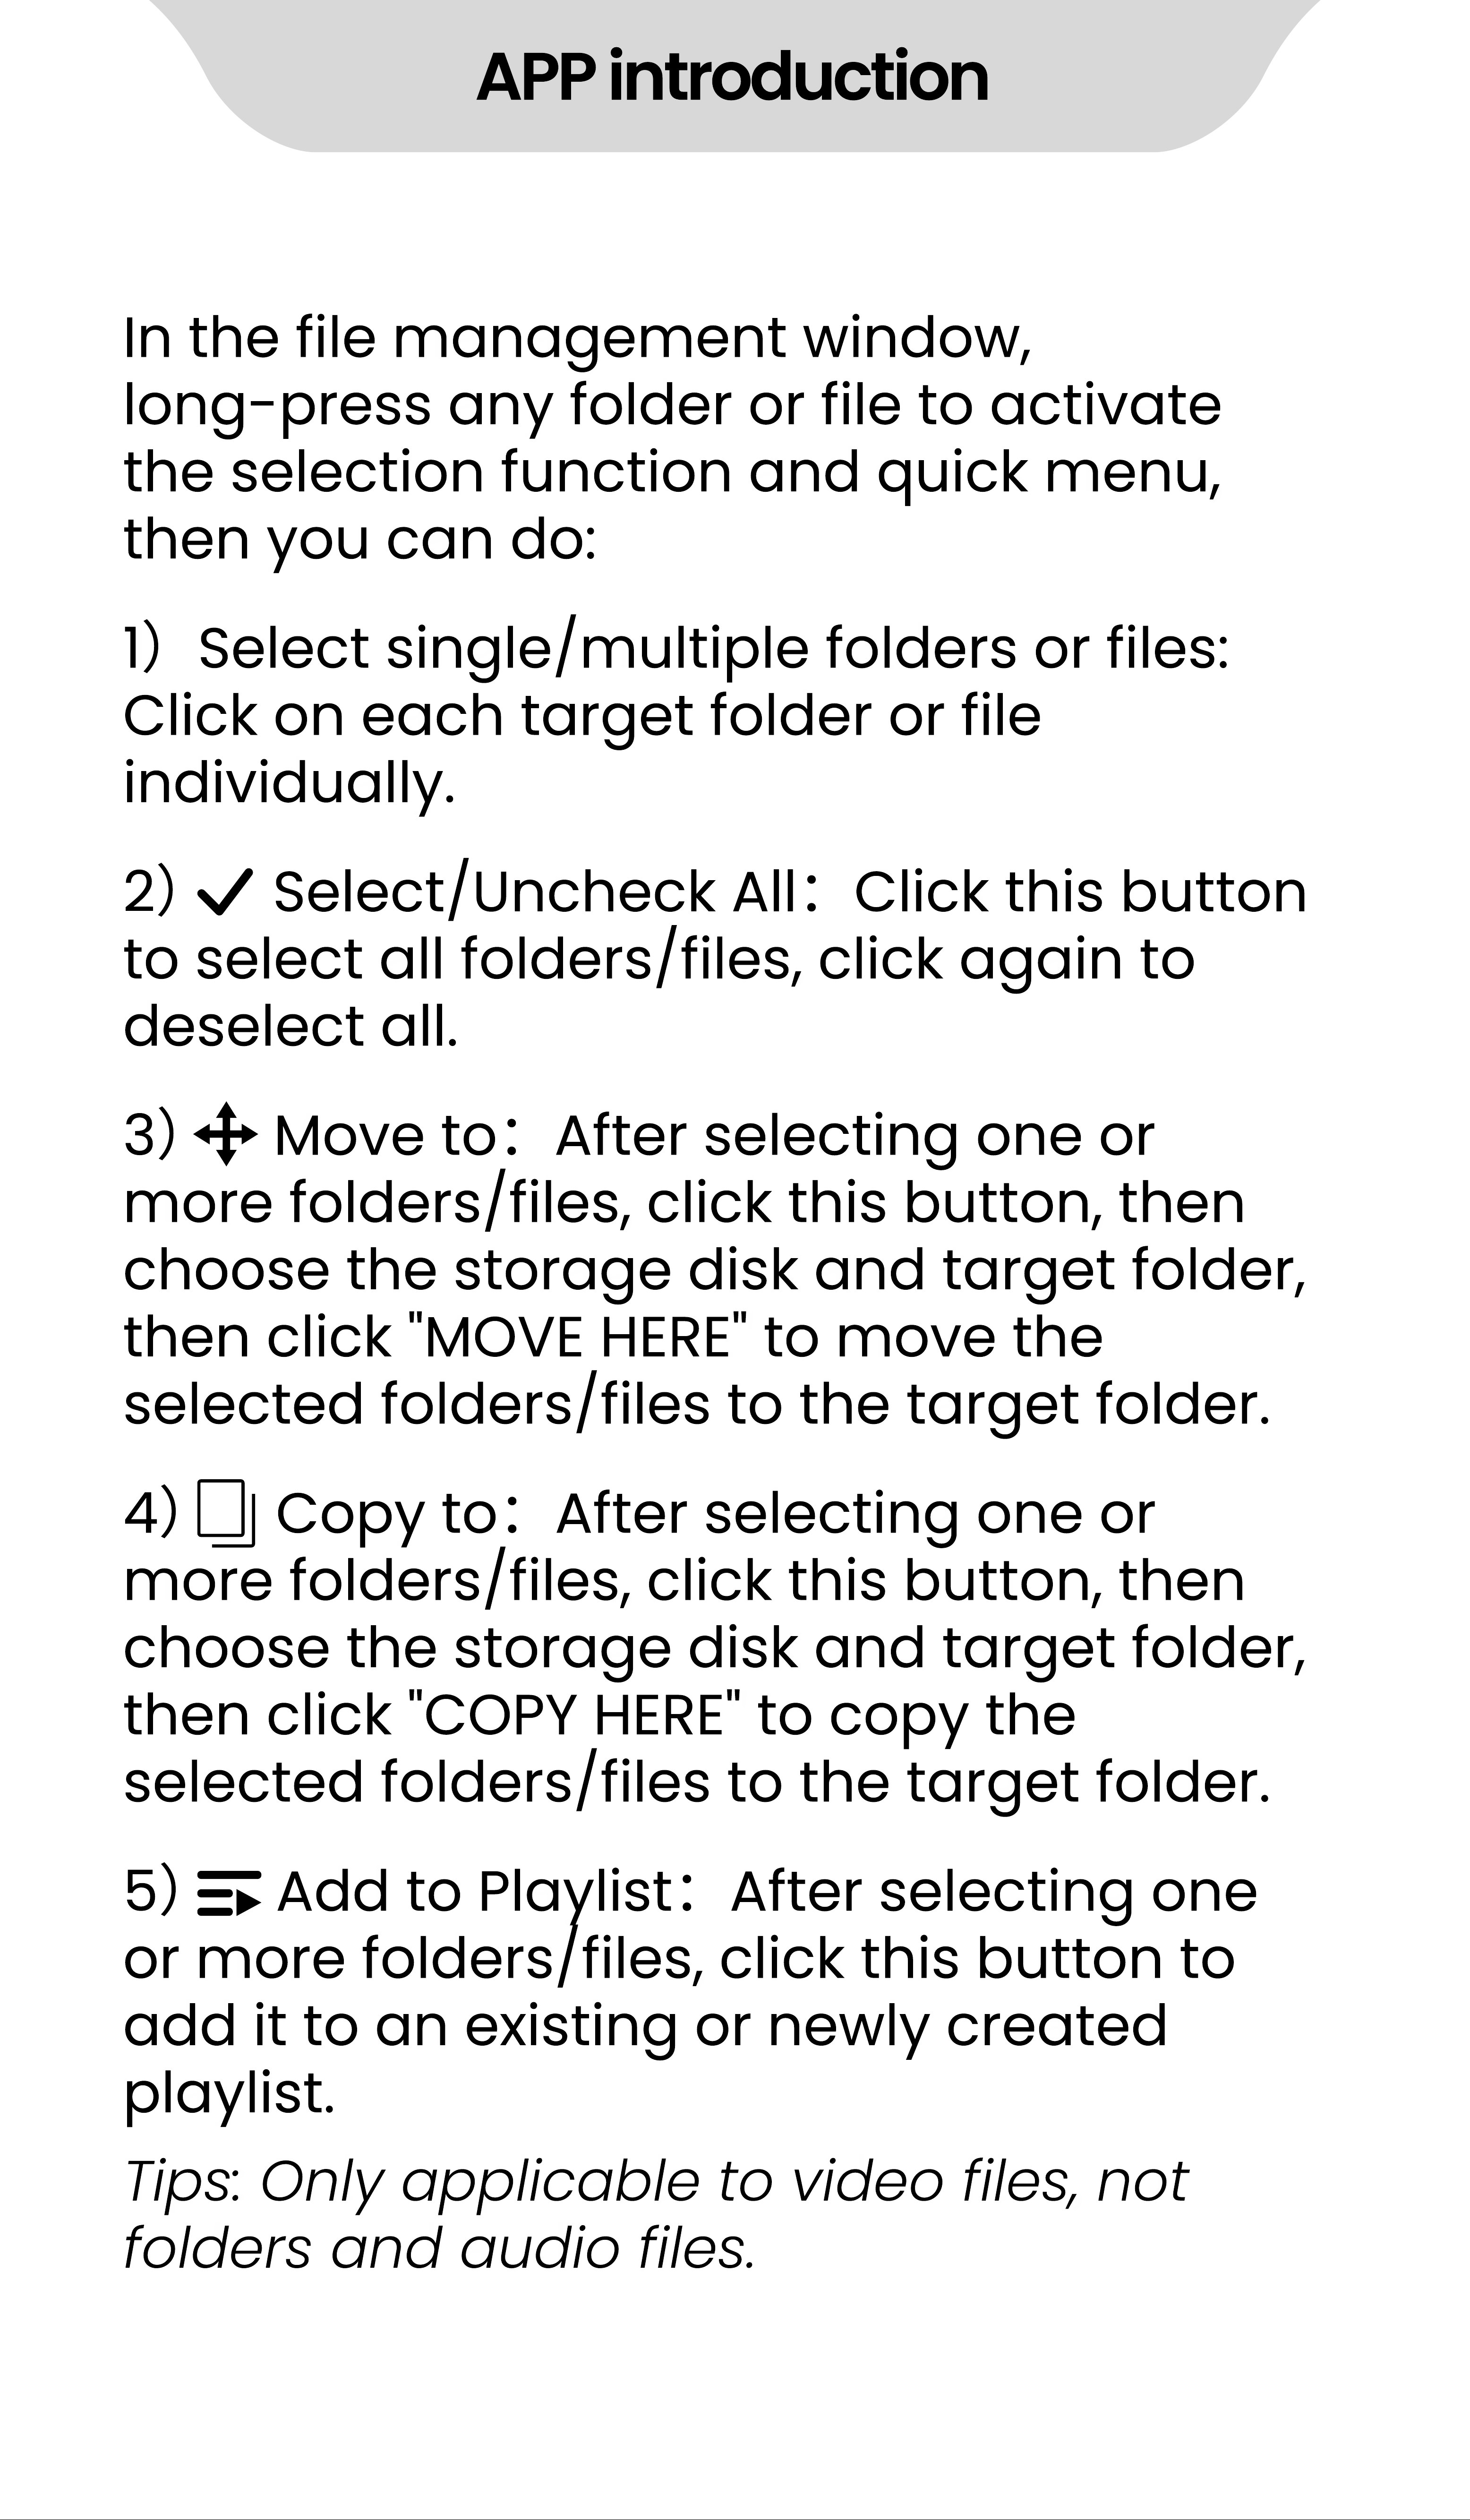
APP introduction
In the file management window,
long- press any folder or file to activate
the selection function and quick menu,
then you can do:
1
)
Select single/multiple folders or files:
Click on each target folder or file
individually.
2
)
Select/Uncheck All
:
Click this button
to select all folders/files, click again to
deselect all.
3
)
Move to
:
After selecting one or
more folders/files, click this button, then
choose the storage disk and target folder,
then click "MOVE HERE" to move the
selected folders/files to the target folder.
4
)
Copy to
:
After selecting one or
more folders/files, click this button, then
choose the storage disk and target folder,
then click "COPY HERE" to copy the
selected folders/files to the target folder.
5
)
Add to Playlist
:
After selecting one
or more folders/files, click this button to
add it to an existing or newly created
playlist.
Tips: Only applicable to video files, not
folders and audio files.
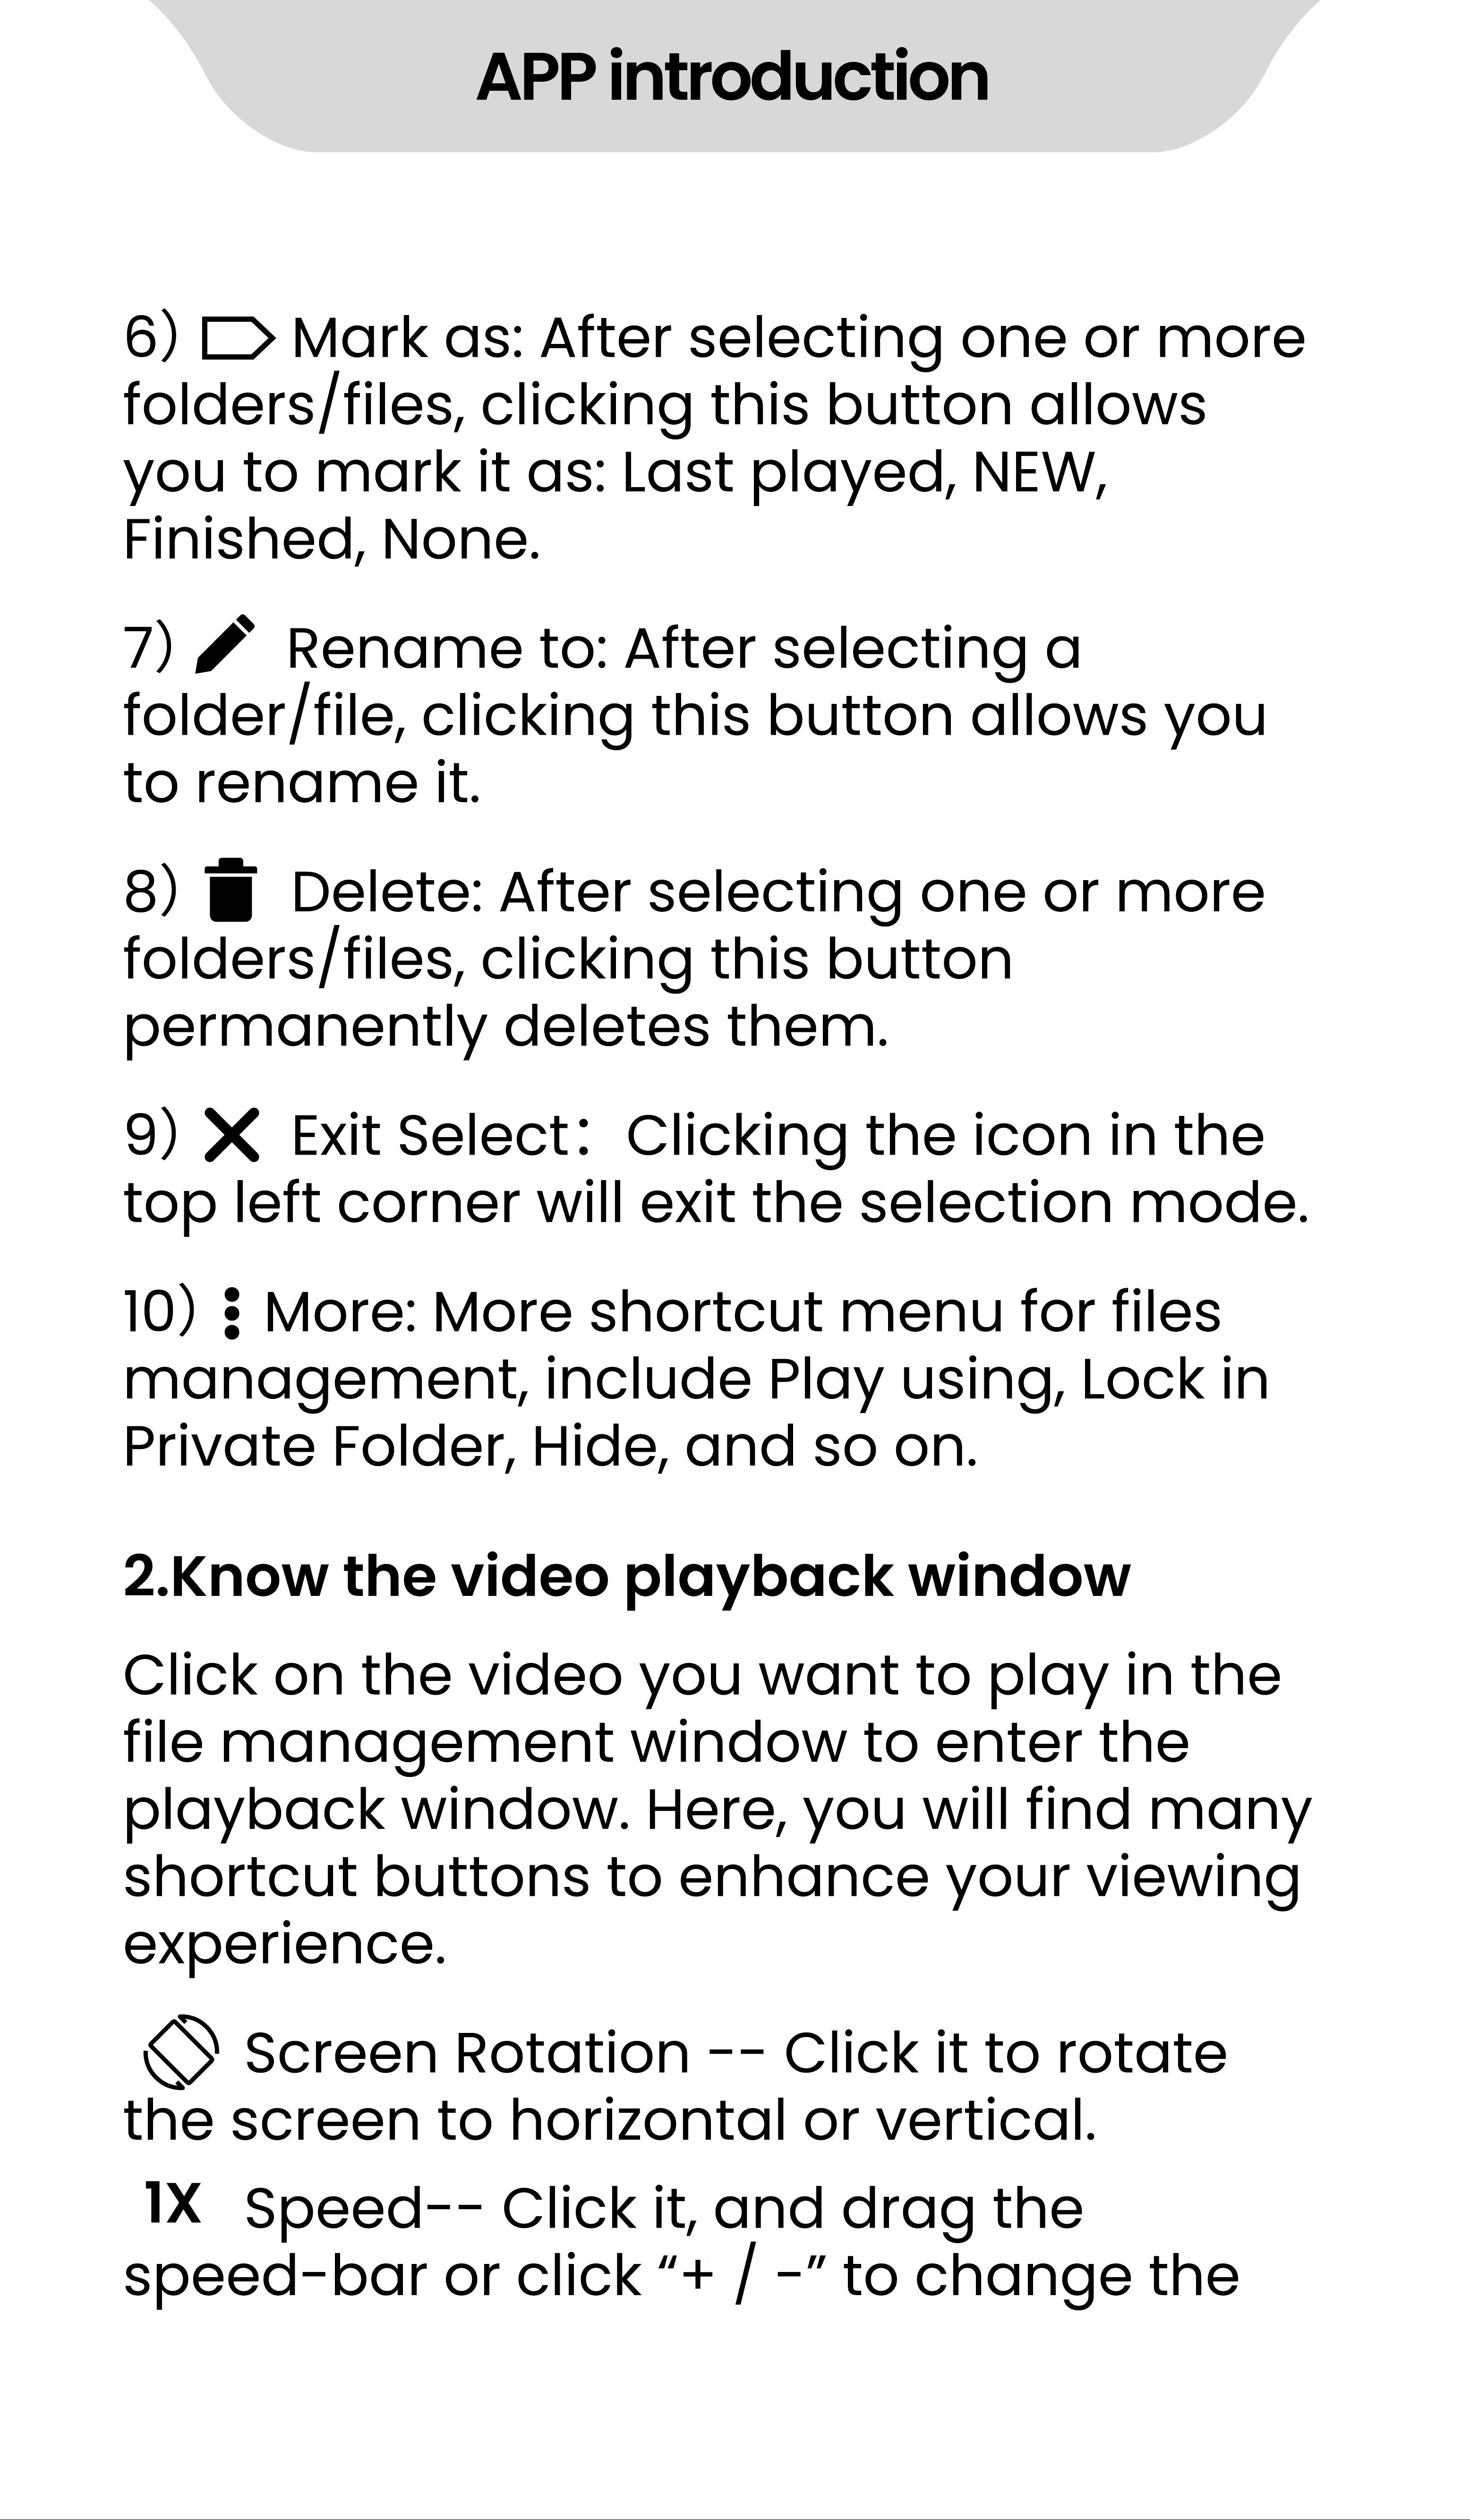
APP introduction
6
)
Mark as: After selecting one or more
folders/files, clicking this button allows
you to mark it as: Last played, NEW,
Finished, None.
7
)
Rename to: After selecting a
folder/file, clicking this button allows you
to rename it.
8
)
Delete: After selecting one or more
folders/files, clicking this button
permanently deletes them.
9
)
Exit Select
:
Clicking the icon in the
top left corner will exit the selection mode.
10
)
More: More shortcut menu for files
management, include Play using, Lock in
Private Folder, Hide, and so on.
Screen Rotation - - Click it to rotate
the screen to horizontal or vertical.
Speed- - Click it, and drag the
speed- bar or click
“
+ / -
”
to change the
1X
Click on the video you want to play in the
file management window to enter the
playback window. Here, you will find many
shortcut buttons to enhance your viewing
experience.
2.Know the video playback window
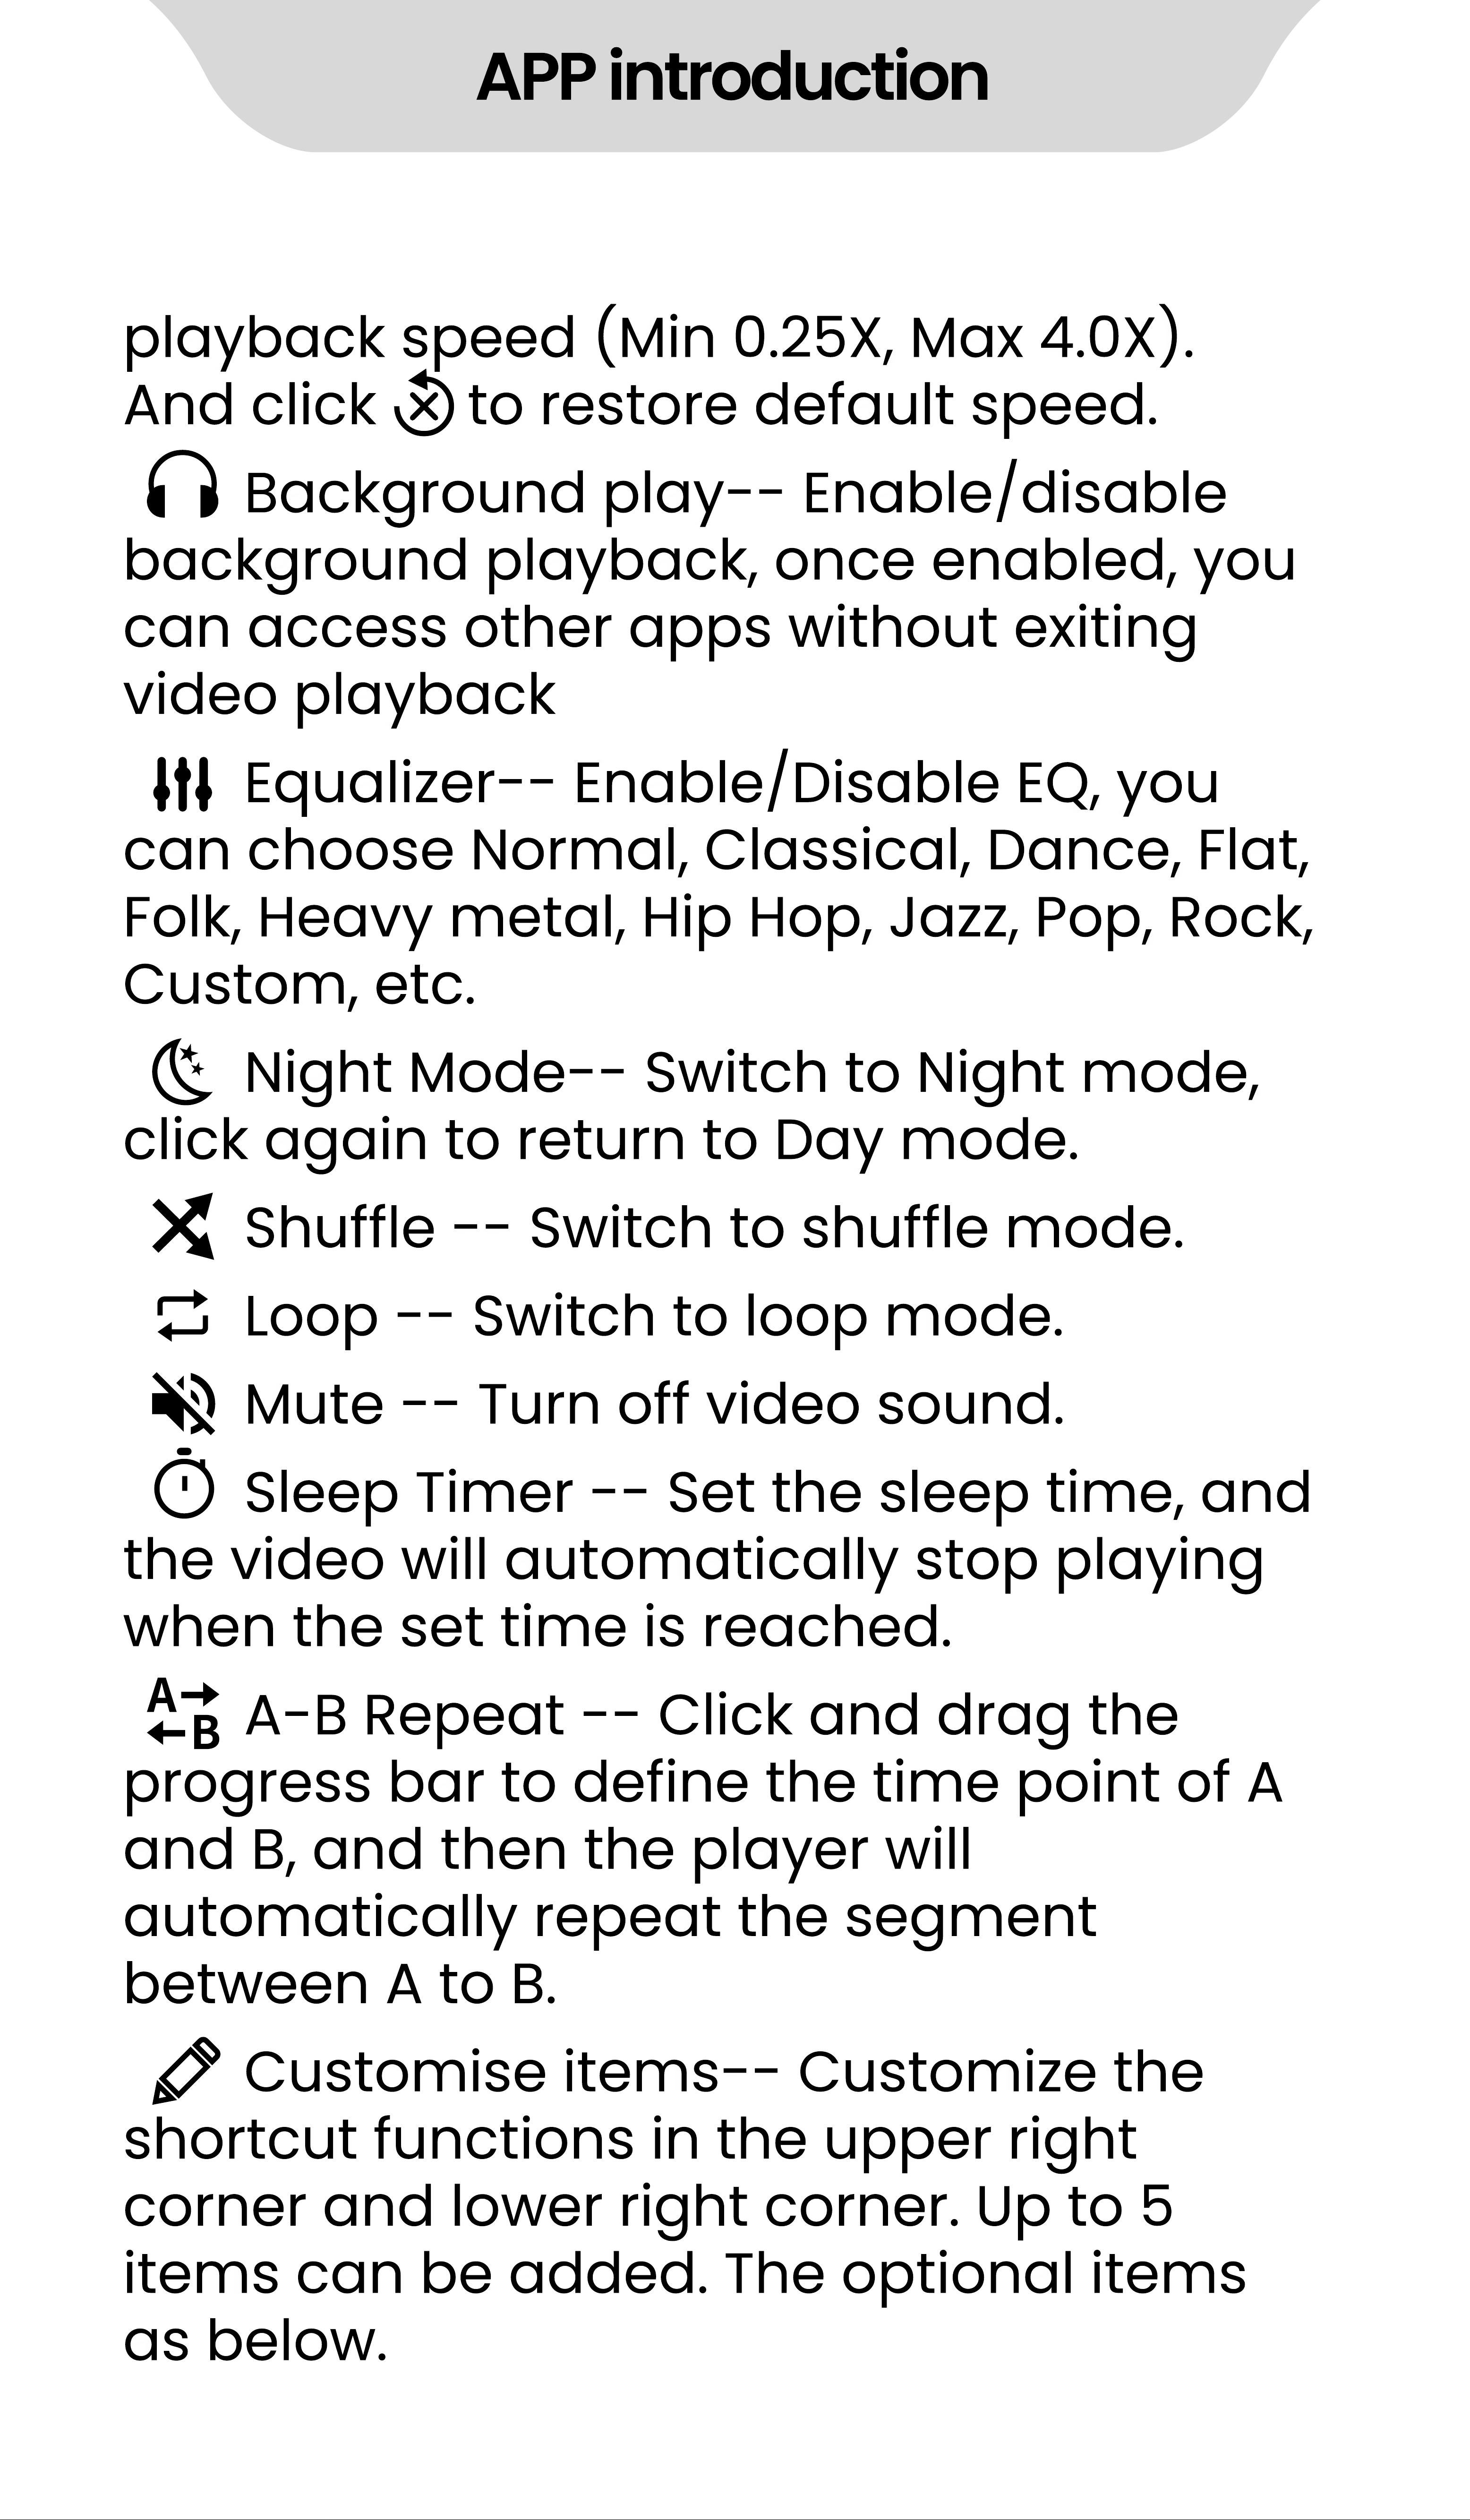
APP introduction
playback speed (Min 0.25X, Max 4.0X).
And click to restore default speed.
Background play- - Enable/disable
background playback, once enabled, you
can access other apps without exiting
video playback
Equalizer- - Enable/Disable EQ, you
can choose Normal, Classical, Dance, Flat,
Folk, Heavy metal, Hip Hop, Jazz, Pop, Rock,
Custom, etc.
Night Mode- - Switch to Night mode,
click again to return to Day mode.
Shuffle - - Switch to shuffle mode.
Loop - - Switch to loop mode.
Mute - - Turn off video sound.
Sleep Timer - - Set the sleep time, and
the video will automatically stop playing
when the set time is reached.
A- B Repeat - - Click and drag the
progress bar to define the time point of A
and B, and then the player will
automatically repeat the segment
between A to B.
Customise items- - Customize the
shortcut functions in the upper right
corner and lower right corner. Up to 5
items can be added. The optional items
as below.
APP introduction
·
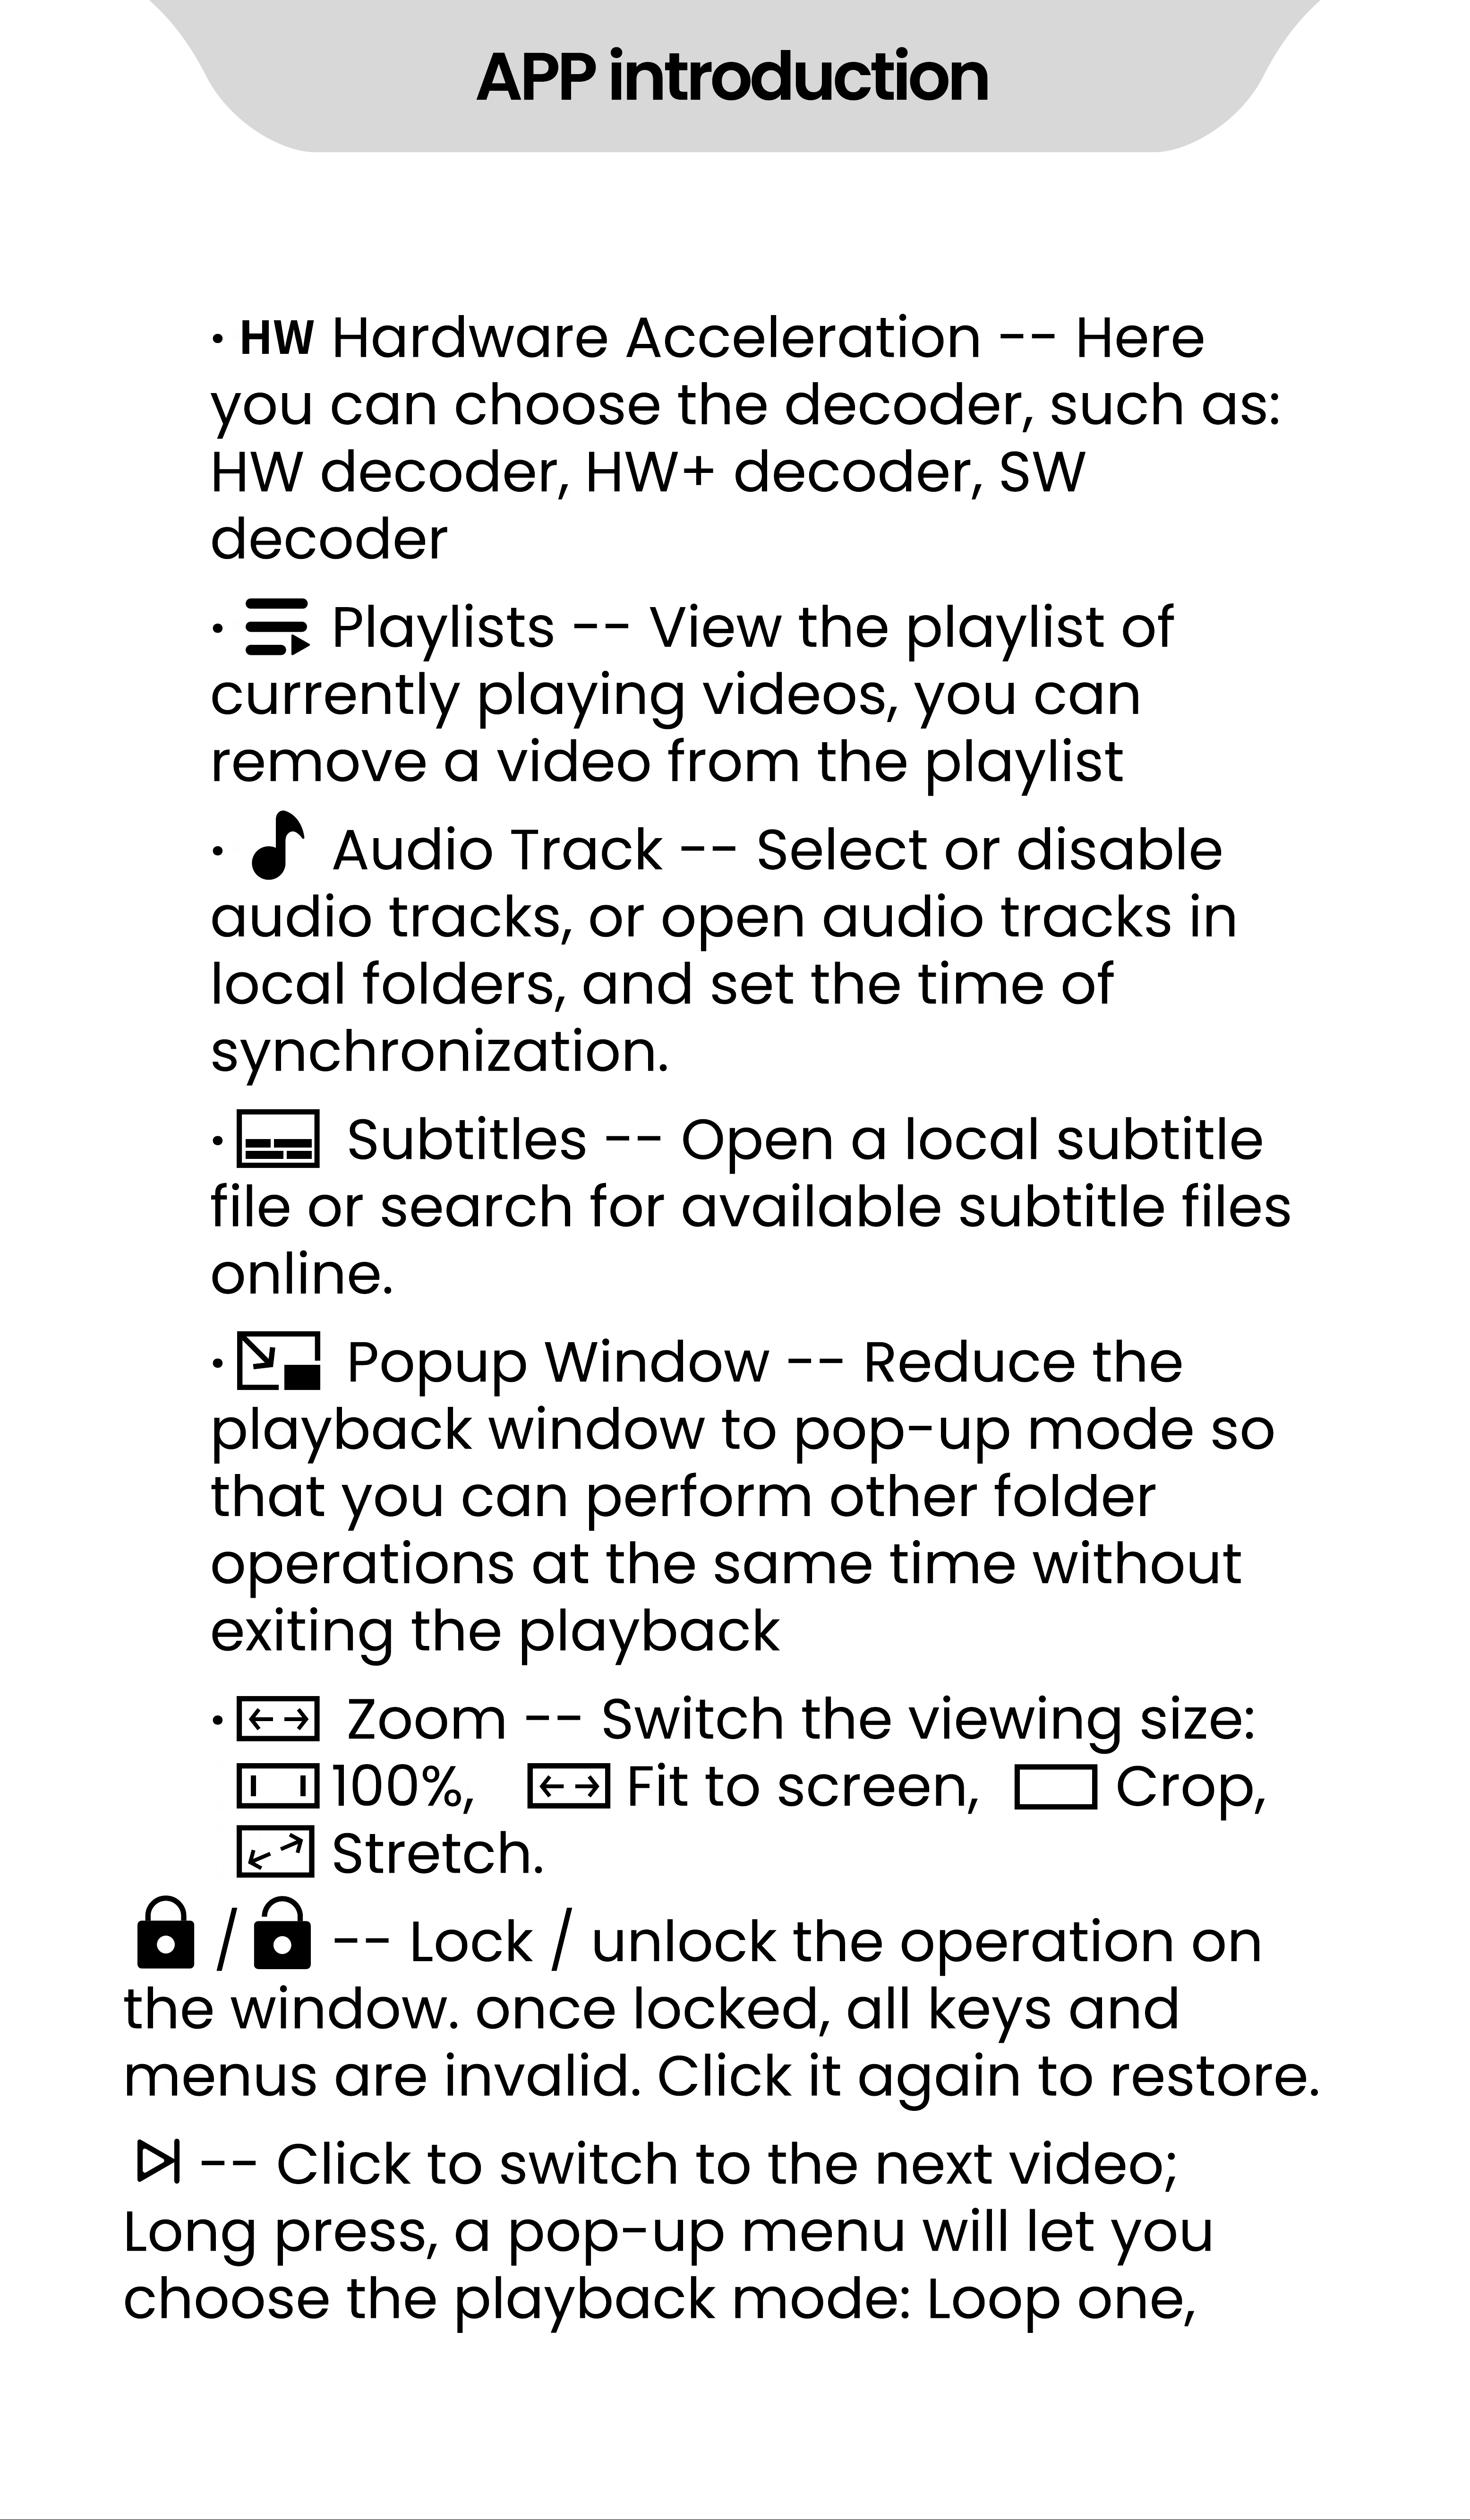
Hardware Acceleration - - Here
you can choose the decoder, such as:
HW decoder, HW+ decoder, SW
decoder
·
Playlists - - View the playlist of
currently playing videos, you can
remove a video from the playlist
·
Audio Track - - Select or disable
audio tracks, or open audio tracks in
local folders, and set the time of
synchronization.
·
Subtitles - - Open a local subtitle
file or search for available subtitle files
online.
·
Popup Window - - Reduce the
playback window to pop- up mode so
that you can perform other folder
operations at the same time without
exiting the playback
·
Zoom - - Switch the viewing size:
100%, Fit to screen, Crop,
Stretch.
/ - - Lock / unlock the operation on
the window. once locked, all keys and
menus are invalid. Click it again to restore.
- - Click to switch to the next video;
Long press, a pop- up menu will let you
choose the playback mode: Loop one,
APP introduction
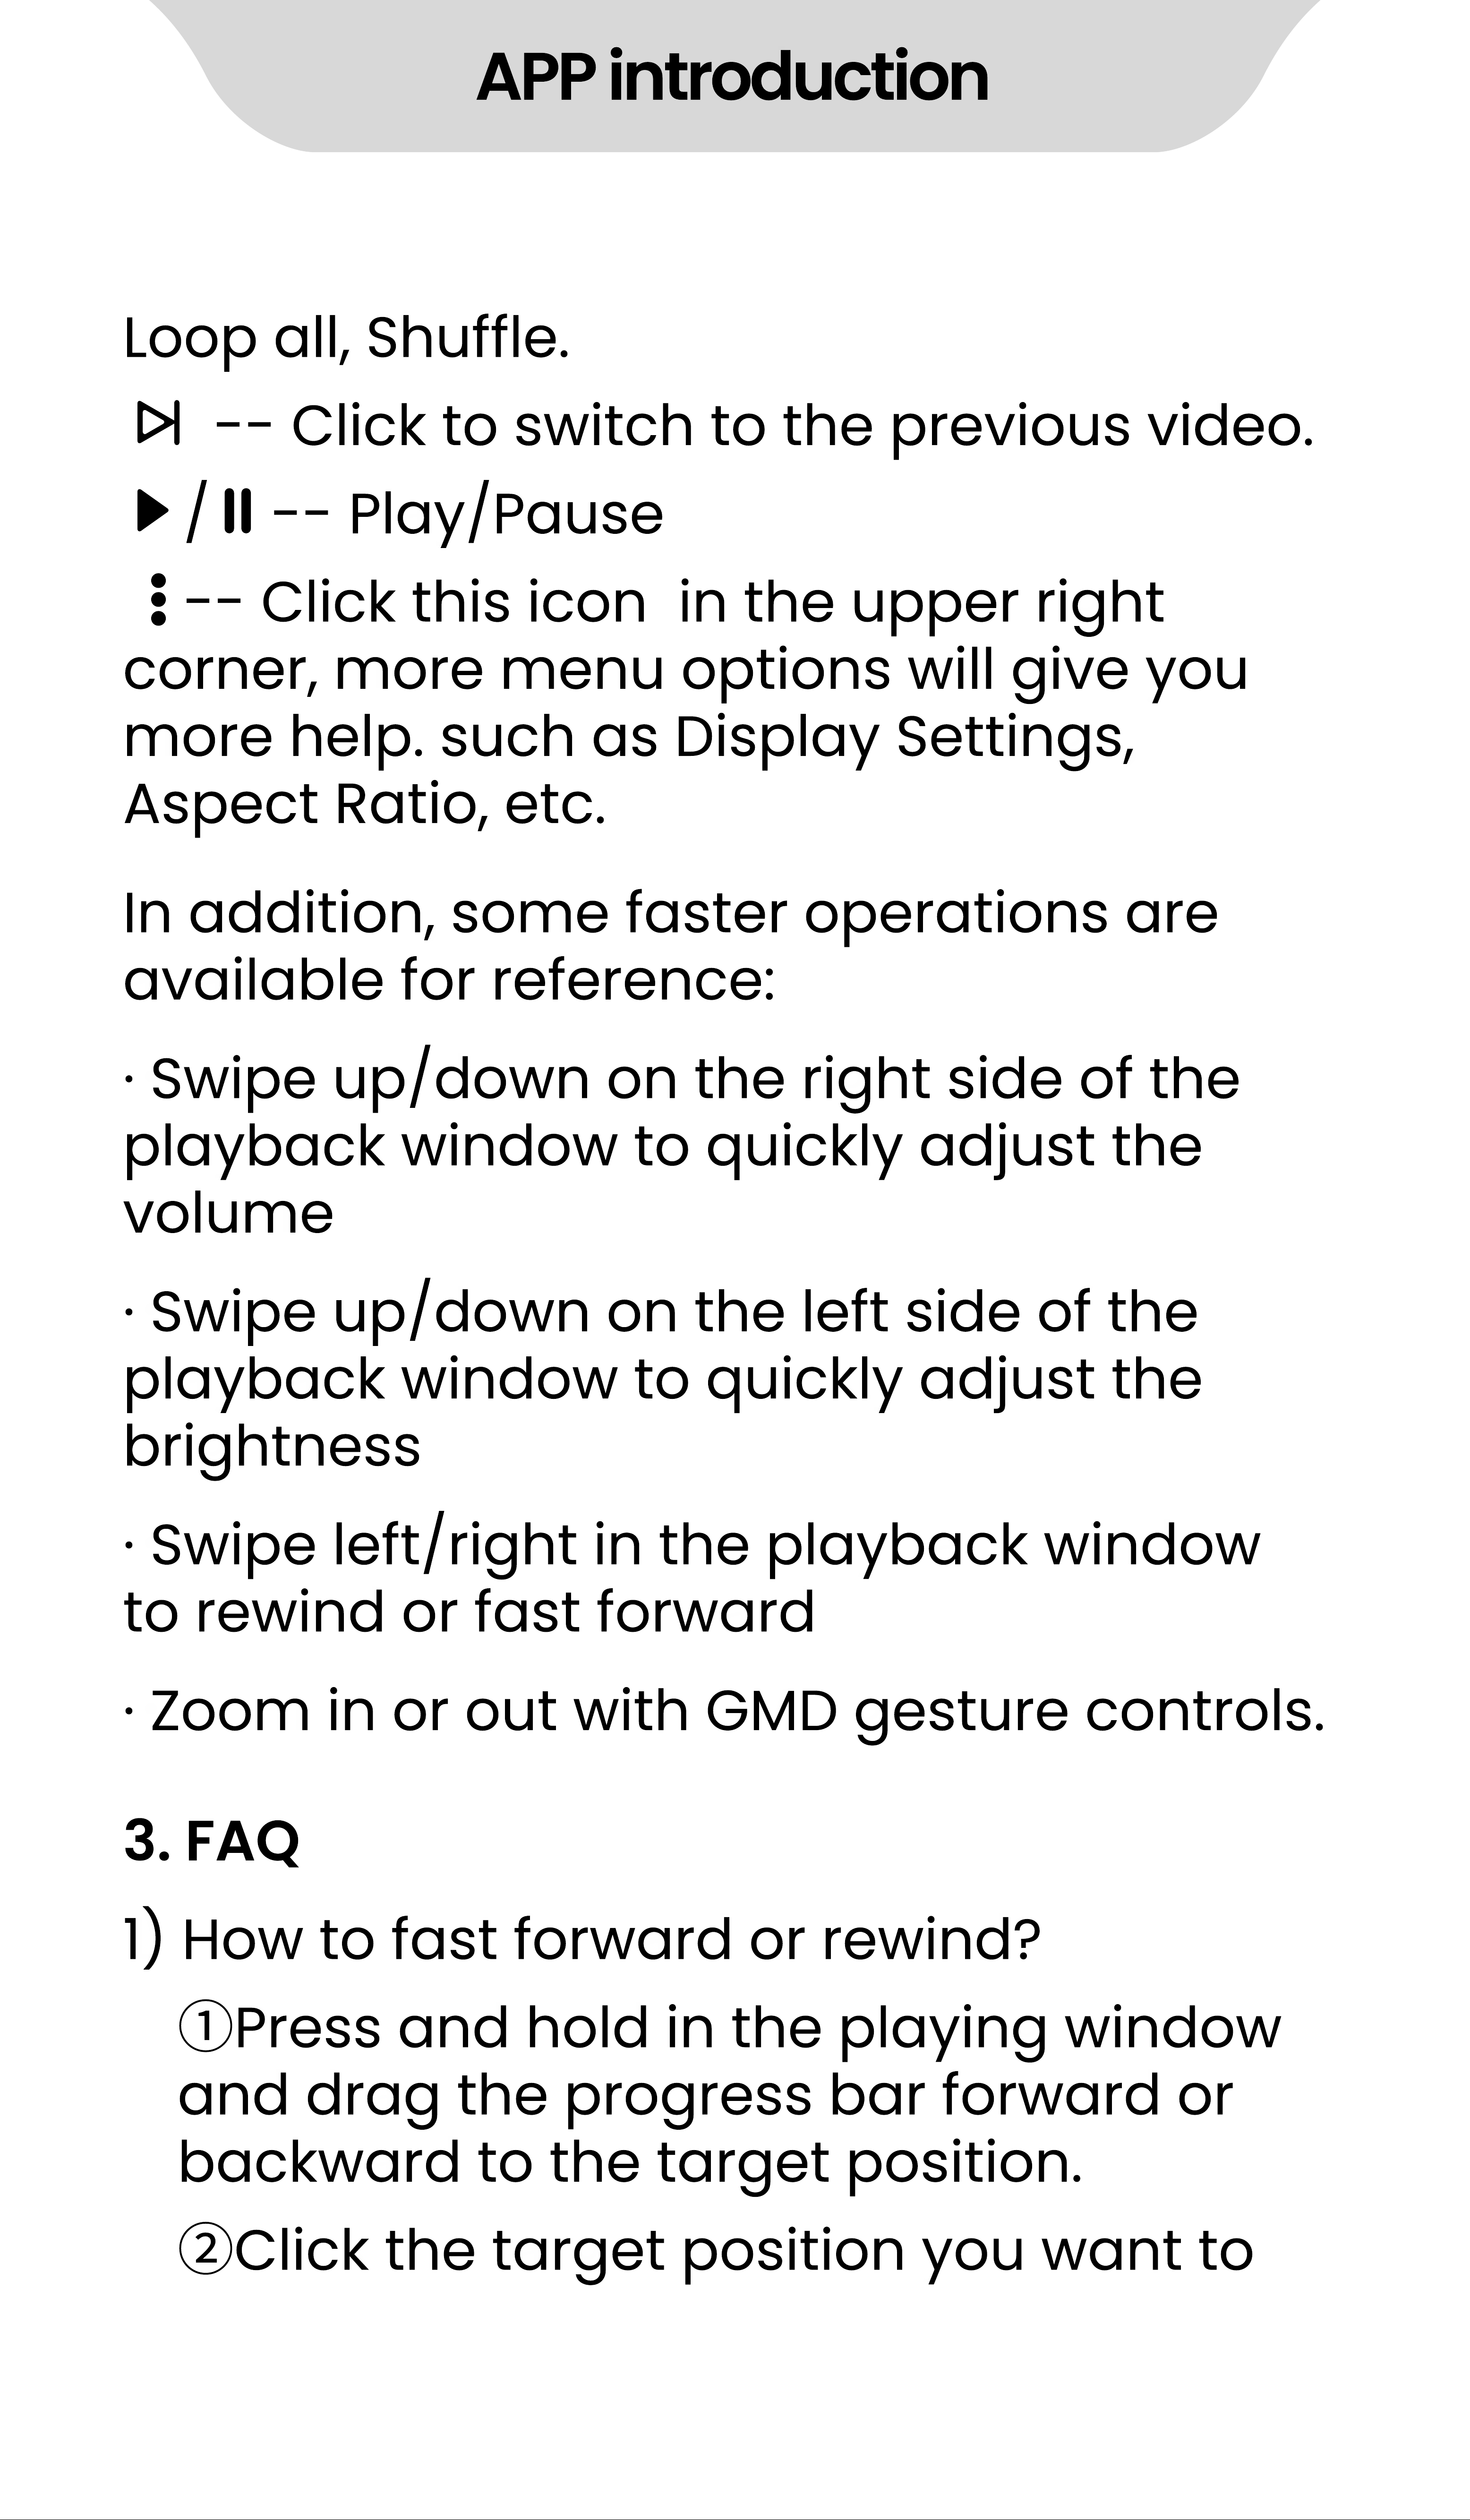
Loop all, Shuffle.
- - Click to switch to the previous video.
/ - - Play/Pause
- - Click this icon in the upper right
corner, more menu options will give you
more help. such as Display Settings,
Aspect Ratio, etc.
In addition, some faster operations are
available for reference:
·
Swipe up/down on the right side of the
playback window to quickly adjust the
volume
·
Swipe up/down on the left side of the
playback window to quickly adjust the
brightness
·
Swipe left/right in the playback window
to rewind or fast forward
·
Zoom in or out with GMD gesture controls.
1) How to fast forward or rewind?
①
Press and hold in the playing window
and drag the progress bar forward or
backward to the target position.
②
Click the target position you want to
3. FAQ
APP introduction
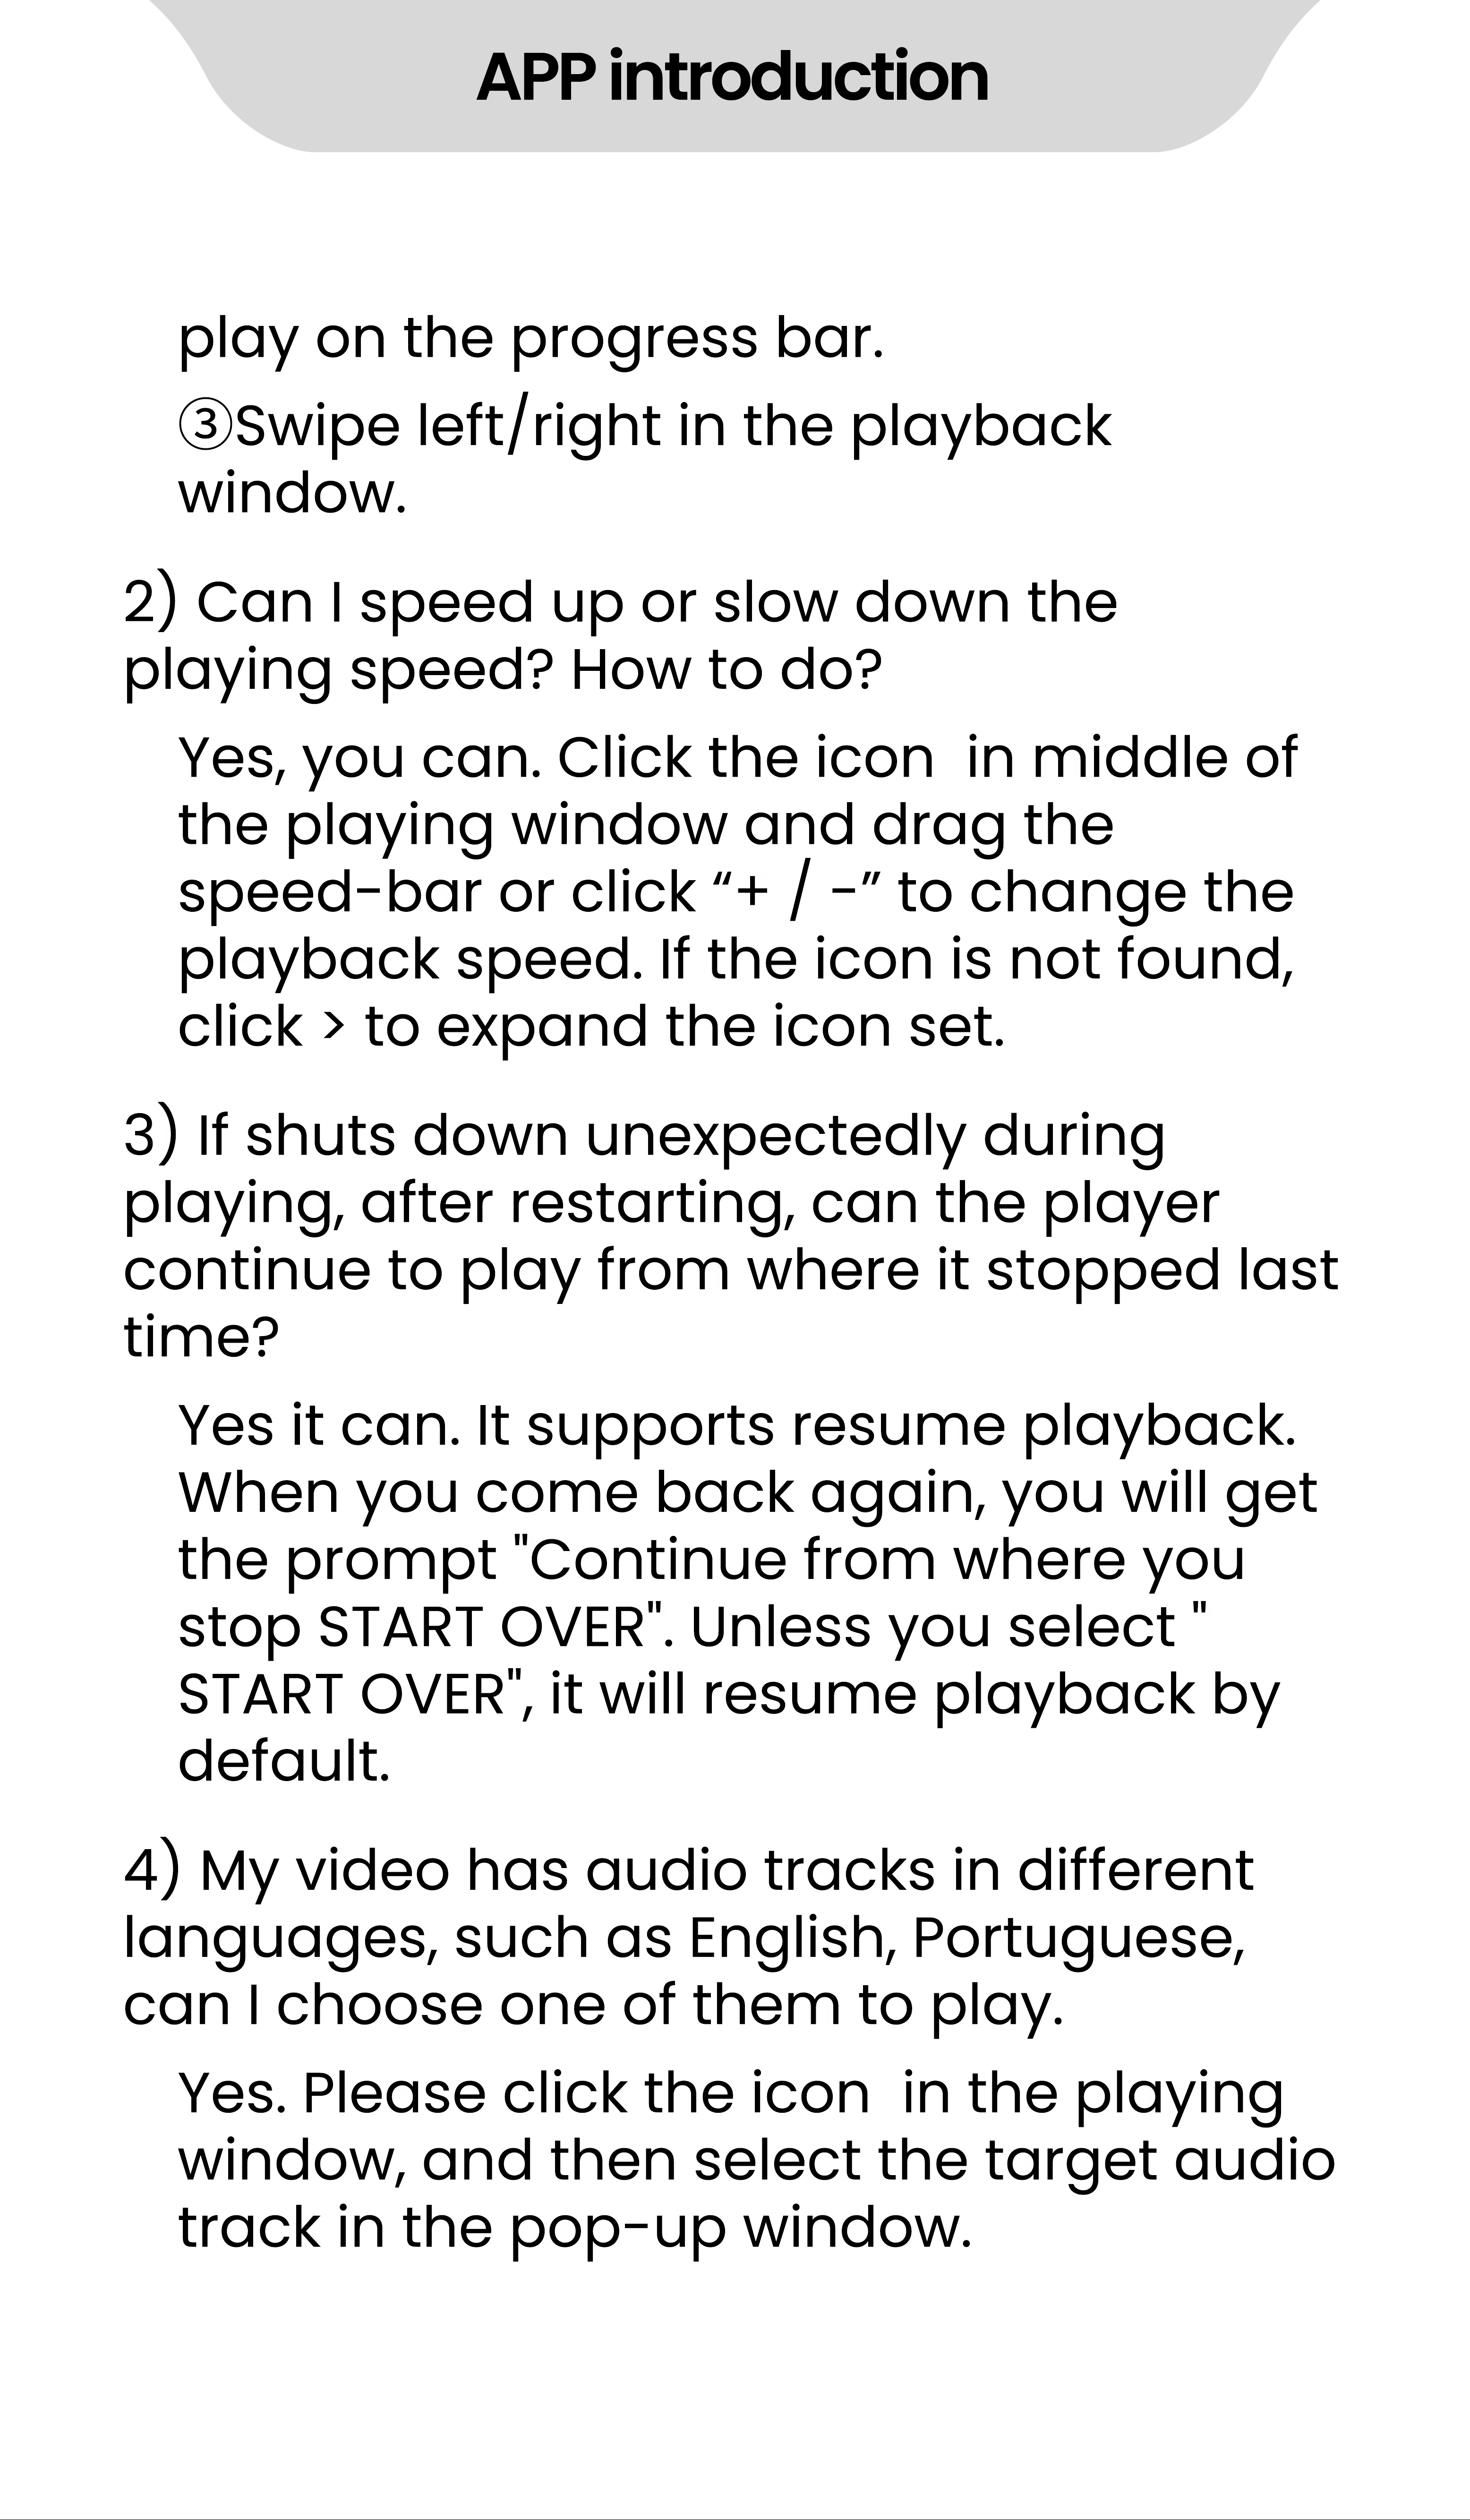
play on the progress bar.
③
Swipe left/right in the playback
window.
Yes, you can. Click the icon in middle of
the playing window and drag the
speed- bar or click
“
+ / -
”
to change the
playback speed. If the icon is not found,
click > to expand the icon set.
Yes it can. It supports resume playback.
When you come back again, you will get
the prompt "Continue from where you
stop START OVER". Unless you select "
START OVER", it will resume playback by
default.
Yes. Please click the icon in the playing
window, and then select the target audio
track in the pop- up window.
2) Can I speed up or slow down the
playing speed? How to do?
3) If shuts down unexpectedly during
playing, after restarting, can the player
continue to play from where it stopped last
time?
4) My video has audio tracks in different
languages, such as English, Portuguese,
can I choose one of them to play.

APP introduction
Gallery
1. Know the Albums Management Window
Click the Gallery app on the player
’
s
desktop to enter the page of albums
management. Here,
1) All folders will be displaying, click to
open any folder if needs.
2) The default view is
“
Albums
”
. If the
pictures are grouped by location or time,
click the icon in the menu bar at the top
of the window to select the view mode of
Locations or Times
3) Click the icon in the upper right
corner, and click "Select album" to
activate the selection menu bar. Then
multiple or all albums can be selected to
share or delete.
·
Select one or more albums: Click on the
target album one by one.
·
Select all albums: Click the "Select all"
option from the icon at the top of the
page.
·
Deselect: Click the "Deselect all" option
from the icon at the top of the page.
·
Sharing: After selecting the album, click
to share it with others via Bluetooth or
APP introduction
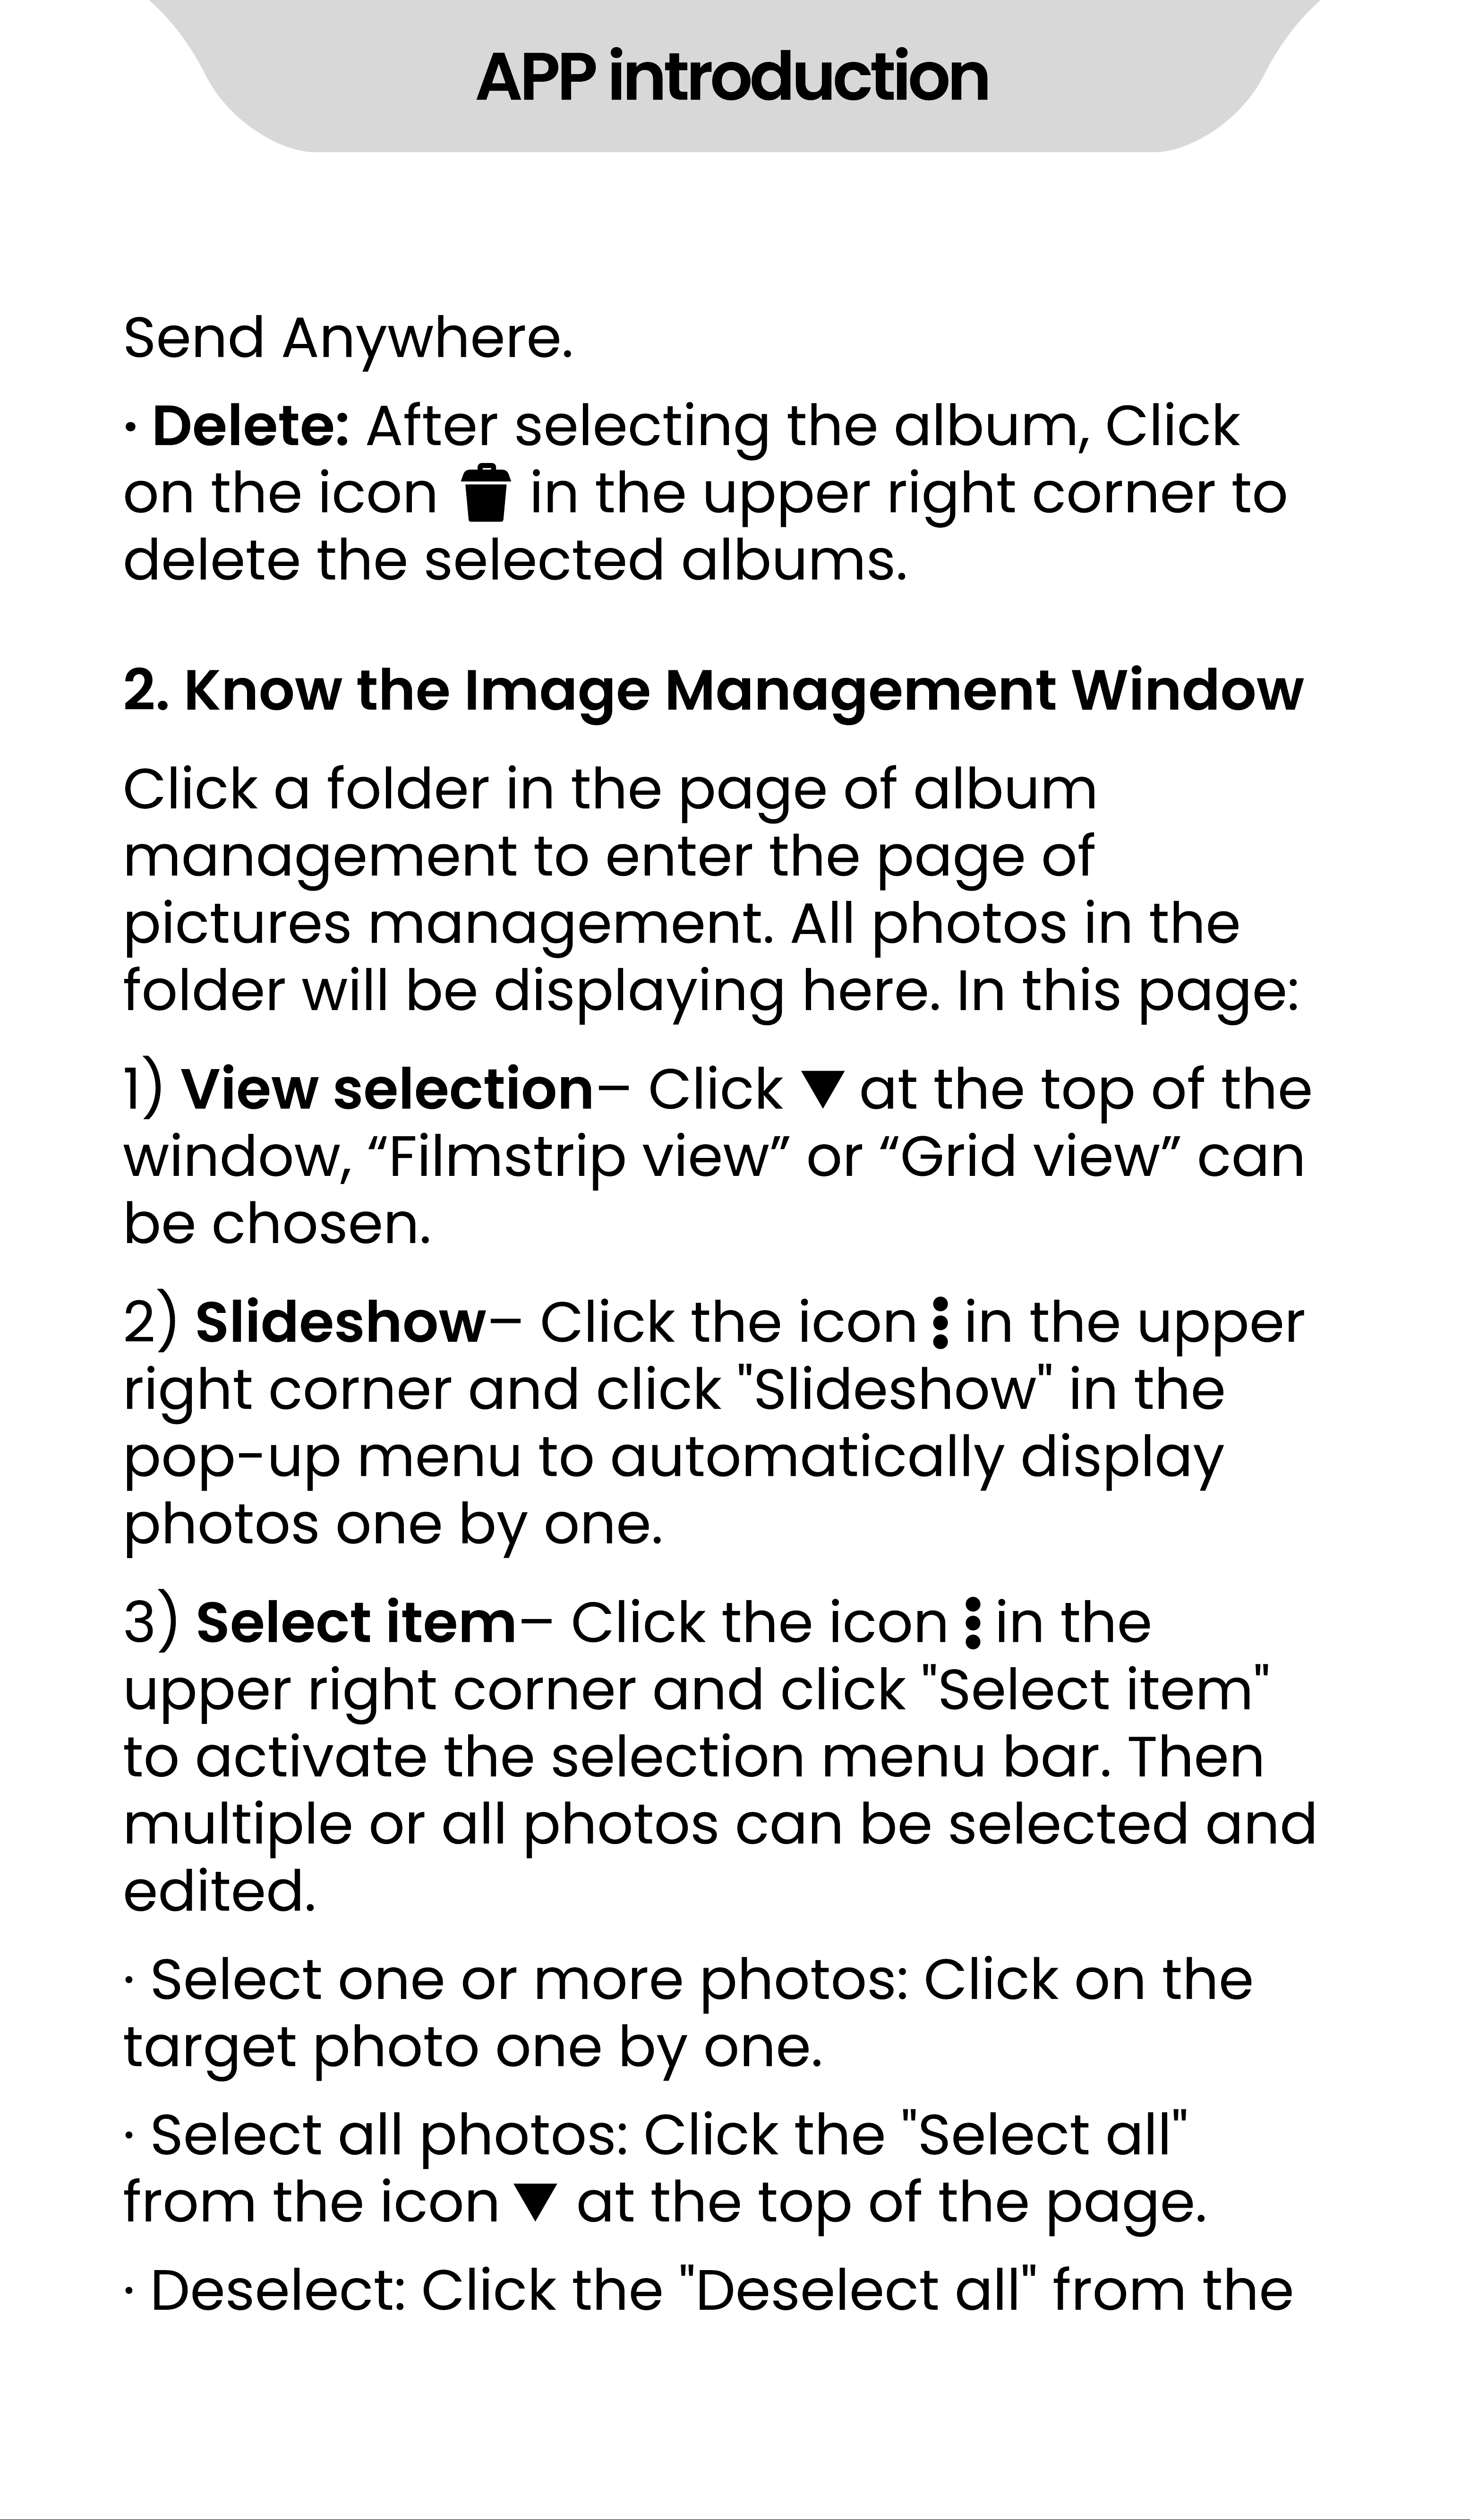
Send Anywhere.
·
Delete: After selecting the album, Click
on the icon in the upper right corner to
delete the selected albums.
1) View selection
‒
Click at the top of the
window,
“
Filmstrip view
”
or
“
Grid view
”
can
be chosen.
2) Slideshow
‒
Click the icon in the upper
right corner and click "Slideshow" in the
pop- up menu to automatically display
photos one by one.
3) Select item
‒
Click the icon in the
upper right corner and click "Select item"
to activate the selection menu bar. Then
multiple or all photos can be selected and
edited.
·
Select one or more photos: Click on the
target photo one by one.
·
Select all photos: Click the "Select all"
from the icon at the top of the page.
·
Deselect: Click the "Deselect all" from the
Click a folder in the page of album
management to enter the page of
pictures management. All photos in the
folder will be displaying here. In this page:
2. Know the Image Management Window

APP introduction
icon when all photos been selecting
·
Sharing: After selecting the photos, click
the icon to share it with others via
Bluetooth or Send Anywhere.
·
Delete: After selecting the photos, Click
the icon in the upper right corner to
delete the selected photos.
·
Rotate: After selecting the photos, Click
the icon , and then select
“
Rotate left
”
or
“
Rotate right
”
to rotate the photos in batch.
Crop: Click the icon , and then select
“
Crop
”
for adjust size of photo.
Set picture as: Click the icon and choose
“
Set picture as
”
to set the current photo as
wallpaper (available for Home screen,
Lock screen, or both).
Details: Click the icon , and then select
“
Details
”
for details information.
4) Group by- - Click "Group by" from the
icon in the upper right corner, photos
can be grouped by location or time.
Click on a photo in the picture
management window to open and edit it.
3. Edit Image
·
Share: Click the icon to share the
current photo to other devices by
APP introduction
Bluetooth or Send Anywhere.
·
Delete: Click the icon in the upper right
corner, and then select
“
Delete
”
to delete
the current photo.
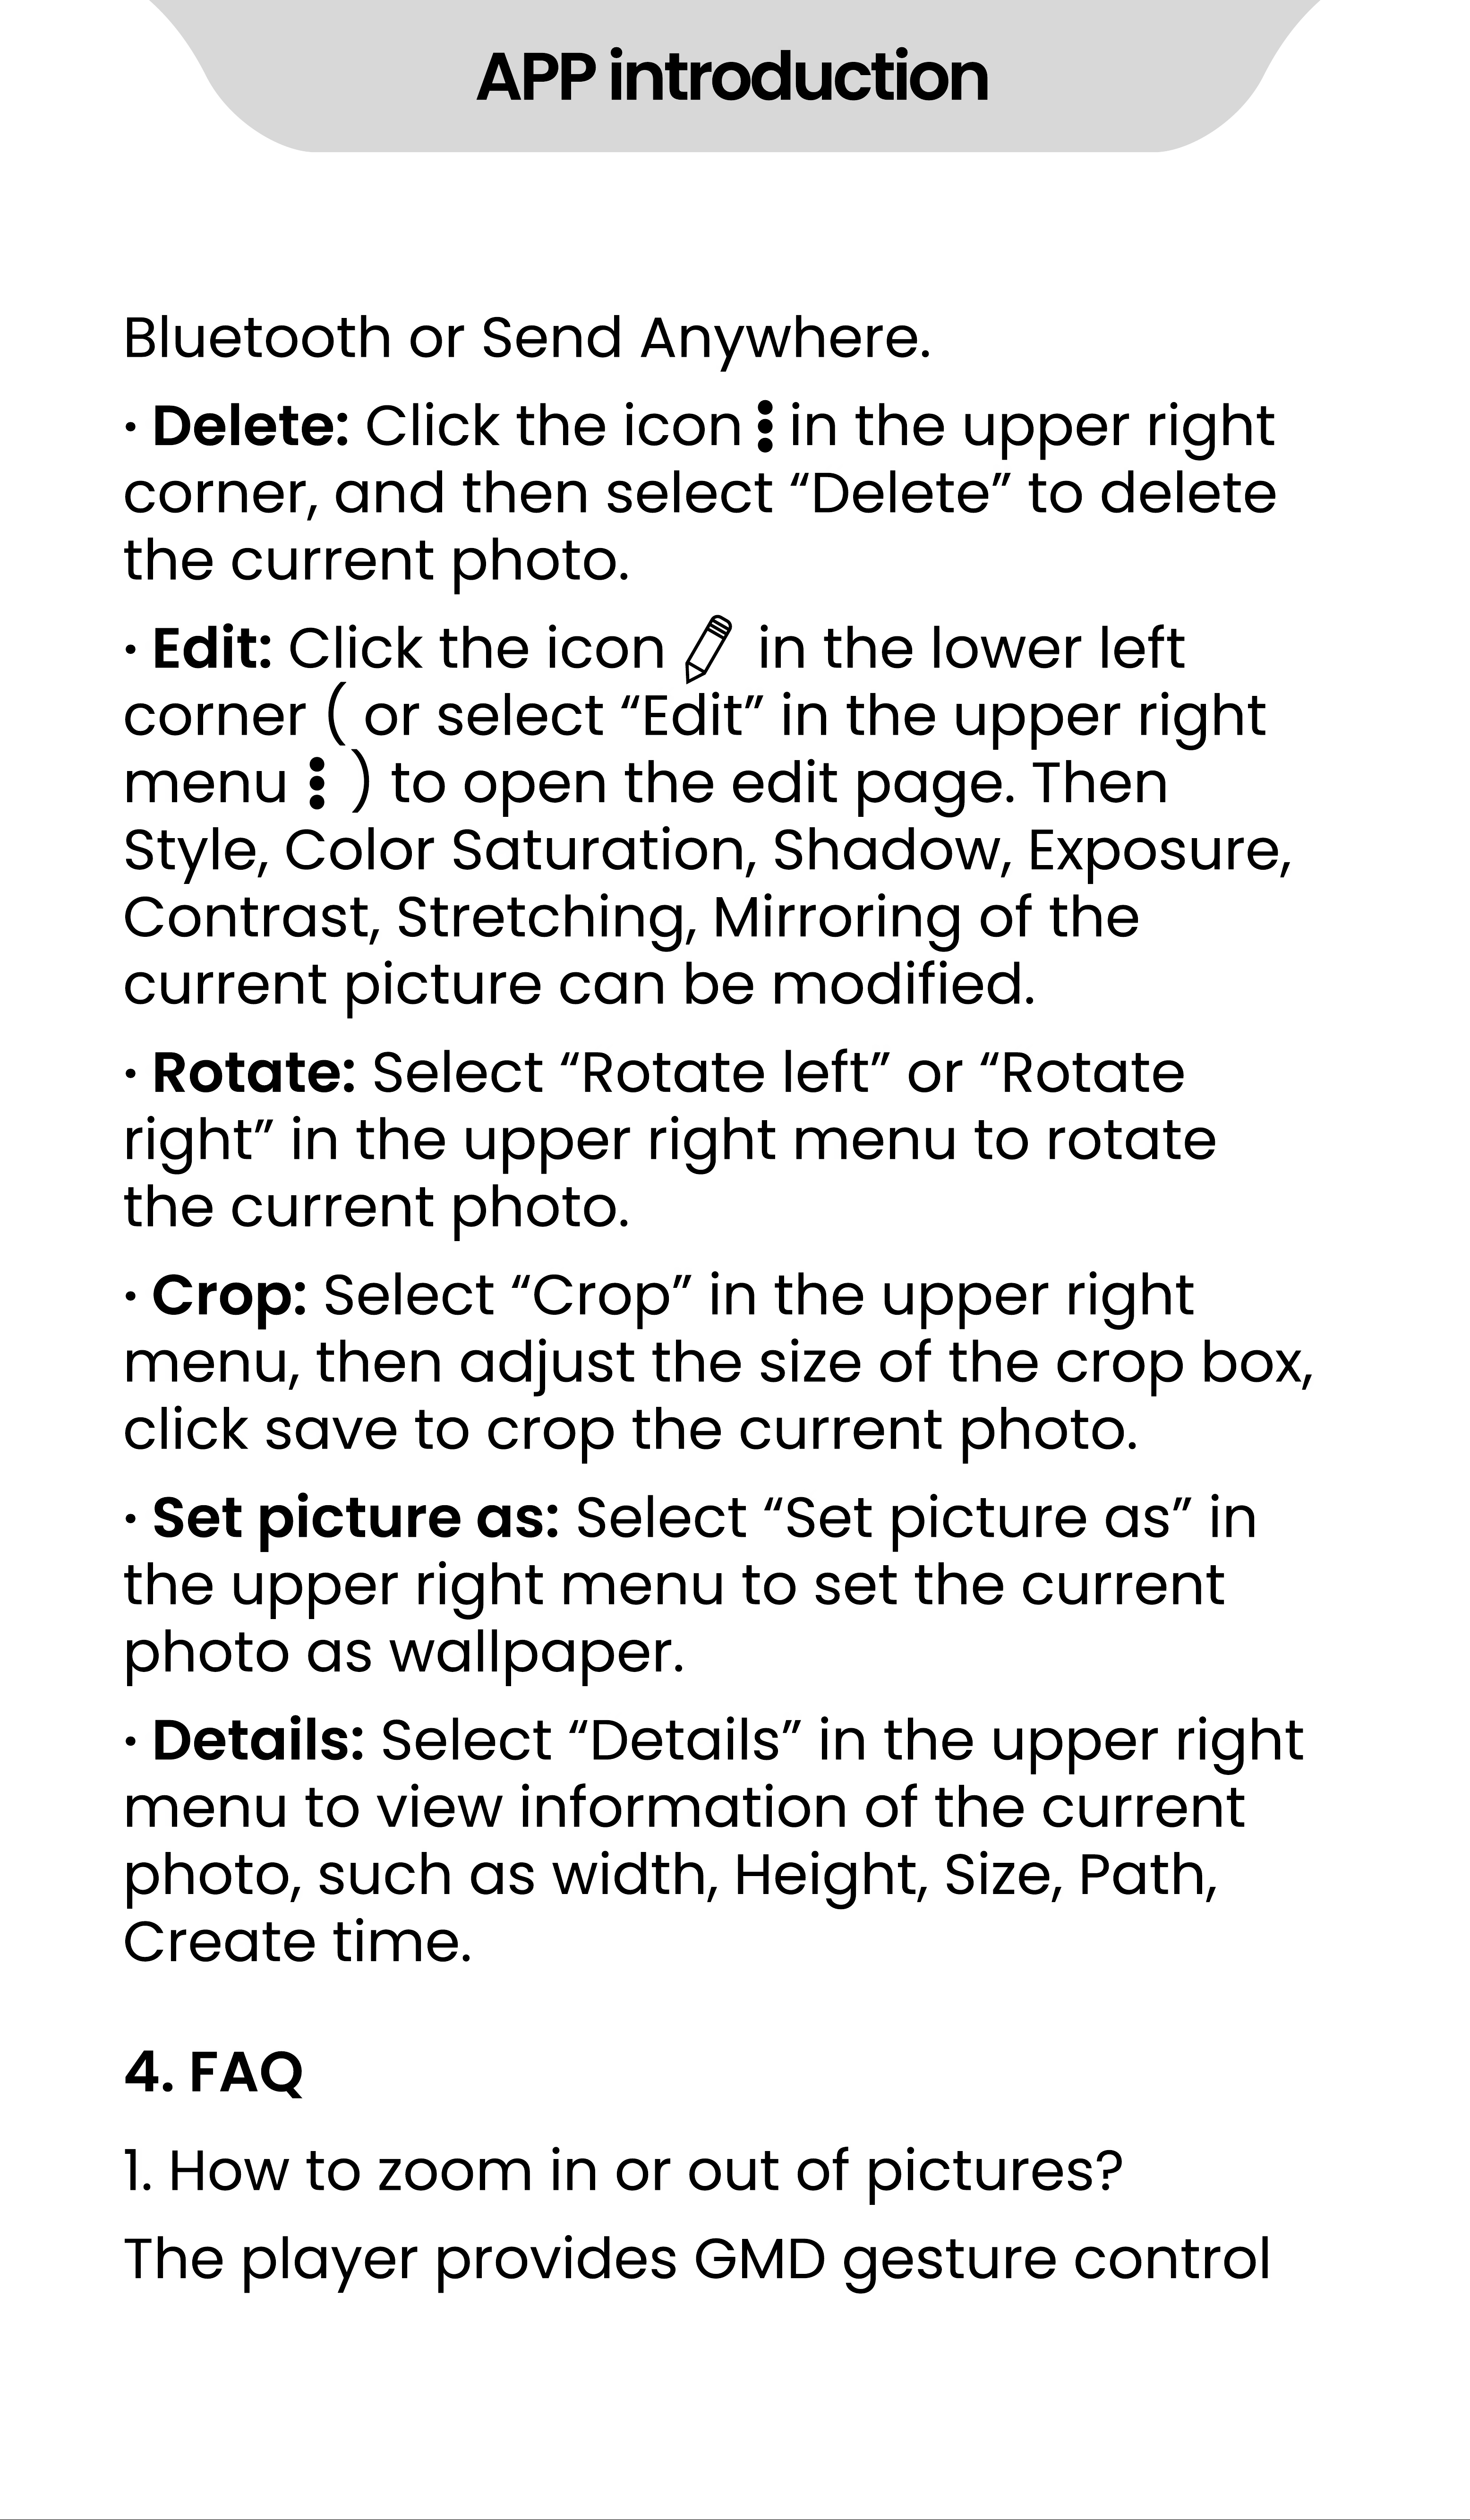
·
Edit: Click the icon in the lower left
corner ( or select
“
Edit
”
in the upper right
menu ) to open the edit page. Then
Style, Color Saturation, Shadow, Exposure,
Contrast, Stretching, Mirroring of the
current picture can be modified.
·
Rotate: Select
“
Rotate left
”
or
“
Rotate
right
”
in the upper right menu to rotate
the current photo.
·
Crop: Select
“
Crop
”
in the upper right
menu, then adjust the size of the crop box,
click save to crop the current photo.
·
Set picture as: Select
“
Set picture as
”
in
the upper right menu to set the current
photo as wallpaper.
·
Details: Select
“
Details
”
in the upper right
menu to view information of the current
photo, such as width, Height, Size, Path,
Create time.
1. How to zoom in or out of pictures?
The player provides GMD gesture control
4. FAQ
APP introduction
function, which allows image zooming
through 2 fingers gesture.
APP introduction
Ebook
1. know the eBook Management Window
2. Know the Layout of the Reading Controls
Click the Ebook app on the player desktop
for the first time to enter the main
interface, and a pop- up window will show
the entrances of 5 modules
:
Open a book through the Ebook app for
the first time, it will ask you to choose a
page operation layout you are used to.
There are 11 options in total. It determines
the trigger area corresponding to Page
up, Page down, Options, Bookmarks on
the page when reading. For example, click
on the right side of the page to jump to
the next page, or click on the middle of
the page to pop up the options task bar.
·
Recent list - - Manage the books you
have read recently
·
My Shelf - - Manage your favorite books
·
My Files - - Manage your local and
network folders
·
Net Library - - Manage your online library
·
Bookmarks - - Manage all Bookmarks,
Note, Highlight, etc.
APP introduction
3. About Options and Reader bar
In the page operation layout, the options
function is usually located in the middle
area of the page. So when reading, tap
the middle of the page to quickly pop up
the Reader bar. When the options is
triggered for the first time, the app will
pop up a window to let you customize the
buttons of the reader bar. You can tick the
items you need. Using reader bar, you can
get a better reading experience.
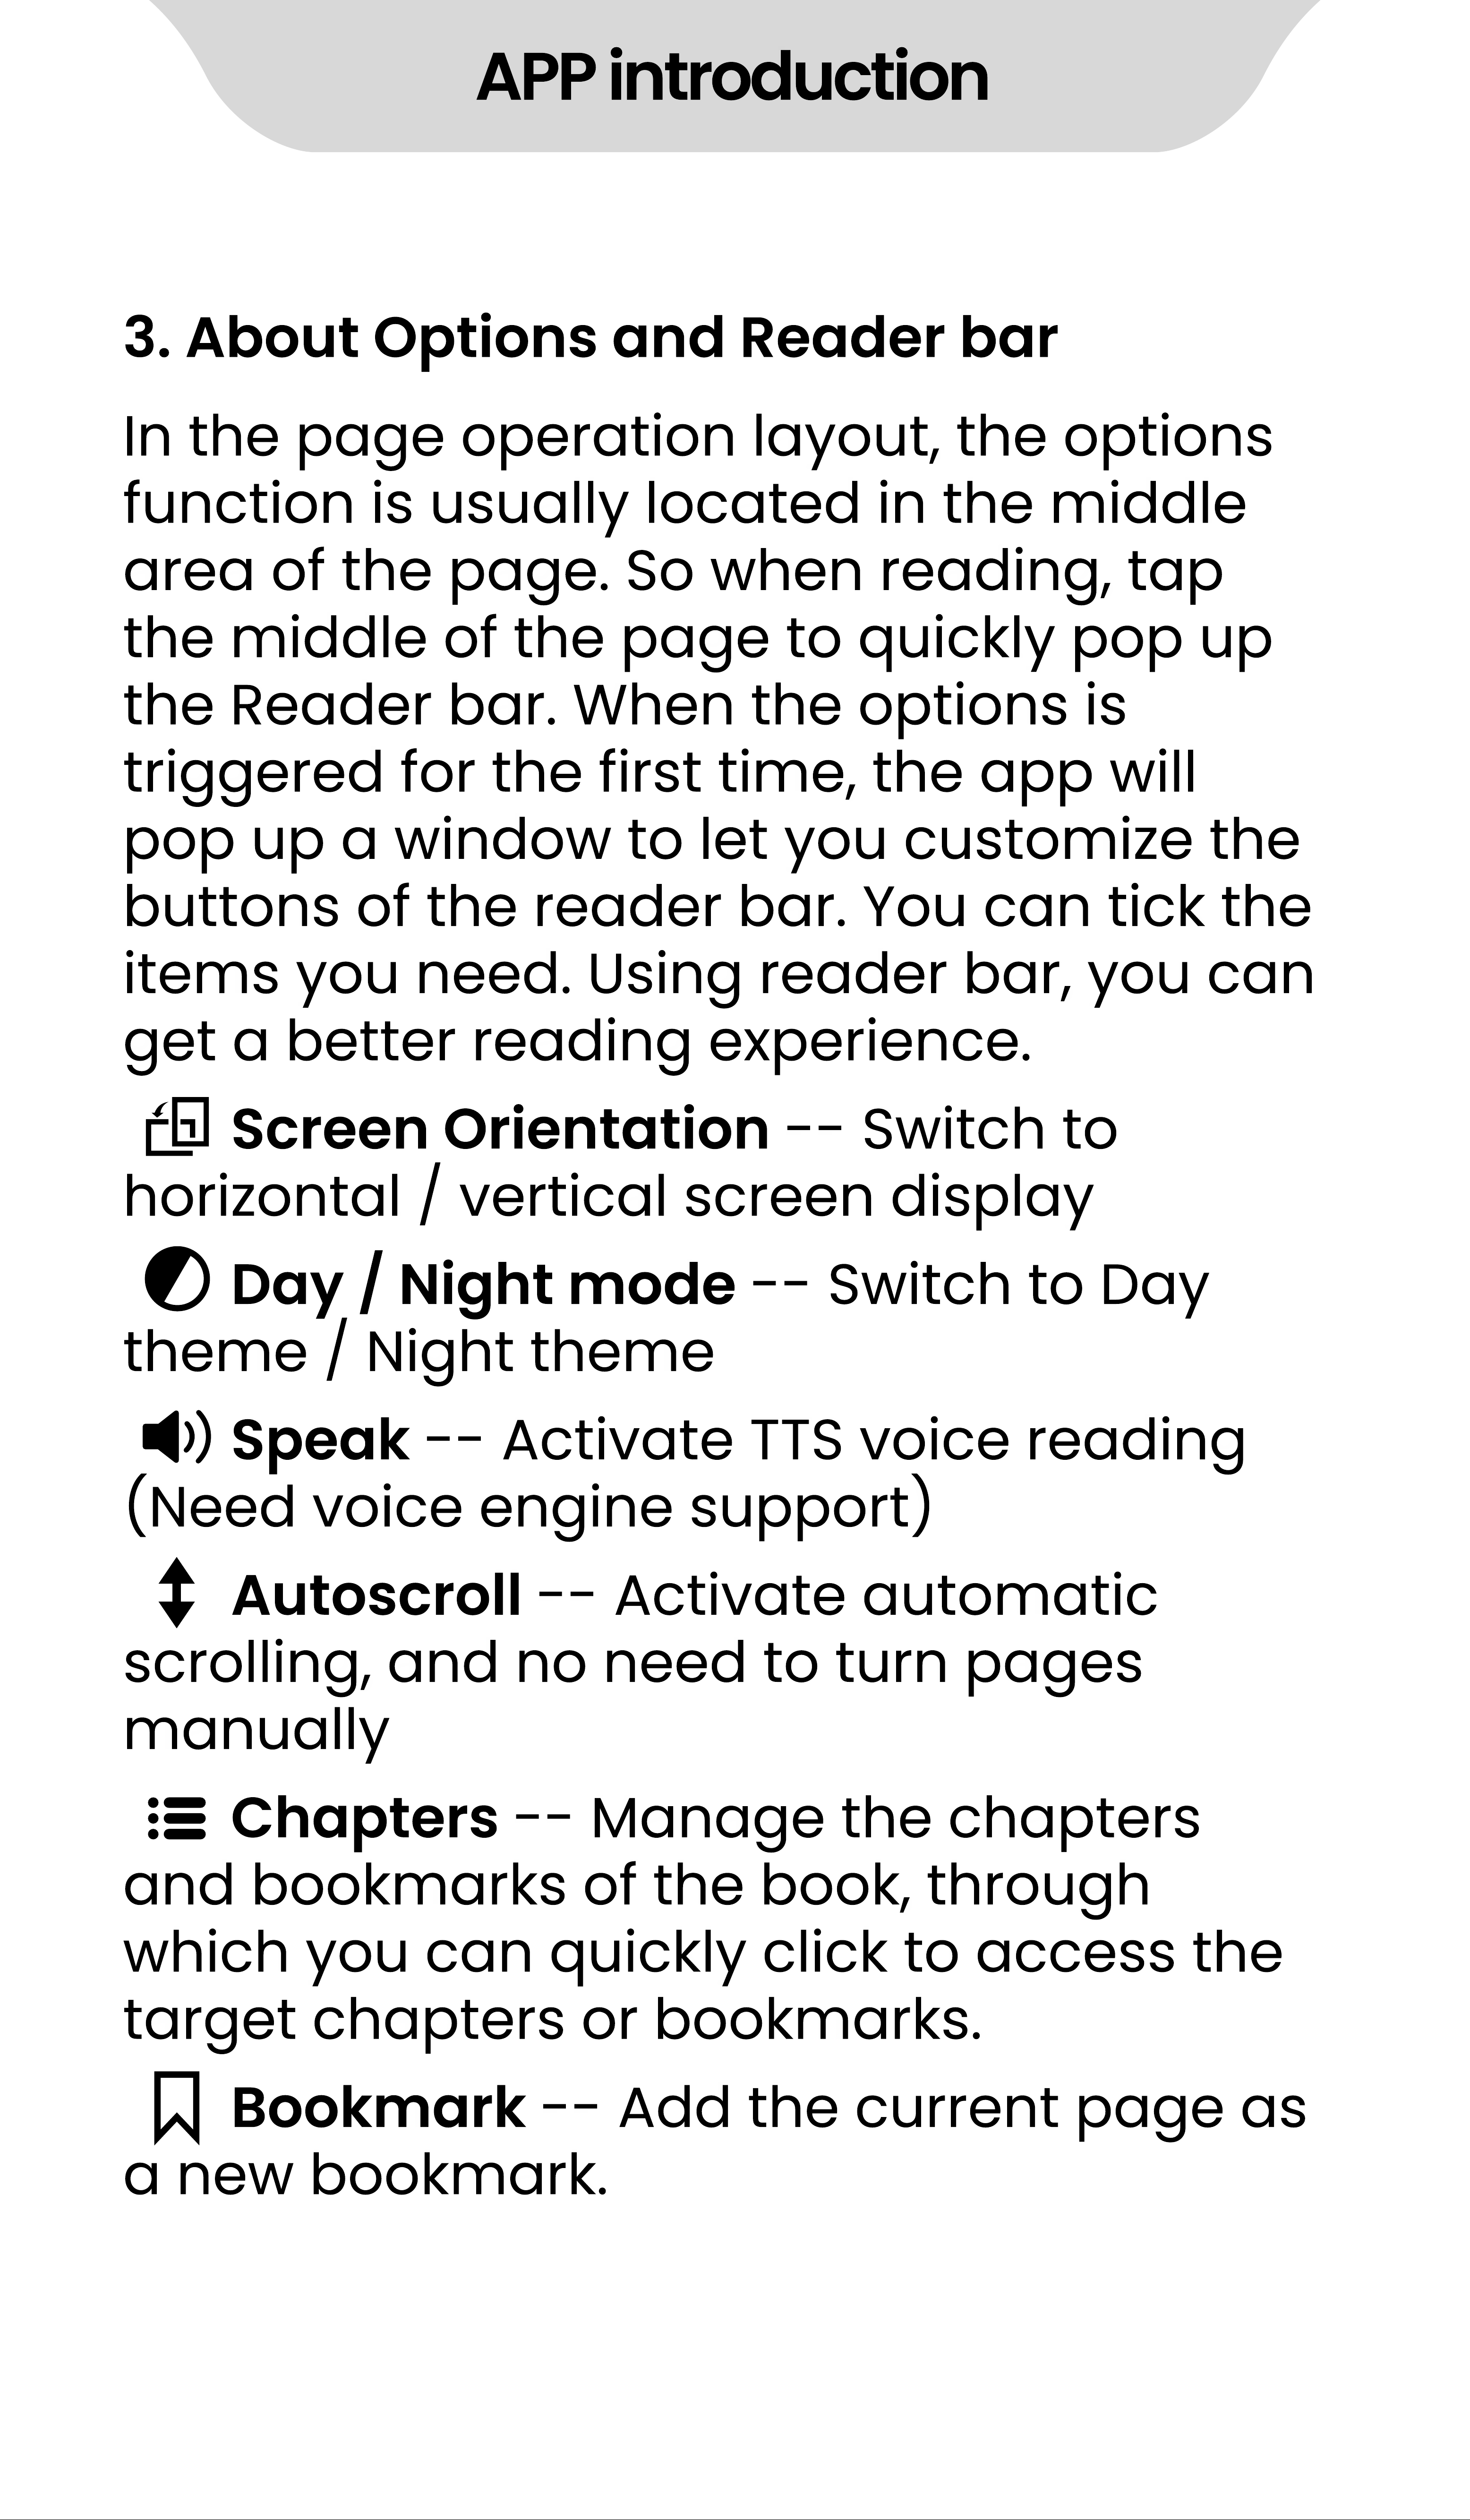
Screen Orientation - - Switch to
horizontal / vertical screen display
Day / Night mode - - Switch to Day
theme / Night theme
Speak - - Activate TTS voice reading
(Need voice engine support)
Autoscroll - - Activate automatic
scrolling, and no need to turn pages
manually
Chapters - - Manage the chapters
and bookmarks of the book, through
which you can quickly click to access the
target chapters or bookmarks.
Bookmark - - Add the current page as
a new bookmark.
APP introduction
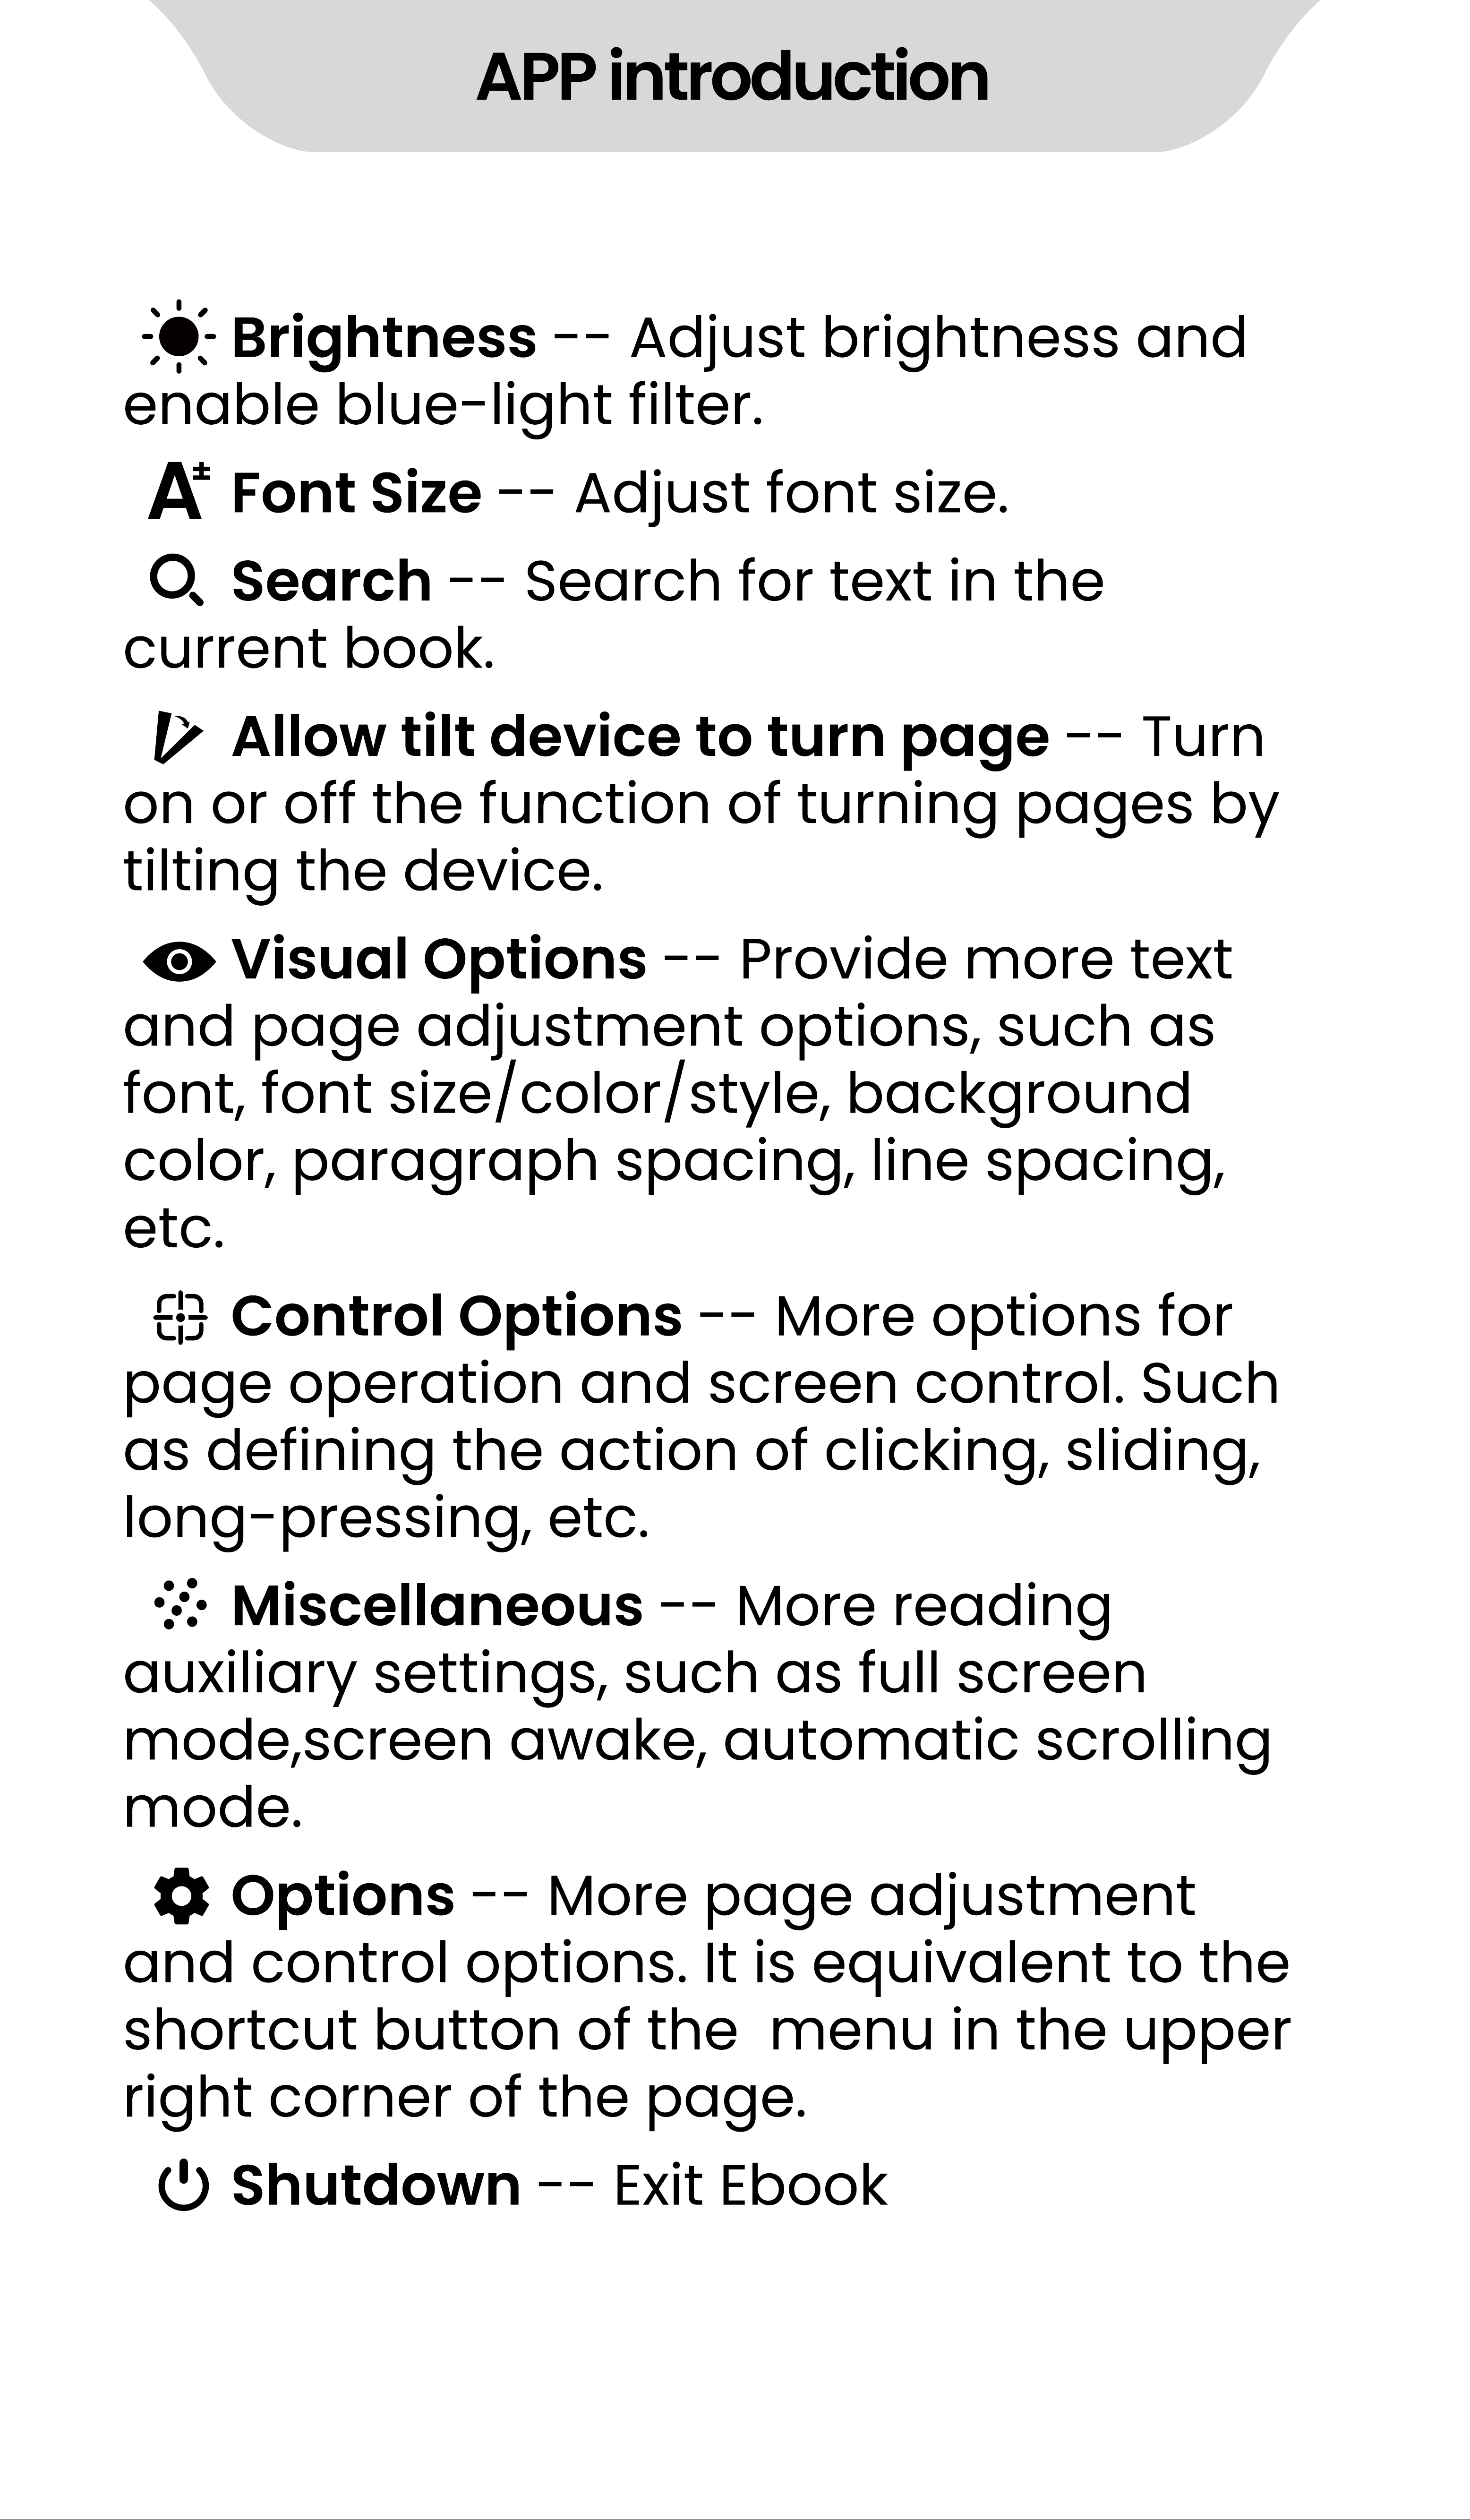
Brightness - - Adjust brightness and
enable blue- light filter.
Font Size - - Adjust font size.
Search - - Search for text in the
current book.
Allow tilt device to turn page - - Turn
on or off the function of turning pages by
tilting the device.
Visual Options - - Provide more text
and page adjustment options, such as
font, font size/color/style, background
color, paragraph spacing, line spacing,
etc.
Control Options - - More options for
page operation and screen control. Such
as defining the action of clicking, sliding,
long- pressing, etc.
Miscellaneous - - More reading
auxiliary settings, such as full screen
mode,screen awake, automatic scrolling
mode.
Options - - More page adjustment
and control options. It is equivalent to the
shortcut button of the menu in the upper
right corner of the page.
Shutdown - - Exit Ebook
APP introduction
4. FAQ
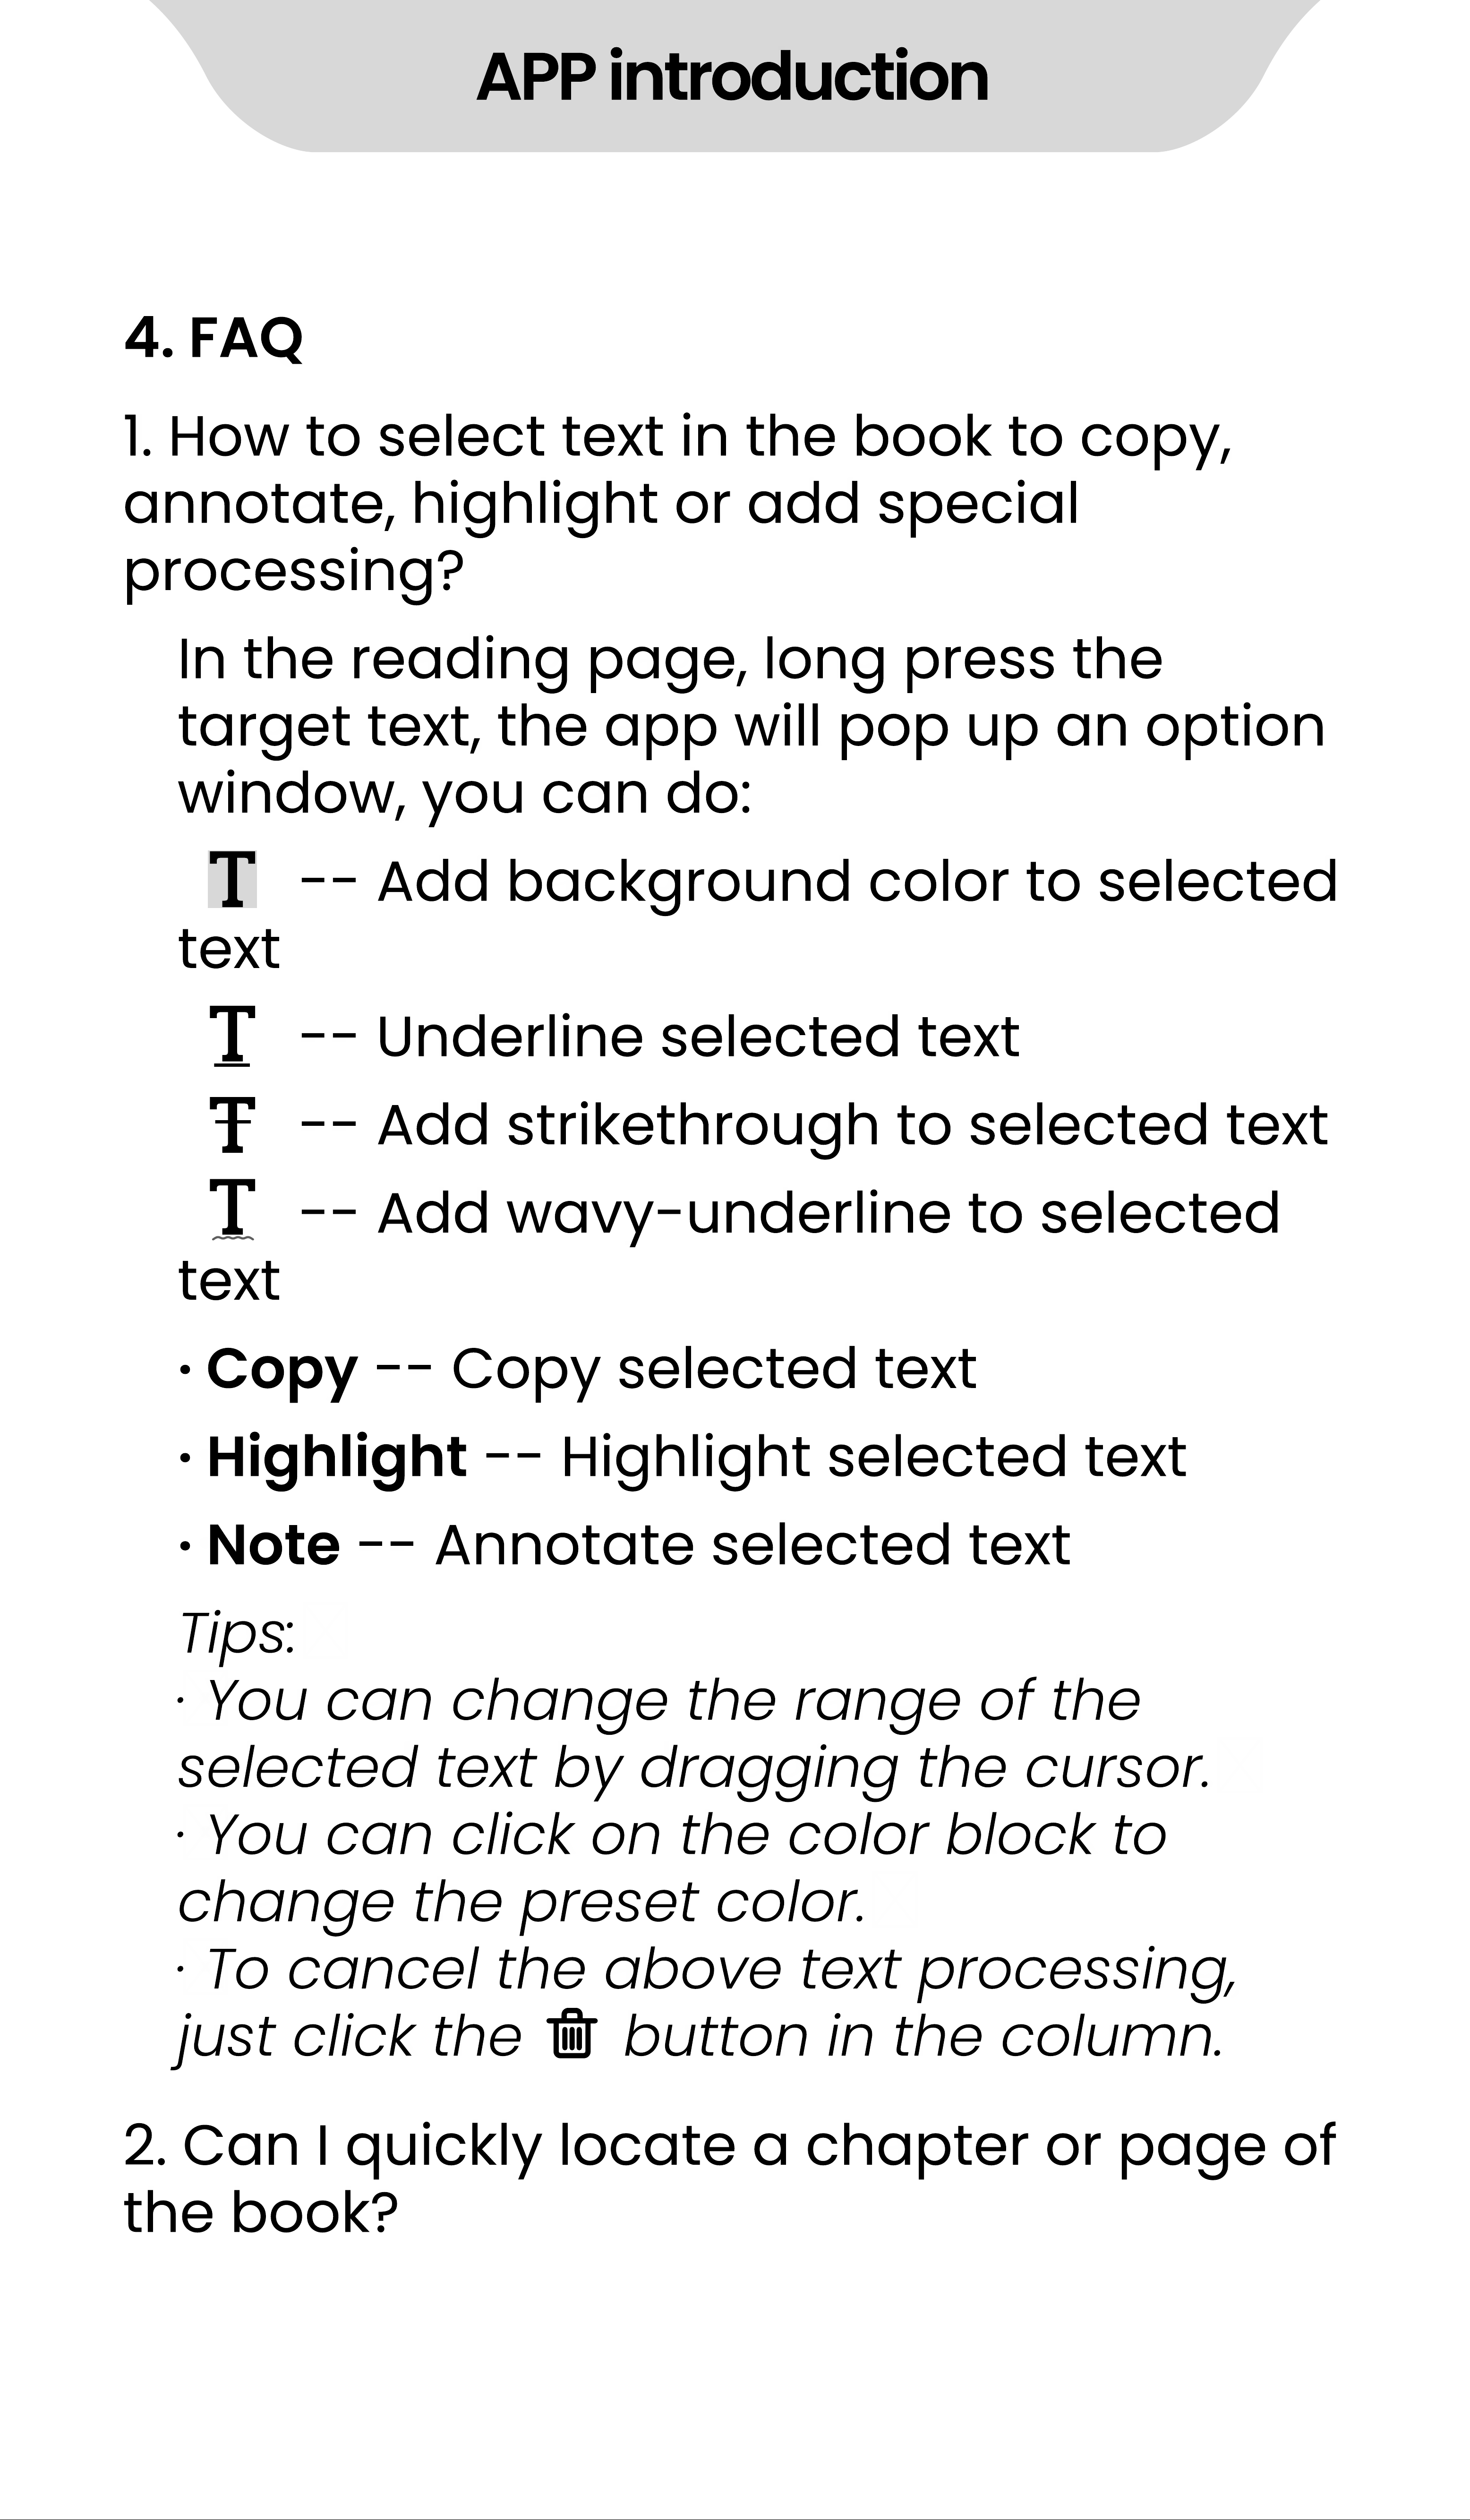
1. How to select text in the book to copy,
annotate, highlight or add special
processing?
2. Can I quickly locate a chapter or page of
the book?
In the reading page, long press the
target text, the app will pop up an option
window, you can do:
- - Add background color to selected
text
- - Underline selected text
- - Add strikethrough to selected text
- - Add wavy- underline to selected
text
·
Copy - - Copy selected text
·
Highlight - - Highlight selected text
·
Note - - Annotate selected text
Tips:
·
You can change the range of the
selected text by dragging the cursor.
·
You can click on the color block to
change the preset color.
·
To cancel the above text processing,
just click the button in the column.
APP introduction
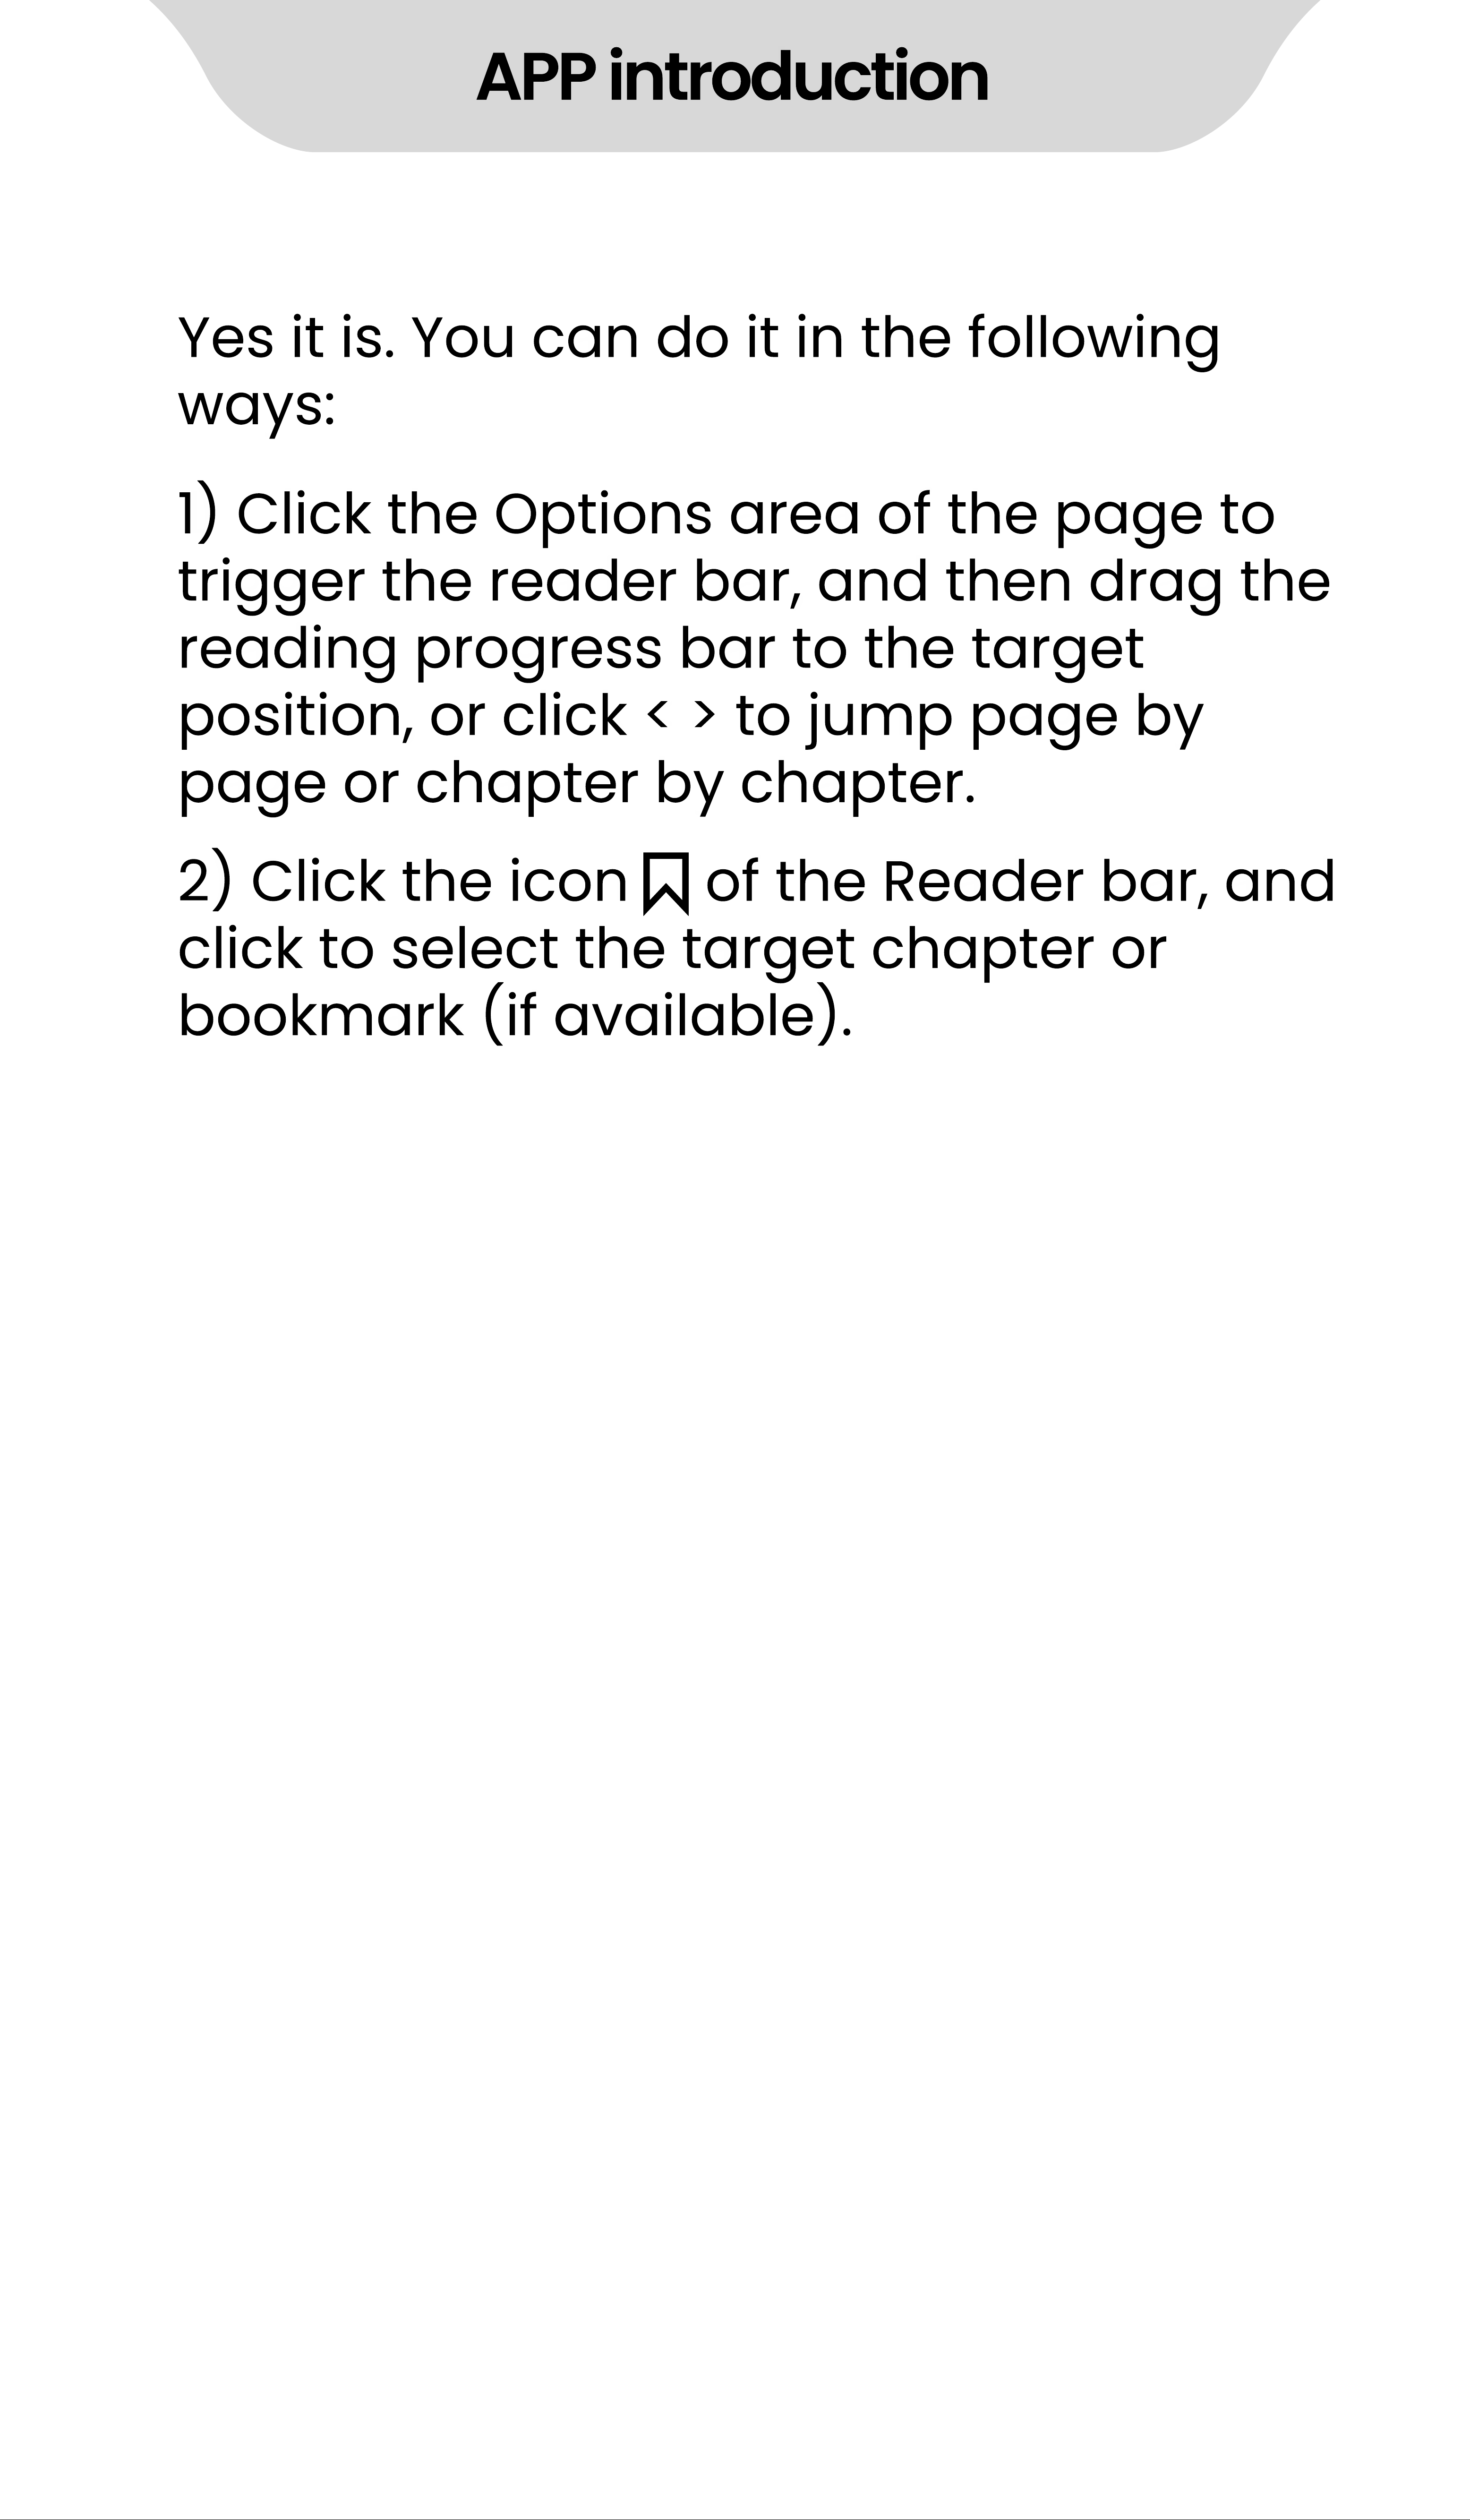
1) Click the Options area of the page to
trigger the reader bar, and then drag the
reading progress bar to the target
position, or click < > to jump page by
page or chapter by chapter.
2) Click the icon of the Reader bar, and
click to select the target chapter or
bookmark (if available).
Yes it is. You can do it in the following
ways:
APP introduction
Recorder
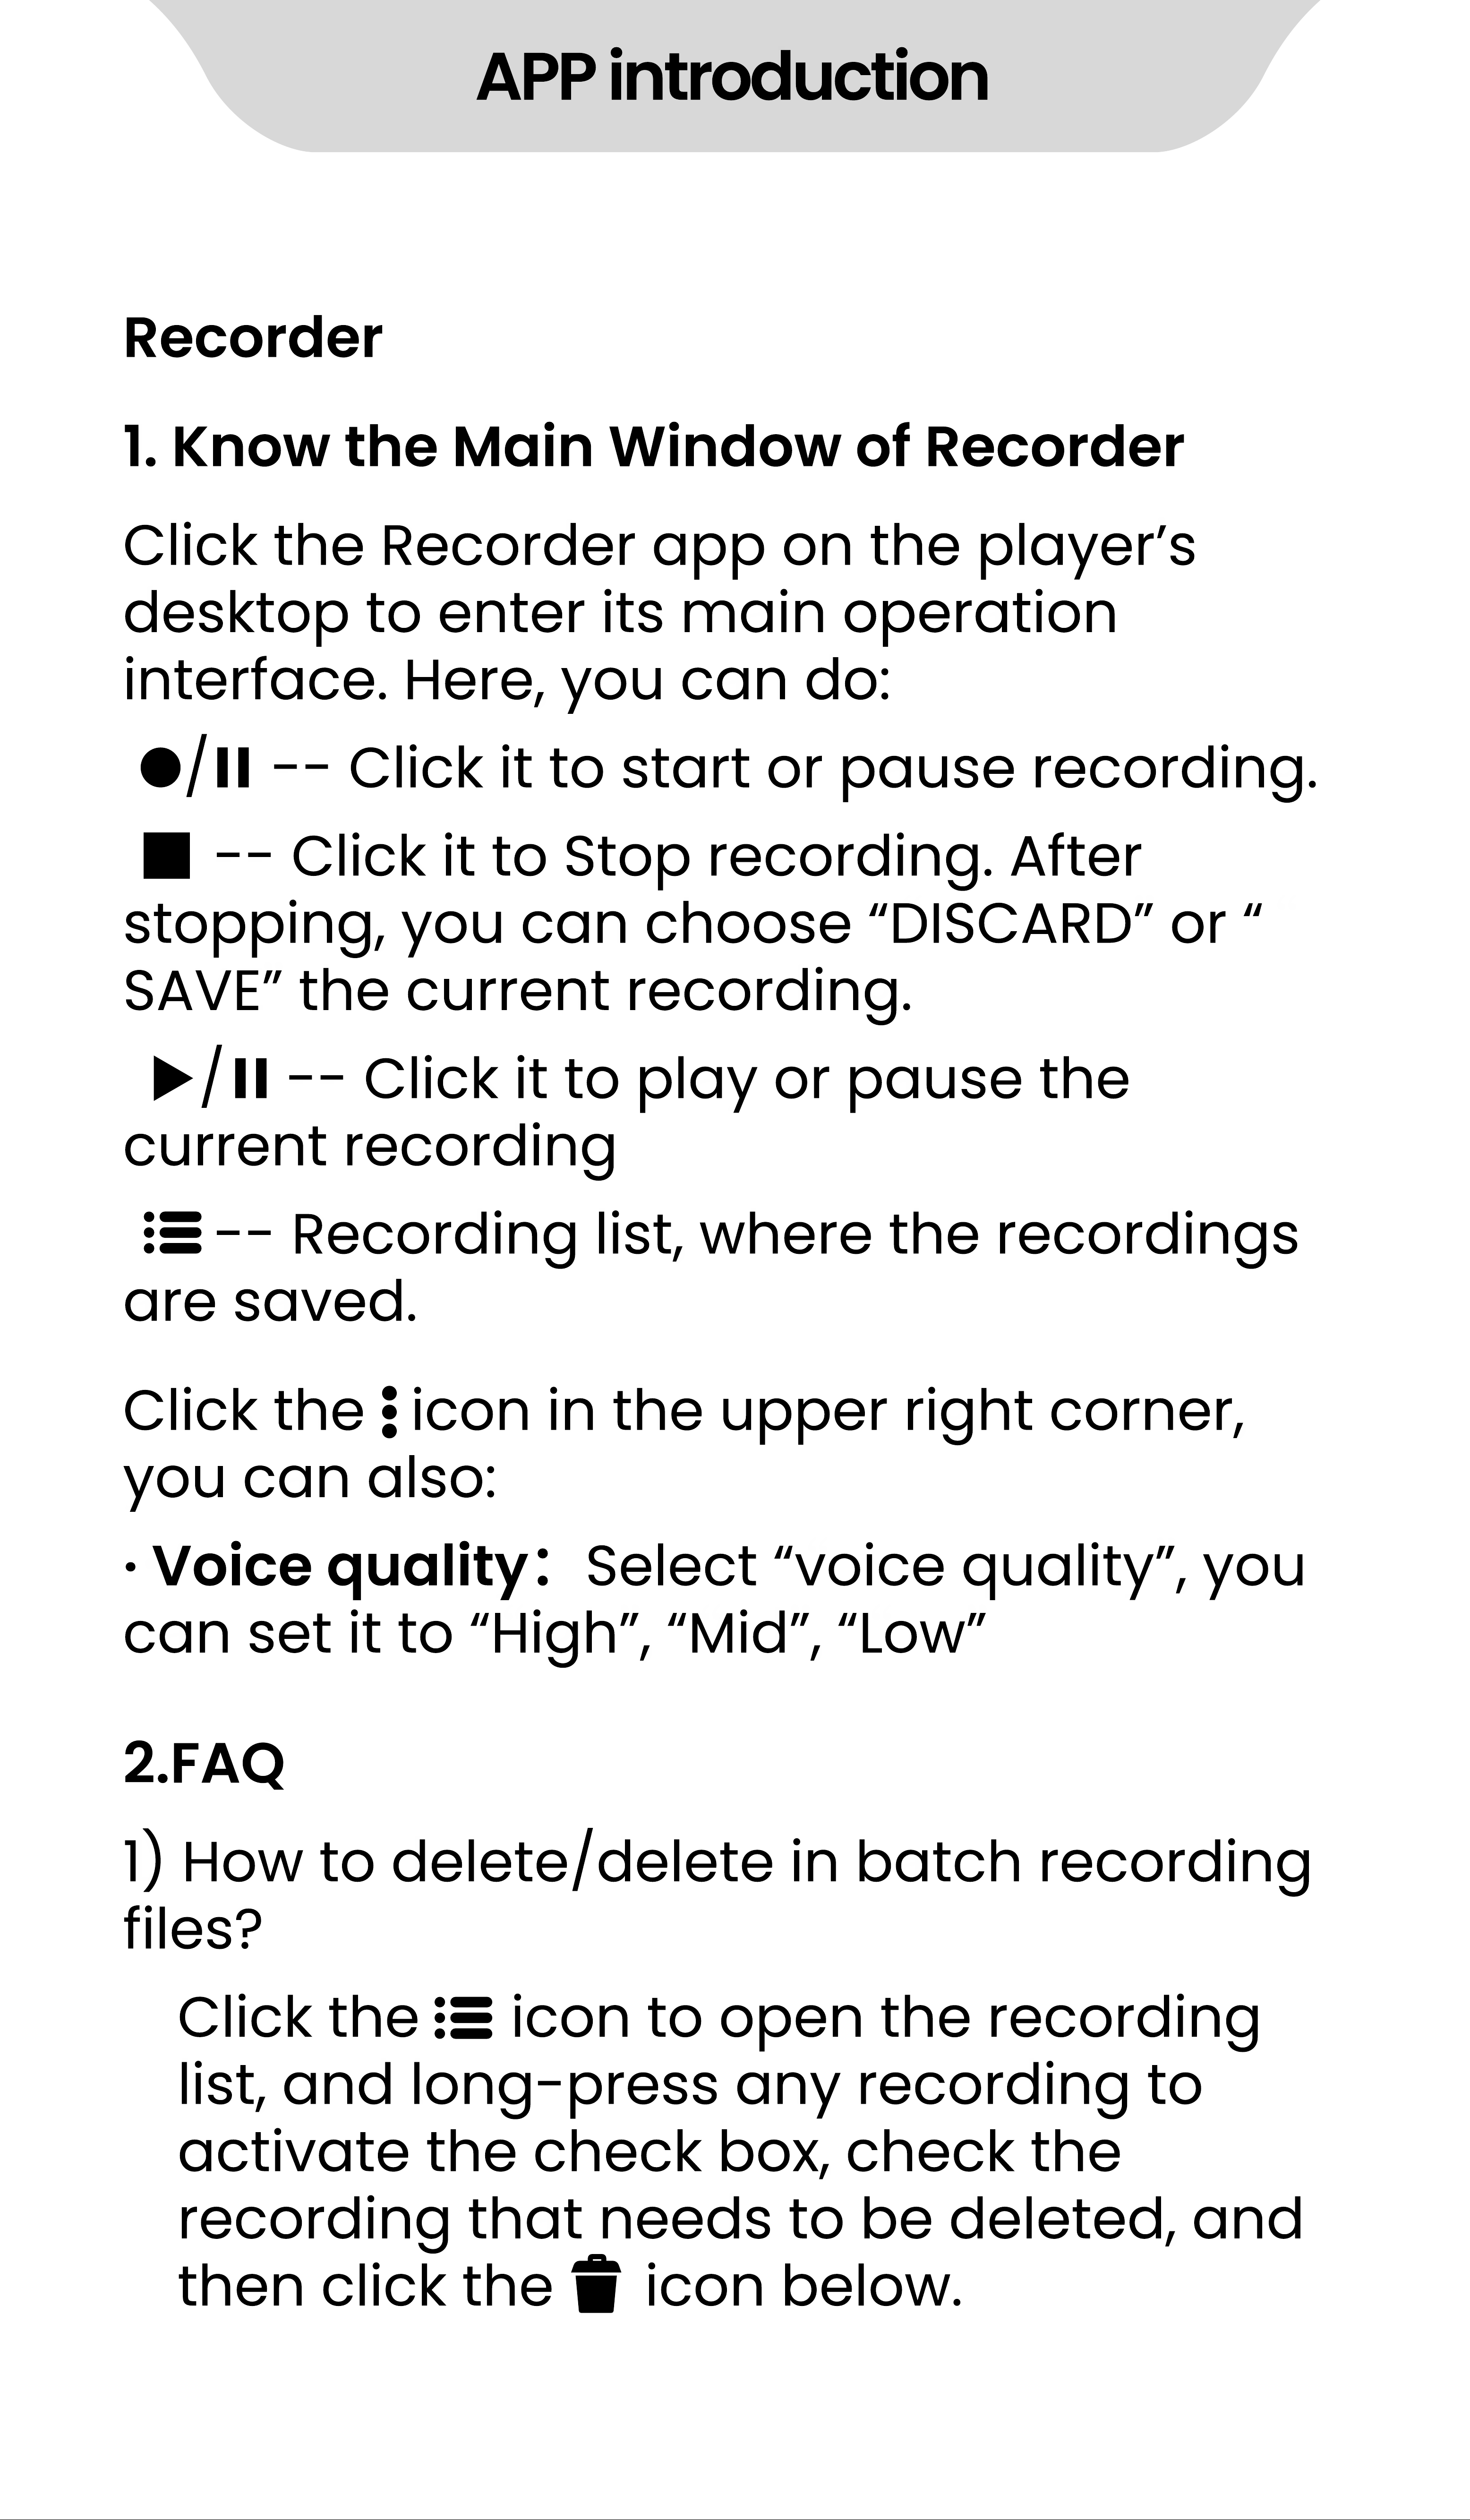
1. Know the Main Window of Recorder
2.FAQ
Click the Recorder app on the player
’
s
desktop to enter its main operation
interface. Here, you can do:
/ - - Click it to start or pause recording.
- - Click it to Stop recording. After
stopping, you can choose
“
DISCARD
”
or
“
SAVE
”
the current recording.
/ - - Click it to play or pause the
current recording
- - Recording list, where the recordings
are saved.
Click the icon in the upper right corner,
you can also:
1) How to delete/delete in batch recording
files?
Click the icon to open the recording
list, and long- press any recording to
activate the check box, check the
recording that needs to be deleted, and
then click the icon below.
·
Voice quality
:
Select
“
voice quality
”
, you
can set it to
“
High
”
,
“
Mid
”
,
“
Low
”
APP introduction
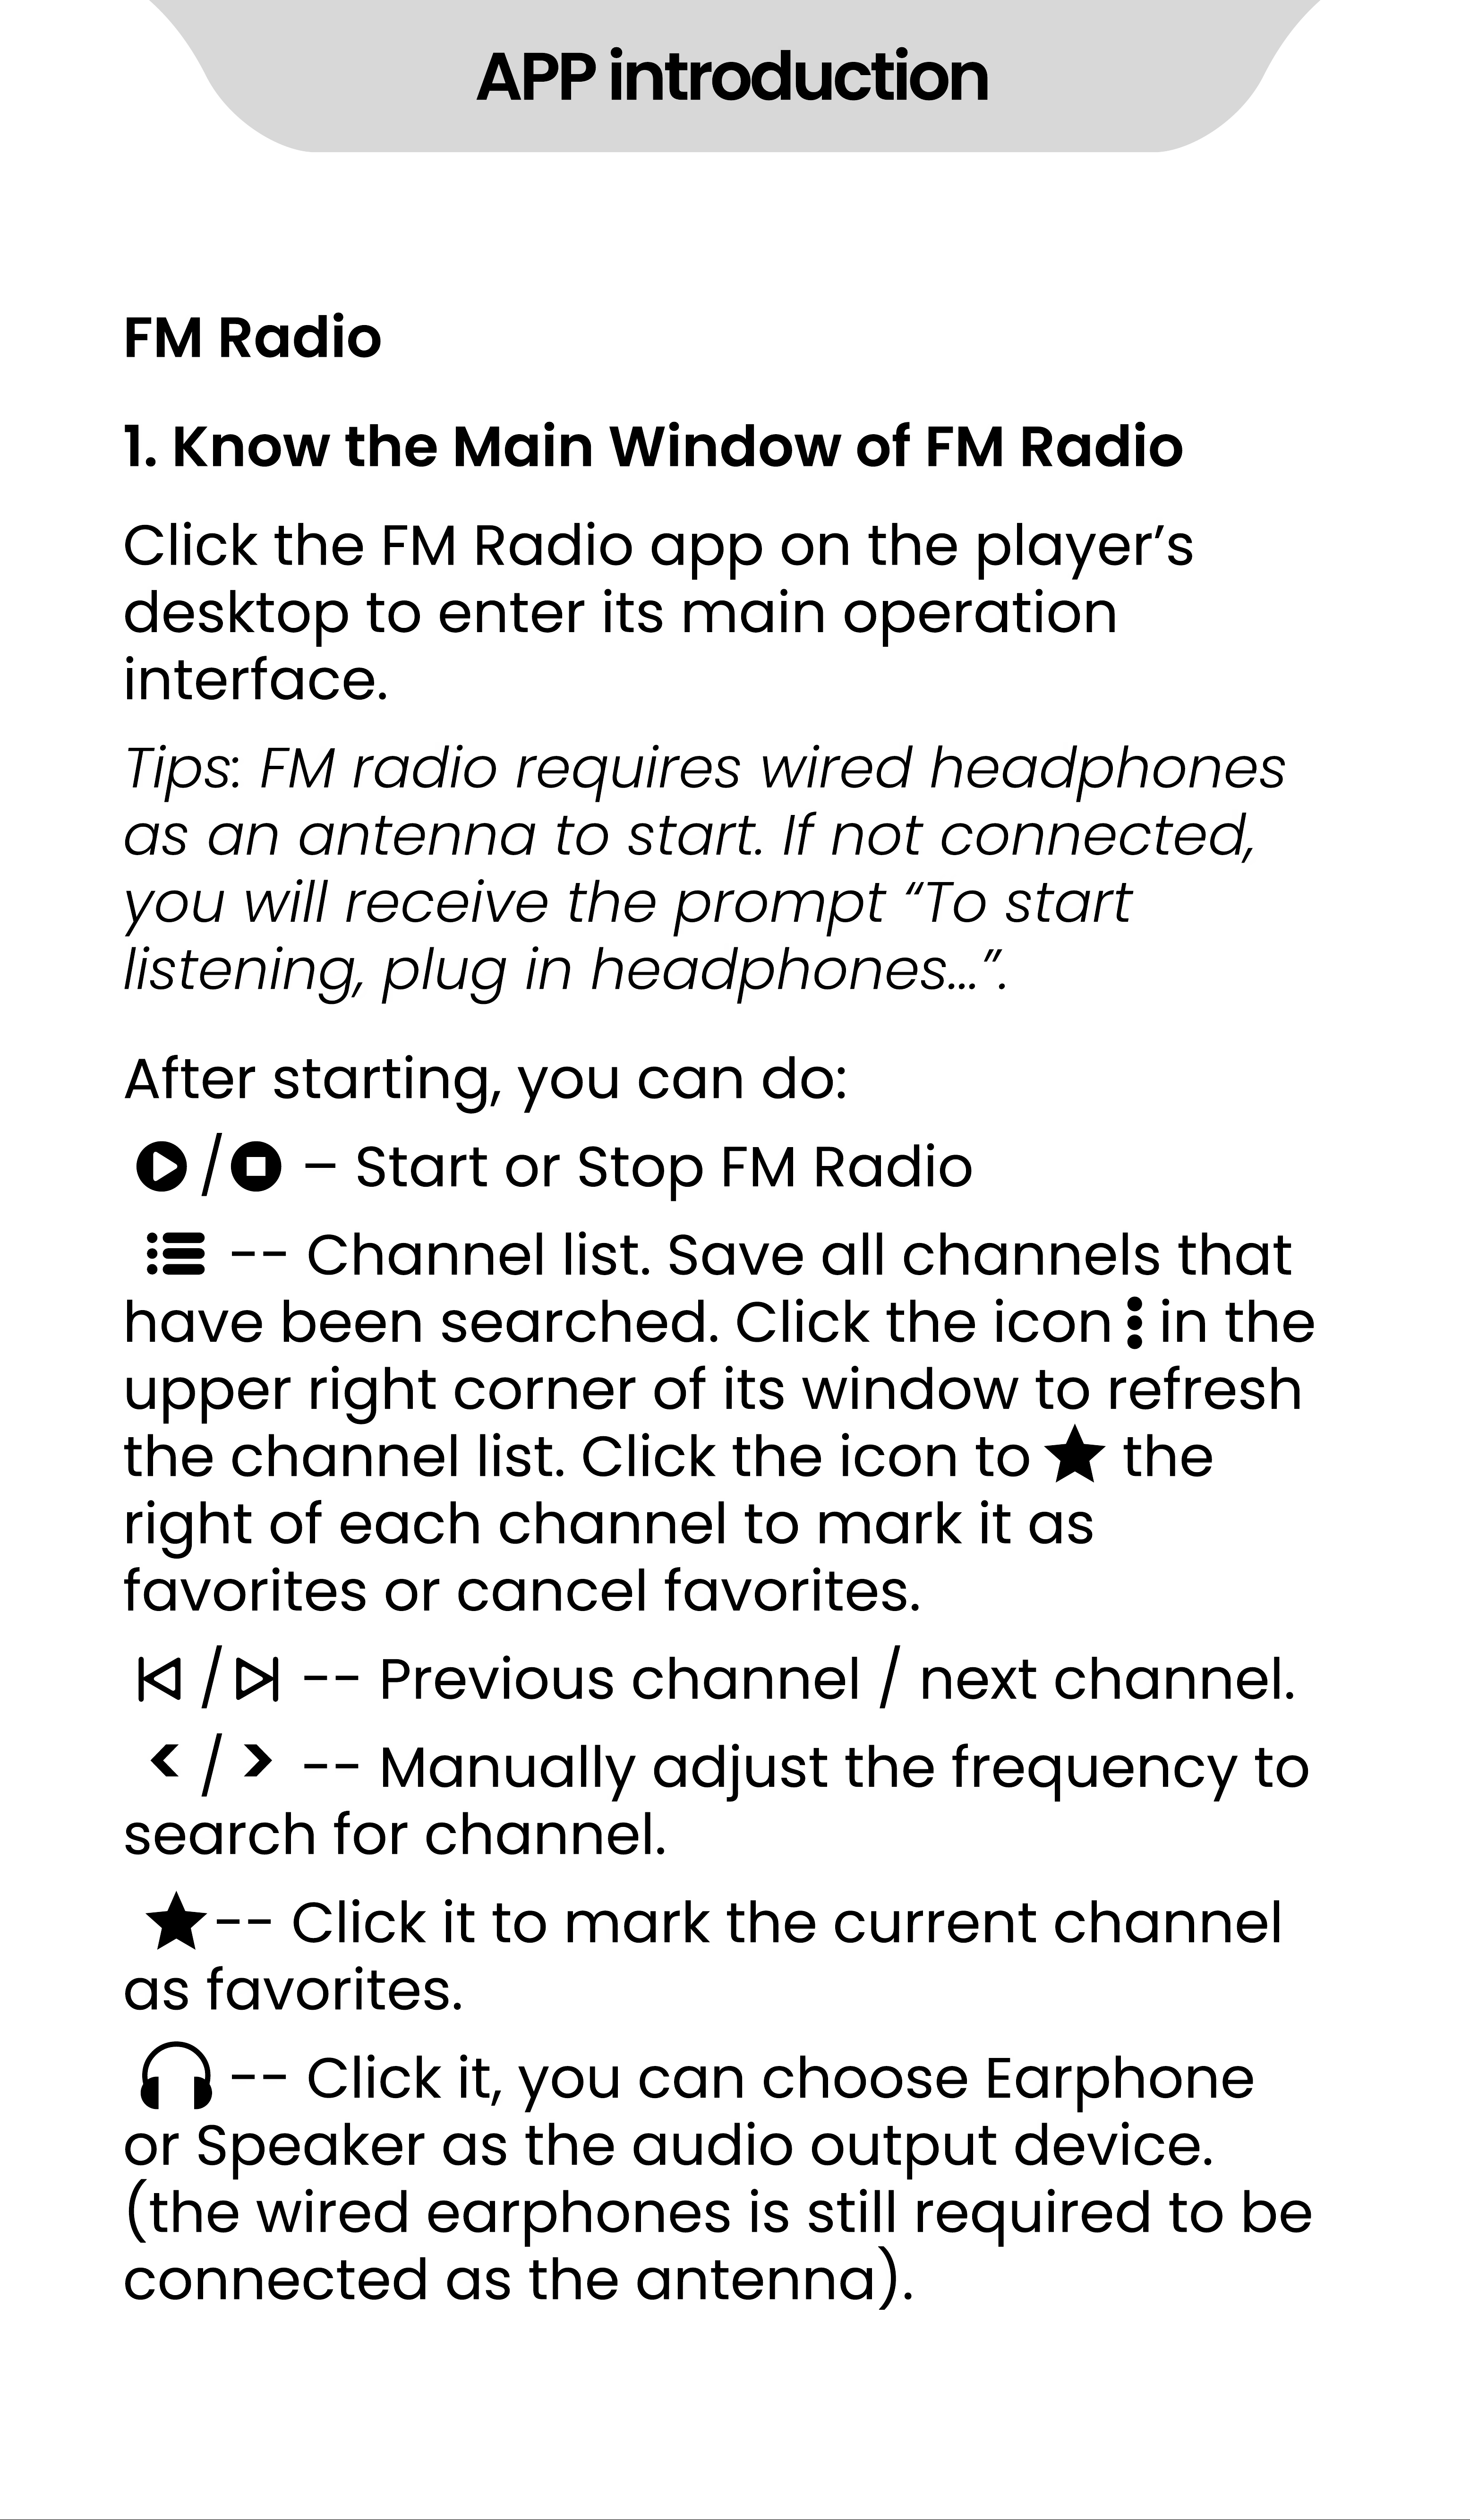
FM Radio
1. Know the Main Window of FM Radio
Click the FM Radio app on the player
’
s
desktop to enter its main operation
interface.
After starting, you can do:
/
‒
Start or Stop FM Radio
- - Channel list. Save all channels that
have been searched. Click the icon in the
upper right corner of its window to refresh
the channel list. Click the icon to the
right of each channel to mark it as
favorites or cancel favorites.
/ - - Previous channel / next channel.
/ - - Manually adjust the frequency to
search for channel.
- - Click it to mark the current channel
as favorites.
- - Click it, you can choose Earphone
or Speaker as the audio output device.
(the wired earphones is still required to be
connected as the antenna).
Tips: FM radio requires wired headphones
as an antenna to start. If not connected,
you will receive the prompt
“
To start
listening, plug in headphones...
”
.
< >
APP introduction
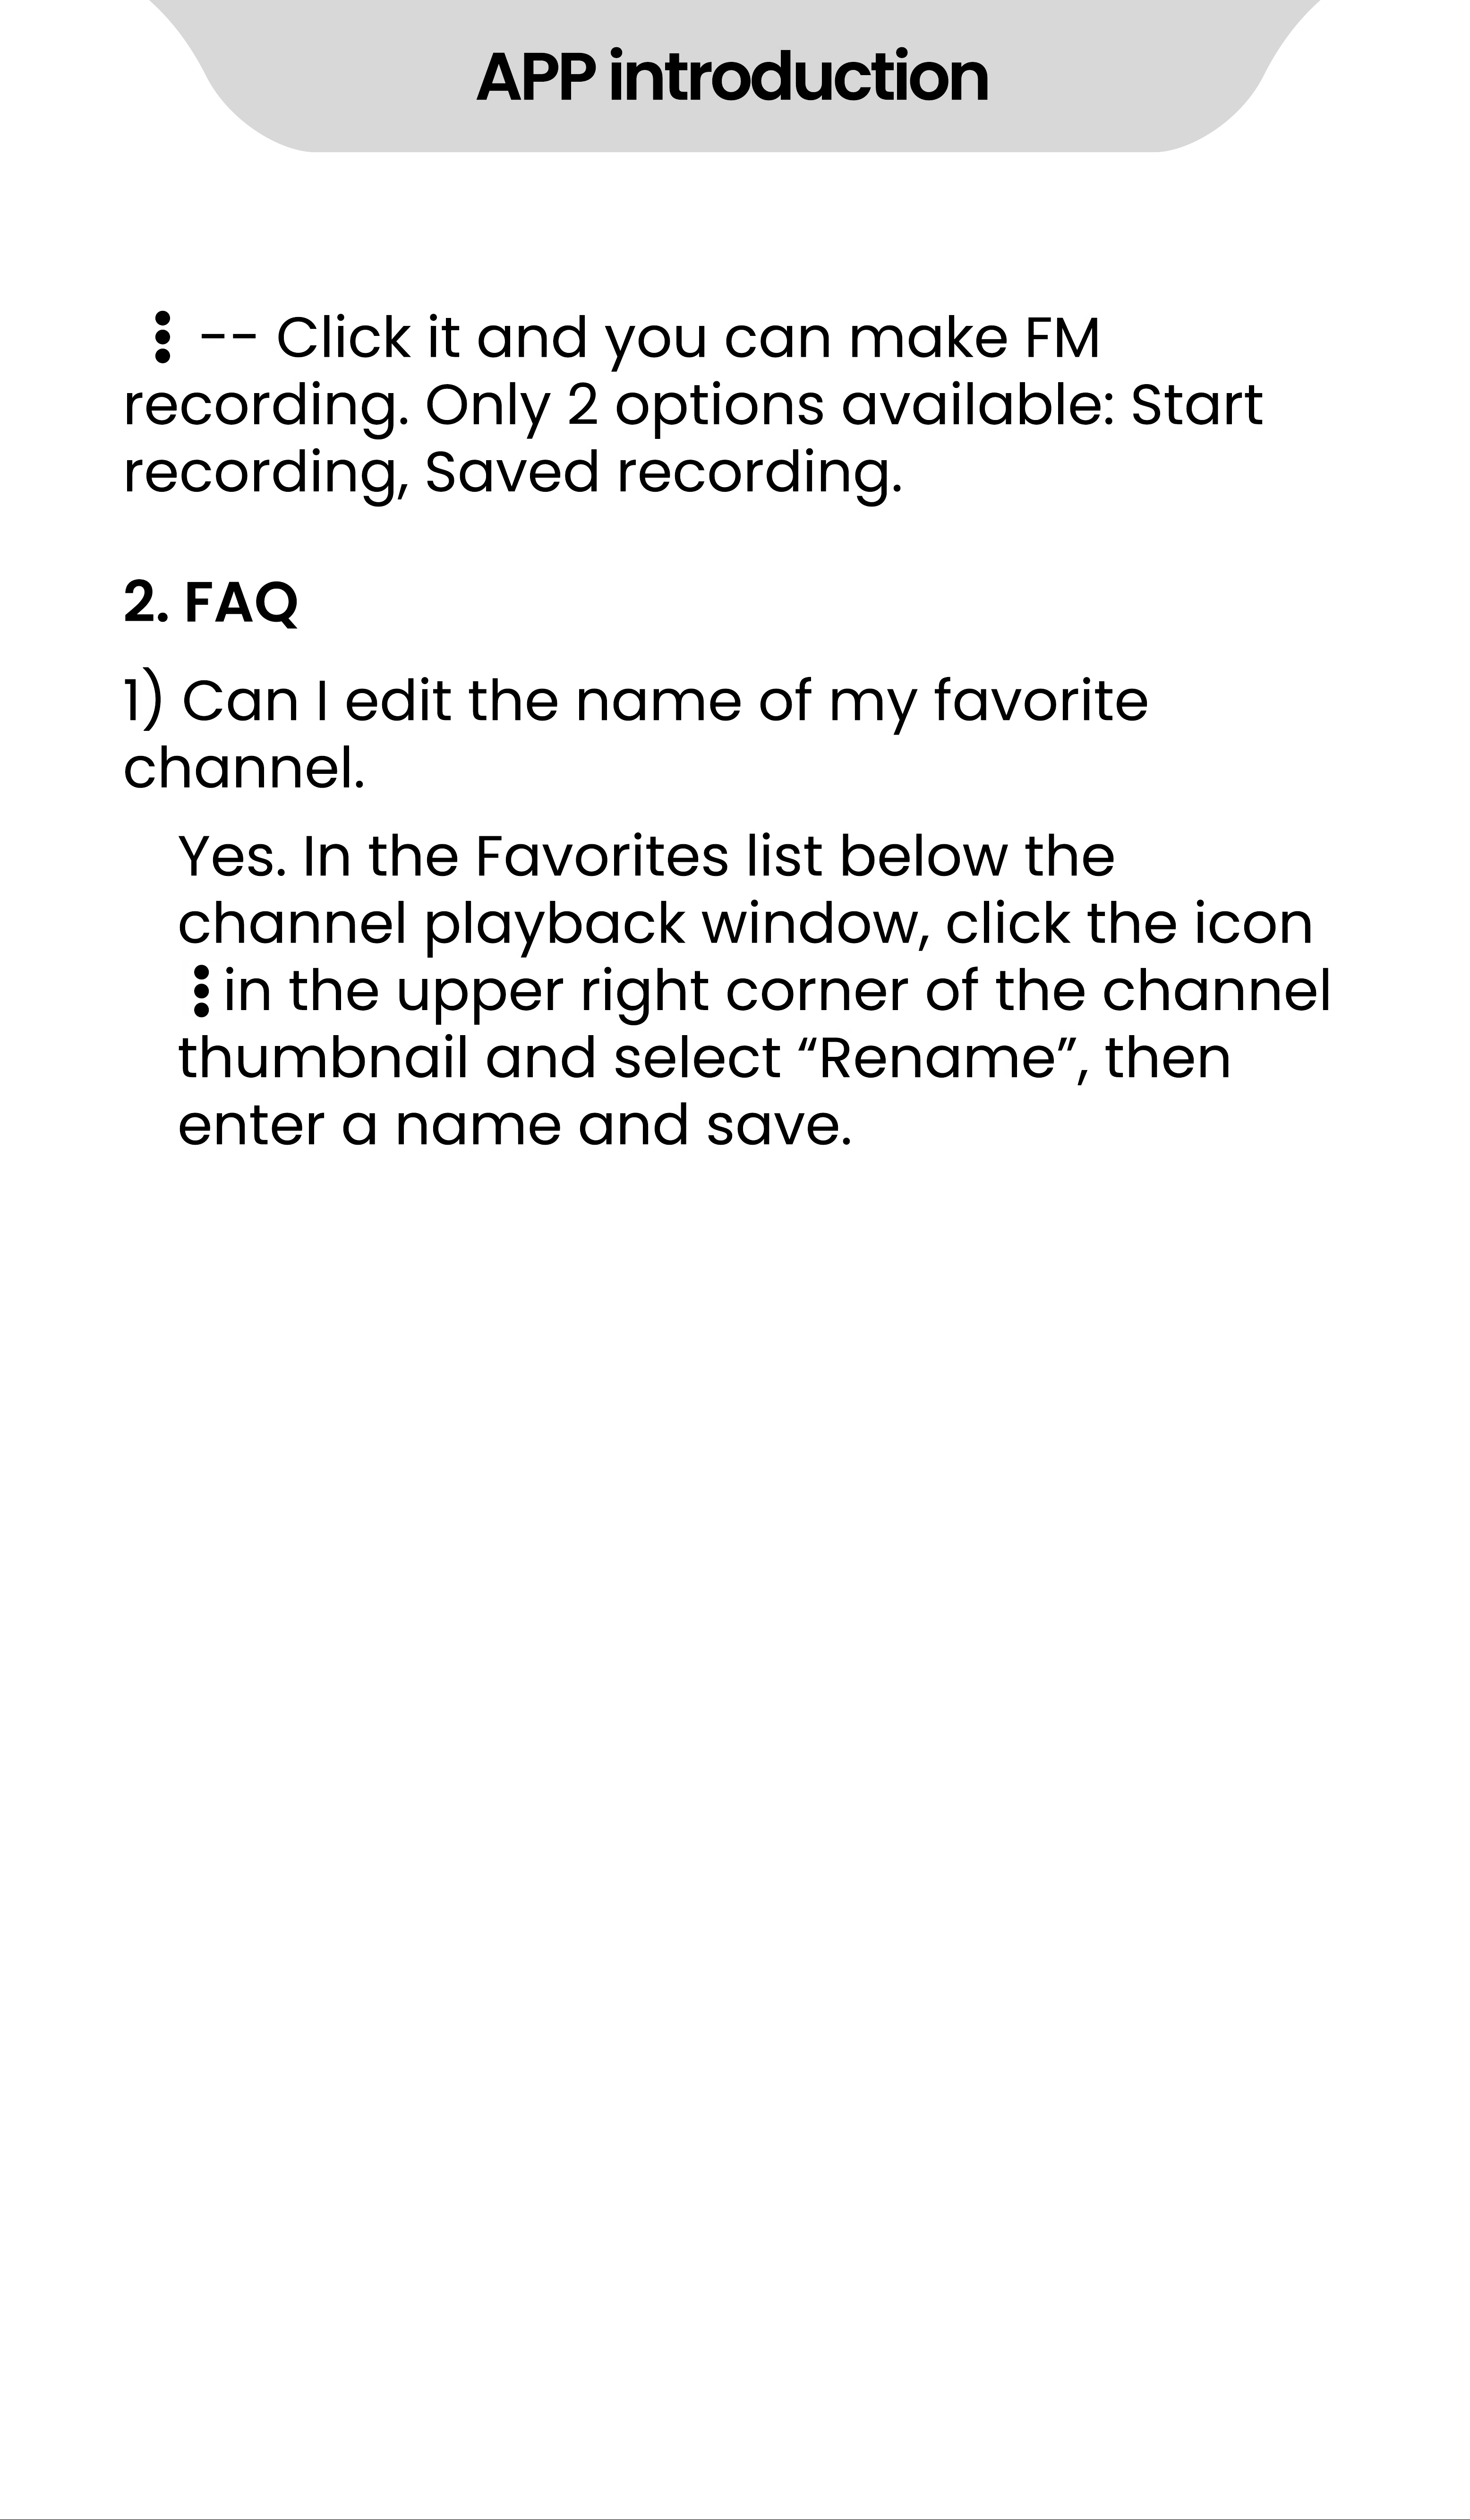
- - Click it and you can make FM
recording. Only 2 options available: Start
recording, Saved recording.
1) Can I edit the name of my favorite
channel.
Yes. In the Favorites list below the
channel playback window, click the icon
in the upper right corner of the channel
thumbnail and select
“
Rename
”
, then
enter a name and save.
2. FAQ
APP introduction
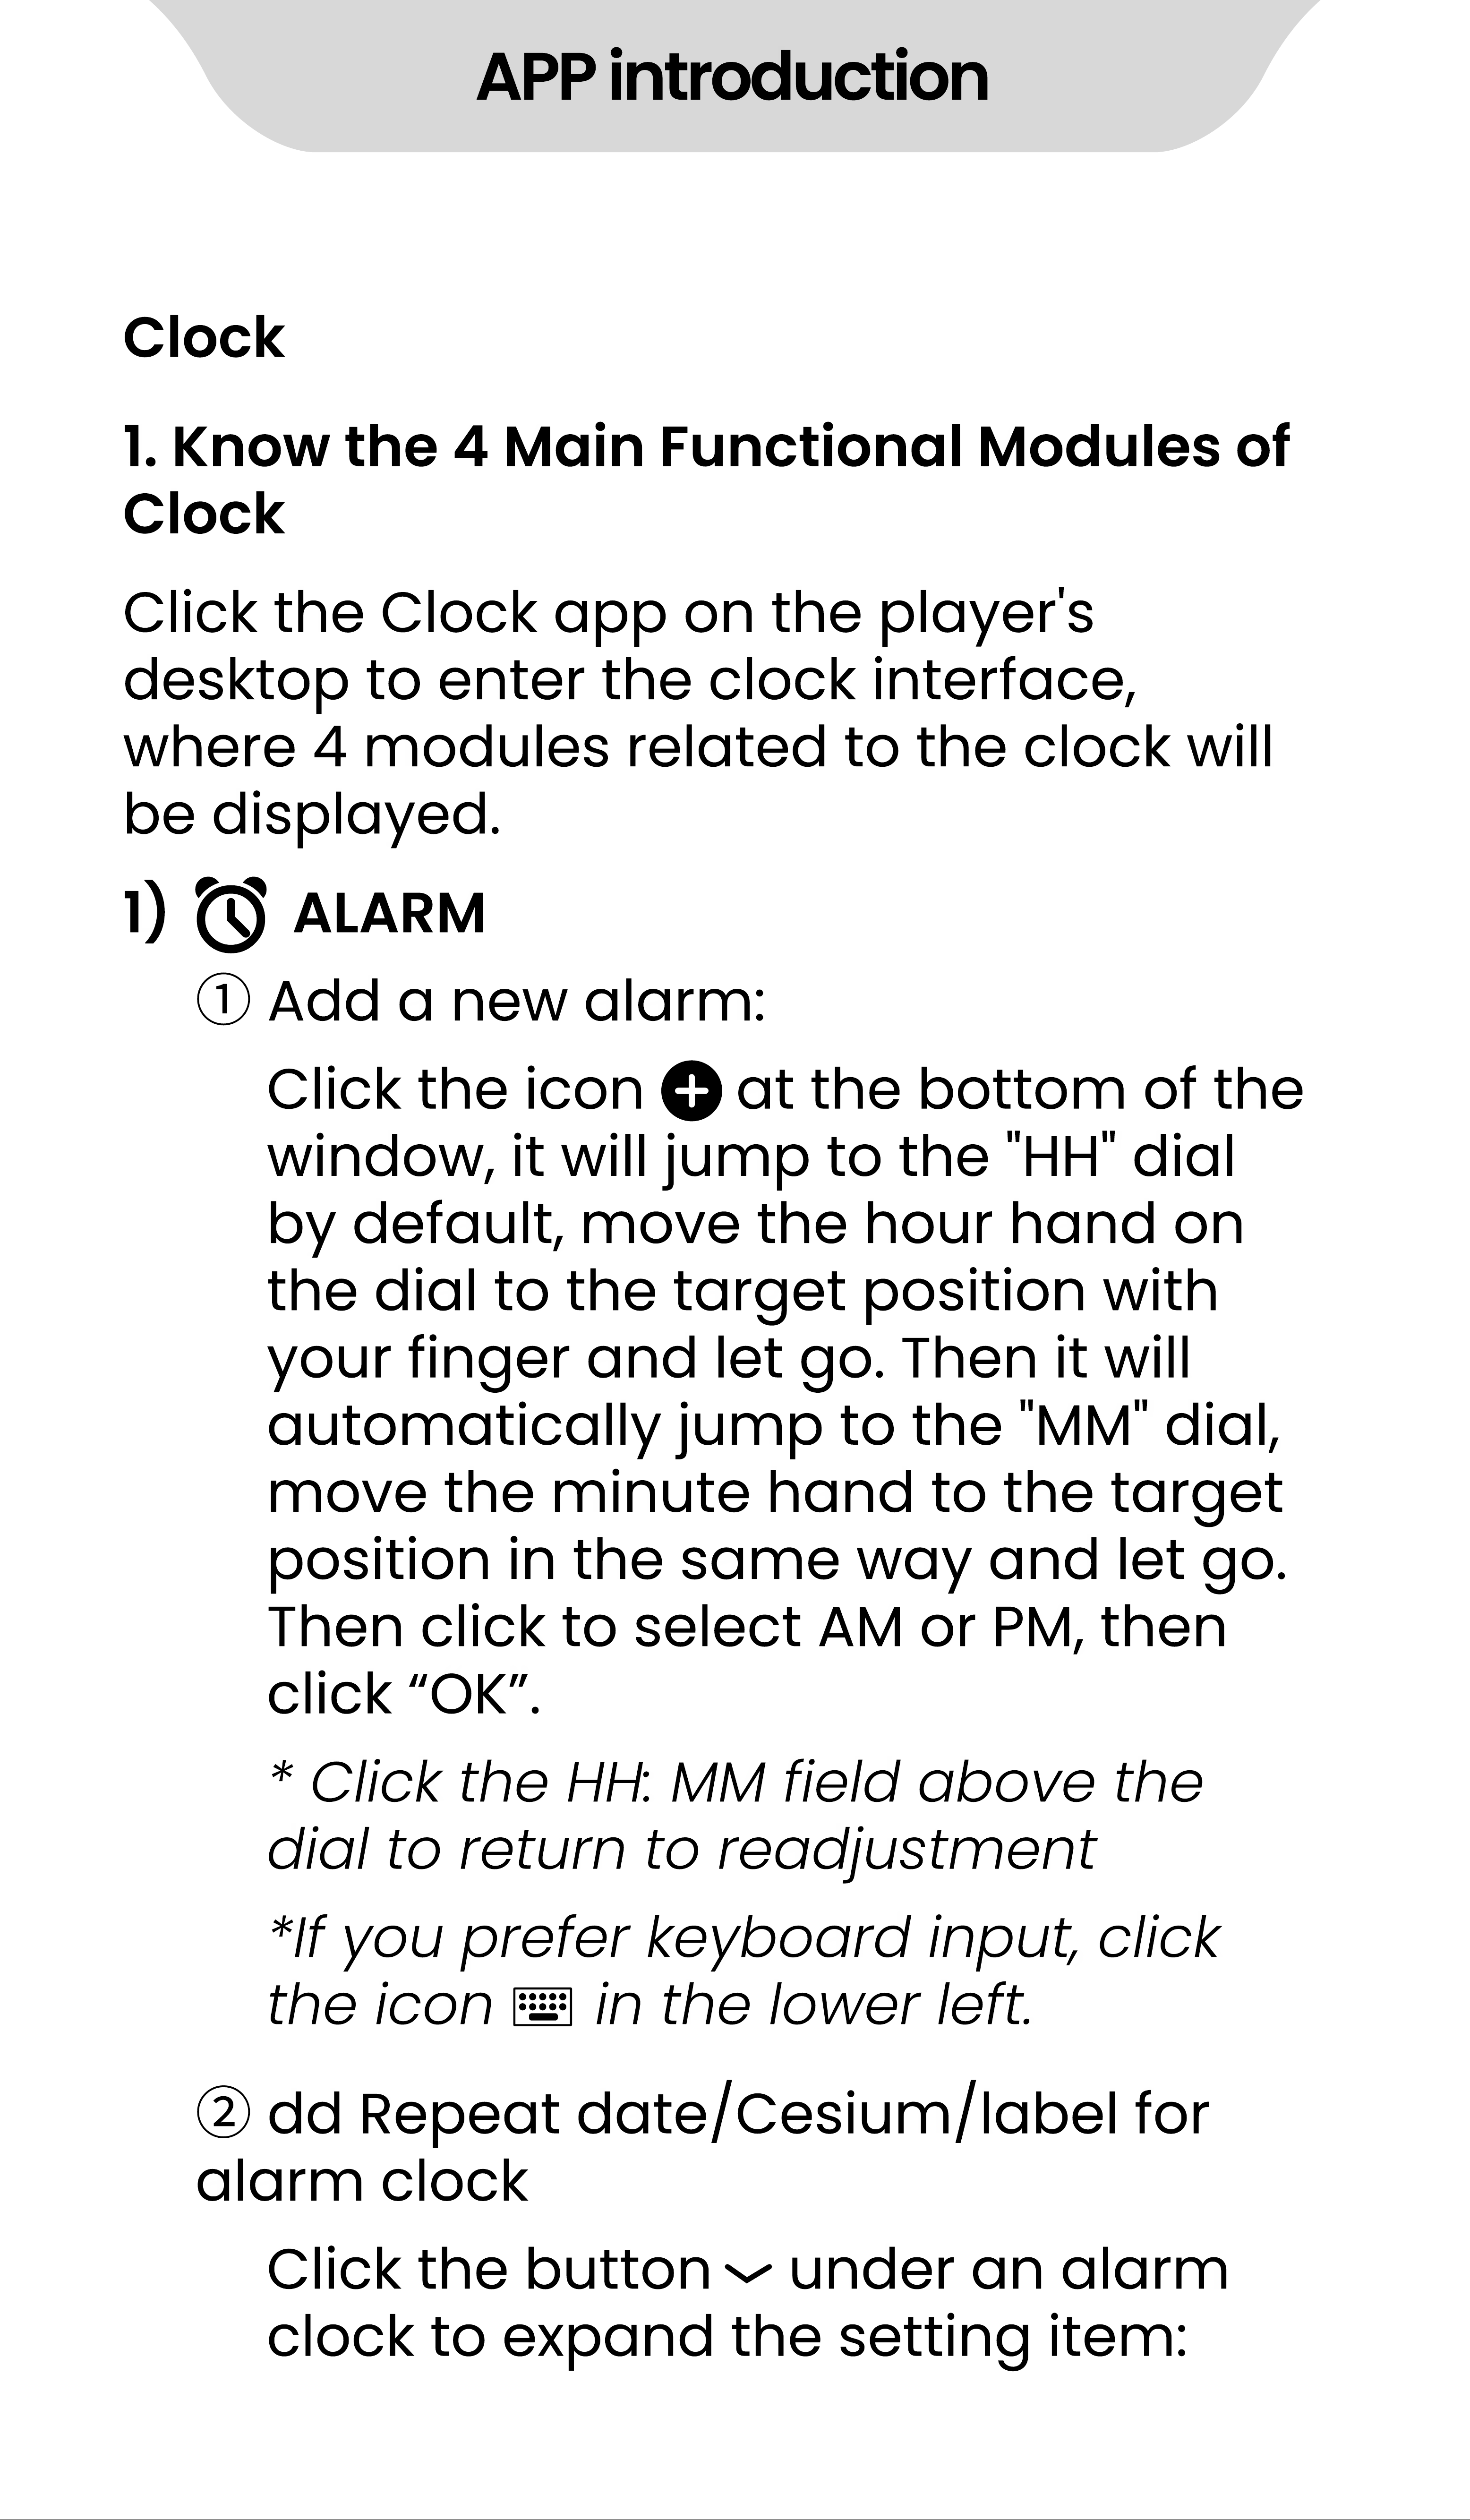
Clock
1. Know the 4 Main Functional Modules of
Clock
1) ALARM
Click the Clock app on the player's
desktop to enter the clock interface,
where 4 modules related to the clock will
be displayed.
①
Add a new alarm:
②
dd Repeat date/Cesium/label for
alarm clock
Click the icon at the bottom of the
window, it will jump to the "HH" dial
by default, move the hour hand on
the dial to the target position with
your finger and let go. Then it will
automatically jump to the "MM" dial,
move the minute hand to the target
position in the same way and let go.
Then click to select AM or PM, then
click
“
OK
”
.
Click the button under an alarm
clock to expand the setting item:
* Click the HH: MM field above the
dial to return to readjustment
*If you prefer keyboard input, click
the icon in the lower left.
APP introduction
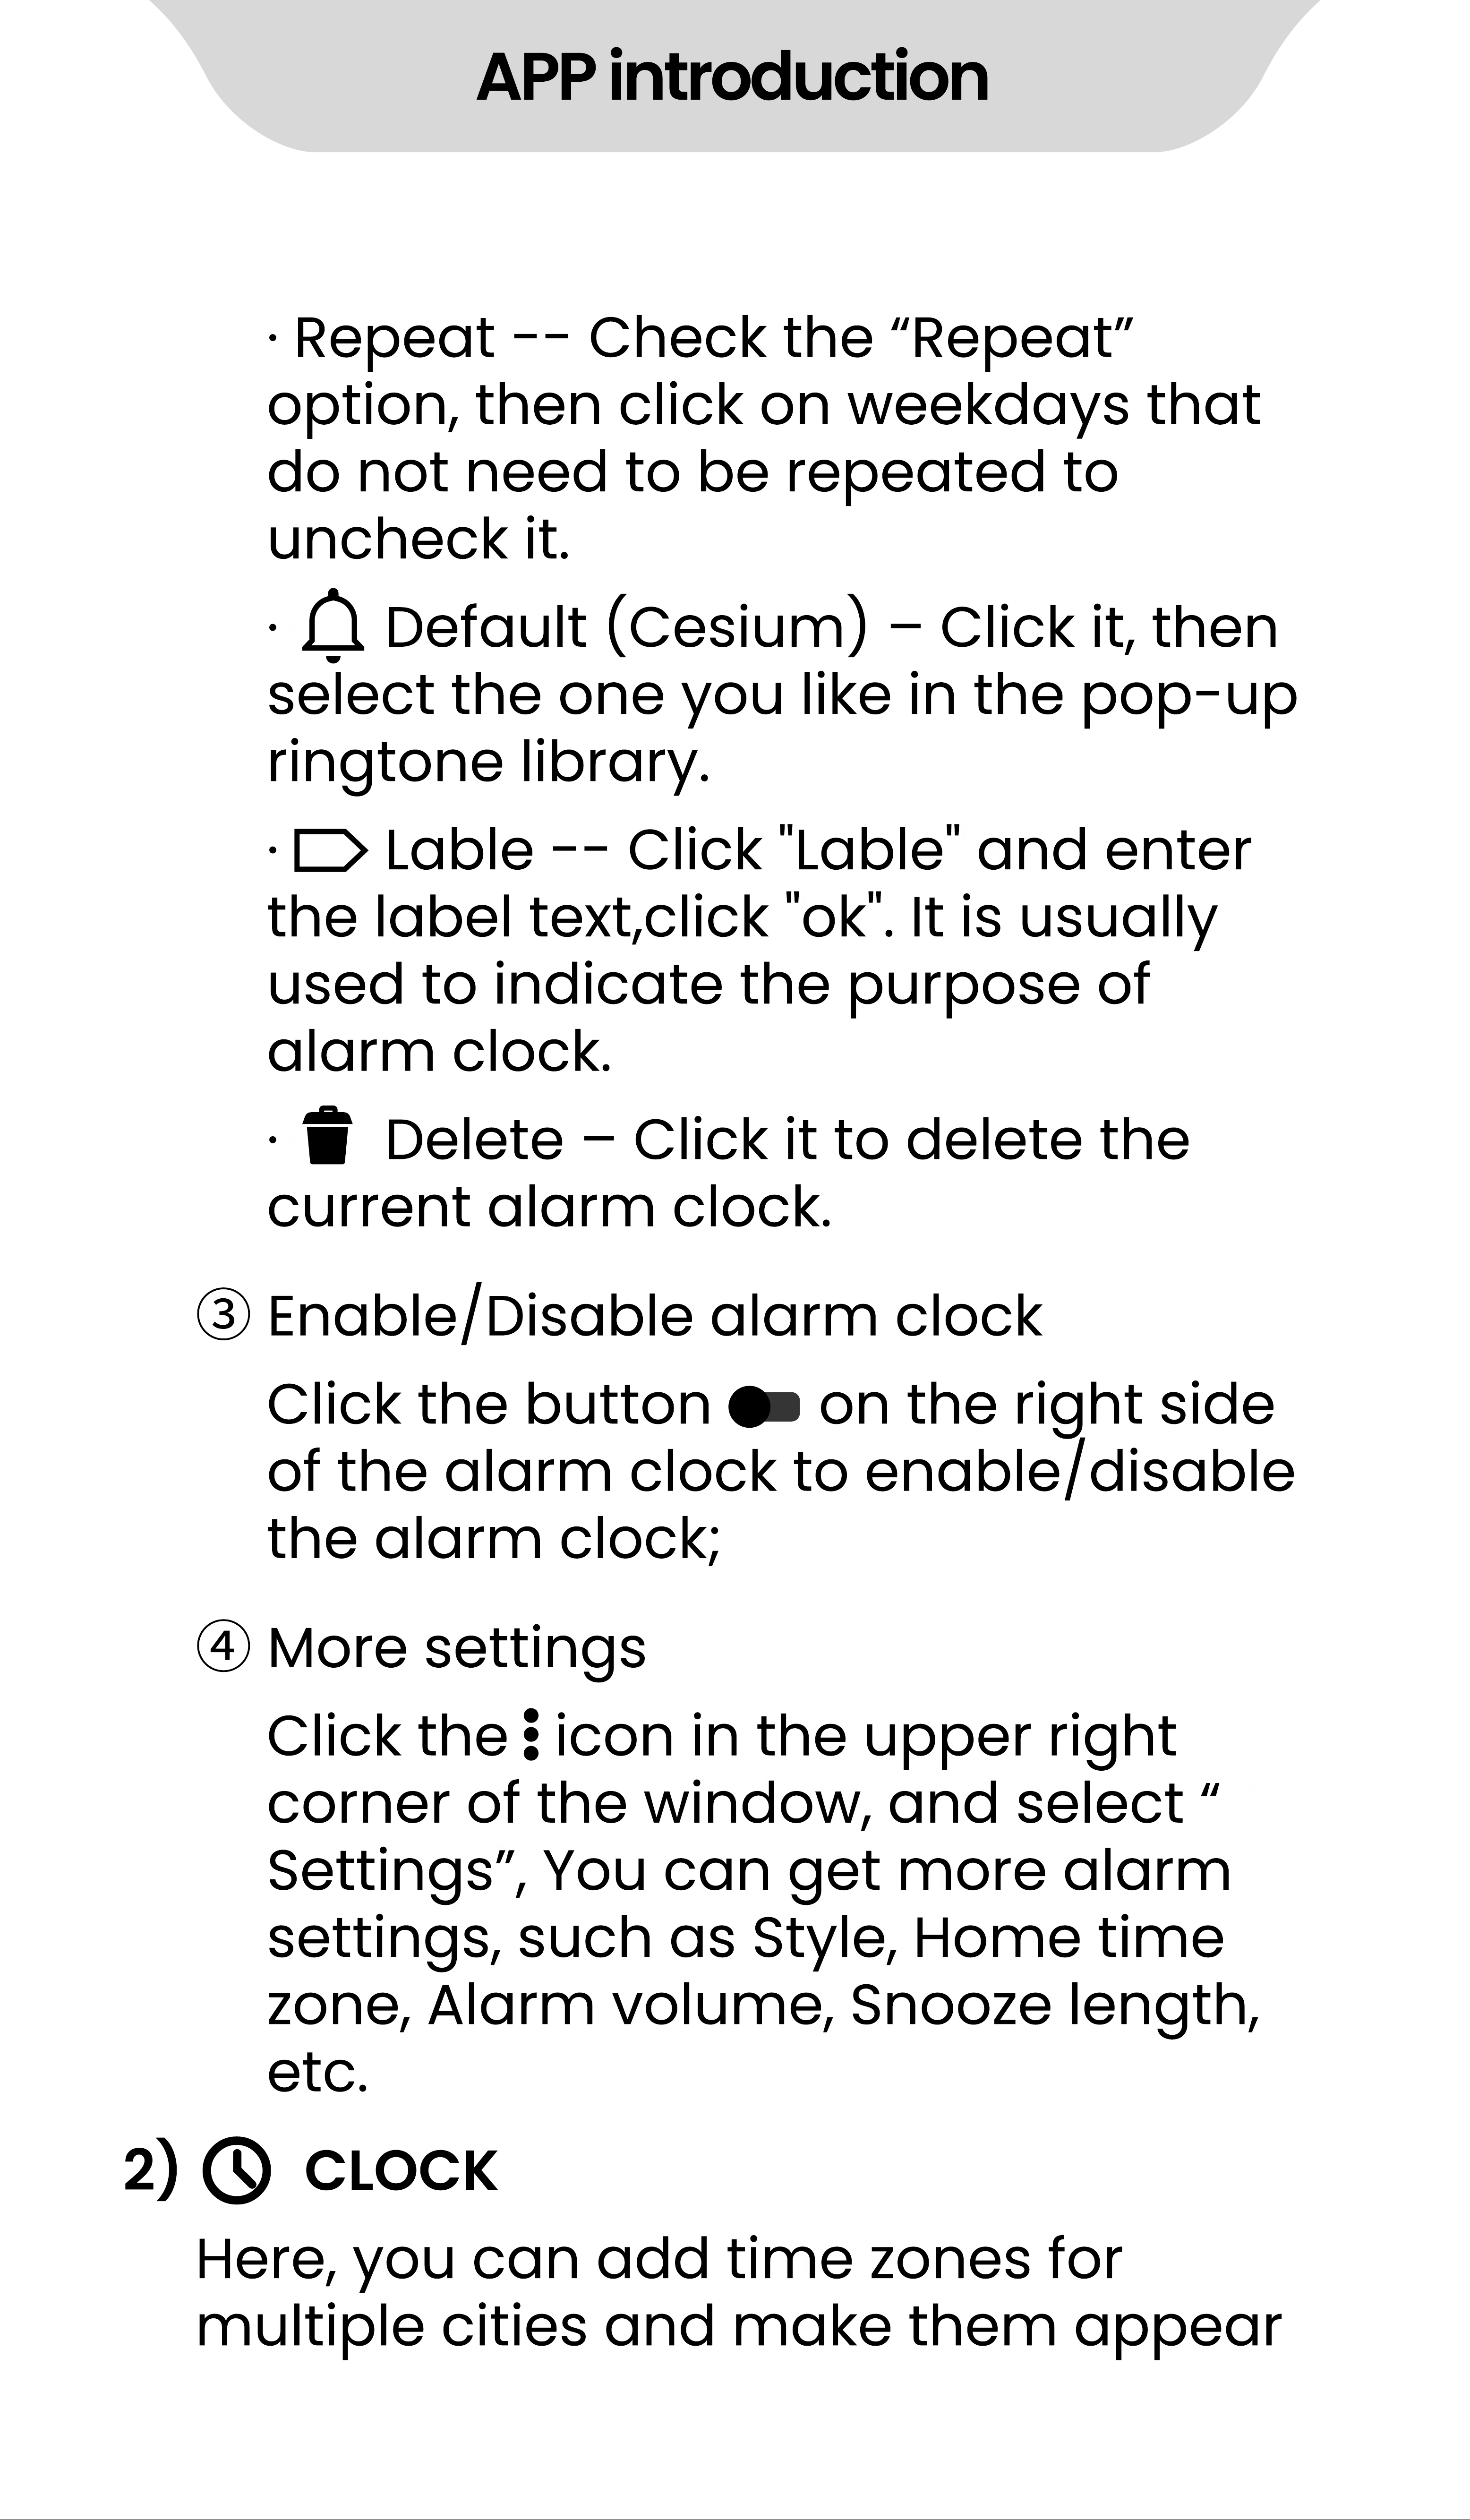
·
Repeat - - Check the
“
Repeat
”
option, then click on weekdays that
do not need to be repeated to
uncheck it.
·
Default (Cesium)
‒
Click it, then
select the one you like in the pop- up
ringtone library.
·
Lable - - Click "Lable" and enter
the label text,click "ok". It is usually
used to indicate the purpose of
alarm clock.
·
Delete
‒
Click it to delete the
current alarm clock.
③
Enable/Disable alarm clock
④
More settings
Click the button on the right side
of the alarm clock to enable/disable
the alarm clock;
Click the icon in the upper right
corner of the window, and select
“
Settings
”
, You can get more alarm
settings, such as Style, Home time
zone, Alarm volume, Snooze length,
etc.
2) CLOCK
Here, you can add time zones for
multiple cities and make them appear
APP introduction
in the window. Click the icon at the
bottom, and then tick the city you want
to display.
Tips: you can find the target city by
scrolling the screen or the search
button . The time zone list is sorted
alphabetically by default. You can also
click the icon in the upper right corner
and select Sort by time.
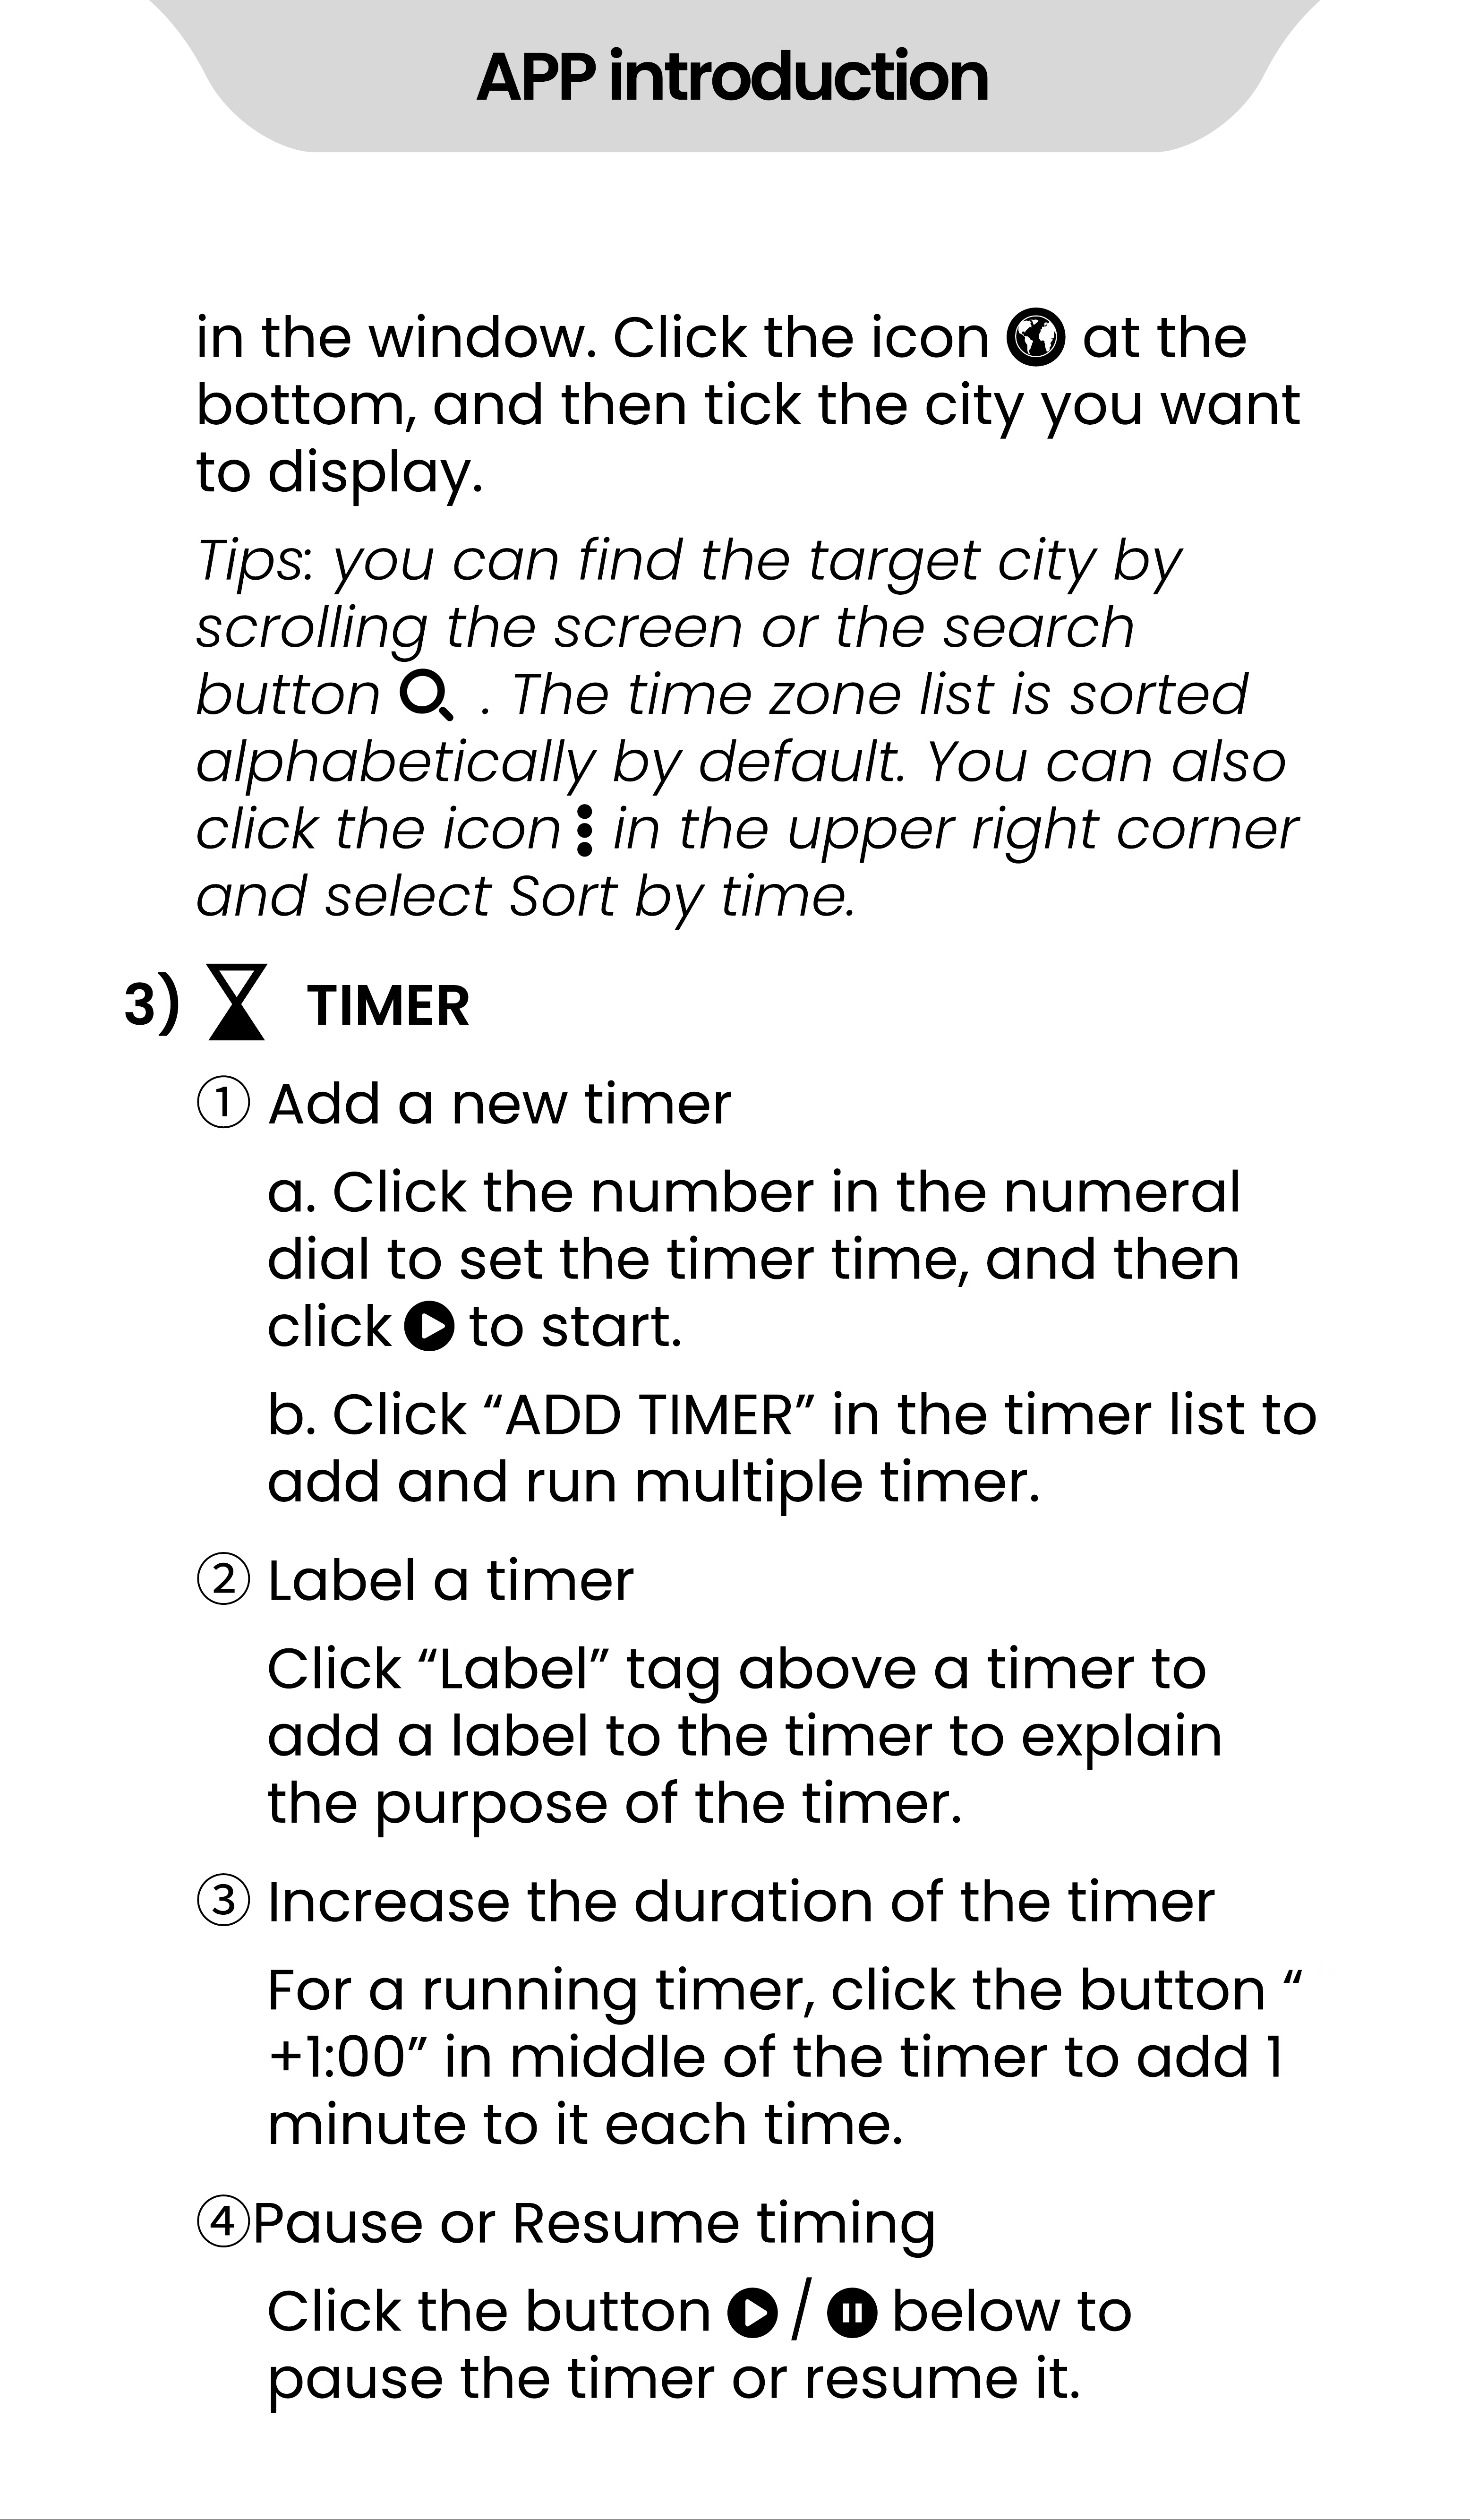
3) TIMER
①
Add a new timer
②
Label a timer
③
Increase the duration of the timer
④
Pause or Resume timing
a. Click the number in the numeral
dial to set the timer time, and then
click to start.
Click
“
Label
”
tag above a timer to
add a label to the timer to explain
the purpose of the timer.
For a running timer, click the button
“
+1:00
”
in middle of the timer to add 1
minute to it each time.
Click the button / below to
pause the timer or resume it.
b. Click
“
ADD TIMER
”
in the timer list to
add and run multiple timer.
APP introduction
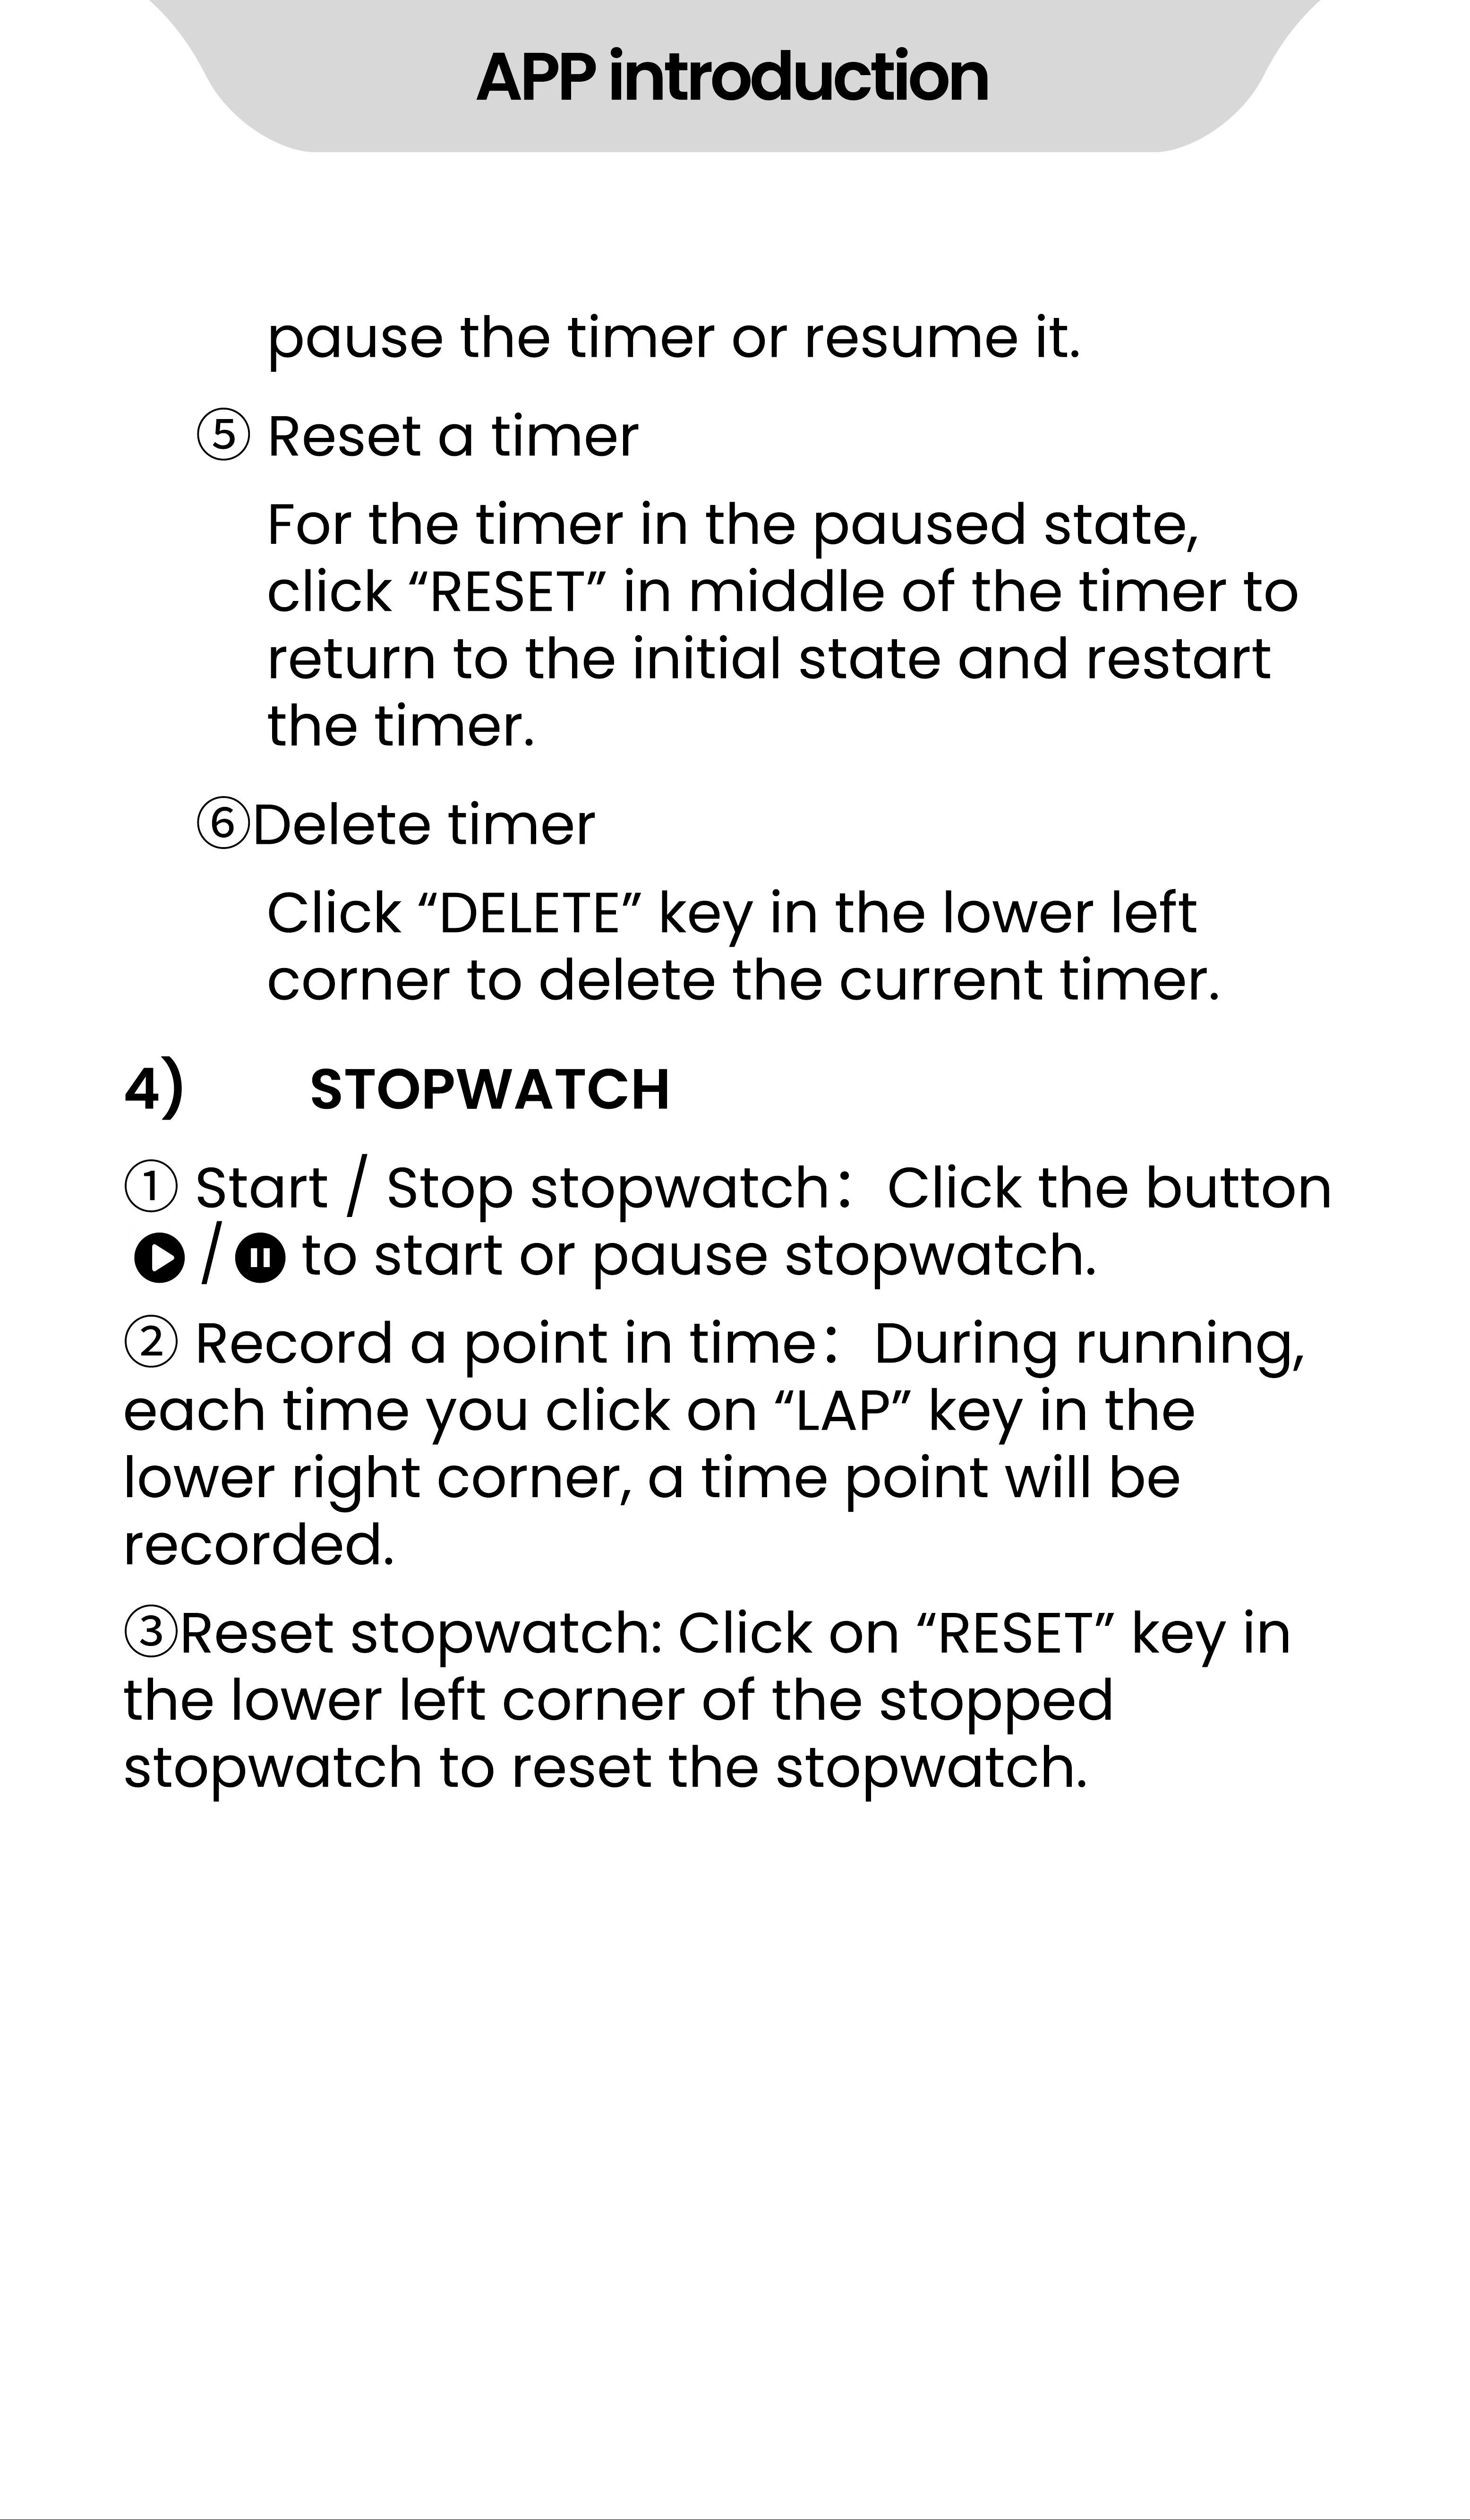
pause the timer or resume it.
⑤
Reset a timer
⑥
Delete timer
For the timer in the paused state,
click
“
RESET
”
in middle of the timer to
return to the initial state and restart
the timer.
Click
“
DELETE
”
key in the lower left
corner to delete the current timer.
4) STOPWATCH
①
Start / Stop stopwatch
:
Click the button
/ to start or pause stopwatch.
②
Record a point in time
:
During running,
each time you click on
“
LAP
”
key in the
lower right corner, a time point will be
recorded.
③
Reset stopwatch: Click on
“
RESET
”
key in
the lower left corner of the stopped
stopwatch to reset the stopwatch.
APP introduction
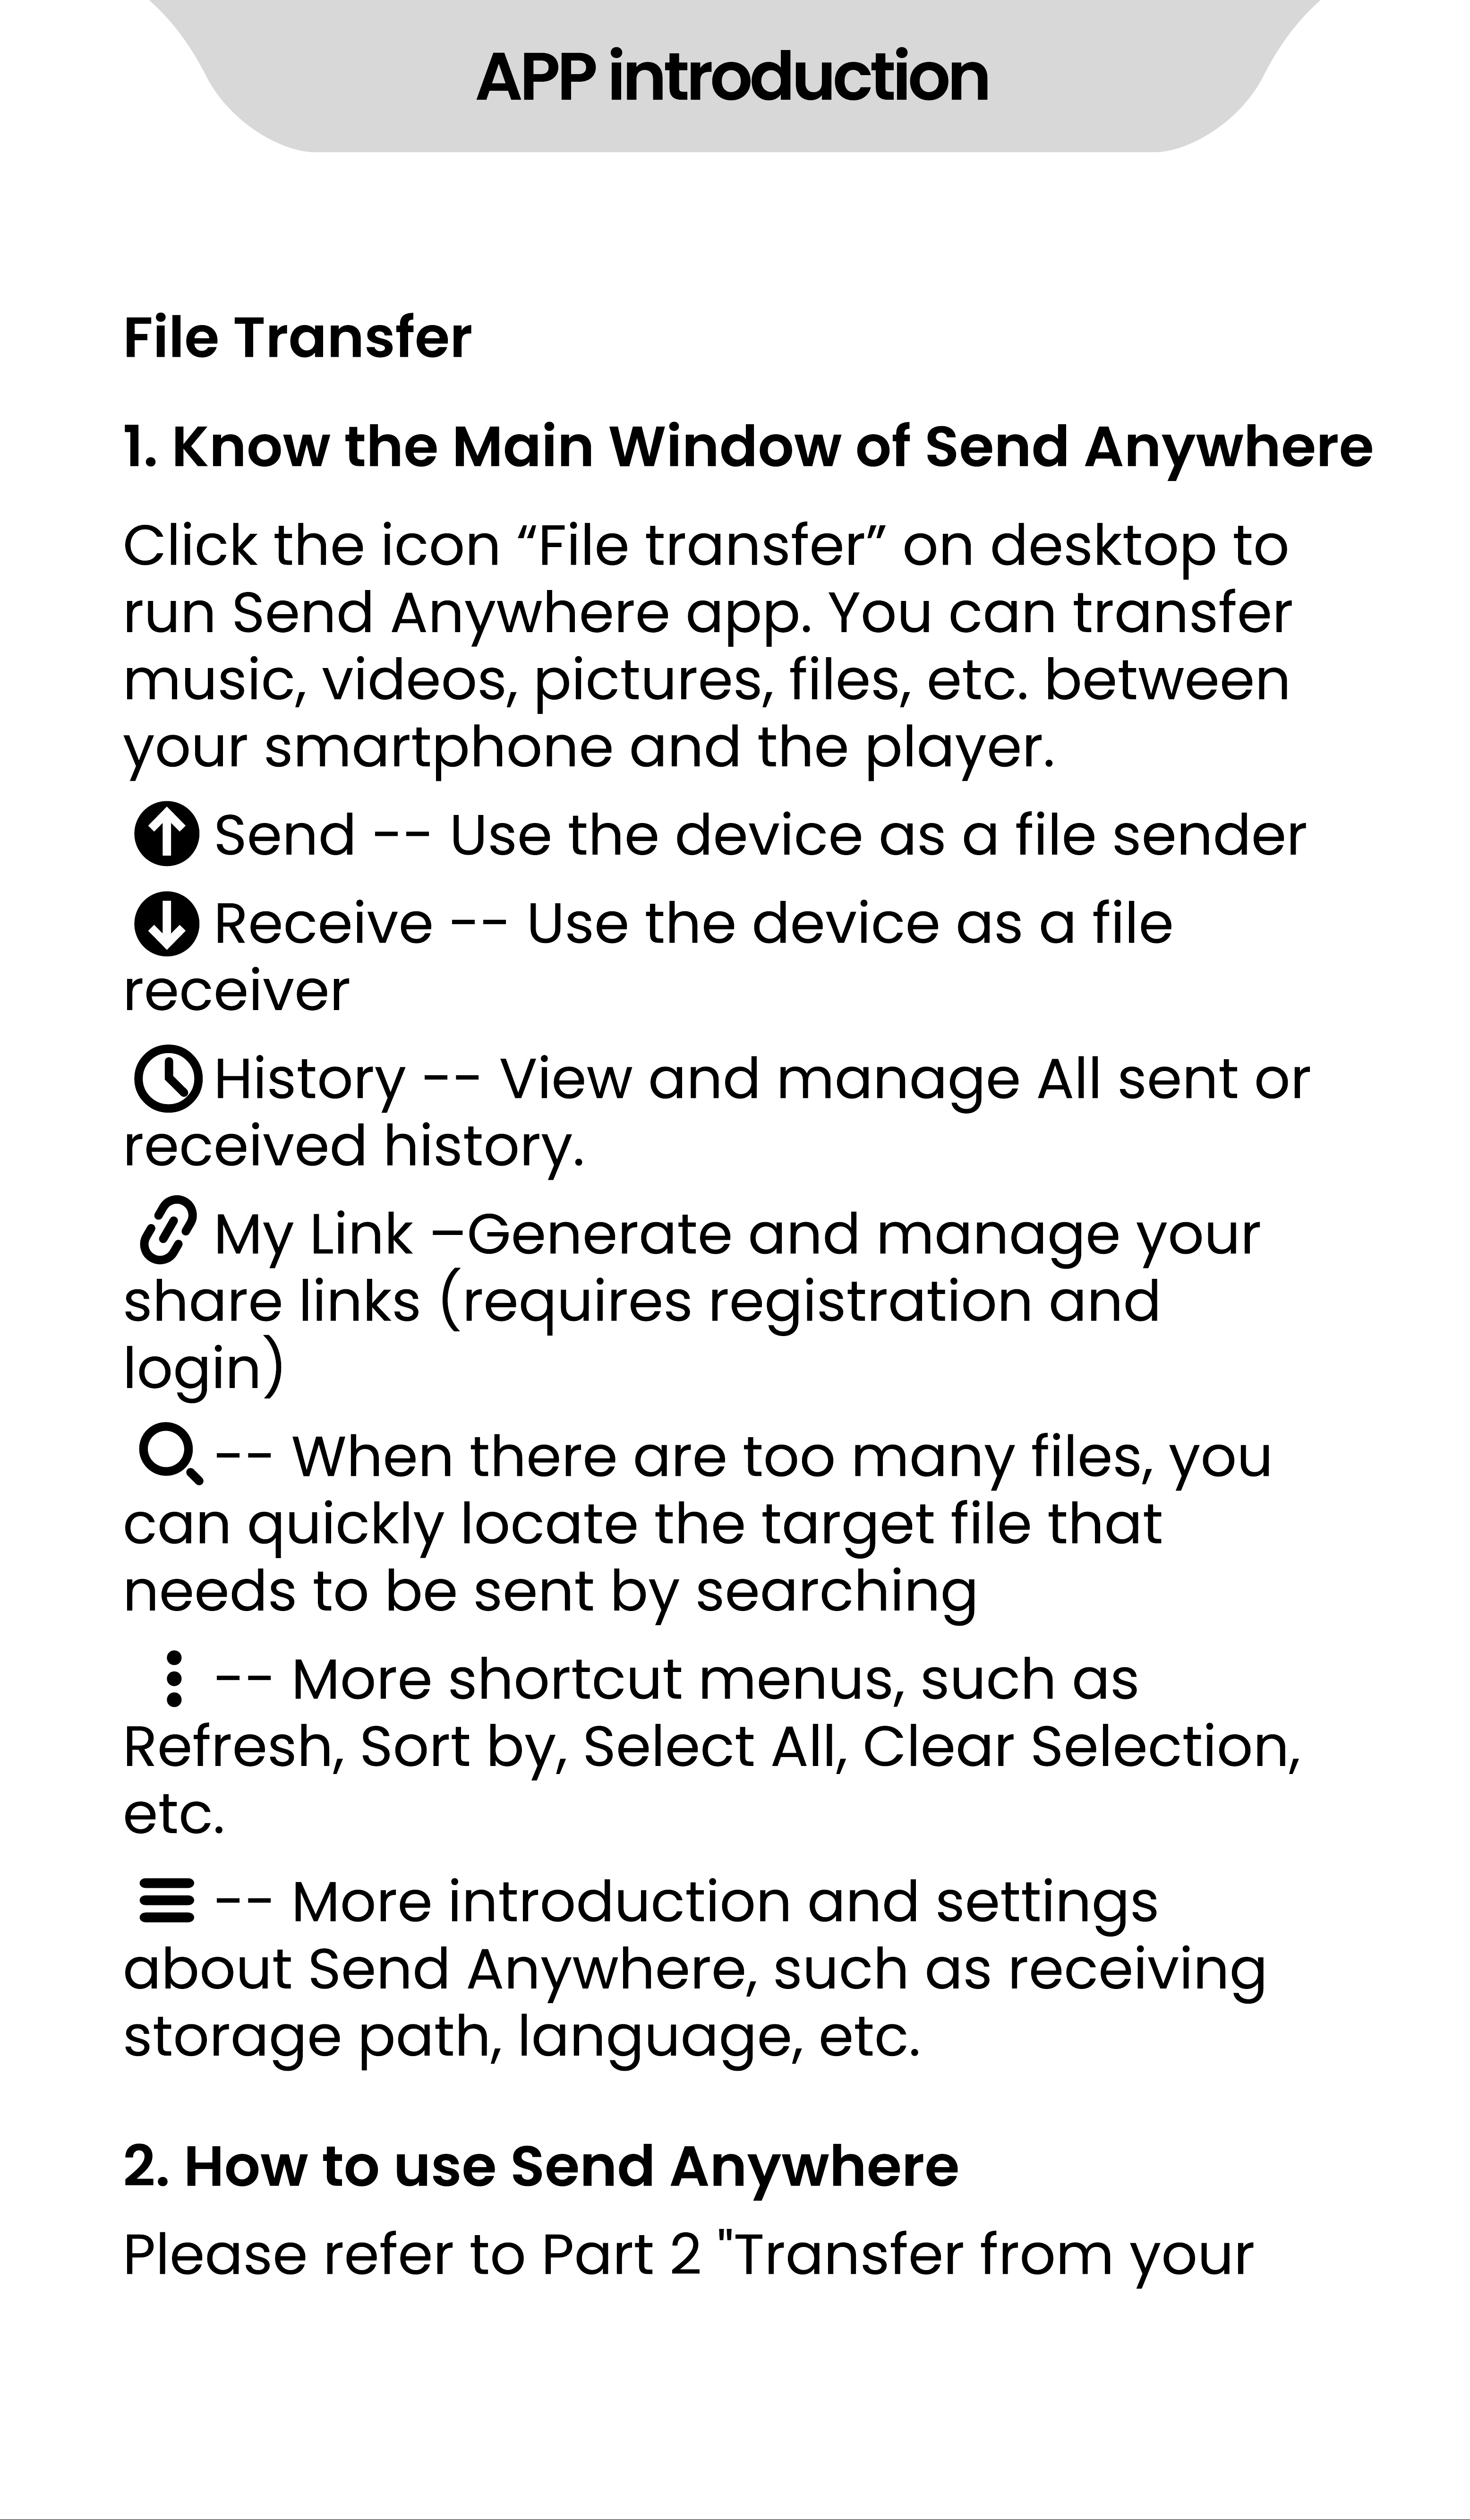
File Transfer
1. Know the Main Window of Send Anywhere
2. How to use Send Anywhere
Click the icon
“
File transfer
”
on desktop to
run Send Anywhere app. You can transfer
music, videos, pictures, files, etc. between
your smartphone and the player.
Send - - Use the device as a file sender
Receive - - Use the device as a file
receiver
History - - View and manage All sent or
received history.
My Link
‒
Generate and manage your
share links (requires registration and
login)
- - When there are too many files, you
can quickly locate the target file that
needs to be sent by searching
- - More shortcut menus, such as
Refresh, Sort by, Select All, Clear Selection,
etc.
- - More introduction and settings
about Send Anywhere, such as receiving
storage path, language, etc.
Please refer to Part 2 "Transfer from your
APP introduction
phone" in the "How to Transfer Music or
Video" chapter
1. How to get Send Anywhere?
2. How to transfer using Wi- Fi Direct?
3. Can I transfer music from iTunes to Q8
player?
Send Anywhere (aka File transfer) is
pre- installed on Q8 player, no additional
installation is required. On your cellphone,
you can directly search for "Send
Anywhere" in the application store
(Google play store or App Store) and
download and install it.
Send Anywhere's Wi- Fi Direct doesn't work
with the Q8 due to its lack of a camera.
No. Music on IOS devices (iPhone, iPad)
cannot be directly transferred to Q8
player. It is recommended that You must
first export the music to your computer
from your iPhone or iPad, and then
transfer to Q8 player from your computer
(please refer to the "Transfer from your
computer" section).
3.FAQ
File Manager
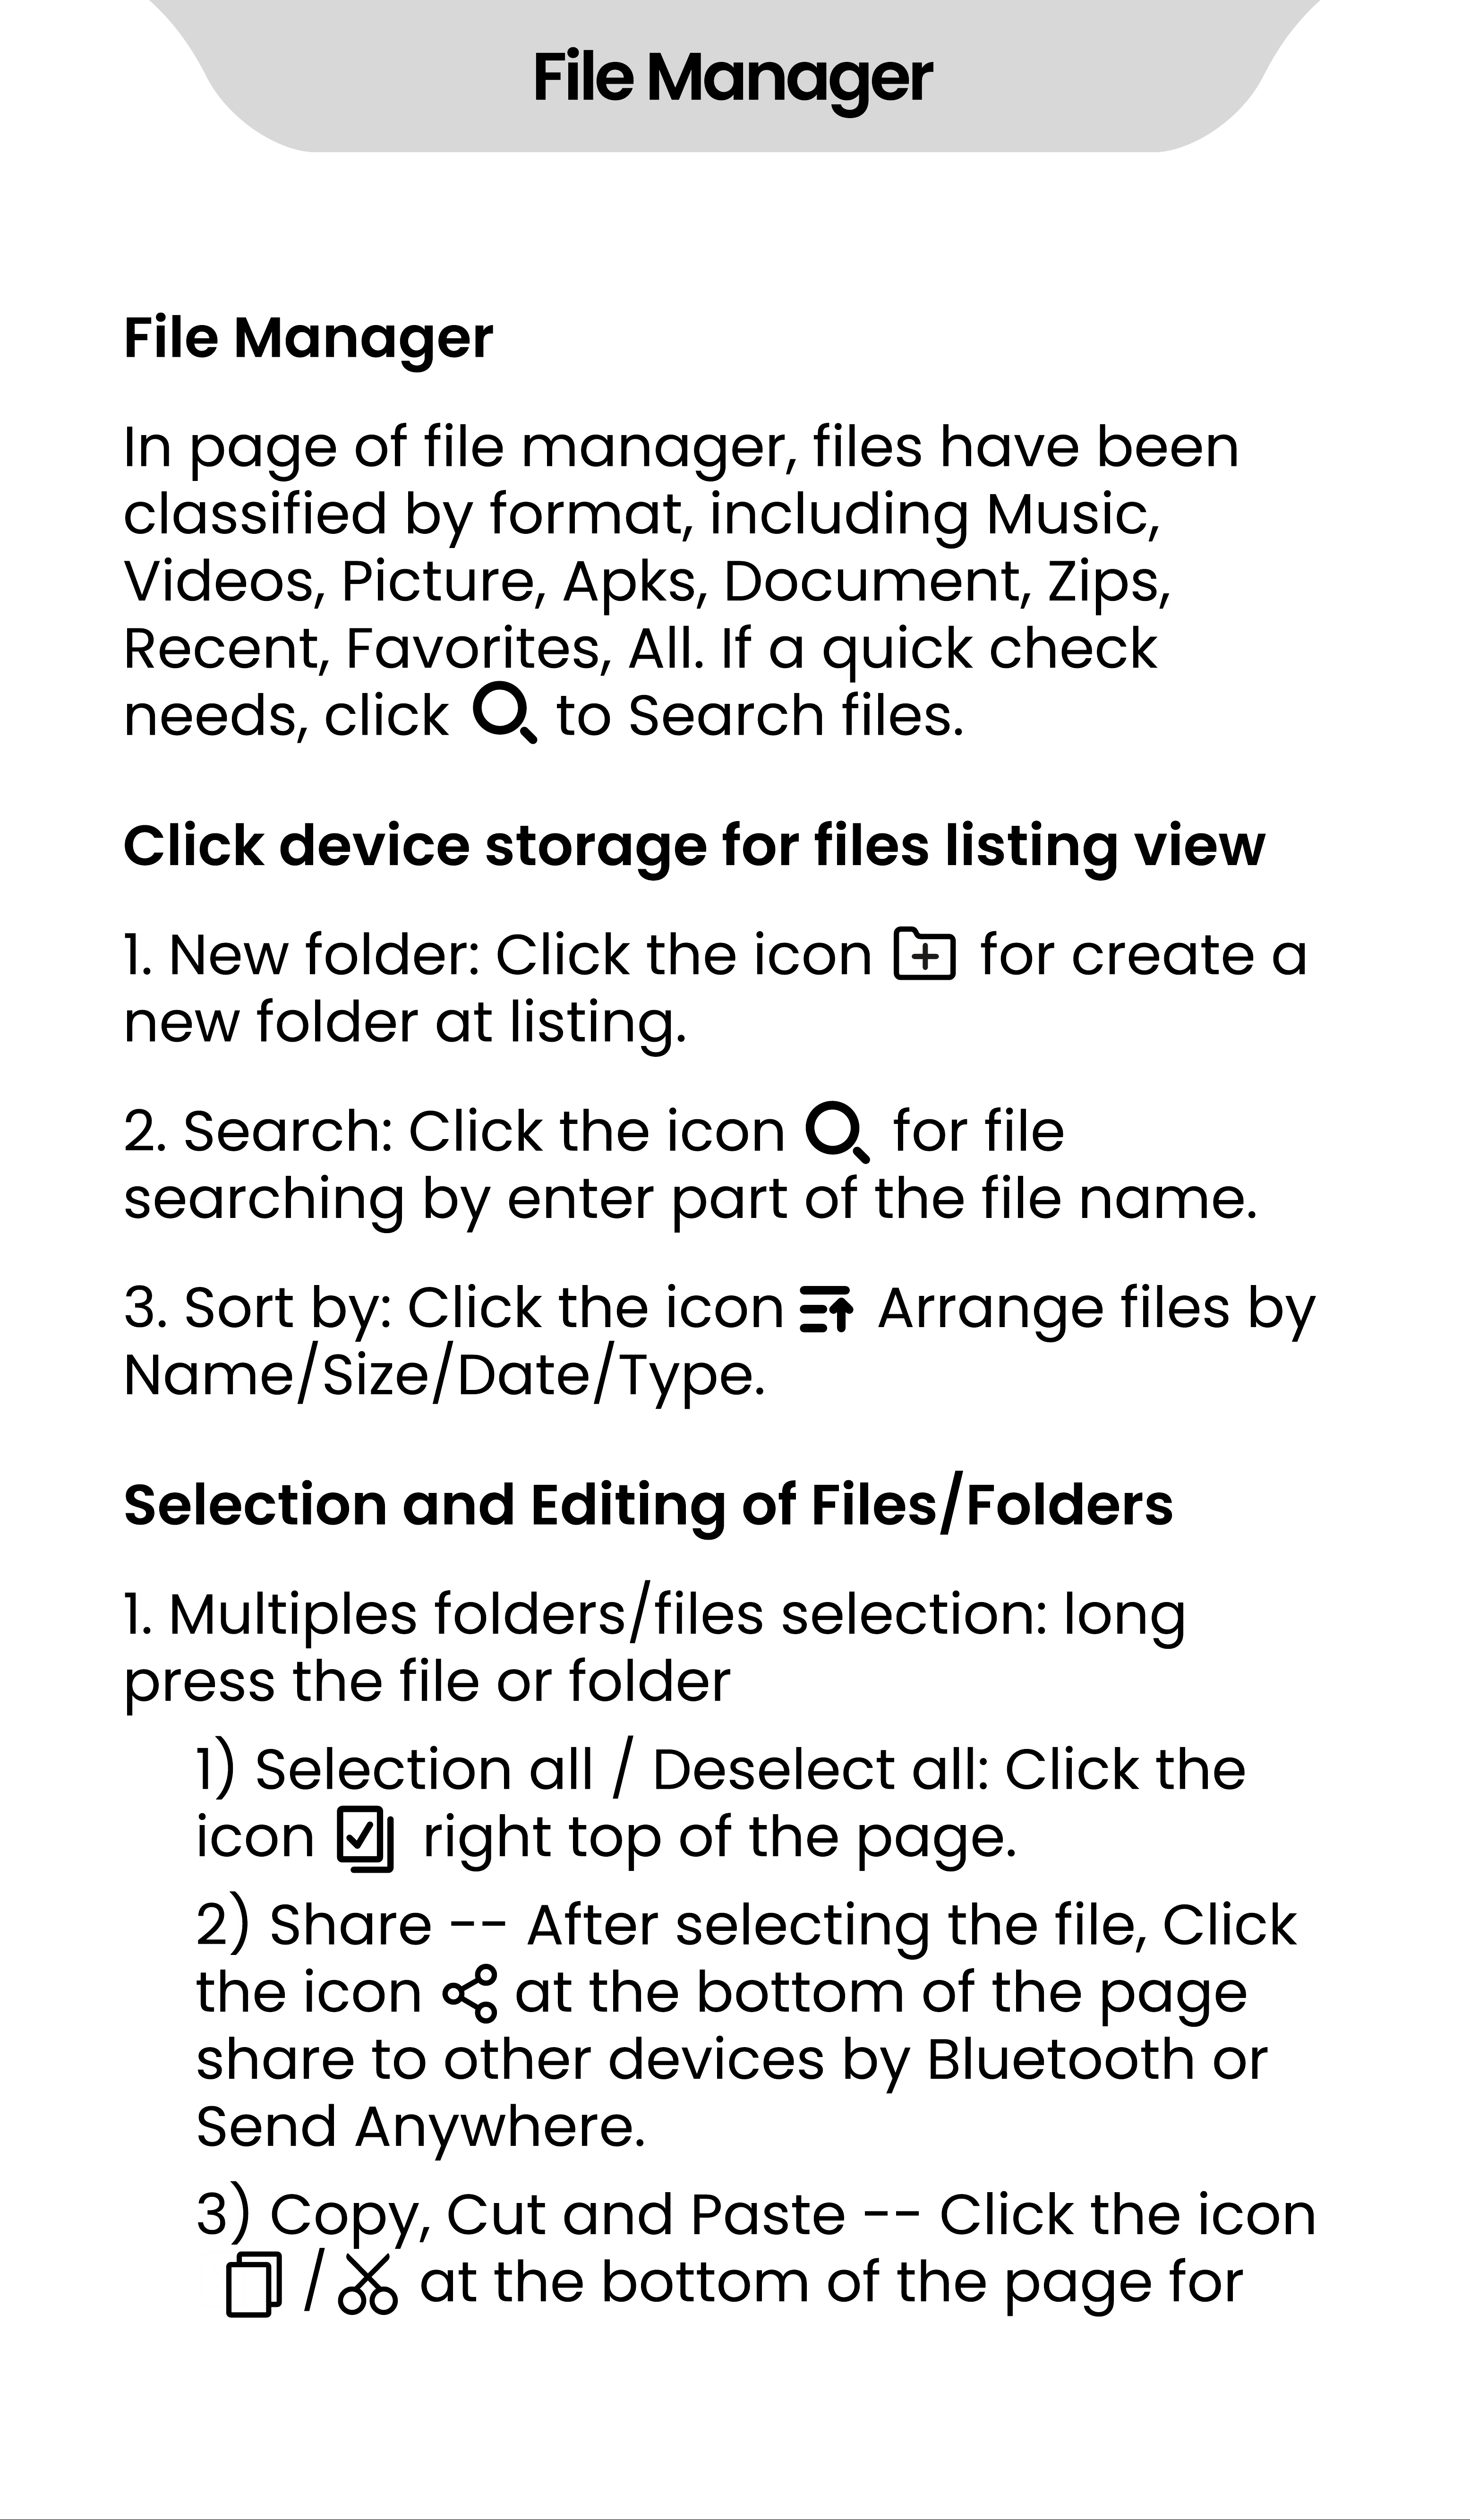
In page of file manager, files have been
classified by format, including Music,
Videos, Picture, Apks, Document, Zips,
Recent, Favorites, All. If a quick check
needs, click to Search files.
File Manager
Click device storage for files listing view
Selection and Editing of Files/Folders
1. New folder: Click the icon for create a
new folder at listing.
1. Multiples folders/files selection: long
press the file or folder
1) Selection all / Deselect all: Click the
icon right top of the page.
2) Share - - After selecting the file, Click
the icon at the bottom of the page
share to other devices by Bluetooth or
Send Anywhere.
3) Copy, Cut and Paste - - Click the icon
/ at the bottom of the page for
2. Search: Click the icon for file
searching by enter part of the file name.
3. Sort by: Click the icon Arrange files by
Name/Size/Date/Type.
File Manager
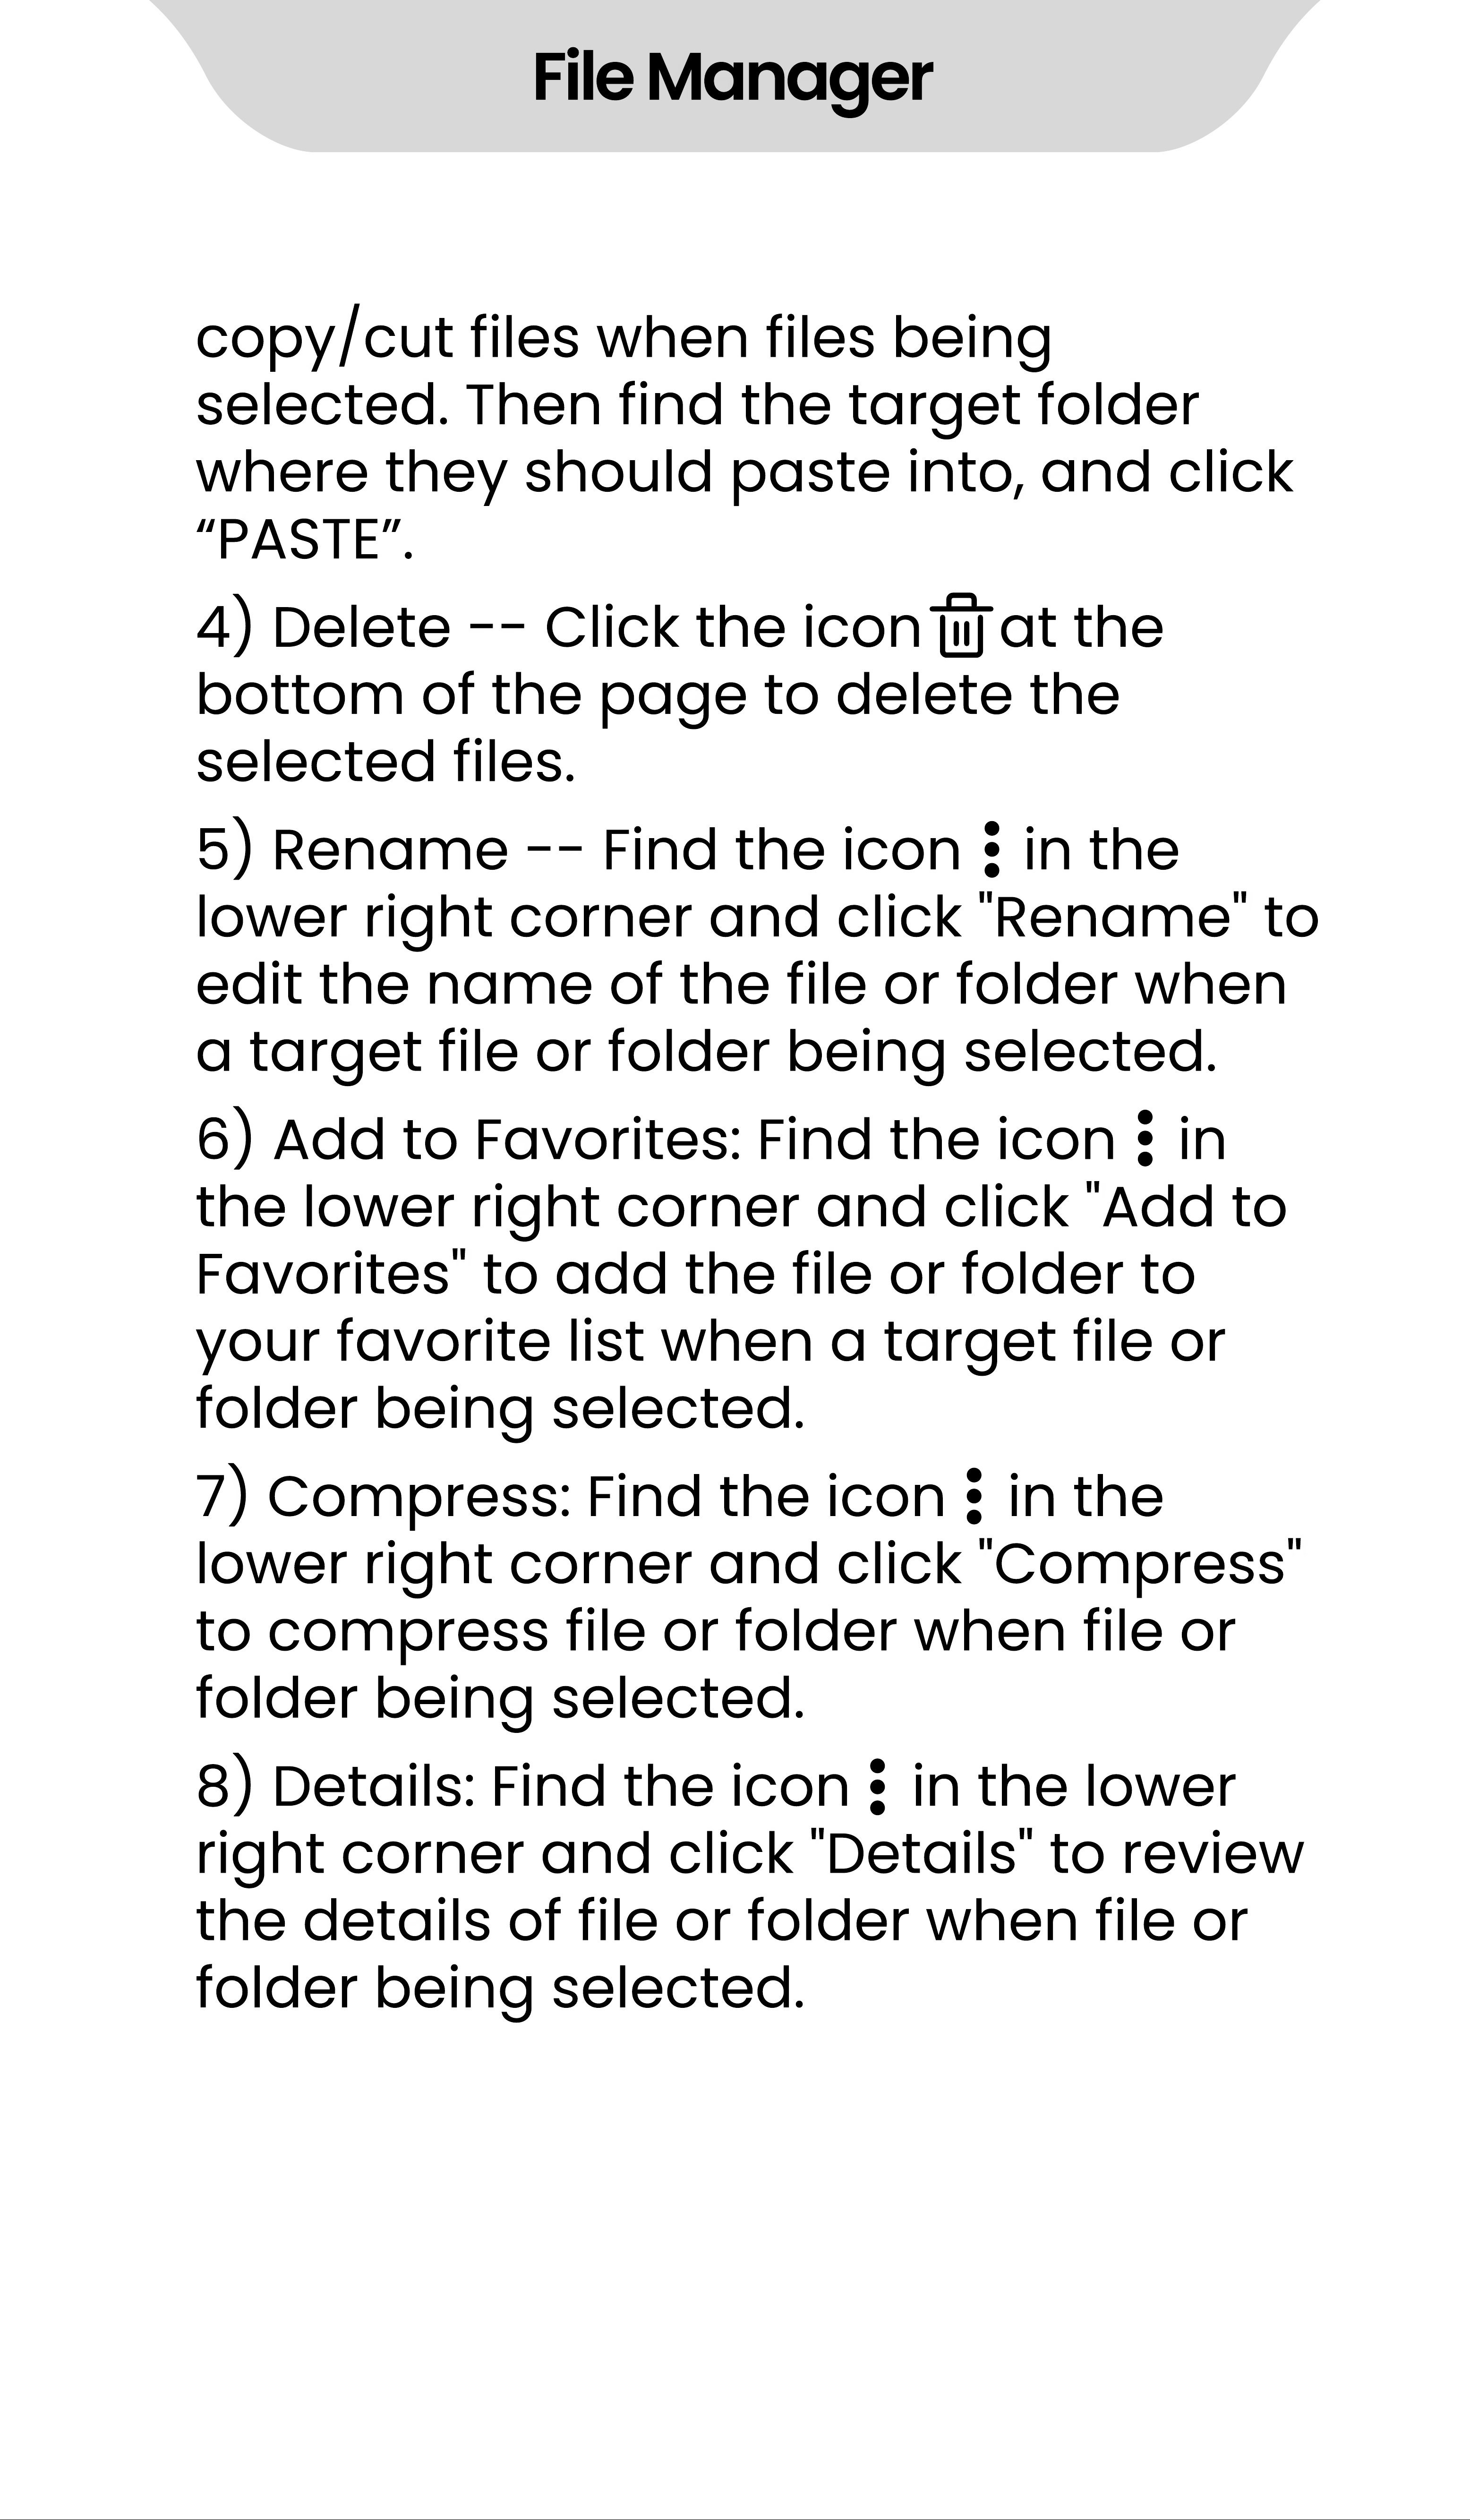
copy/cut files when files being
selected. Then find the target folder
where they should paste into, and click
“
PASTE
”
.
4) Delete - - Click the icon at the
bottom of the page to delete the
selected files.
5) Rename - - Find the icon in the
lower right corner and click "Rename" to
edit the name of the file or folder when
a target file or folder being selected.
6) Add to Favorites: Find the icon in
the lower right corner and click "Add to
Favorites" to add the file or folder to
your favorite list when a target file or
folder being selected.
7) Compress: Find the icon in the
lower right corner and click "Compress"
to compress file or folder when file or
folder being selected.
8) Details: Find the icon in the lower
right corner and click "Details" to review
the details of file or folder when file or
folder being selected.
Other third- party apps
Other third- party apps
Regarding the operation of third- party
applications, please refer to their website
or help files in their apps. This includes:
Spotify, Pandora, Deezer, TIDAL, Apple
Music, Amazon Music, Audible, Amazon
Kindle, Libby, Audiobooks, etc.
Settings
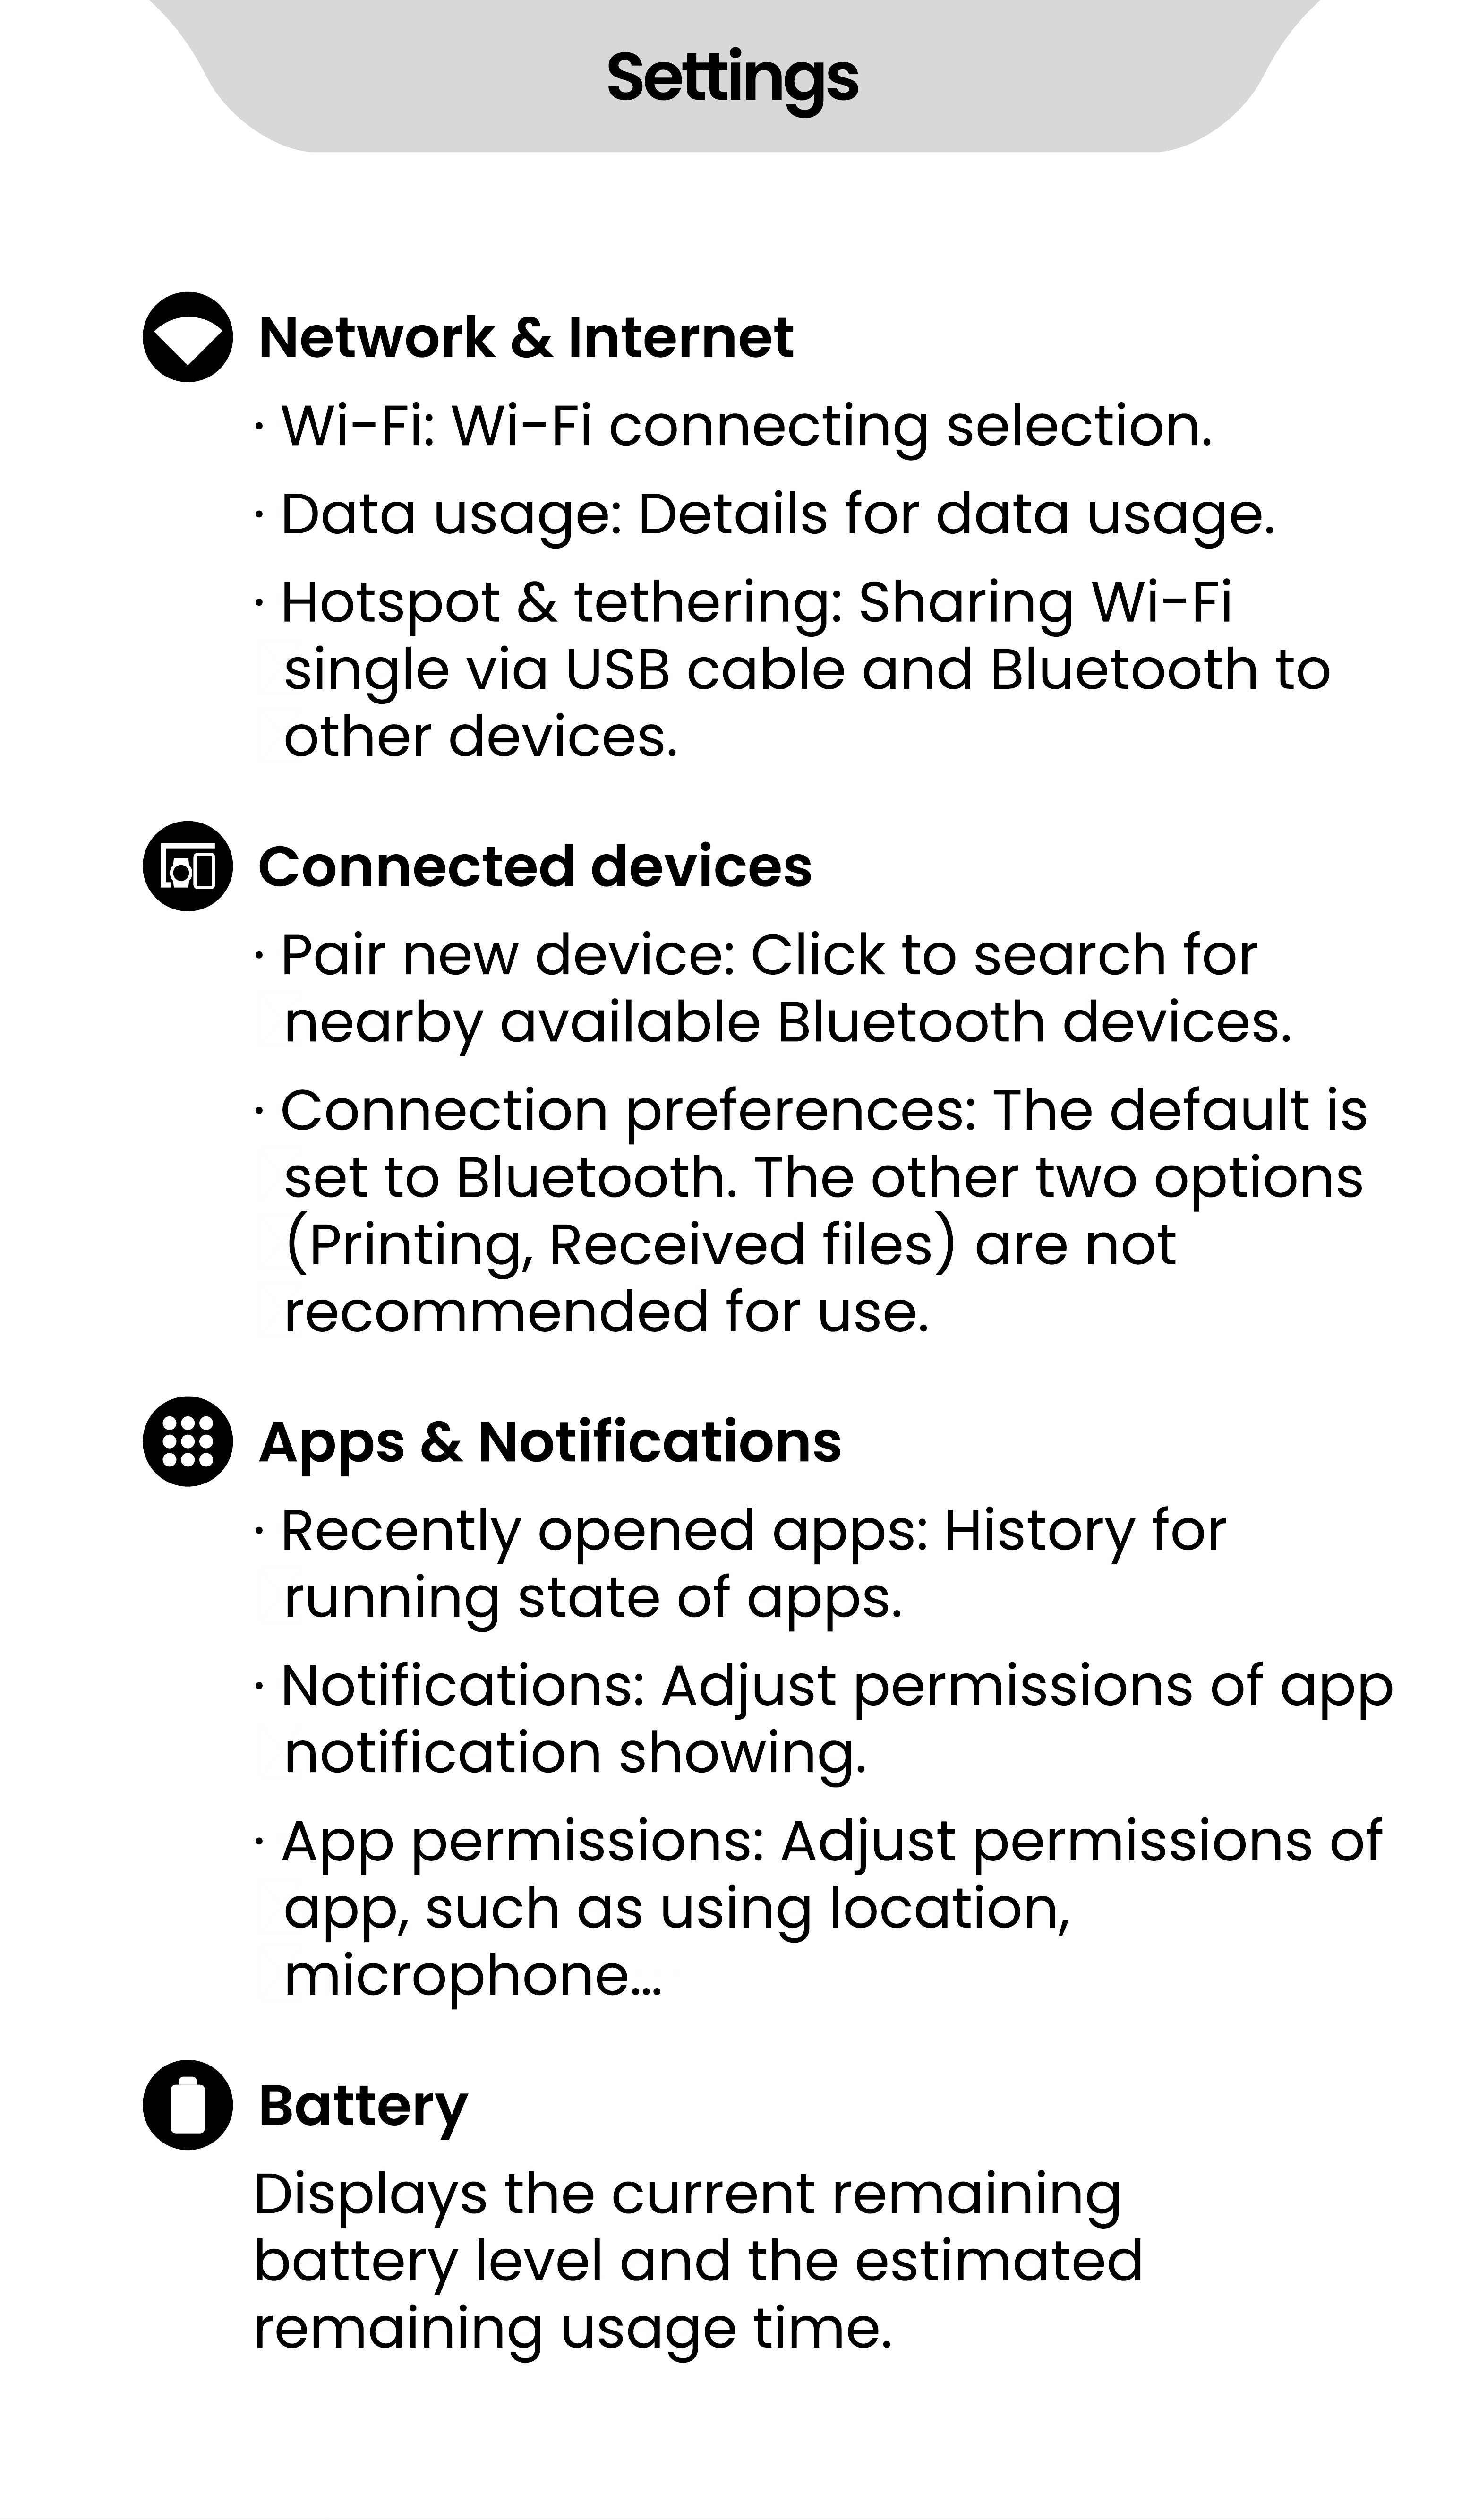
Network & Internet
Connected devices
Apps & Notifications
Battery
·
Wi- Fi: Wi- Fi connecting selection.
·
Pair new device: Click to search for
nearby available Bluetooth devices.
·
Recently opened apps: History for
running state of apps.
Displays the current remaining
battery level and the estimated
remaining usage time.
·
Notifications: Adjust permissions of app
notification showing.
·
App permissions: Adjust permissions of
app, such as using location,
microphone
…
·
Connection preferences: The default is
set to Bluetooth. The other two options
(Printing, Received files) are not
recommended for use.
·
Data usage: Details for data usage.
·
Hotspot & tethering: Sharing Wi- Fi
single via USB cable and Bluetooth to
other devices.
Settings
·
Standby intelligent power saving
:
systematic automatic control of
power- saving mode.
·
Battery Saver: On/Off. Allow to set at
what battery level the Battery Saver
should be activated.
·
Battery percentage: show battery
percentage in status bar.
·
Battery Manager: Once enable, when
Battery Manager detects that apps are
draining battery, you'll have the option
to restrict these apps. Restricted apps
may not work properly and notification
may be delayed.
Display
·
Brightness level: A control bar for
brightness of screen adjustment.
·
Night Light: Setting a schedule for night
light status and adjust intensity of
brightness.
·
Wallpaper: Pictures of wallpaper
selection.
·
Sleep: After (arrange) minutes/seconds
of inactivity, screen will be turn off.
·
Advanced: More display- related
settings, including: Font Size, Display
size, etc.
Settings
Sound
Storage
Security & Location
·
Media volume: A control bar for Media
volume adjustment.
Display the available space and total
space of internal storage and
portable storage, as well as the
storage occupied by various types of
files.
·
Device security
:
Setting a screen lock
by Pattern, PIN, Password
Warning:
1). When you set a password or PIN, be
sure to write down it before you click to
·
Ring volume: A control bar for Ring
volume adjustment.
·
Alarm volume: A control bar for Alarm
volume adjustment.
·
Do Not Disturb Preferences: Setting app
and schedule for do not disturb rules.
·
Default notification sound: set the
ringtone for notifications.
·
Default alarm sound: set the ringtone
for alarms.
Settings
Confirm. Otherwise, you will not be able
to access the device.
2) If you forget your password, please
enter an incorrect password
consecutively for 5 times. The system
will then prompt you with "Try again in
30 seconds." Waiting for 30 seconds,
please enter the wrong password again,
a pop- up window will appear on the
device with the message: "Forgot your
password? For help, please contact
customer service and provide the
following code: xxxx". Send the 4- digit
code you receive to us by Messager,
Email, or Facebook. We will promptly
provide you with an unlocking
password. Fill the unlocking password
into the text box of the pop- up, click
“
OK
”
, and the device will be unlocked.
Once unlocking, the previously set
password will be cleared. You need to
set a new password to protect your
device, but be sure to remember the
new password.
·
Privacy
- Location: Setting permission to allow
APPs tracking your location.
- Show passwords: Display characters
briefly as you type.
Settings
Accounts
Accessibility
Automatically sync data: Let apps
refresh data automatically.
·
Screen readers
·
Display
·
Interaction controls
·
Experimental
Text- to- speech output: Set the
preferred engine, language, and speed
for Text- to- Speech
(TTS).
- Font size: Adjustment of font size.
- Display size: Adjustment of display
size.
- Magnification: Setting an action for
function of zoom.
- Color correction: Adjustment of color
of screen.
- Color inversion
- Touch & hold delay:
short/medium/long can be chosen.
- High contrast text: on/off
Settings
DuraSpeed
System
Helps boost the foreground APP by
restricting background APP's. Some
notifications may be postponed or not
received.
·
Languages & Input: Setting the device
’
s
languages, keyboard & input.
·
Date & Time: Set the device
’
s date
(YYYY/MM/DD), time (HH:MM), time
zone, and time format.
·
Parental control: Applied to lock reset,
limit internet usage time, limit device
usage time, etc.
·
Reset options: Reset WiFi, Bluetooth,
App preferences, even reset to factory
settings.
·
Detect updates: Check for any
available updates for apps or
firmware.
·
About device: Detail information of
device.
How to Use Parental Control
1) Set parental control password
2) Limit Internet Usage
Setting a password is the first step
required to enable parental control. Once
the parental control password is set, it
means parental control is activated, and
the reset options are locked by default. To
access reset options, the parental control
password must be entered.
How to Use Parental Control
Tips: If you forget the parental control
password, please enter the wrong
password continuously for 5 times. A
popup window will appear on the device
with the message: "Forgot your password?
For help, please contact customer service
and provide the following code: xxxx". Send
the 4- digit code you received to us via
Messenger, email, or Facebook. We will
promptly provide you with an unlock
password. Enter the unlock password into
the text box of the popup, click "OK," and
the device will be unlocked. After
unlocking, the previously set password will
be cleared. You will need to set a new
password to enable parental control
again, but be sure to remember the new
password.
·
Timer- - Limit the duration of internet
usage with a timer. The timer starts
counting from its activation. Once the set
time is exceeded, the internet will be
disconnected, and Wi- Fi settings will be
unavailable. But you can still use the
device without internet.
·
Time Windows - - Limit the duration of
internet usage by setting specific time
windows, such as
“
every day from 8:00 PM
to 10:00 PM
”
or
“
on Fridays from 3:00 PM to
6:00 PM
”
. The internet can only be used
within the specified time windows. Once
outside these windows, the internet will be
disconnected, and Wi- Fi settings will be
unavailable. But you can still use the
device without internet.
To set it up, click on
“
Timer
”
select the
specific duration (xx Hours: xx Mins), and
click
“
OK
”
.
To set it up, click on
“
Time Windows
”
, then
click +, and set the fields for "Repeat", "
Start time", "End time" respectively. Finally,
click
√
to create a time window. You can
add up to 10 items.
·
Timer- - Limit the duration of device
usage with a timer. The timer starts
How to Use Parental Control
3) Limit Device Usage
counting from its activation, and when the
device usage exceeds the set duration,
the device will be locked. Unlocking
requires the parental control password.
·
Time Windows - - Limit the duration of
device usage by setting specific time
windows,such as
“
every day from 8:00 PM
to 10:00 PM
”
or
“
on Fridays from 3:00 PM to
6:00 PM
”
.The device can only be used
within the specified time windows. Once
outside these windows, the device will be
locked, and unlocking requires the
parental control password.
To set it up, click on
“
Time Windows
”
, then
click +, and set the fields for "Repeat", "
Start time", "End time" respectively. Finally,
click
√
to create a time window. You can
add up to 10 items.
1) I don
’
t want my child to use the Chrome
browser to access the internet, how can I
do that?
You just need to delete the Chrome
application, and enable parental controls.
FAQ:
To set it up, click on
“
Timer
”
select the
specific duration (xx Hours: xx Mins), and
click
“
OK
”
.
How to Use Parental Control
Because once parental controls are
enabled, the reset option is automatically
locked, and access requires entering the
parental control password. This
preventing your child from restoring the
deleted application through resetting.
This method is applicable to all
pre- installed applications that can be
deleted.
2) I only want to allow my child to play the
player for one hour starting from now.
How can I do that?
3) I only allow my child to use internet on
the player from 7 PM to 10 PM on Fridays.
How can I do that?
After enabling parental controls, go to
“
Limit Internet Usage >> Time Windows
”
,
and add a time window with repeat on "
Fridays", start time of "7:00 PM
”
and end
time of
“
10:00 PM
”
. This way, the music
player can only connect to internet during
this time window.
After enabling parental controls, go to '
Limit Device Usage >> Timer' and set a
timer for 1 hour. This way, when device
usage exceeds 1 hour, the device will be
automatically locked.
How to Use Parental Control
How to update pre- installed applications?
1
)
Online Update
2
)
User Self- Installation
We regularly (typically every 3 months)
upload the update packages for
applications to the server. When the
device is rebooted and connected to the
internet, the system will automatically
detect the new version and display a
notification: "The current version is
relatively old. It is recommended that you
update to the latest version x.xx.xxxxxx."
Click "TO UPDATE" to go to the update
page. After waiting for the "CHECK FOR
UPDATES" to complete, click "UPDATE
IMMEDIATELY" to execute the update.
Users can also manually check for new
version by visiting
“
Settings >> System >>
Advanced>>Detect updates
”
.
All pre- installed applications on the Q8
are included in the installation whitelist,
allowing them to be updated by installing
Apk or Xapk files. So please download the
How to update
pre- installed applications
Note: If the update package contains an
application that you have deleted, it will
be reinstalled after the update is
completed.
Apk or Xapk file of thelatest version
Application from the Google Play Store or
some third- party Apk providers' websites
(such as Apkpure, Apkmirror, Apkcombo,
etc.), and save it to the device. Next,
locate it in the device's file manager and
click to install. If you need installation
guidance,please contact us.
How to update
pre- installed applications
1) Can I install other applications or an
app store?
2) What kind of APK or Xapk files are
applicable?
No. The Q8 player does not support
sideloading or installing any applications
other than the pre- installed ones.
Only APK or XAPK files that require an
Android system version no higher than 9.0
and are compatible with either
arm64- v8a or armeabi- v7a CPU
architectures can be installed.
FAQ:
1. The player can
’
t be charged.
In the off state, when the USB cable is
connected for charging, The player will
normally light up and display a battery
logo and remaining charge.
Troubleshooting:
1) Check whether it is caused by poor
contact.
2) Check whether USB port is damaged
3) Check if the USB cable is damaged.
In most cases, charging failure is caused
by poor contact. You can repeatedly plug
and unplug the USB cable to test whether
the charging can be resumed. If it can be
charged at a certain moment, it indicates
that there is poor contact.
Connect the player to a computer with an
available USB port by using a proven USB
cable. If the fault persists, it indicates USB
port of the player has been damaged.
·
You can replace a proven USB cable to
connect the player to check whether it
can be charged. If it can, it means that
the previous cable has been damaged.
·
You can also use the USB cable to try to
charge other devices, such as cellphones,
Common Faults and Solutions
to check whether it can charge other
devices. If not, it means also that the
cable has been damaged.
If it is confirmed that both the USB cable
and the charging port are normal, it can
be determined that it is the fault of the
player itself. Please contact after- sales
support for replacement or refund.
Usually, use a USB cable to connect the
player to the computer, an MTP device
named Q8 will appear in the device and
drive list of your computer.
1) Check whether it is caused by poor
contact.
In most cases, such failure is caused by
Troubleshooting:
Common Faults and Solutions
Tips: If turned off and not used for a long
time (more than 3 months or even
longer), the player may not be able to
turn on or be charged. This is usually an
illusion caused by the device being in an
over- discharge protection state, rather
than a real failure. In this case, please
make sure to charge it for at least 2 hours
before trying to turn it on.
2. Nothing happens when the player is
connected to computer with USB cable.
poor contact. You can repeatedly plug
and unplug the USB cable to test whether
the connection can be resumed.
Connect the player to a computer with an
available USB port by using a proven USB
cable. If the fault persists, it means USB
port of the player has been damaged
·
You can replace a proven USB cable to
connect the player to Check if the
connection can be restored. If it can, it
means that the previous cable has been
damaged.
·
You can also try to use the USB cable to
connect other devices. If there is also no
response, it means also that the USB
cable has been damaged.
The FM radio needs to be plugged into a
wired headset/headphones as an
antenna to turn on. If the headset is
plugged in and the fault persists, it is likely
that the 3.5mm port is in poor contact.
Please replace one headset and try again.
2) Check whether the USB port is
damaged
3) Check if the USB cable is damaged.
Common Faults and Solutions
3. FM radio cannot be turned on.
Long press the App you want to delete on
the desktop, next click on the
“
App info
”
or
the icon in the pop- up window, then
select
“
UNINSTALL
”
and
“
OK.
Press and hold the volume- down button
and the power button at the same time
for 2 seconds. You can find your
screenshots in Pictures- - Screenshots in
the device storage.
Long press the Home button of the device,
and swipe right or left one by one in the
pop- up application list to clear the
program.
Common Faults and Solutions
4. I want to delete some unnecessary
apps, how to do it?
5. How to take screenshots?
6. How to clear apps running in the
background?
Warning:
·
Deleting the app is irreversible. Unless you
reset the device to factory settings. Please
be cautious.
·
Some Android built- in APPs cannot be
delete or uninstall, such as music, clock,
calculator, etc..
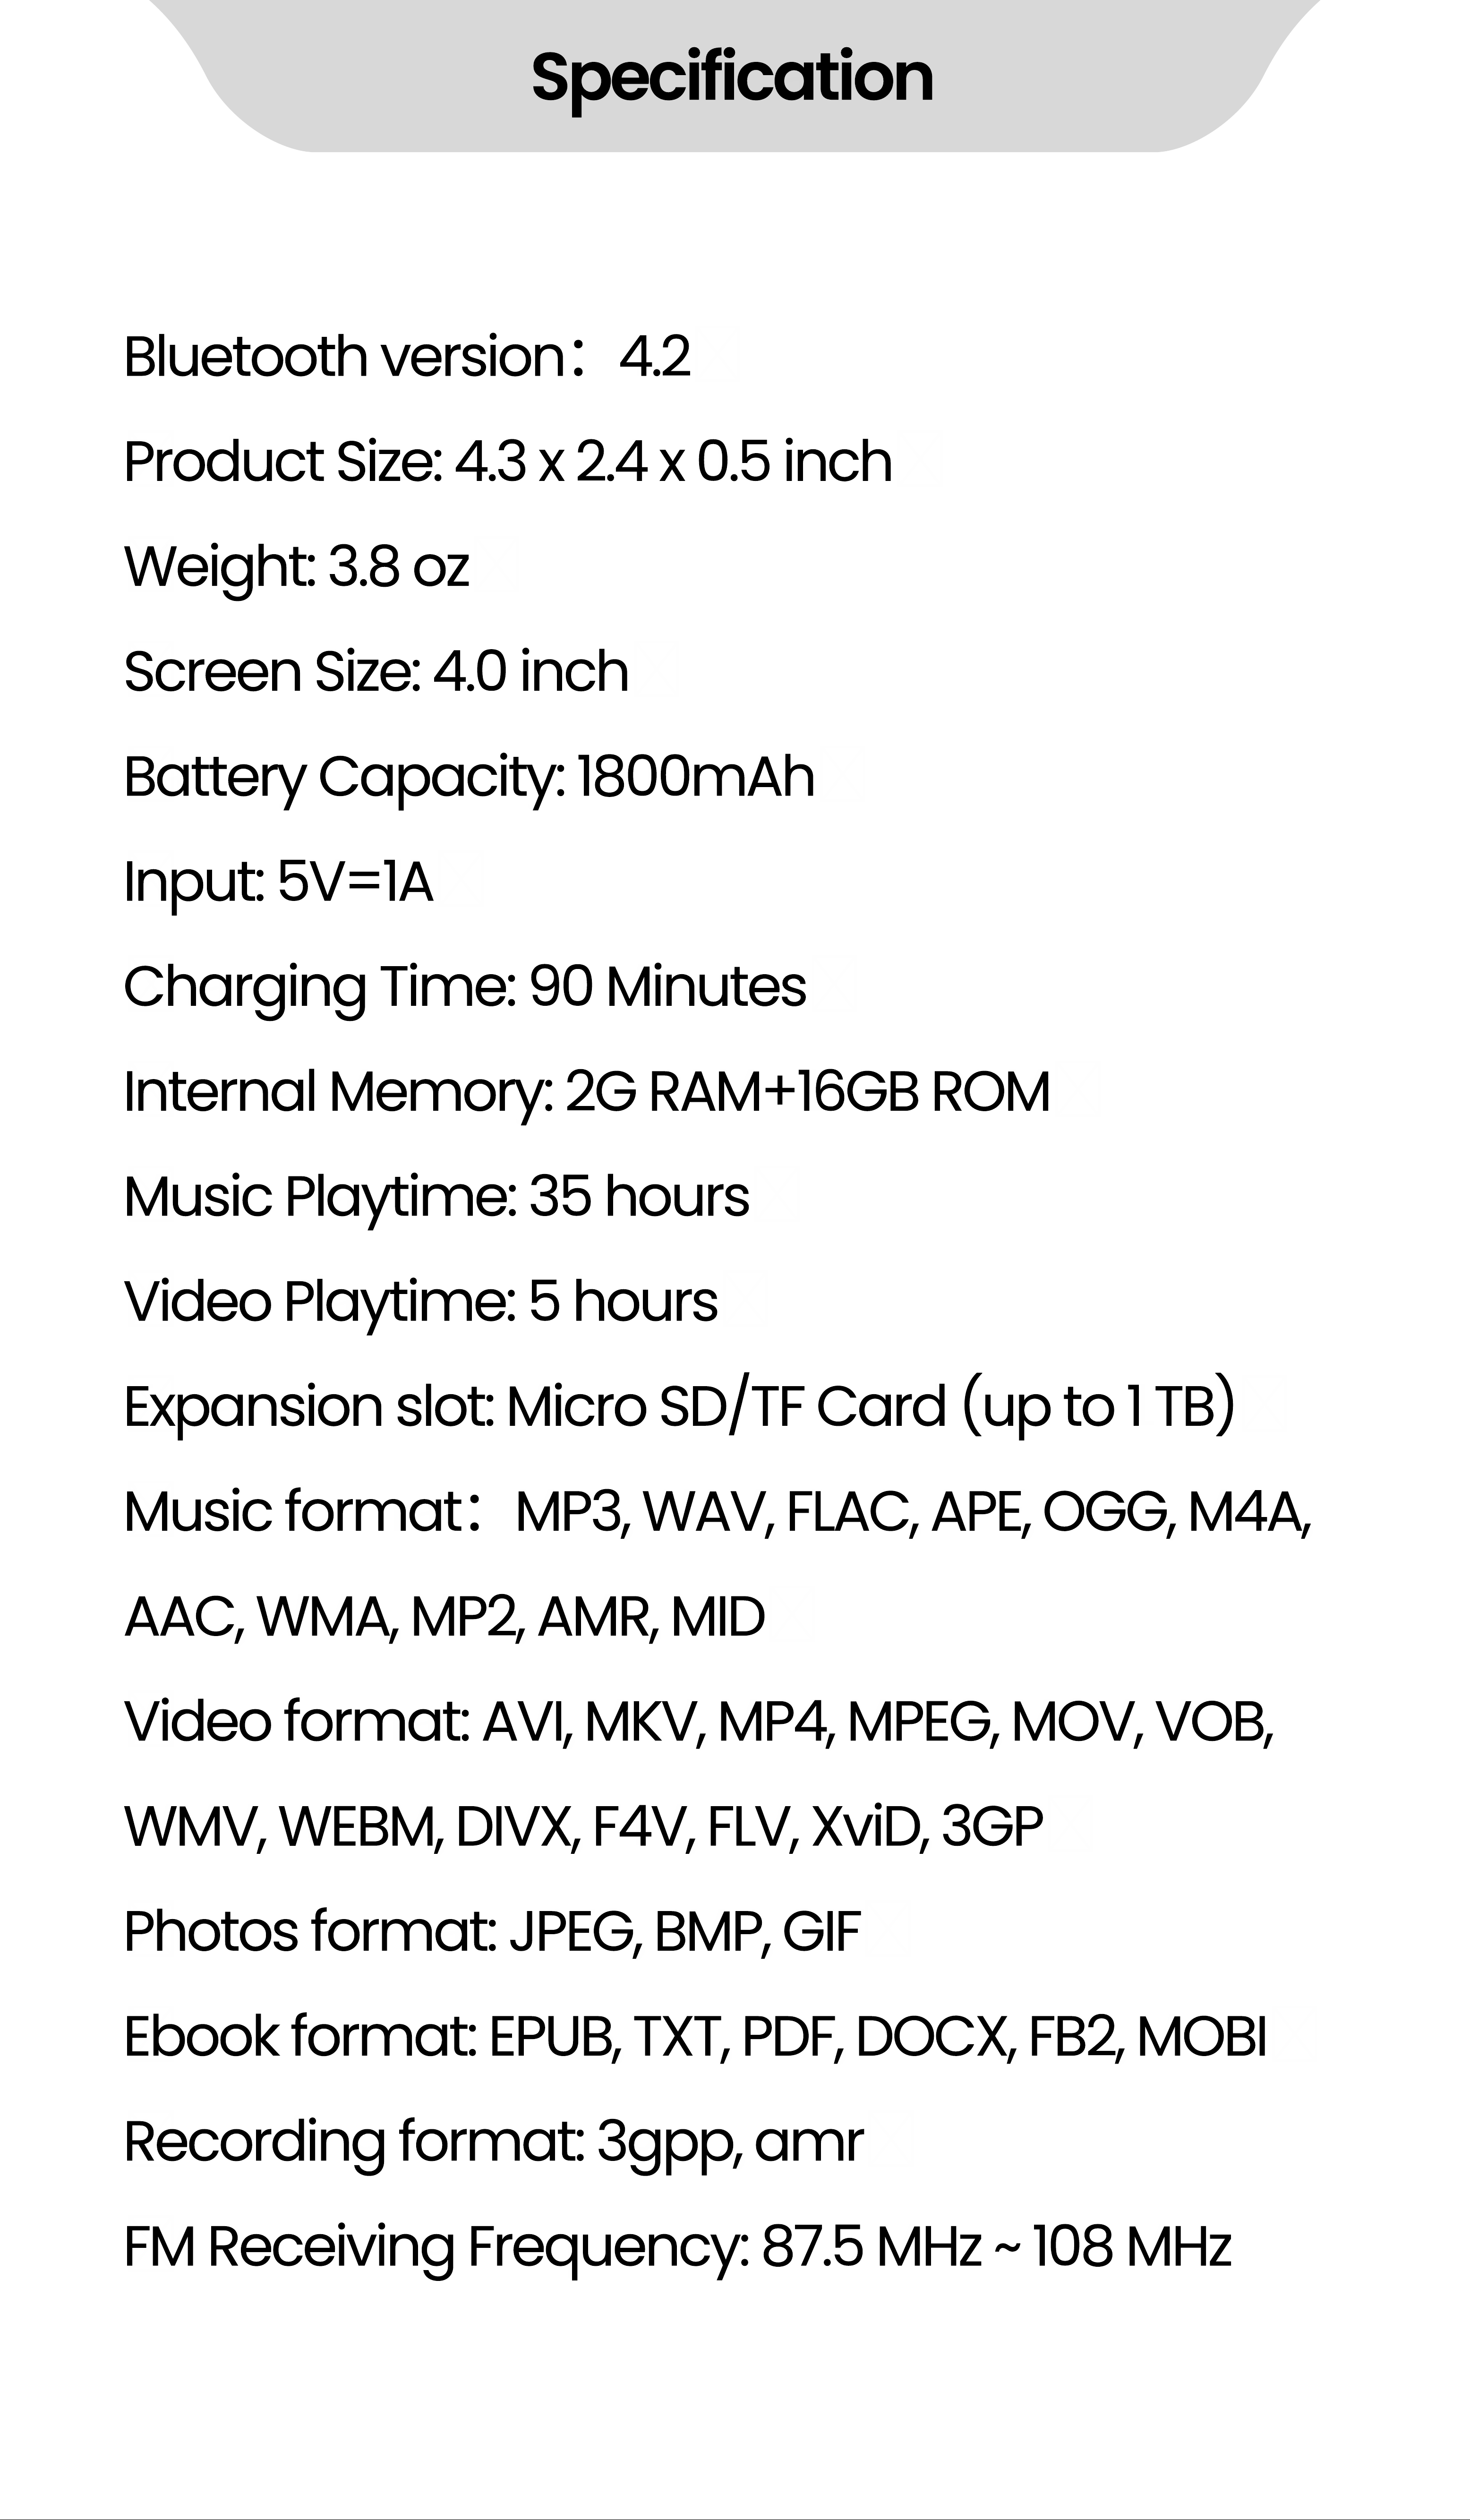
Specification
Bluetooth version
:
4.2
Product Size: 4.3 x 2.4 x 0.5 inch
Weight: 3.8 oz
Screen Size: 4.0 inch
Battery Capacity: 1800mAh
Input: 5V=1A
Charging Time: 90 Minutes
Internal Memory: 2G RAM+16GB ROM
Music Playtime: 35 hours
Video Playtime: 5 hours
Expansion slot: Micro SD/TF Card (up to 1 TB)
Music format
:
MP3, WAV, FLAC, APE, OGG, M4A,
AAC, WMA, MP2, AMR, MID
Video format: AVI, MKV, MP4, MPEG, MOV, VOB,
WMV, WEBM, DIVX, F4V, FLV, XviD, 3GP
Photos format: JPEG, BMP, GIF
Ebook format: EPUB, TXT, PDF, DOCX, FB2, MOBI
Recording format: 3gpp, amr
FM Receiving Frequency: 87.5 MHz ~ 108 MHz
>> Do not leave the device in an
environment where the temperature is
too low or too high (below - 10°C or above
50°C) for a long time. Extreme
temperature environments will cause the
device to deform and shorten the service
life of the device;
>> Do not use the equipment under
thunderstorm weather;
>> Do not place the device in the water for
a long time;
>> Do not expose the equipment to the
sun for a long time.
Warning
Warning:

Changes or modifications not expressly
approved by the party responsible for
compliance could void the user
’
s
authority to operate the equipment. This
equipment has been tested and found to
comply with the limits for a Class B digital
device, pursuant to Part 15 of the FCC
Rules. These limits are designed to
provide reasonable protection against
harmful interference in a residential
installation. This equipment generates
uses and can radiate radio frequency
energy and, if not installed and used in
accordance with the instructions, may
cause harmful interference to radio
communications. However, there is no
guarantee that interference will not occur
in a particular installation. If this
equipment does cause harmful
interference to radio or television
reception, which can be determined by
turning the equipment off and on, the
user is encouraged to try to correct the
interference by one or more of the
following measures:
FCC Warning Statement
FCC Warning Statement
- - Reorient or relocate the receiving
antenna.
FCC Warning Statement
- - Increase the separation between the
equipment and receiver.
- - Connect the equipment into an outlet
on a circuit different from that to which
the receiver is connected.
- - Consult the dealer or an experienced
radio/TV technician for help.
This device complies with part 15 of the
FCC Rules. Operation is subject to the
following two conditions:
(1) This device may not cause harmful
interference, and
(2) this device must accept any
interference received, including
interference that may cause undesired
operation.
The device has been evaluated to meet g
eneral RF exposure requirement.
Warranty
Thank you for purchasing our products.
You will enjoy the following services when
using this product.
Warranty period: Within one year from the
date of sale.
Warranty scope: Limited to the product
host.
Warranty terms:
①
Within 1 year after purchase, failure or
damage caused by product quality
problems can be replaced for free or full
refund.
②
Accessories are not included in the
warranty, such as usb cable, earphones,
etc., but if quality problems occur within 7
days after purchase, they can be
replaced for free.
③
The following conditions are not
covered by the warranty
·
Out of the warranty period.
·
It has been disassembled or repaired
privately by the customer.
·
Man- made damage, accidental
damage or deformation.
·
Failure caused by installation and use in
abnormal environments such as high

Warranty
temperature, high pressure, and
humidity..
·
Damage caused by natural disasters
such as lightning strikes, floods, and
earthquakes.
Contact us
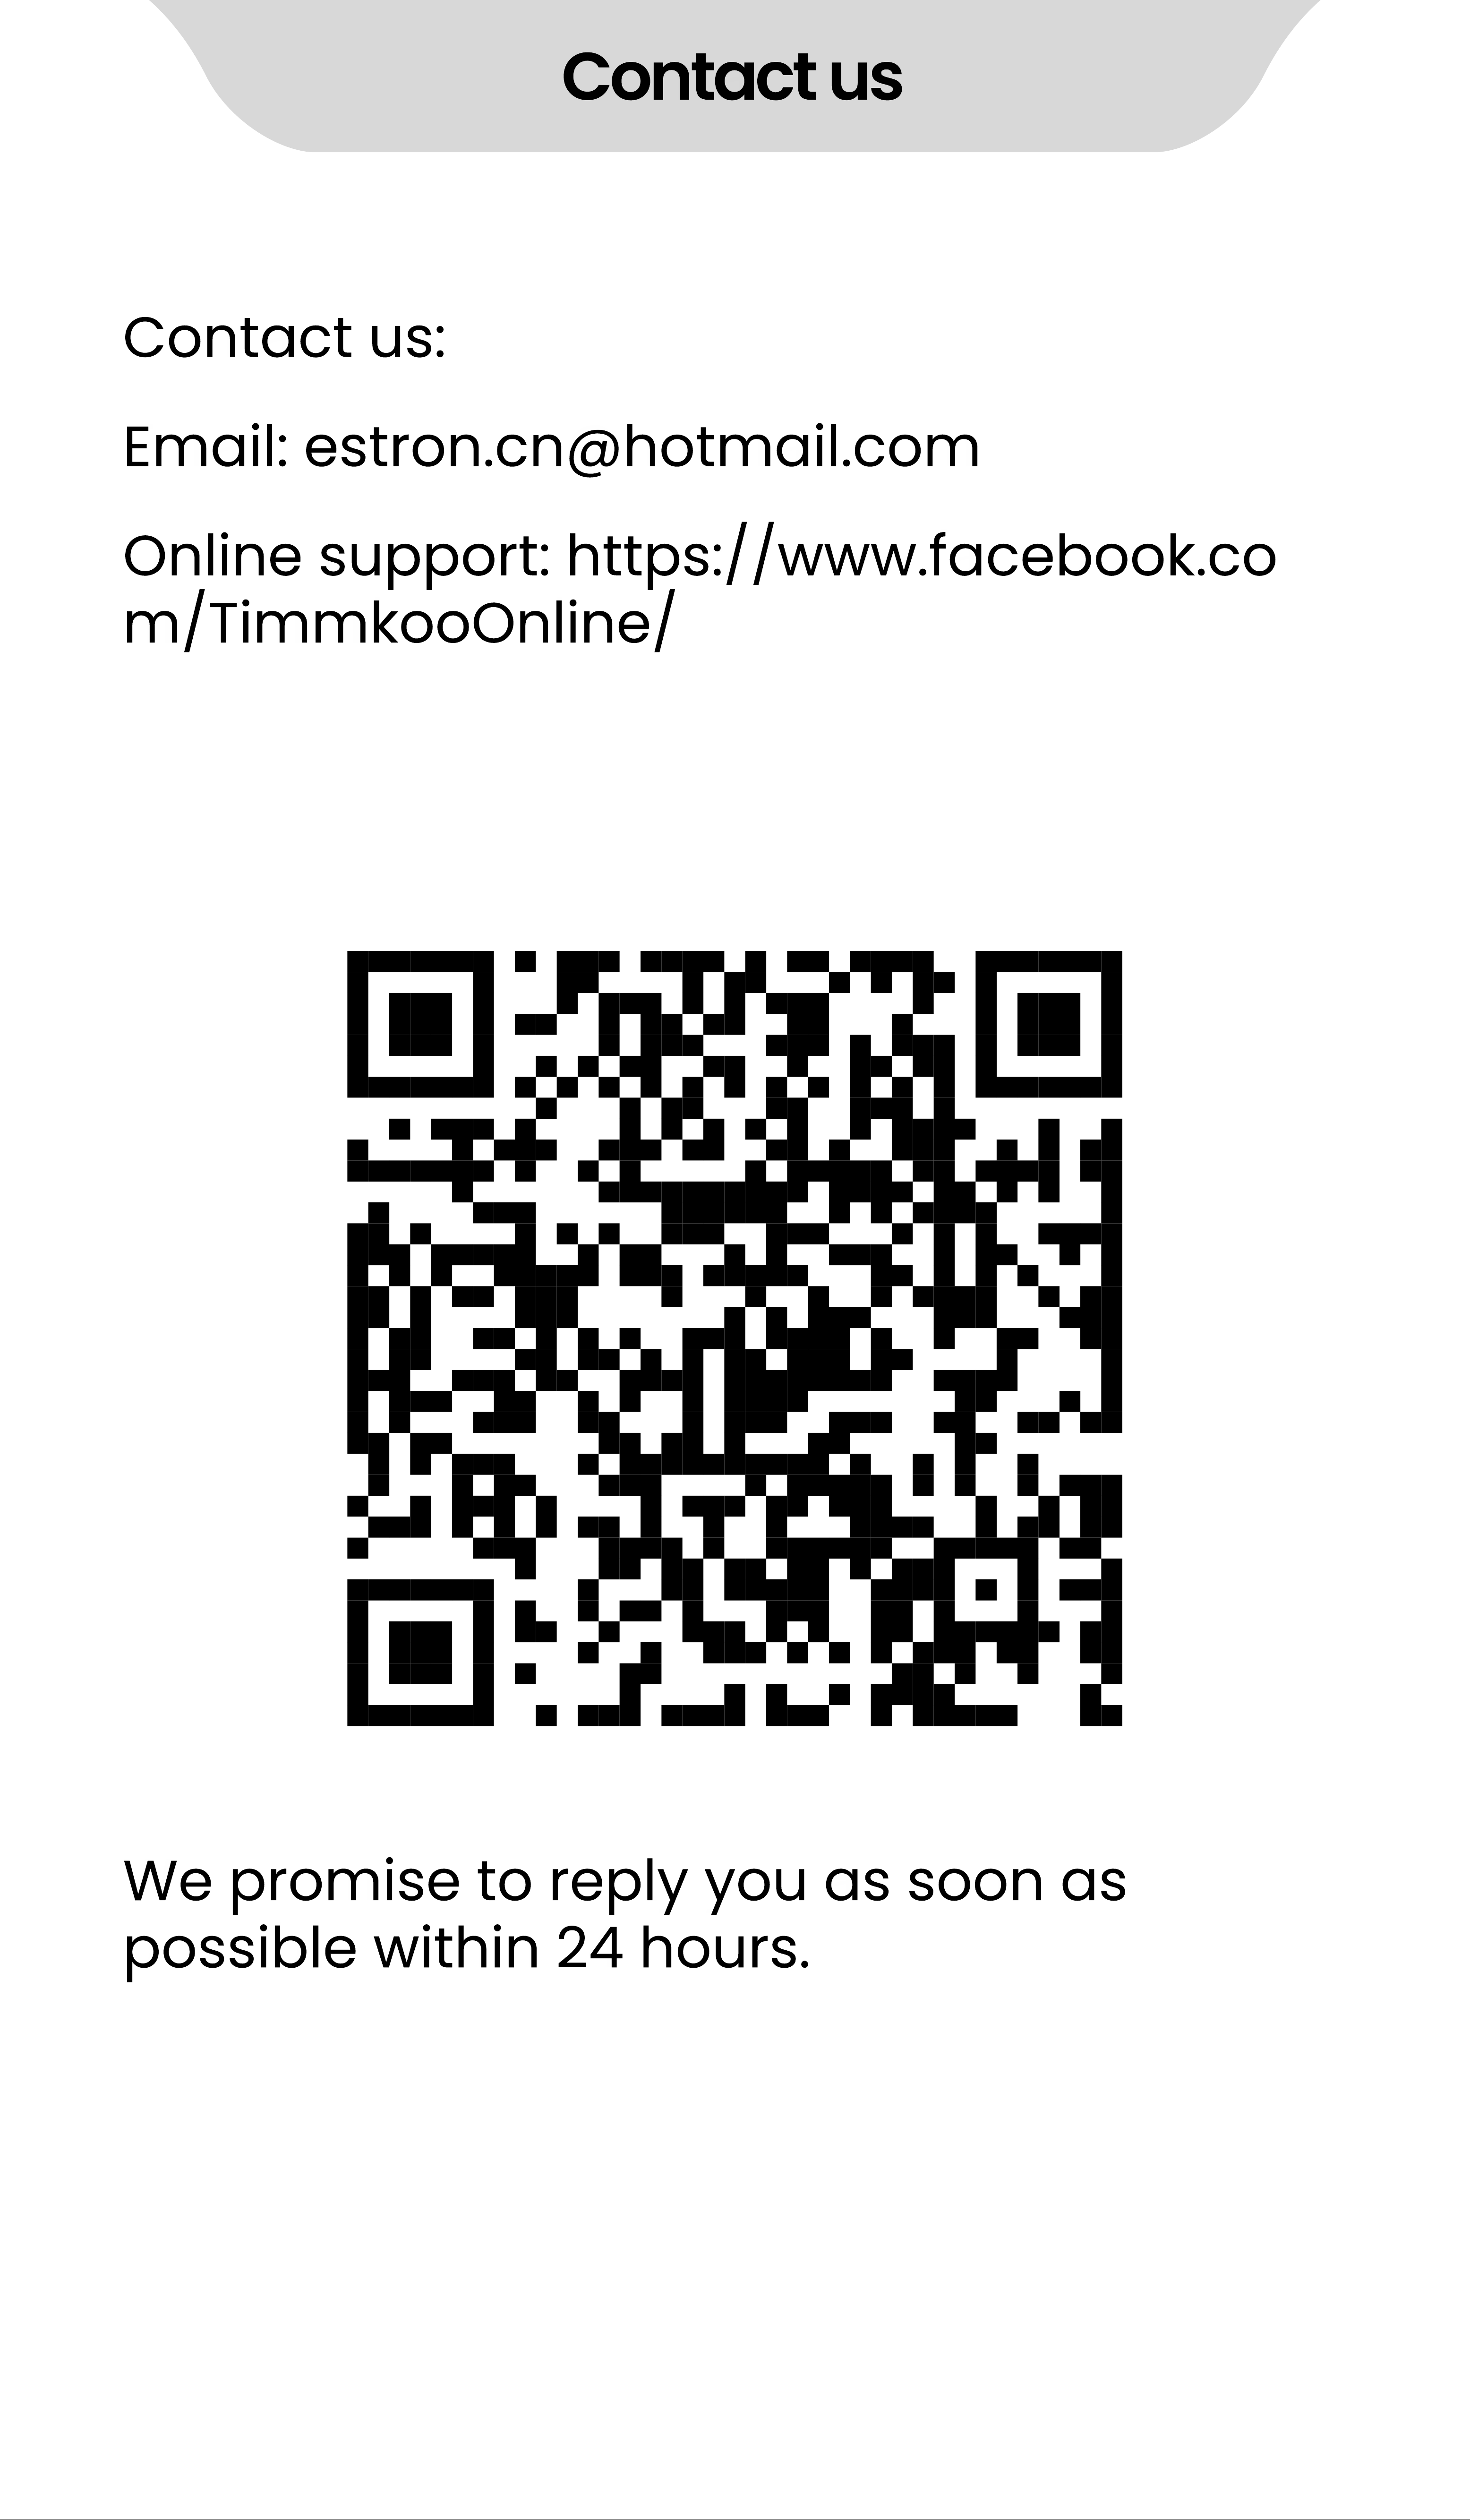
Email: estron.cn@hotmail.com
Contact us:
Online support: https://www.facebook.co
m/TimmkooOnline/
We promise to reply you as soon as
possible within 24 hours.
