
Loading ...
Loading ...
Loading ...
6
Installation
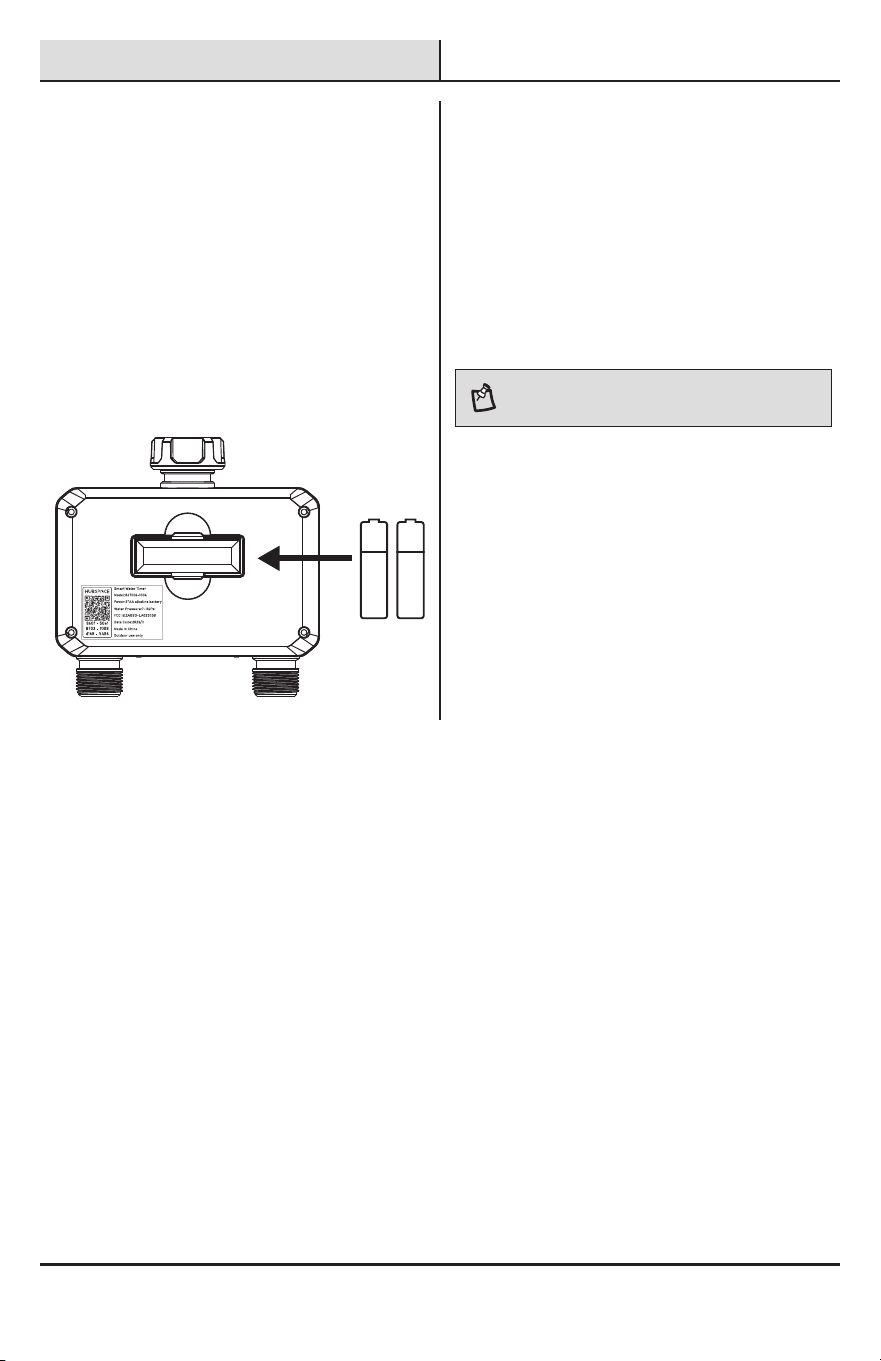
1
Install the batteries
□ Remove the tray from the back of the Timer by
sliding it out.
□ Insert two AA (1.5V) alkaline batteries
(included) and replace the tray. (Be sure
battery is completely secured)
□ Replace battery every year, when low battery
icon ashes or before long unattended use.
□ If batteries are removed for extended periods
of time, the timer will need to resync with
the cloud via the app to resume the previous
watering schedules and date/time
AA AA
2
Attach timer to faucet
□ Attach Timer to an outdoor hose faucet and
turn faucet on after programming.
□ Not for use on outlet end of ‘Y’ connectors or
other hose accessories.
□ Press left and right buttons for manual
operation of the unit on each spigot.
□ Left and right outlets can function at the same
time.
NOTE: For best practice, use one port at a time.
Water ow will decrease when both sides are used at the
same time.
Loading ...
Loading ...
Loading ...