Loading ...
Loading ...
Loading ...
2
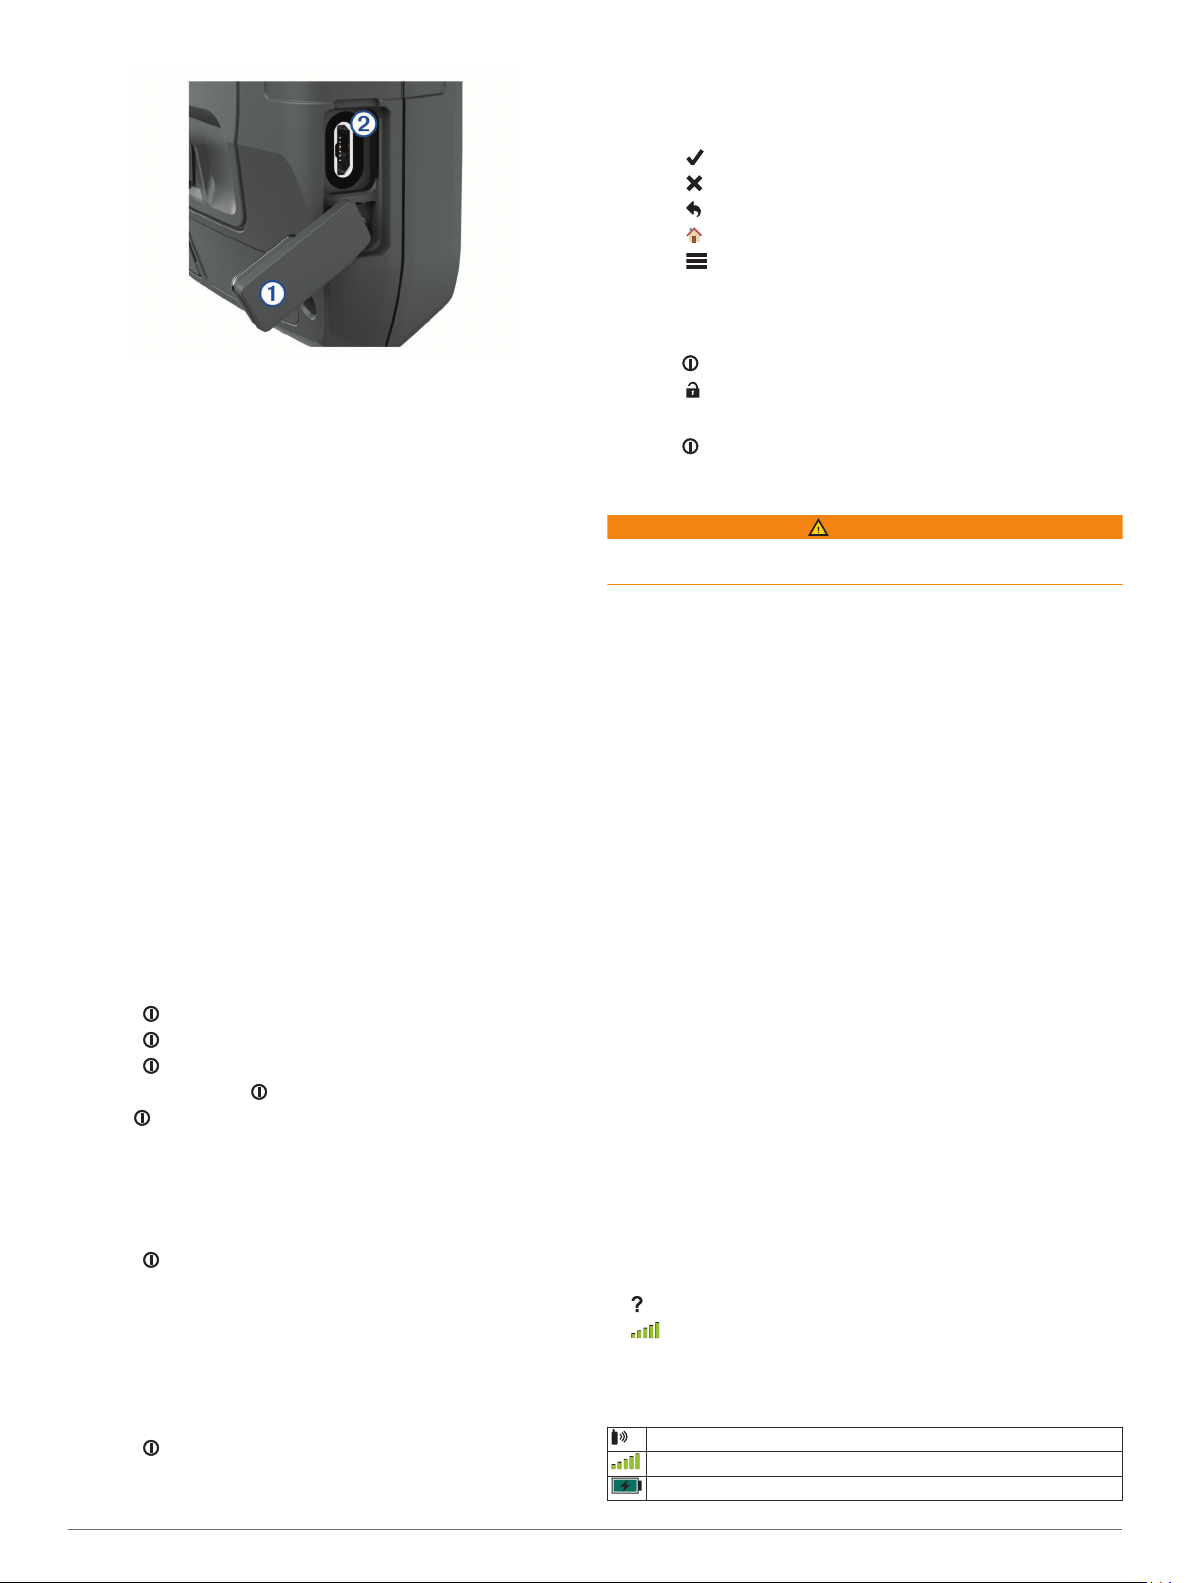
Plug the small end of the USB cable into the USB port on
your device.
3
Plug the large end of the USB cable into an AC adapter or a
computer USB port.
4
If necessary, plug the AC adapter into a standard wall outlet.
When you connect the device to a power source, the device
turns on.
5
Charge the battery completely.
TIP: The battery gauge appears in the status bar.
Saving Energy While Charging the Device
1
Connect your device to an external power source.
2
Hold the power button until the screen turns off.
The device goes into a low power, battery charging mode,
and the battery gauge appears.
3
Charge the device completely.
Long-Term Storage
When you do not plan to use the device for several months, you
should charge the battery to at least 50% before you store the
device. You should store the device in a cool, dry place with
temperatures around the typical household level. After storage,
you should fully recharge the device before using it.
Using the Power Button
By default, you can use the power button to turn the device on
and off, turn off the screen, and open the status page. You can
customize the power button functions (Customizing the Power
Button, page 19).
• Press to turn on the device.
• Press to open the status page.
• Press twice to turn off the screen.
TIP: You can press to turn the screen back on.
• Hold to turn off the device.
Viewing the Status Page
The status page displays the current activity recording,
Bluetooth
®
and Wi‑Fi
®
connection status, and provides quick
access to frequently used functions such as marking waypoints,
locking the touchscreen, and adjusting the backlight brightness.
Press or swipe down from the top of the screen to open
the status page.
Adjusting the Backlight
Extensive use of screen backlighting can significantly reduce
battery life. You can adjust the backlight brightness to maximize
the battery life.
NOTE: The backlight brightness may be limited when the
remaining battery power is low.
1
Press to open the status page.
2
Use the slider to adjust the backlight brightness.
Using the Touchscreen
• Tap the screen to select an item.
• Make each touchscreen selection a separate action.
• Select to save your changes and close the page.
• Select to close the page.
• Select to return to the previous page.
• Select to return to the main menu.
• Select to view specific menu items for the page you are
viewing.
Locking the Touchscreen
You can lock the screen to prevent inadvertent screen touches.
1
Press to open the status page.
2
Select .
Unlocking the Touchscreen
Press .
Activating the Device
WARNING
Before you can use the inReach features of your Montana 700i/
750i device, you must activate it (inReach Features, page 3).
1
Create an account, and select a satellite subscription at
explore.garmin.com.
2
Turn on the device.
3
Select Next.
4
Follow the on-screen instructions.
NOTE: You must enter the device IMEI number and
authorization code to complete the online portion of activation
before you go outdoors.
5
Go outdoors to an open area with a clear view of the sky, and
point the antenna on the device toward the sky for optimal
performance.
6
Wait while the device communicates with the Iridium satellite
network.
NOTE: It may take up to 20 minutes to activate your device.
The device must send and receive several messages, which
takes longer than sending a single message during regular
use. You should remain outdoors until activation completes.
Iridium Satellite Network
Your device requires a clear view of the sky to transmit
messages and track points over the Iridium satellite network.
Without a clear view of the sky, your device attempts to send the
information until it acquires satellite signals.
TIP: For the best connection with satellites, hold the device with
the antenna pointed toward the sky.
Acquiring Satellite Signals
It may take 30 to 60 seconds to acquire satellite signals.
1
Go outdoors to an open area.
2
If necessary, turn on the device.
3
Wait while the device searches for satellites.
flashes while the device determines your GNSS location.
in the status bar shows the satellite signal strength.
When the device acquires satellite signals, it automatically starts
recording your path as an activity.
Status Icons
ANT+
®
sensor status
GPS signal strength
Charging battery
2 Introduction
Loading ...
Loading ...
Loading ...