Loading ...
Loading ...
Loading ...
Initial setup 7
i
Access the Android TV home screen.
j
Navigation buttons
Navigate menu options.
k
LED indicator
• Each time you press a button on the
remote control, the LED lights up briefly
then off.
• Blue light indicates the remote control
is in Android TV mode and navigation of
Android TV interface is possible.
• Red light indicates the remote control is
accessing the projector system settings
and navigation of Android TV interface
is not possible.
l
Switch the projector on or to standby.
3 Initial setup
Notice
Make sure all devices are disconnected
from the power outlet before establishing
or changing any connections.
Place the projector
Place the projector on a flat surface in front of
the projection surface.
You can also install the projector in different
configurations (see Placement, page 10).
Connect power supply
The projector can be operated by either
external power or built-in battery.
CAUTION!
Always use the button to turn the
projector on and off.
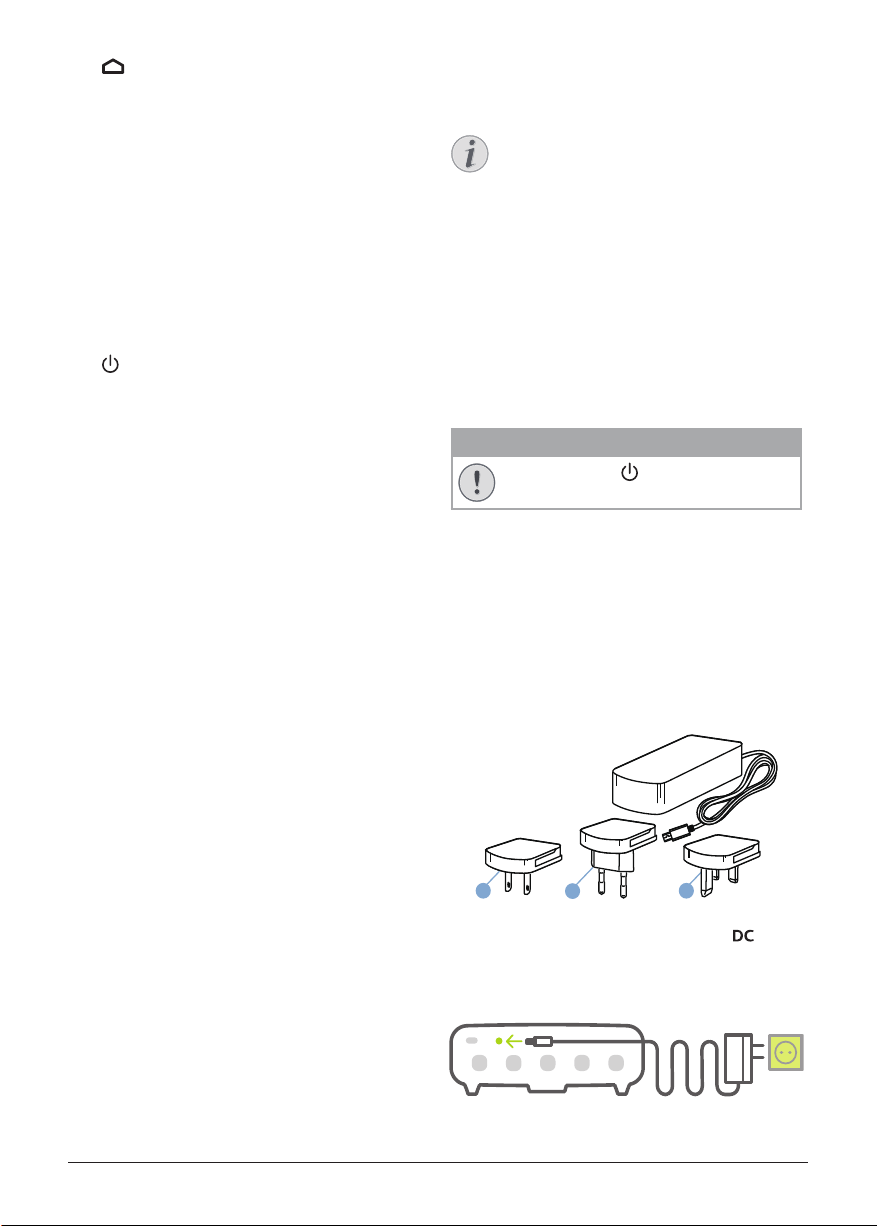
Operation by external power
1 Fix an appropriate plug (EU, UK, US) onto
the round base of the power adapter by
aligning the pins and holes.
• To detach the plug from the power
adapter, hold down the tab at the edge
of the round base, and simultaneously
turn and unlock the plug from the round
base of the power adapter.
US UK
EU
2 Connect the power adapter to the
socket on the projector, and then to the
wall outlet.
a
b
Loading ...
Loading ...
Loading ...