Loading ...
Loading ...
Loading ...
Operation 9
1 When prompted for pairing, hold down
OK and on the remote control for
about 10 seconds until the interface shows
successful connection.
Make sure the projector is turned on and as
close as possible to the remote control.
Step 2: Select language
1 When prompted for language section,
use the navigation buttons on the remote
control to select an on-screen language.
Step 3: Set up the projector with
your Android phone
Set up the projector so that the projector will
sign in to your Google account and connect to
the same WiFi network as your phone.
1 When prompted for Android TV setup,
select "Continue" to initialize setup.
2 On your Android phone, launch the
pre-installed "Google" app. Follow
on-screen instructions to complete setup.
After successful setup, the projector signs
in to your Google account and connects to
the same WiFi network as your phone.
4 Operation
Image setup
Screen size adjustment
The projection screen size (or size of images) is
determined by the distance between the lens
of the projector and the projection surface.
• The projection distance needs to be 1.2 times
the width of your desired screen size.
• The projection image size is to up to 80’’.
• The projection distance is 80 cm to 200 cm.
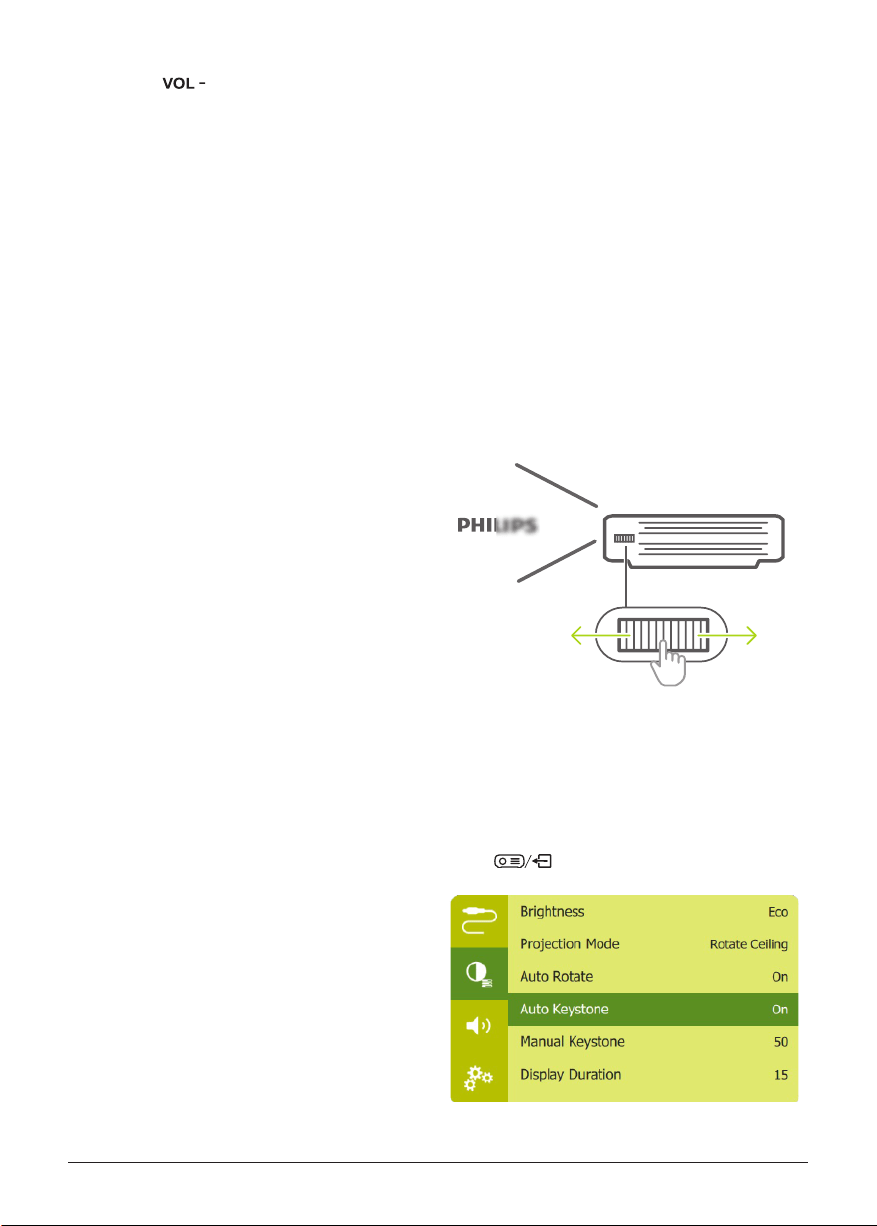
Image sharpness adjustment
To adjust image focus, turn the focus
adjustment knob on the side of the projector.
Image shape correction
Auto correction (vertical keystone)
The projector can automatically correct the
image to be rectangular when you tilt the
projector upwards or downwards.
To enable auto vertical keystone correction,
press
to access the settings options
and go to Auto Keystone - On.
Loading ...
Loading ...
Loading ...