Loading ...
Loading ...
Loading ...
16 Philips · PicoPix Micro 2
TV
Projector system settings
1 Press on the remote control to
access the projector system settings
options.
2 Use the Navigation buttons and OK to
select and change settings.
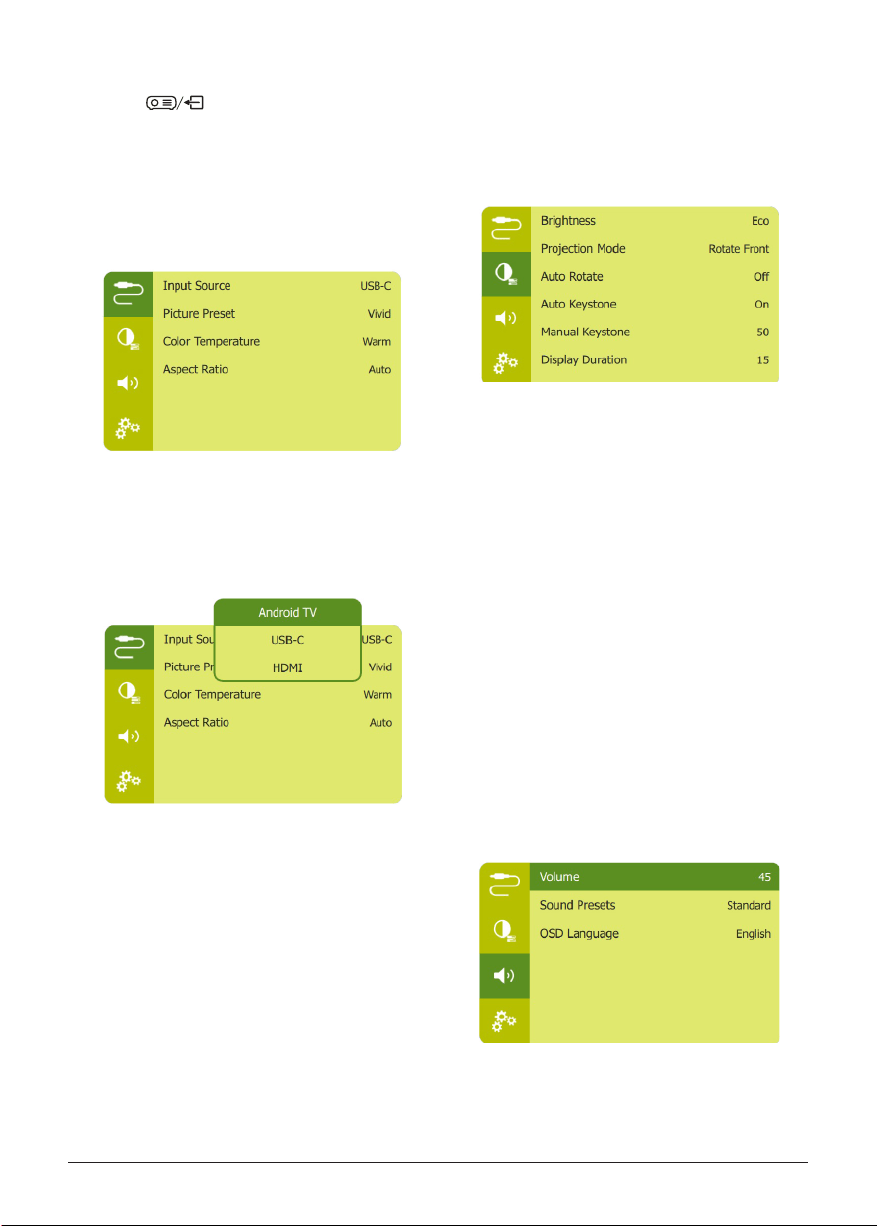
Input options
You can access the following input options.
• Input Source: Access the following settings.
• Android TV: Select it when no HDMI
device is connected.
• USB-C: Select it when a USB-C device
is connected.
• HDMI: Select it when an HDMI device is
connected.
• Picture Preset: Select a predefined color
brightness setting for picture and video
display, or select User to customize color
values on brightness, contrast, saturation
and sharpness.
• Color Temperature: Select Warm when the
ambient lighting is yellowish. Select Cool
when the ambient lighting lighting is bluish.
Select User to customize color values in
RGB mode.
• Aspect Ratio: Select the aspect ratio of
the screen. If set to Auto, the projector will
select the most suitable option.
Image options
You can access the following image setting
options.
• Brightness: Access the following settings.
• Eco: The screen is darker, but the
projector uses less power.
• Normal: The screen is at a normal
brightness with standard power use.
• Bright: The screen is brighter, but the
projector uses more power.
• Projection Mode: Adjust the projection
to the correct position based on different
installation of the projector.
• Auto Rotate: Automatically rotates the
screen for optimal display.
• Auto Keystone: Enable or disable auto
correction of the image shape.
• Manual Keystone: Manually correct
keystone or distorted images in the
horizontal and vertical orientation.
• Display Duration: Select a timer to hide the
OSD.
Sound options
You can access the following sound setting
options.
• Volume: Adjust volume of the projector.
Loading ...
Loading ...
Loading ...