Loading ...
Loading ...
Loading ...
12
English
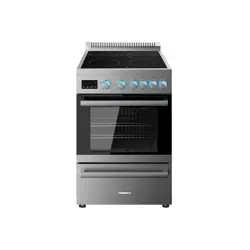
Verify Anti-Tip Bracket Is Installed and
Engaged
Always verify that the range is secured by the anti-tip
bracket.
● Method 1: Place your feet in the front of the drawer and
grab the lower left side of the vent as shown. Slowly
attempt to tilt the range forward. If the back of the range
lifts more then ½” off the floor and there is no resistance,
stop lifting and set the range back on the floor. The anti tip
bracket and range foot are not engaged correctly. (Fig. 15)
NOTE: If the range is loose in the position, then reinstall as
part of Anti-Tip Bracket Installation.
Fig. 15
● Method 2: To check if the range is engaged properly into
the anti-tip bracket, look through the underneath of the
range. If an underneath inspection is unaccessible, try the
following to remove the storage to drawer to check the
anti-tip bracket engagement.
1. Pull the storage drawer outwards all the way.
2. Remove the storage drawer from the range. See
“Remove the Storage Drawer” section.
3. Look through the drawer cavity of the range rear leg. A
flashlight maybe required.
4. Visually check that the rear leg is engaged into the
U-notch of the anti-tip bracket. See Fig 14.
5. If leg is not engaged into the bracket, please adjust the
bracket as necessary to fully engage the range leg.
Operation
General Operation
WARNING
BURN HAZARD
● When range is in use the entire cooktop area may
become hot.
● During and after use, do not touch, or let clothing or
other flammable materials contact surface units or
areas near units until they have had sufficient time to
cool.
Before Using for the First Time
● The oven heating elements have a protective coating,
which must be burned off before use. To do this, close the
oven door and rotate the temperature control knob to the
maximum temperature setting. Turn the function selector
to the Bake element and the Broil element separately
for approximately 15 minutes. It is important to ensure
adequate ventilation during this period.
● After use, ensure that the knobs are turned to the OFF
position.
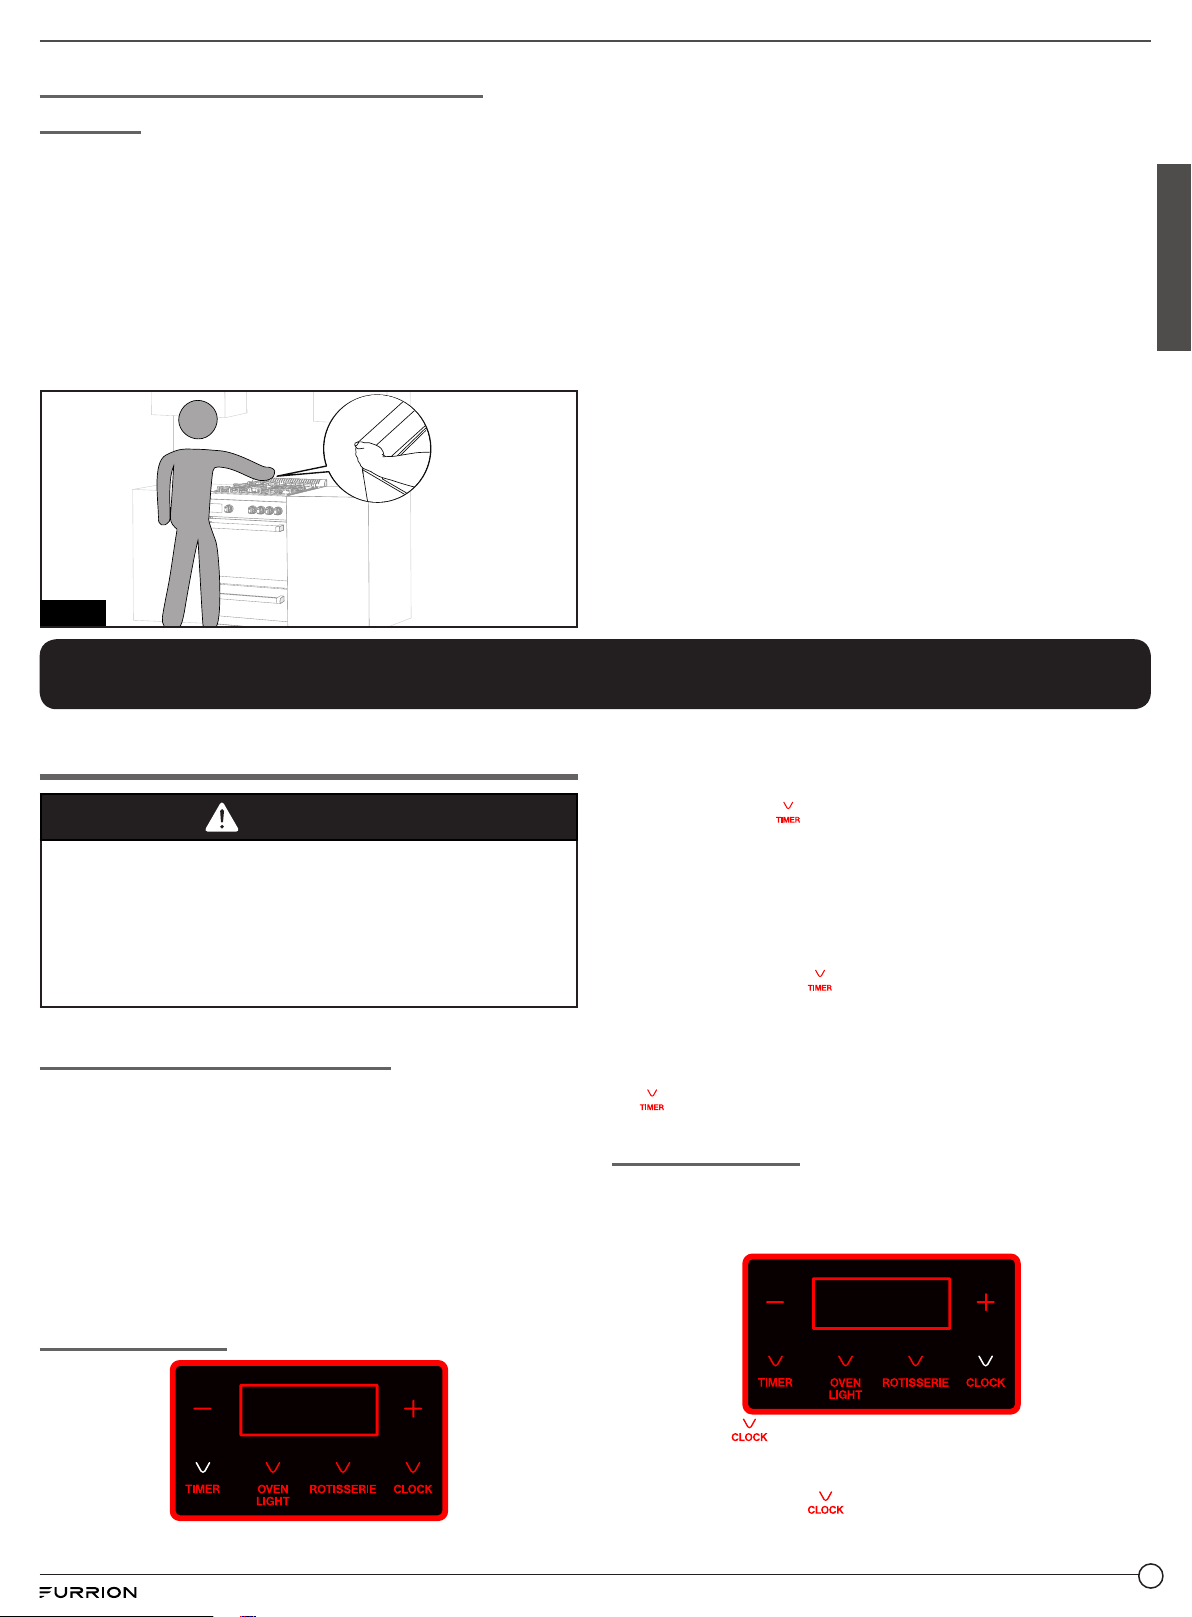
To Set the Timer
The timer is not used to control the oven operations. The
maximum setting on the timer is 12 hours and 59 minutes.
Timer default is 00:00.
1. Press once the button, the LED display will be lit on
and blink.
2. Press the + or - button until the amount of time desired
displays.
NOTE: The maximum time that allowed to set is 59
minutes, time exceeds 59 minutes will be shown as hours
and minutes format.
3. Press and hold the button for 2 seconds to save the
timer setting. The time will start counting down.
NOTE: The display will not change until one minute has
passed.
4. When the time reaches 00:00, the timer will beep until the
button is pressed to stop.
To Set the Clock
To use the timer function, the clock should be set to the
correct time. The maximum setting on the clock is 12 hours
and 59 minutes. Clock default is 12:00.
1. Touch the button for and hold for 2 seconds until the
display begins to blink.
2. Touch the “+” or ”-” button to adjust the time.
3. Press and hold the for approximately 2 seconds to
save the clock setting.
Loading ...
Loading ...
Loading ...