Loading ...
Loading ...
Loading ...
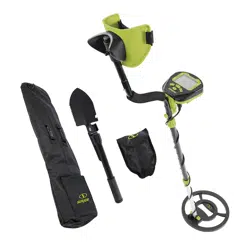
10
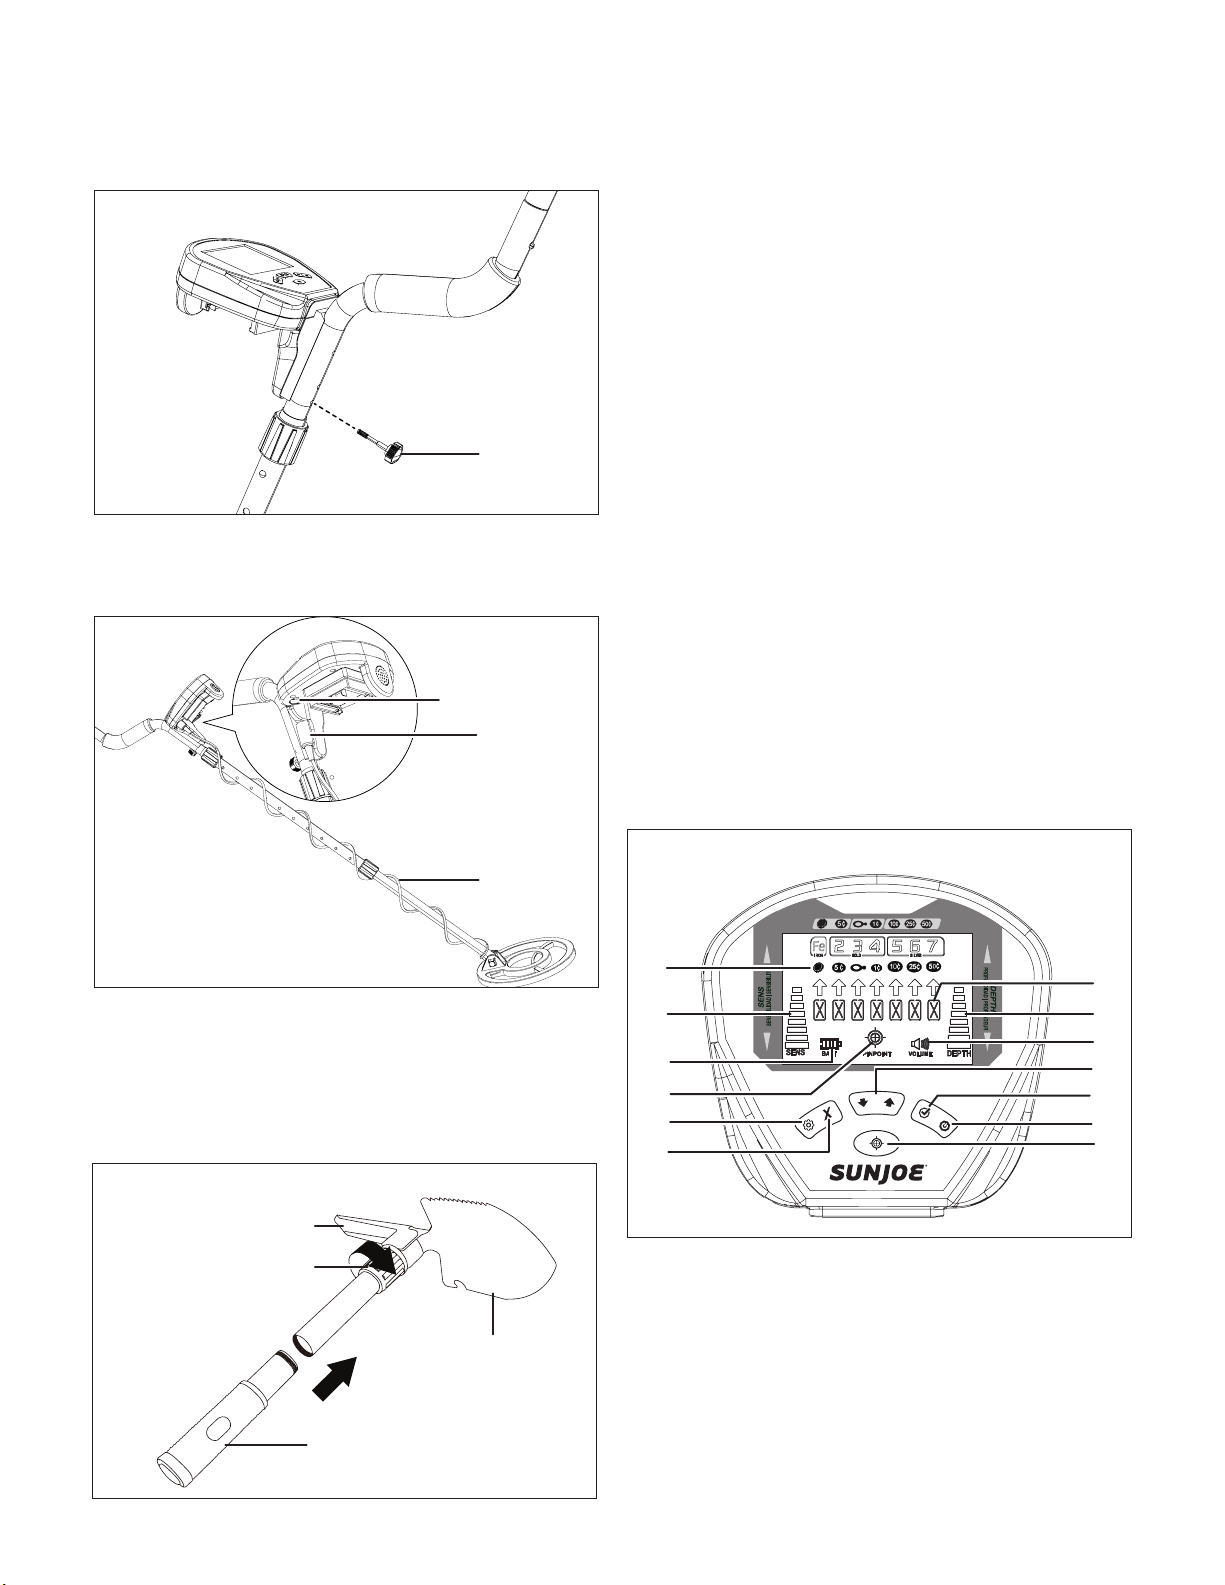
4. Secure it using the control panel bolt. Screw securely to
lock (Fig. 9).
5. Curl the search coil cable along the pole, and insert the
plug into the DIN connector located on the bottom of the
control panel (Fig. 10).
Folding Shovel Assembly
1. Remove the contents from the folding shovel pouch, and
unfold the spade and pick. Twist the locking collar to
secure the pick and spade at your desired position.
2. Screw the handle into the shaft of the shovel (Fig. 11).
Operation
mWARNING! Do not use any attachments or accessories
not recommended by the manufacturer of this product. The
use of attachments or accessories not recommended can
result in product damage.
mWARNING! Do not modify or attempt to repair the
metal detector except indicated in the instructions for use and
care.
Intended Use
This metal detector is intended for locating buried metal
objects. When searching for metals underground or on the
surface, this device helps you to:
1. Rule out signals caused by ground minerals.
2. Rule out signals caused by metal objects that are not of
the selected DISC mode.
3. Identifying buried metal objects.
4. Estimating the depth of objects.
mWARNING! This device is not intended for use in
commercial or industrial applications.
Control Panel and LCD Screen (Fig. 12)
The display shows the PROBABLE identication of the metal
detected, as well as its PROBABLE depth.
A. Target Identication – The target identication system
consists of the target category bar, the target-ID icons,
the arrows and the frames below. When metal objects are
detected, a Target-ID icon will illuminate with an arrow
below pointing to it.
Fig. 9
Control
panel bolt
Fig. 10
Search
coil cable
Cable plug
DIN connector
Fig. 11
Handle
Locking collar
Spade
Pick
Fig. 12
A
B
C
D
E
F
G
H
I
J
K
L
M
Loading ...
Loading ...
Loading ...