
Loading ...
Loading ...
Loading ...
Utility Stitches
68
e
Pull down the buttonhole lever as far as possible.
f
Gently hold the end of the upper thread in your left
hand, and then start sewing.
g
After sewing is finished, raise the presser foot lever,
remove the fabric, and then cut the threads.
h
Raise the buttonhole lever to its original position.
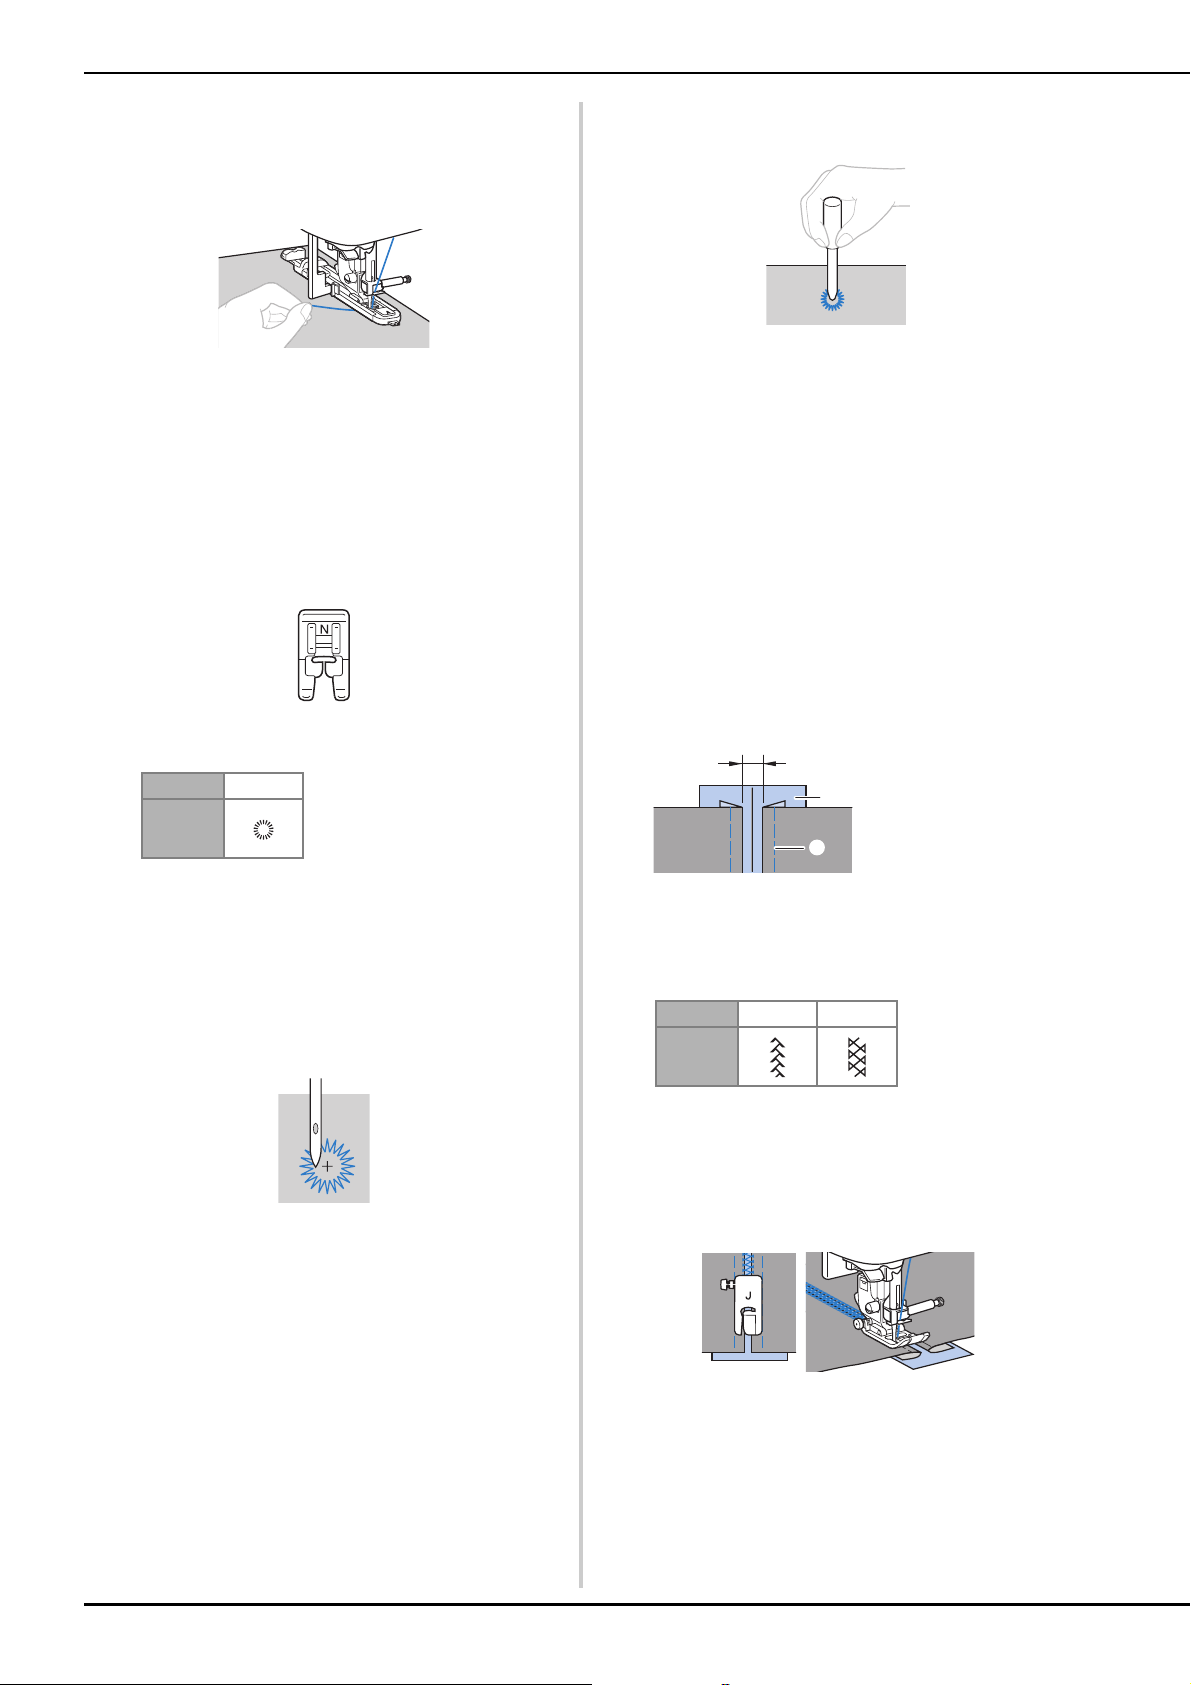
Q Eyelet stitching
Eyelets, such as those on belts, can be sewn.
a
Attach monogramming foot “N”.
b
Select a stitch.
• For details, refer to “Stitch Chart” on page 45.
c
Adjust either the stitch width or the stitch length to
select the desired eyelet size.
• For details, refer to “Setting the stitch width” on
page 38 and “Setting the stitch length” on page 38.
d
Lower the needle into the fabric at the beginning of the
stitching, and then lower the presser foot lever.
e
Start sewing.
Once sewing is completed, the machine
automatically sews reinforcement stitches, then
stops.
f
After removing the fabric, use the eyelet punch to cut a
hole in the center of the eyelet.
• When using the eyelet punch, place thick paper or
some other protective sheet under the fabric before
punching the hole in the fabric.
Q Fagoting
Stitching across an open seam is called “fagoting”. It is
used on blouses and children's clothing. This stitch is
more decorative when thicker thread is used.
a
Use an iron to fold the two pieces of fabric along their
seams.
b
Baste the two pieces of fabric, separated by about 4
mm (3/16 inch), onto thin paper or a sheet of water-
soluble stabilizer.
If you draw a line down the middle of the thin paper or
water-soluble stabilizer, sewing is easier.
c
Attach zigzag foot “J”.
d
Select a stitch.
• For details, refer to “Stitch Chart” on page 45.
e
Set the stitch width to 7.0 mm (1/4 inch).
f
Sew with the center of the presser foot aligned along
the center of the two pieces of fabric.
g
After sewing is finished, remove the paper.
No. 4-15
Stitch
1 Thin paper or water-
soluble stabilizer
2 Basting stitching
3 4 mm (3/16 inch)
No. 2-11 2-12
Stitch
2
1
3
Loading ...
Loading ...
Loading ...