Loading ...
Loading ...
Loading ...
Taking Pictures
N]
The camera automatically sets the shutter
speed and the aperture value according to
the brightness of the subject.
• Remove the lens cap.
!OTurn the camera on.
Select program AE mode [ p ].
• The status indicator (A_lights for
approximately 1 second if you turn the
camera on when using the LCD monitor.
• The status indicator continues to light if
you turn the camera on when using the
Viewfinder. The status indicator blinks
when the remaining battery power is low.
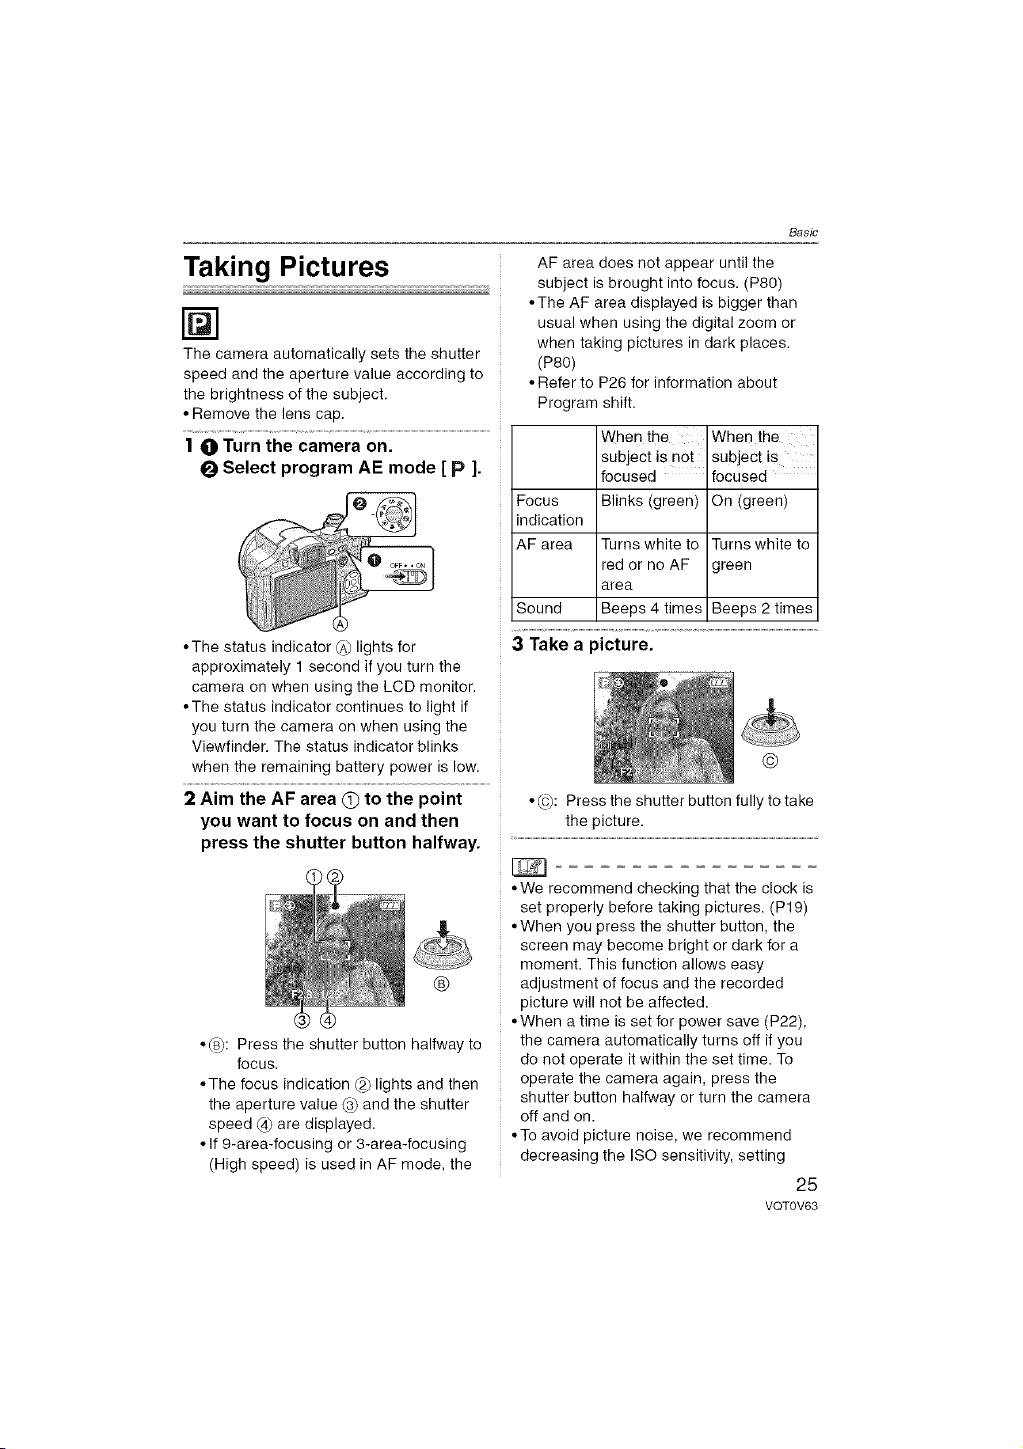
2 Aim the AF area _to the point
you want to focus on and then
press the shutter button halfway.
®
•®: Press the shutter button halfway to
focus.
•The focus indication _2_lights and then
the aperture value @ and the shutter
speed @ are displayed.
• If 9-area4ocusing or 3-area-focusing
(High speed) is used in AF mode, the
Basic
AF area does not appear until the
subject is brought into focus. (P80)
• The AF area displayed is bigger than
usual when using the digital zoom or
when taking pictures in dark places.
(P80)
• Refer to P26 for information about
Program shift.
When the When the
subject is not subject is
focused focused
Focus Blinks (green) On (green)
indication
AF area Turns white to Turns white to
red or no AF green
area
Sound Beeps 4 times Beeps 2 times
3Take a picture.
®
• _c): Press the shutter button fully to take
the picture.
• We recommend checking that the clock is
set properly before taking pictures. (P19)
• When you press the shutter button, the
screen may become bright or dark for a
moment. This function allows easy
adjustment of focus and the recorded
picture will not be affected.
• When a time is set for power save (P22),
the camera automatically turns off if you
do not operate it within the set time. To
operate the camera again, press the
shutter button halfway or turn the camera
off and on.
• To avoid picture noise, we recommend
decreasing the ISO sensitivity, setting
25
VQT0V63
Loading ...
Loading ...
Loading ...