Loading ...
Loading ...
Loading ...

28
PROCÉDURE D’INVERSION DE PORTE
1 Assurez-vous que le cordon d’alimentation est débranché.
2 Tout en retenant la porte, enlevez les quatre vis d’articulation de la
porte, puis soulevez la porte pour la retirer et la mettre de côté.
3 Retirez les vis du couvercle du verrouillage de la porte sur le côté droit de
la sécheuse et les vis du couvercle du verrouillage de la porte sur le côté
gauche de la sécheuse.
4 Installez le verrou de porte sur le côté droit de la sécheuse avec les vis que
vous venez de retirer, puis installer le couvercle du verrou de porte sur le
côté gauche de la sécheuse.
Retirez les deux vis
Retirez les vis
du couvercle de
verrouillage de
la porte
Retirez les deux vis
28
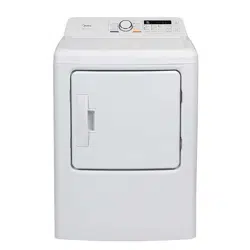
Dryer
Safety
Operation
Requirements
Parts and
Features
Installation
Instructions
Dryer Use
Appendix
Dryer Care
Troubleshooting
DOOR REVERSAL PROCEDURE
1Make sure that the power cord is unplugged.
2While supporting the door, remove the four hinge screws from the door,
then lift the door to remove it and setthe door aside .
3
Remove the screws for the locker cover on the right side of the dryer
and the screws for the locker cover on the left side of the dryer.
4Install the locker onto the right side of the dryer with the screws you
just removed, then install the locker cover on the left side of the dryer.
Operation
3-4
28
Dryer
Safety
Operation
Requirements
Parts and
Features
Installation
Instructions
Dryer Use
Appendix
Dryer Care
Troubleshooting
DOOR REVERSAL PROCEDURE
1Make sure that the power cord is unplugged.
2While supporting the door, remove the four hinge screws from the door,
then lift the door to remove it and setthe door aside .
3
Remove the screws for the locker cover on the right side of the dryer
and the screws for the locker cover on the left side of the dryer.
4Install the locker onto the right side of the dryer with the screws you
just removed, then install the locker cover on the left side of the dryer.
Operation
3-4
Retirer les vis
de verrouillage
de la porte
Sécurité de la
sécheuse
Exigences de
fonctionnement
Composantes et
caractéristiques
Instructions
d’installation
Entretien de
la sécheuse
Dépannage Annexe
Utilisation de
la sécheuse
Loading ...
Loading ...
Loading ...