
Loading ...
Loading ...
Loading ...
English - 7
4. After use, remove the hot rotisserie assembly from the cooking space using the
removal tool. Always use heat-safe oven gloves to remove the rotisserie forks
and take off the grilled foods.
Removal Tool
The hot rotisserie assembly must be taken out of the cooking chamber using the
removal tool.
1. Place the ends of the removal tool under the shaft. Lift the right-hand side of the
shaft and move it forwards slightly until the left end of the shaft is released from
the holder.
2. Carefully lift the rotisserie assembly out of the cooking chamber and place down
on a heat-resistant surface.
USING YOUR AIR FRYER OVEN
1. Plug cord into the appliance, then plug the air fryer into a 120 volt, AC outlet ONLY.
Place the air fryer on dry, level, heat-resistant surface away from any edge.
Ensure that there is at least 4 inches clearance on the sides and top of the air fryer.
2. Open the door, then slide the drip tray into the bottom of the cooking chamber
3. Choose the cooking accessory needed for what is being cooked. You can also
use a small casserole or baking dish and place it on a crisping tray.
Do not place food packed in plastic wrap or plastic bags in the air fryer. Do not
use roasting bags in the air fryer.
Make sure that the food that you would like to prepare does not come into contact
with the heating element of the appliance.
4. Prepare food to be cooked and attach accessory being used as indicated in the
“Air Fryer Accessories” section of your manual.
5. Close the door. The door must be closed before any cooking selections can be made.
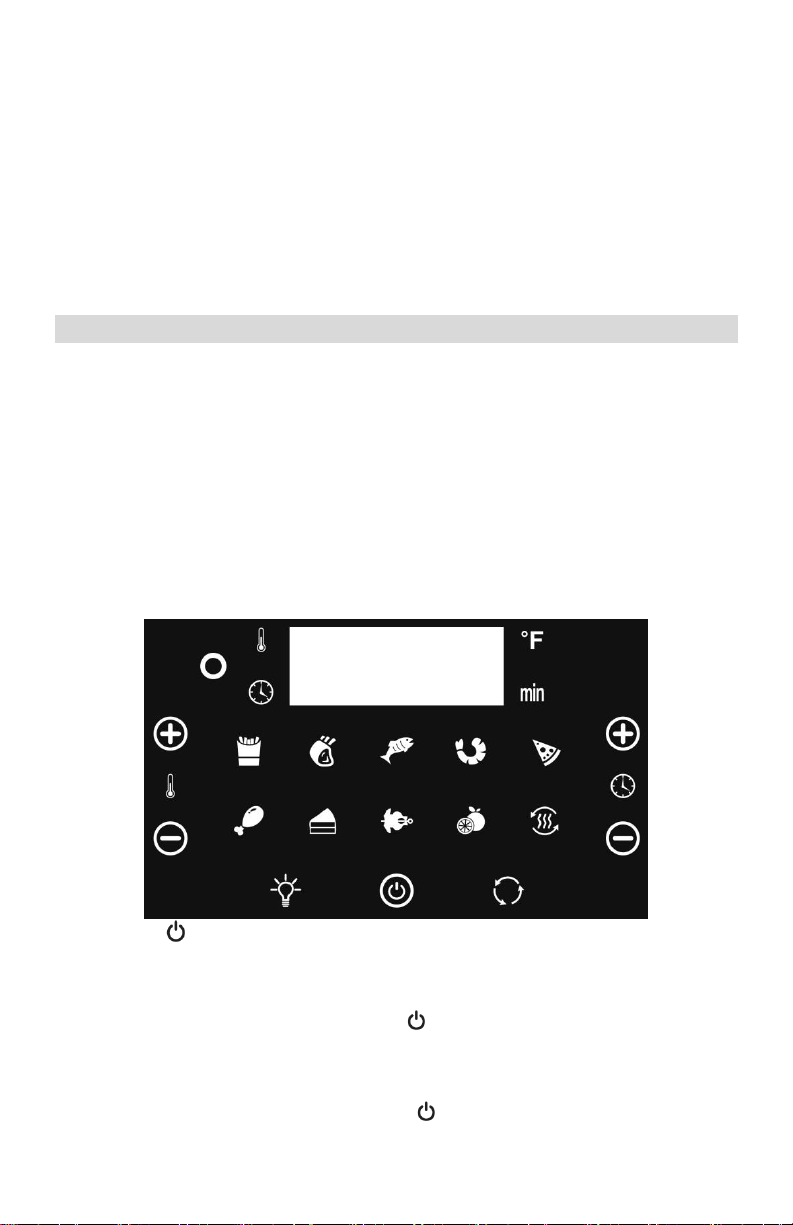
6. Press the On / Off button. The displays on the control panel will illuminate.
370°F and 15 minutes are preset. Choose either a preset setting or adjust the
temperature and cooking time.
The time and temperature can be manually adjusted with the + / - buttons, then
start the cooking process by pressing the On / Off button.
Choose a program by touching the applicable symbol on the panel. The symbol will
flash to indicate it is active, then the cooking cycle will begin when the flashing
stops. The program can be adjusted with the +/- time and temperature buttons as
long as the setting symbol is flashing. The On / Off button can also be pressed
to begin the cooking process immediately when using a preset function.
Loading ...
Loading ...
Loading ...