Loading ...
Loading ...
Loading ...
15
container after use”, “14.10 Cleaning the milk container”
and “14.11 Cleaning the hot water nozzle”.
11.1 Filling and attaching the milk container
1. Remove the lid (D2) (g. 12);
2. Fill the milk container (D3) with a sucient quantity of
milk, not exceeding the MAX level marked on the handle
(g. 13). Each mark on the side of the container corre-
sponds to 100ml of milk;
Please note:
• For a denser more even froth, you must use skimmed or
partially skimmed milk at refrigerator temperature (about
5°C).
• If "Energy Saving" mode is enabled, you may have to wait
a few seconds before the rst cappuccino is delivered.
3. Make sure the milk intake tube (D4) is correctly inserted in
the bottom of the milk container lid (g. 14);
4. Place the lid back on the milk container;
5. Remove the hot water spout (C6) from the connection noz-
zle (A8) (g. 15);
6. Attach the container to the connection nozzle and push
as far as it will go (g. 16). The machine emits a beep (if
enabled);
7. Place a suciently large cup under the coee spouts (A9)
and frothed milk spout (D5). Adjust the length of the milk
spout. To move it nearer the cup, simply pull it downwards
(g. 17);
8. Follow the instructions below for each function.
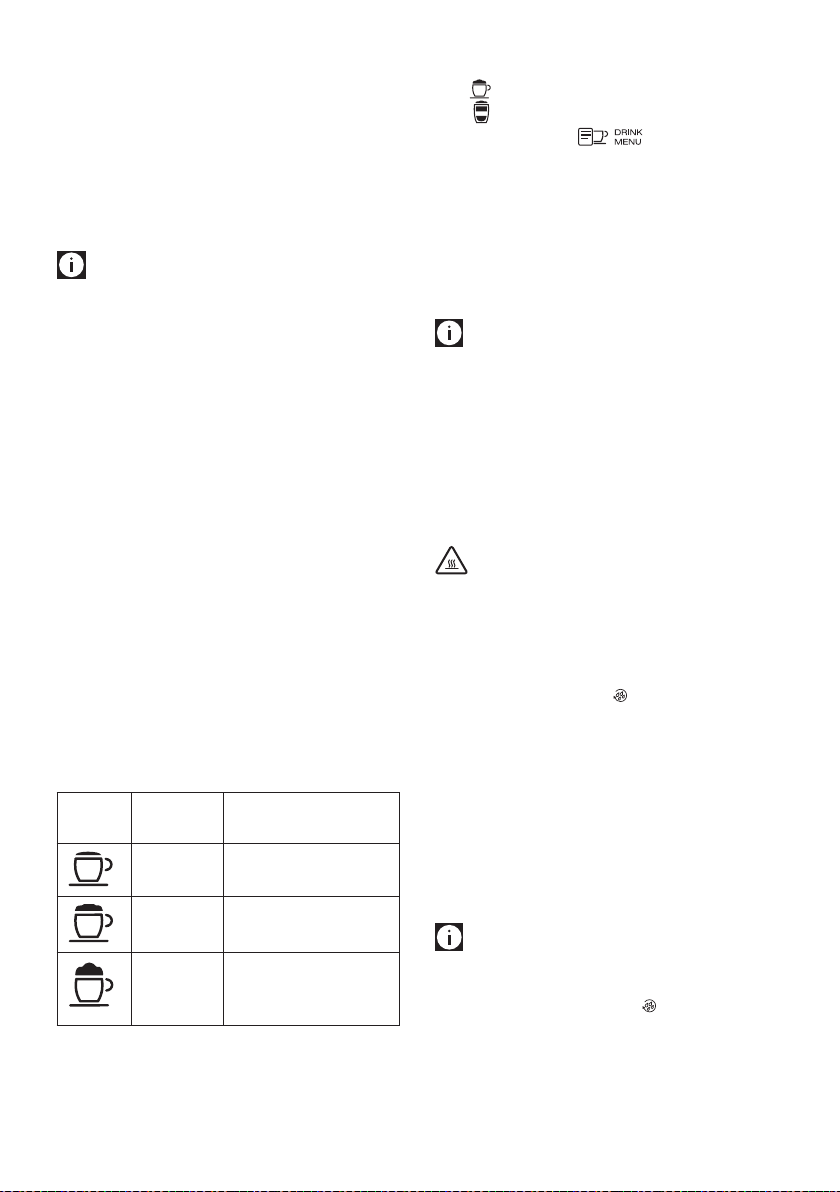
11.2 Adjusting the amount of froth
Turn the froth adjustment dial (D1) to adjust the amount of froth
on the milk delivered while making cappuccinos and milk-based
coees.
Dial
position
Description Recommended for…
No froth HOT MILK (not frothed) /
CAFFELATTE
Min. froth LATTE MACCHIATO /
FLAT WHITE
Max. froth CAPPUCCINO/ CAPPUCCI
NO+ / ESPRESSO MACCHIA
TO / HOT MILK (frothed)
11.3 Making cappuccino and milk-based coees
automatically
1. Fill the milk container (D) and attach it as described above;
2. Select the required beverage:
Directly selected beverages:
•
: CAPPUCCINO (B10)
•
: Latte Macchiato (B11)
Select by pressing (B12):
• Caelatte
• Flat white
• Hot milk
3. After a few seconds, preparation begins automatically, a
progress bar appears on the display and gradually lls as
preparation proceeds;
4. After delivering the milk, the machine automatically
makes the coee (if required by the recipe).
Please note:
• If you want to interrupt preparation during delivery, press
the arrow corresponding to "STOP" (B4).
• Do not leave the milk container out of the refrigerator for
long periods. The warmer the milk (5°C is ideal), the poorer
the quality of froth produced.
• The beverages can be customised (see sections “8.3 Pro-
gram beverages” and “8.4 Program My beverages”).
11.4 Cleaning the milk container after use
Important! Danger of burns
• When cleaning the internal tubes of the milk container (D),
a little hot water and steam leak out of the milk spout (D5).
Avoid contact with splashes of water.
"Set dial to CLEAN, ESC to cancel" appears on the display (B1)
each time you use a milk function. Clean as described to elim-
inate all milk residues (or press “
/ESC” (B5) to clean later):
1. Leave the milk container (D) in the machine (you do not
need to empty it);
2. Place a cup or other recipient under the frothed milk spout;
3. Turn the froth adjustment dial (D1) to “CLEAN” (g. 19).
“Cleaning underway” appears on the display, together
with a progress bar which gradually lls as the operation
proceeds. Cleaning stops automatically;
4. Turn the dial back to one of the froth selections;
5. Remove the milk container and always clean the steam
connection nozzle (A8) with a sponge (g. 20).
Please note!
• To prepare a number of cappuccinos or milk-based coees,
clean the milk container after you have prepared the last
beverage only. In this case, press
/ESC (B5) to go back to
the main menu.
• The milk container can be kept in the refrigerator.
• In some cases, before cleaning you must wait for the appli-
ance to heat up.
Loading ...
Loading ...
Loading ...