Part No. 7281110 (Rev. B 3/14/12)
INSTALLATION ADAPTOR KIT INSTRUCTIONS
Note: Before attempting to replace the installation adaptors, unplug the transformer from electrical
power and turn off water to the unit.
1. Turn off water to the softener and open a faucet to relieve pressure in plumbing.
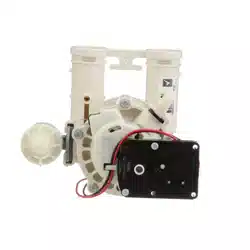
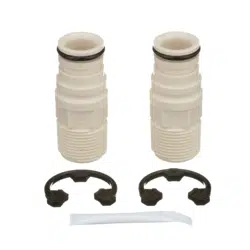
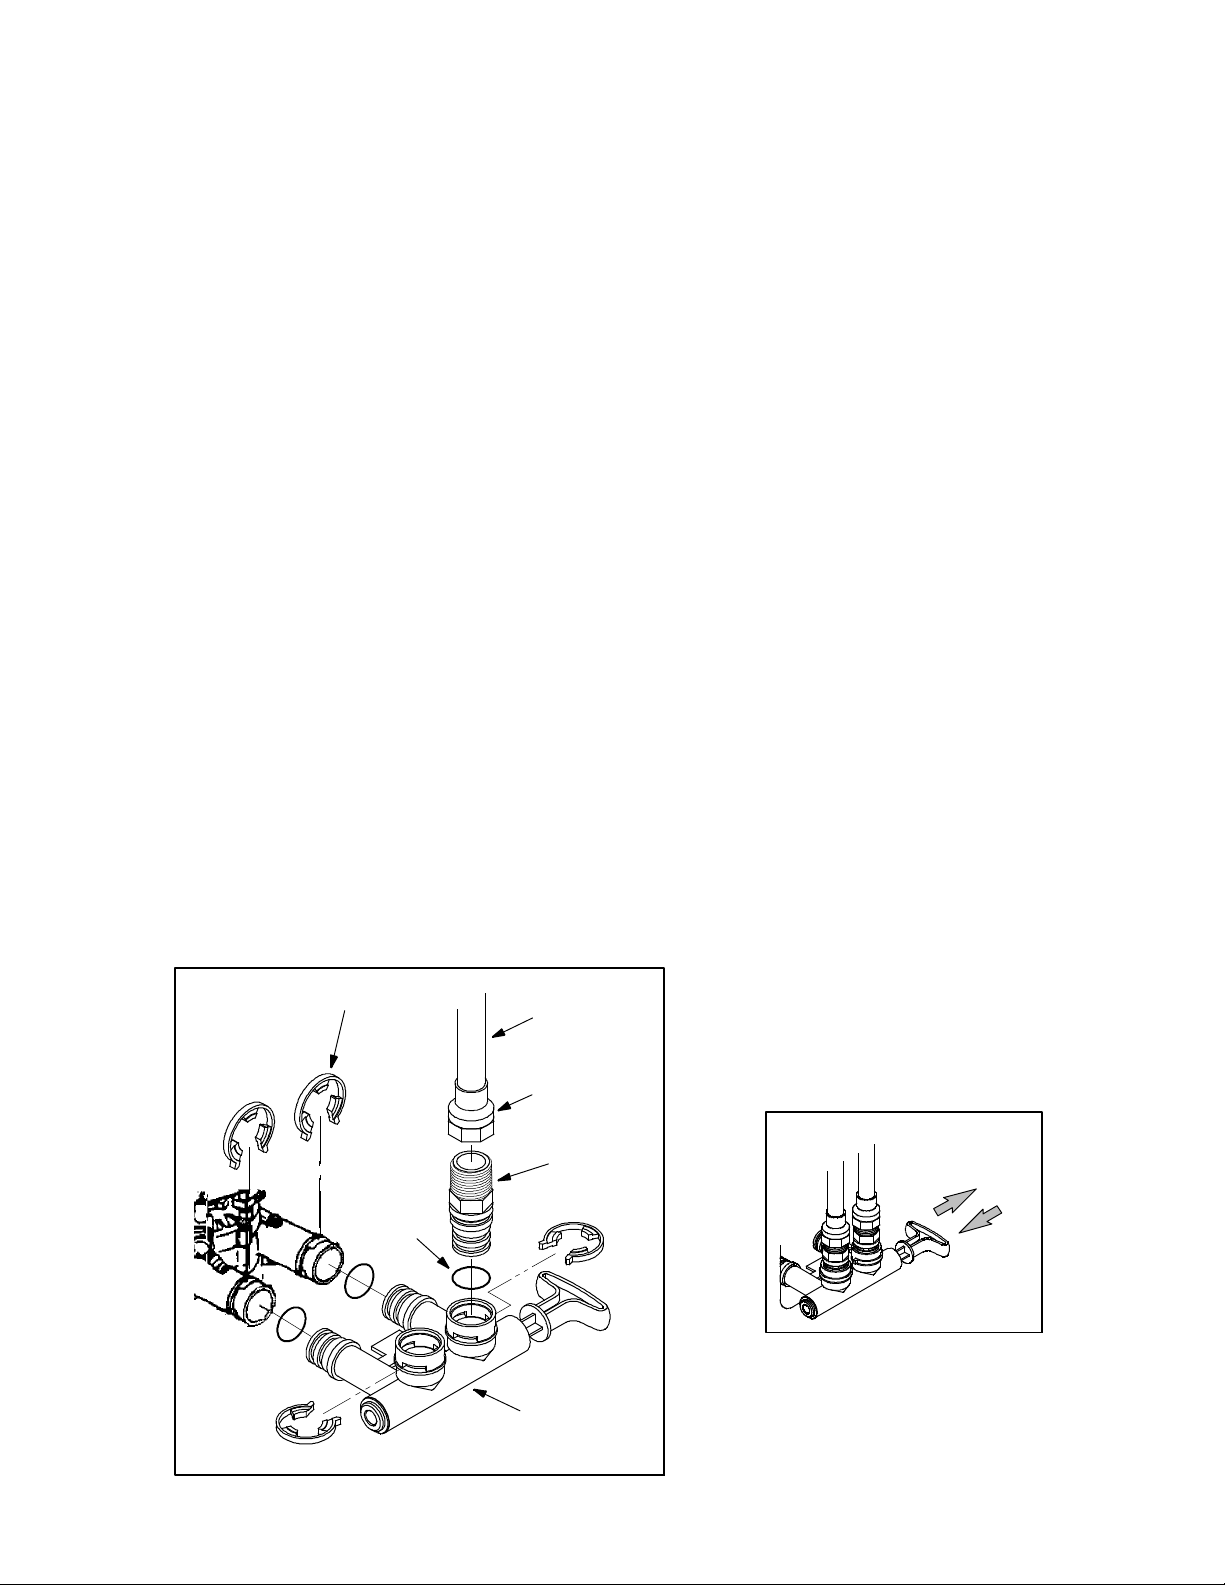
2. Disconnect plumbing by unclipping plastic adaptors from bypass valve. Figure1.
3. Remove plastic adaptors from plumbing lines. Figure1.
4. Measure, cut, and loosely assemble pipe and fittings from the main water pipe to the
inlet and outlet ports of the valve.
5. Thoroughly clean and flux all joints.
6. Make all solder connections. Connect 1” NPT sweat adaptors (not included) to plumb-
ing lines. Be sure to keep fittings fully together, and pipes square and straight. DO NOT
solder plumbing while attach ed to installation adaptors and b yp ass valve. Solder-
ing heat will damage the p lastic parts.
7. Remove clips holding bypass valve and remove from back of softener valve. Figure1.
8. Replace o--rings on bypass valve with new. Use silicone grease or Vaseline if neces-
sary. Figure1.
9. Place bypass valve back into softener valve and secure with clips. Figure1.
10. Connect plumbing lines to bypass valve. Use thread sealing tape on threads of 1” NPT
threaded adaptors. Figure1.
11. Plug in transformer. Pull the bypass valve stem out for soft--water position. Figure 2.
12. Turn water back on to the softener. Check for leaks in new plumbing connections.
13. To verify proper function of the softener, complete the manual advance diagnostics as
outlined in the Installation/Operation manual.
Figure 2
Figure 1
bypass valve
PUSH IN
for bypass
PULL OUT
for soft water
3/4” pipe
1” NPT sweat
adaptor (not
included)
1” NPT
threaded
adaptor
O---ring
Bypass valve
Clips