
Loading ...
Loading ...
Loading ...
27
Figure 66
DISPLAY
BRIGHTNESS
After approximately 10 seconds the Information
Display returns to indicate the Source Selection and
Volume Level.
HEADPHONE HXD SELECTION
The C12000 Internal Headphone Amplifier incorpo-
rates McIntosh HXD Circuitry bringing acoustical
depth and spatiality of music normally heard with
loudspeakers, to your headphones. It can be switched
On or Off as follows:
1. Select the “HEADPHONE HXD, ___” TRIM
FUNCTION. Refer to figures 67 and 68.
Figure 67
HEADPHONE HXD
Off
Figure 68
HEADPHONE HXD
On
2. Select either ON or OFF.
HEADPHONE GAIN SELECTION
The C12000 Internal Headphone Amplifier Circuitry
also incorporates three available Ranges of Ampli-
fier Gain, to more closely match the impedance Ω
(ohms) of the connected Headphones (16Ω - 40Ω,
40Ω - 150Ω, 150Ω - 600Ω), for the best performace.
To select one of the three available ranges perform the
following:
1. Select the “HEADPHONE GAIN, 40Ω - 150Ω”,
default setting. Refer to figure 69.
switched On or Off by performing the following:
1. Select “METER LIGHTS, On” as indicated on the
Front Panel Information Display. Refer to figure
63.
Figure 63
METER LIGHTS
On
2. Switch Off the Meter Illumination. Refer to
figure 64.
Figure 64
METER LIGHTS
Off
After approximately 10 seconds the Information
Display returns to indicate the Source Selection and
Volume Level.
Notes: 1. Meter Illumination of recent McIntosh Power
Amplifiers will also switch On/Off when connected to
the C12000 via a power control cable.
2. Some A/V Processors will provide an On/Off Con-
trol Signal when the C12000 Passthru Input Jack is
connected to the A/V Processor via the power control
cable.
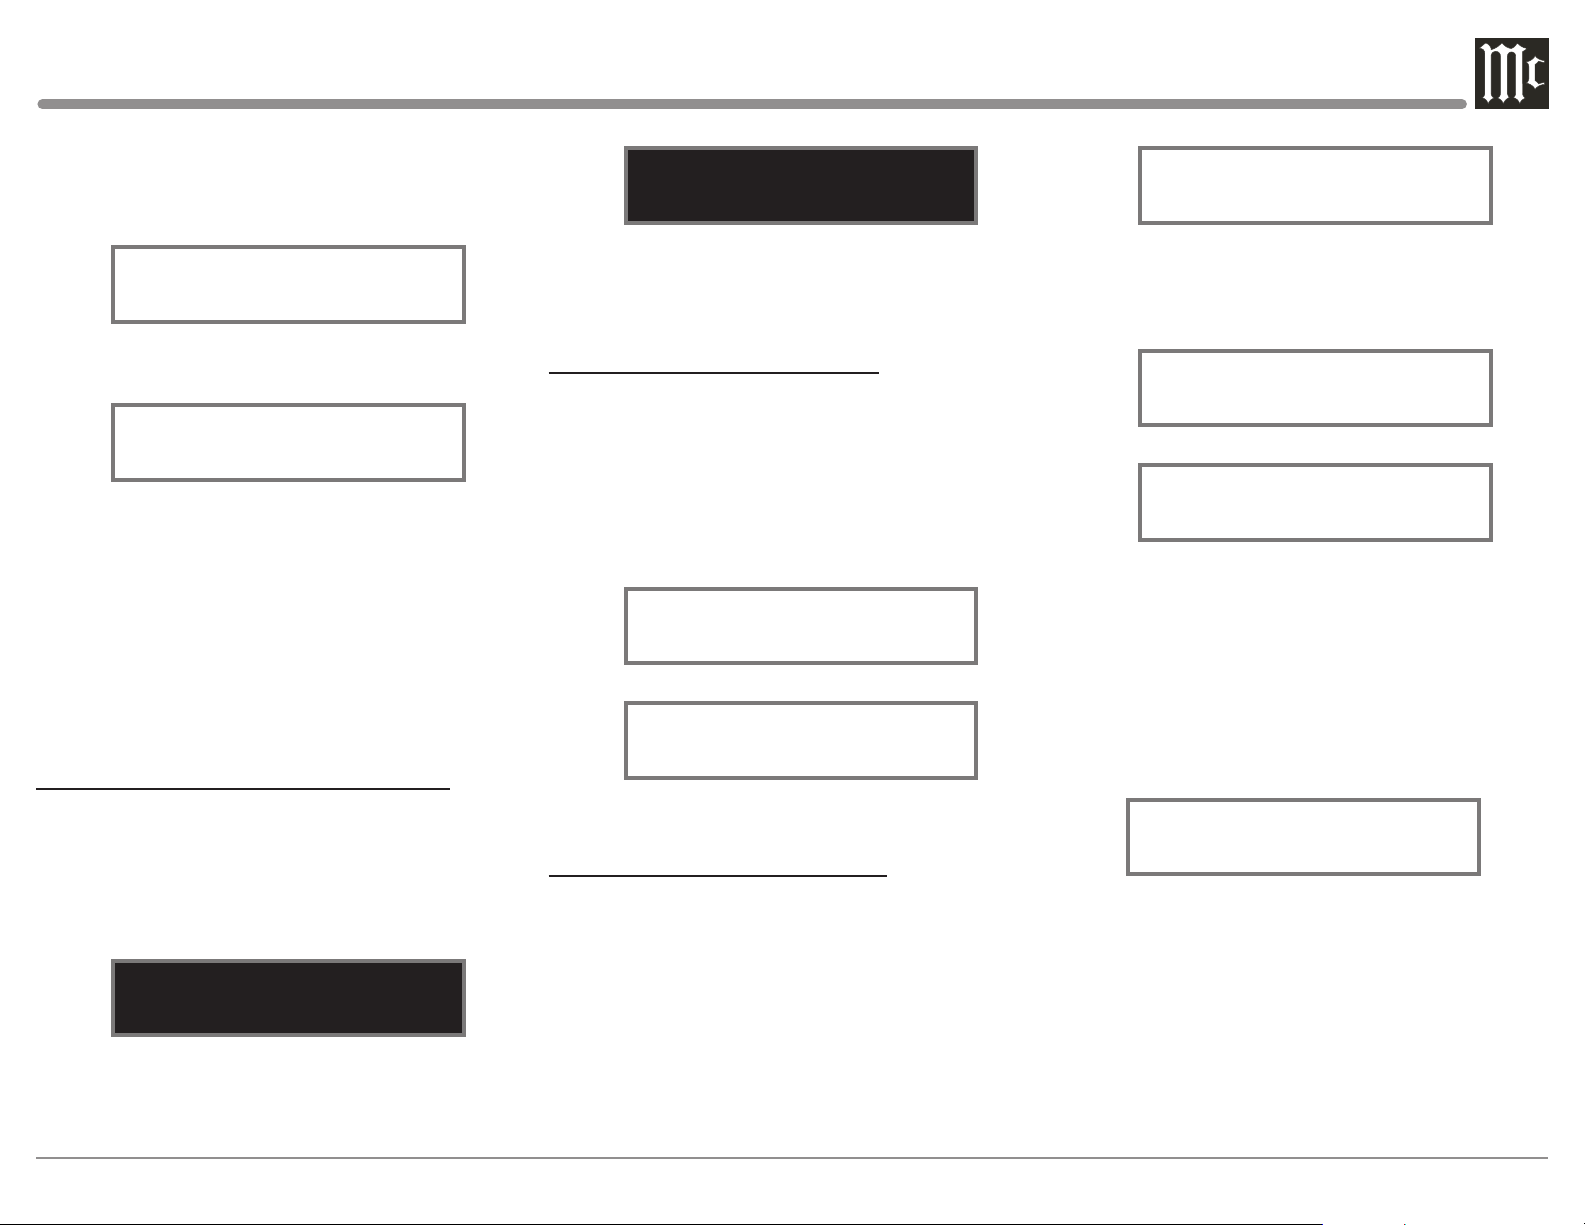
INFORMATION DISPLAY BRIGHTNESS
The Brightness Level of C12000 Front Panel Informa-
tion Display can be adjusted from bright to dim by
performing the following:
1. Select “DISPLAY BRIGHTNESS” as indicated
on the Front Panel Information Display. Refer to
figure 65.
Figure 65
DISPLAY
BRIGHTNESS
2. Reduce the Brightness level by adjusting the
TRIM LEVEL. Refer to figure 66.
Figure 69
HEADPHONE GAIN
40O - 150O
2. If the impedance of the connected Headphones
doesn’t match within the current setting, select one
of the other choices. Refer to figures 70 and 71.
Figure 70
HEADPHONE GAIN
16O - 40O
Figure 71
HEADPHONE GAIN
150O - 600O
Mute
Press the MUTE Push-button, on the C12000 Front
Panel or on the Remote Control, to Mute the Audio
in all outputs (Main, Output 1, Output 2 and Head-
phones) except the FIXED OUTPUT. The Front Panel
Information Display will indicate the Source Name
and the word MUTE in place of the actual volume set-
ting. Refer to figure 72.
Figure 72
INPUT: BAL 1
MUTE
Pressing the Mute Push-button a second time or
adjusting the volume control (either the Front Panel or
Remote Control) will unmute the C12000.
Trim
Rotate the TRIM Control on the front panel of the
C12000 to activate Trim Functions. Rotate the INPUT
Control to select the desired Trim Function and then
use the ADJUST Control to change the Trim setting.
Loading ...
Loading ...
Loading ...