
Loading ...
Loading ...
Loading ...
23
Figure 30
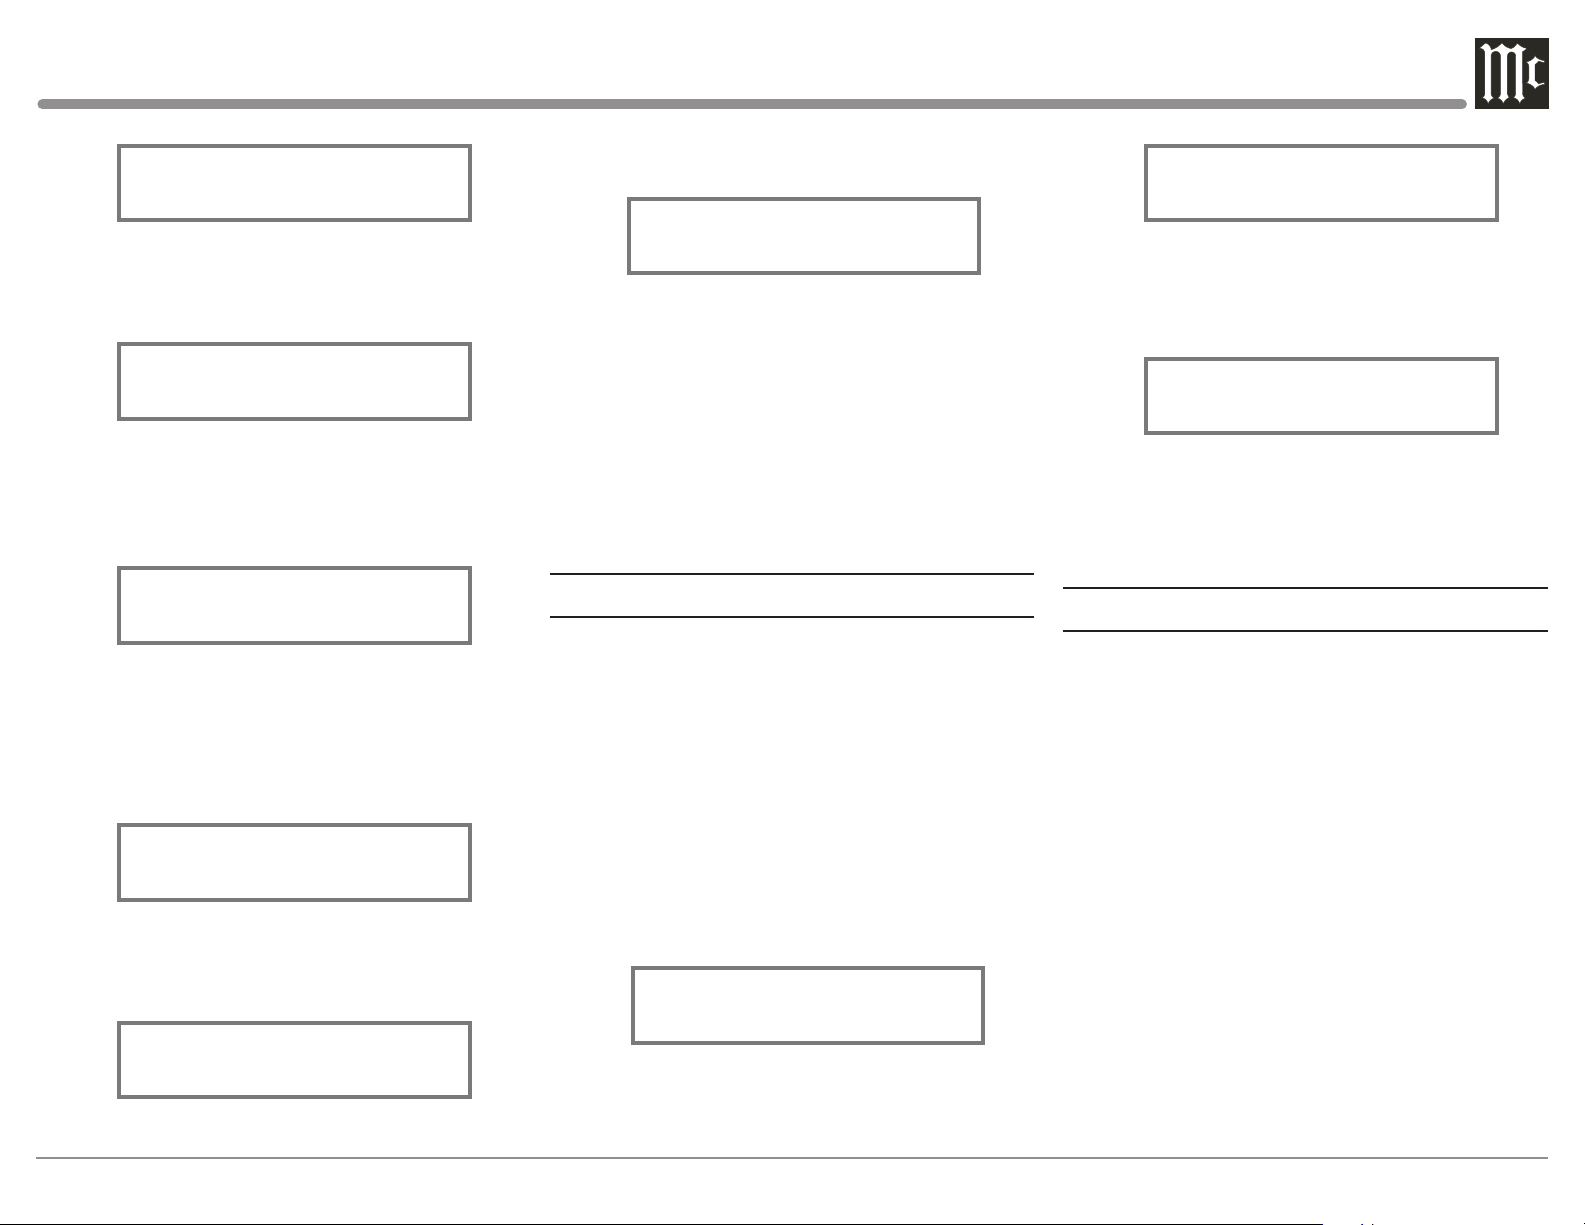
SETUP: TRIGGER 1
Main
3. Rotate the ADJUST Control to select Output 1
from the available additional selections including
Output 2 or Input. Refer to figure 31.
Figure 31
SETUP: TRIGGER 1
Output 1
4. To change the Trigger 2 setting from Main to
OUTPUT 2, first rotate the INPUT Control to select
TRIGGER 2. Then Rotate the ADJUST Control to
select Output 2. Refer to figure 32.
Figure 32
SETUP: TRIGGER 2
Output 2
The second example will use selection of the Trigger
3 to activate when the BAL 1 Input is selected:
5. Rotate the INPUT Control to select “SETUP:
TRIGGER 3, Main” appears on the Display. Refer to
figure 33.
Figure 33
SETUP: TRIGGER 1
Main
6. Rotate the ADJUST Control until “SETUP:
TRIGGER 3, Balanced 1: OFF” appears on the
Display. Refer to figure 34.
Figure 34
7. Rotate the VOLUME Control to select “Balanced
1: ON”. Refer to figure 35.
Figure 35
8. Exit the SETUP Mode by pressing the SETUP
Push-button.
By default the Power Control TRIGger 1 thru
TRIGger 4 Outputs function the same as the MAIN
Power Control Jack, switching On/Off with the
C12000. Triggers 1 thru 4 are also reassignable to
activate when Output 1 or 2 is selected. All four
Triggers can also be assigned to a given Input or
Inputs.
Data Ports
Data Ports Connections between the C12000 and a
McIntosh Source Component allow for basic function
control of the source component using the C12000
supplied Remote Control. By default, all eight Data
Ports are sent the same Data for the selected source.
To dedicate a Data Port for only one source compo-
nent (BAL 1 Input will be assigned to Data Port 1)
perform the following Steps:
1. Press the SETUP Push-button to enter the SETUP
MODE. Refer to figure 2..
2. Rotate the TRIM Control until “SETUP: Data
Port 1, All Data” appears on the Information Display.
Refer to figure 36.
Figure 36
SETUP: DATA PORT 1
All Data
3. Rotate the ADJUST Control until “SETUP:
DATA PORT 1, Balanced 1 Data” appears on the
Display. Refer to figure 37.
Figure 37
4. To assign additional Data Ports, first rotate the
INPUT Control to select the Data Port and then rotate
the ADJUST Control to select the desired Input. Refer
to figure 38.
Figure 38
5. In a similar manner, assign any additional Data
Ports.
6. Exit the SETUP Mode by pressing the SETUP
Push-button.
Passthru
When the C12000 is part of a Home Theater or
Multichannel Audio System the Right and Left Front
Channels from an Audio/Video Processor or Surround
Decoder can “Passthru” the C12000 and onto its asso-
ciated Power Amplifier(s). The Setup Mode allows se-
lection of the specified C12000 Input to be used for the
Right and Left Front Channels. In the example below,
the Right and Left Front Channels from the Audio/
Video Processsor will be connected to the BALanced 6
Input Connectors on the C12000. Refer to Pages 16 and
17 for additional connection information.
Notes: 1. The Phono Inputs are not assignable as a
Passthru Input.
2. If Balanced Input 6 is already assigned to a given
Input, it will not appear in the list of available Inputs.
3. When one of the Unbalanced Inputs is selected as a
Passthru Input, it is advisable to remove it from the Input
List by switching it Off. Refer to “Input Settings” on Page 20.
SETUP: TRIGGER 3
Balanced 1: OFF
SETUP: TRIGGER 3
Balanced 1: ON
SETUP: DATA PORT 1
Balanced 1 Data
SETUP: DATA PORT 2
Unbalanced 1 Data
Loading ...
Loading ...
Loading ...