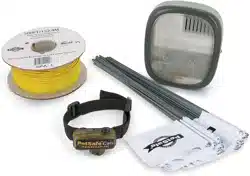
Loading ...
Loading ...
Loading ...
www.petsafe.net 9
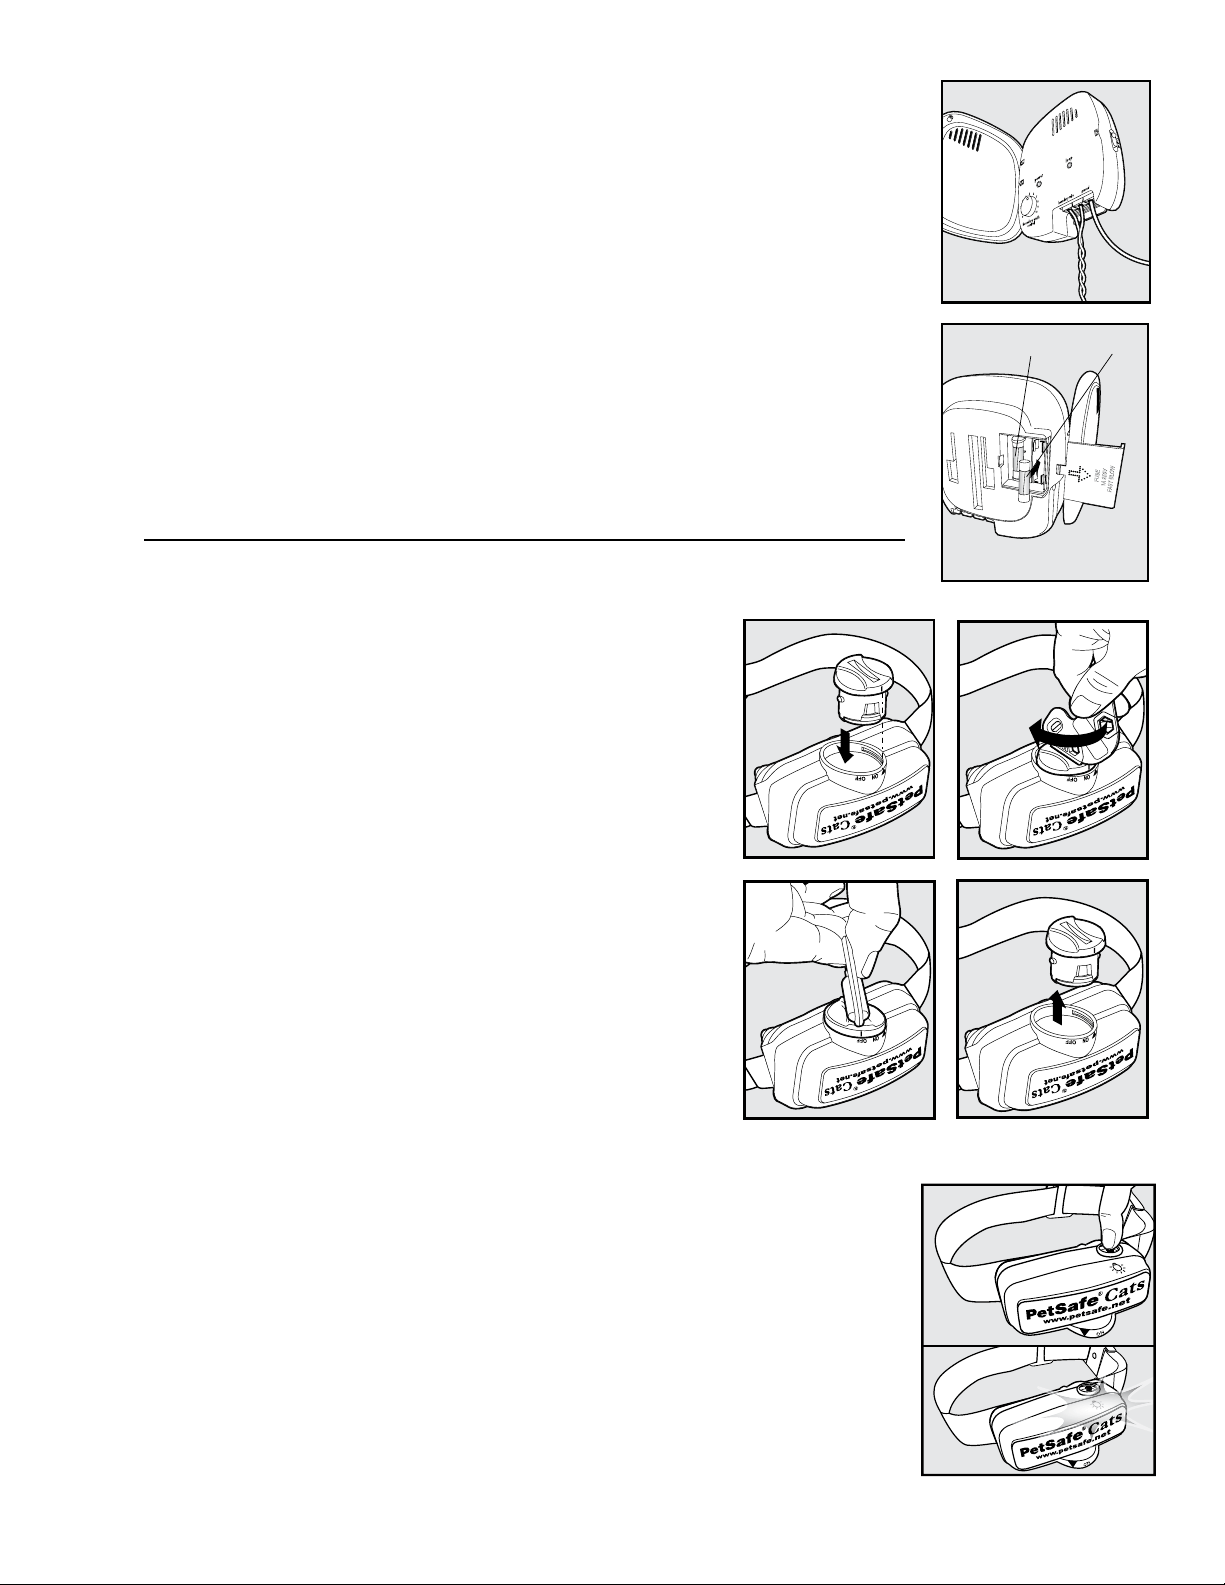
Ground Wire
(4D)
Proper grounding, although not necessary for the system to work, will help reduce the
chance of electrical surges causing damage to your Fence Transmitter and/or Power
Adapter.Togroundyourunit,youwillneedasolid(notstranded)GroundWire(14to
18gaugeinsulatedcopperwire)andagroundrodwithclamp,whichmaybeobtained
atmostelectricalsupplystores.ConnectoneendoftheGroundWiretotheGround
TerminallocatedontheFenceTransmitterandtheotherendoftheGroundWireto
the ground rod. The ground rod must be buried at least three feet into the ground and
located as close as possible to the Fence Transmitter.
Fuse Protection
(4E)
The Fence Transmitter is also equipped with a 250 volt, ½ amp fuse to protect the unit’s
electronic circuitry from electrical power surges. To locate the fuse, slide off the lid on
the back of the Fence Transmitter. A spare fuse is also provided.
Ground
Wire
4D
FuseSpare Fuse
4E
Prepare the Receiver Collar
To Insert and Remove the Battery
Note: Do not install the battery while the Receiver Collar is on your pet.
ThisReceiverCollarutilizesareplaceablePetSafe
®
battery
(RFA-188).Thisuniquebatteryisdesignedtomakebattery
replacement easier and increase water protection.
Toactivatethecollar,insertthebatterymodule(5A).Usingtheedge
of the Test Light Tool as shown, turn the battery clockwise until the
verticallineonthebatteryispointedtothe“ON”position(5B).
If the PetSafe
®
Receiver Collar is not going to be used on the cat
immediately, leave it in the “OFF” position.
To remove the battery, turn the battery counter-clockwise using
theedgeoftheTestLightToolasshown(5C, 5D).DONOT
attempt to cut into or pry open the battery. Be sure to discard the
used battery properly.
A replacement PetSafe
®
batterycanbefoundatmanyretailers.Visit
our website at www.petsafe.net for a listing of Customer Care Center
telephone numbers or for a listing of common retailers.
5A 5B
5D
5C
Two Colour LED
ThetwocolourLEDindicatorshowsgoodorlowbattery.Goodbatteryequals1ashevery60secondswithGreenLED.
Low batteryequals3ashesevery60secondswiththeRedLED.IftherearenoLEDlightsitistimetochangethebattery.
To Set the Static Correction Level
Read all steps before attempting to set the Static Correction Level.
1. With the battery installed, press the Correction Level Button and release when the
ReceiverIndicatorLightlightsred(5E).
2.TheReceiverIndicatorLightwillemitanumberofredashesrepresentingtheStatic
CorrectionLevel(5F).
3. Increase the Static Correction Level by pressing and releasing the Correction Level
Buttonwithin5secondsofthepreviousashes.
The Static Correction Levels increase from 1 to 5. Pushing the Correction Level Button
while the Receiver Collar is on level 5 will cause the Receiver Collar to revert to level 1.
Refer to the Function and Response Table to choose the Static Correction level that best
fits your pet.
5E
5F
Step
5
Loading ...
Loading ...
Loading ...