
051319-BR 1
TRIPOD LITE SERIES
Ultra-Light Dual- Purpose Tripod/Wall Hanging Projector Screen
User’s Guide
Thank you for choosing the Tripod Lite portable projection screen. In order to get the most out of this product,
please read this user guide first. It contains information on proper care and handling to maximize the Tripod Lite
projection screen’s operational lifespan.
Tripod Support Legs
Top Locking Lever
Bottom Locking
Lever
Tripod Junction
Screen Material
Support Hook
Horizontal
Counterweight Bar
Telescopic
Vertical Support
Horizontal
Counterweight Bar
051319-BR 2
Instructions for Proper Care & Use
◆ Dust, dirt and scratches on the projection surface will affect the picture quality, please take note of the points
below to prevent that from occurring:
1. Do not touch the projection surface with your hands
2. Do not write or draw on the projection surface
3. Do not use fingers or sharp objects to point on the projection surface; this will damage the screen material.
4. Use a soft-damp cloth to clean the projection surface; do not use chemical cleaning agents or alcohol.
5. Use clean water when dampening the cleaning cloth and do not rub against the material to clean it.
◆After using the screen, disassemble it and store it in the carrying bag provided.
◆To avoid product damage or physical injury, this product should be used by adults only.
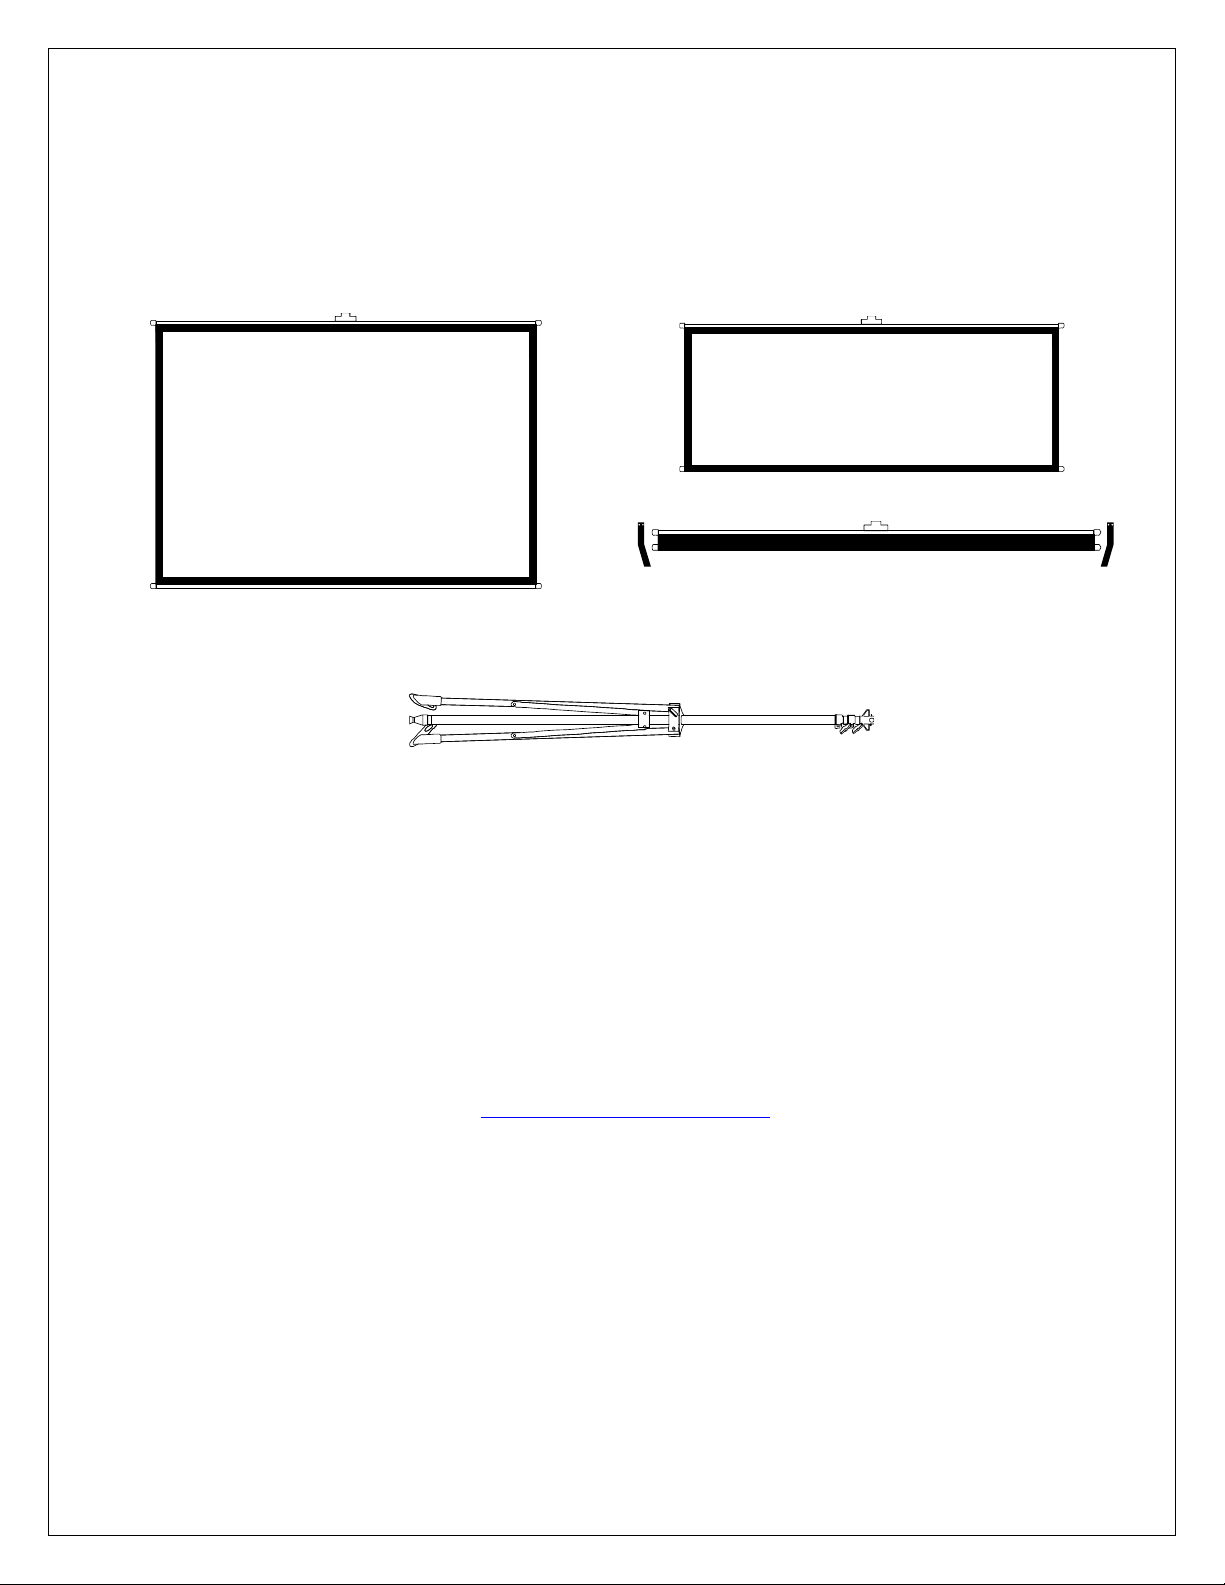
Setting up the Tripod Lite Projection Screen
A. Tripod Stand set up
1. Place the tripod stand
in an upright position with the legs slightly above the ground.
2. Open the support legs and set upon the floor. Legs will lock in place.
3. Release the locking lever and extend the telescopic vertical support to its desired height setting.
B. Attaching the Projection Screen Material
4. Unroll the screen material on a clean surface. Attach by hooking the
screen handle to the Support Hook.
5. Turn the locking levers counter-clockwise to adjust the telescopic
height setting. Turn the locking lever clockwise to lock the vertical
support at its desired height.
6. Screen is now set and ready for use.
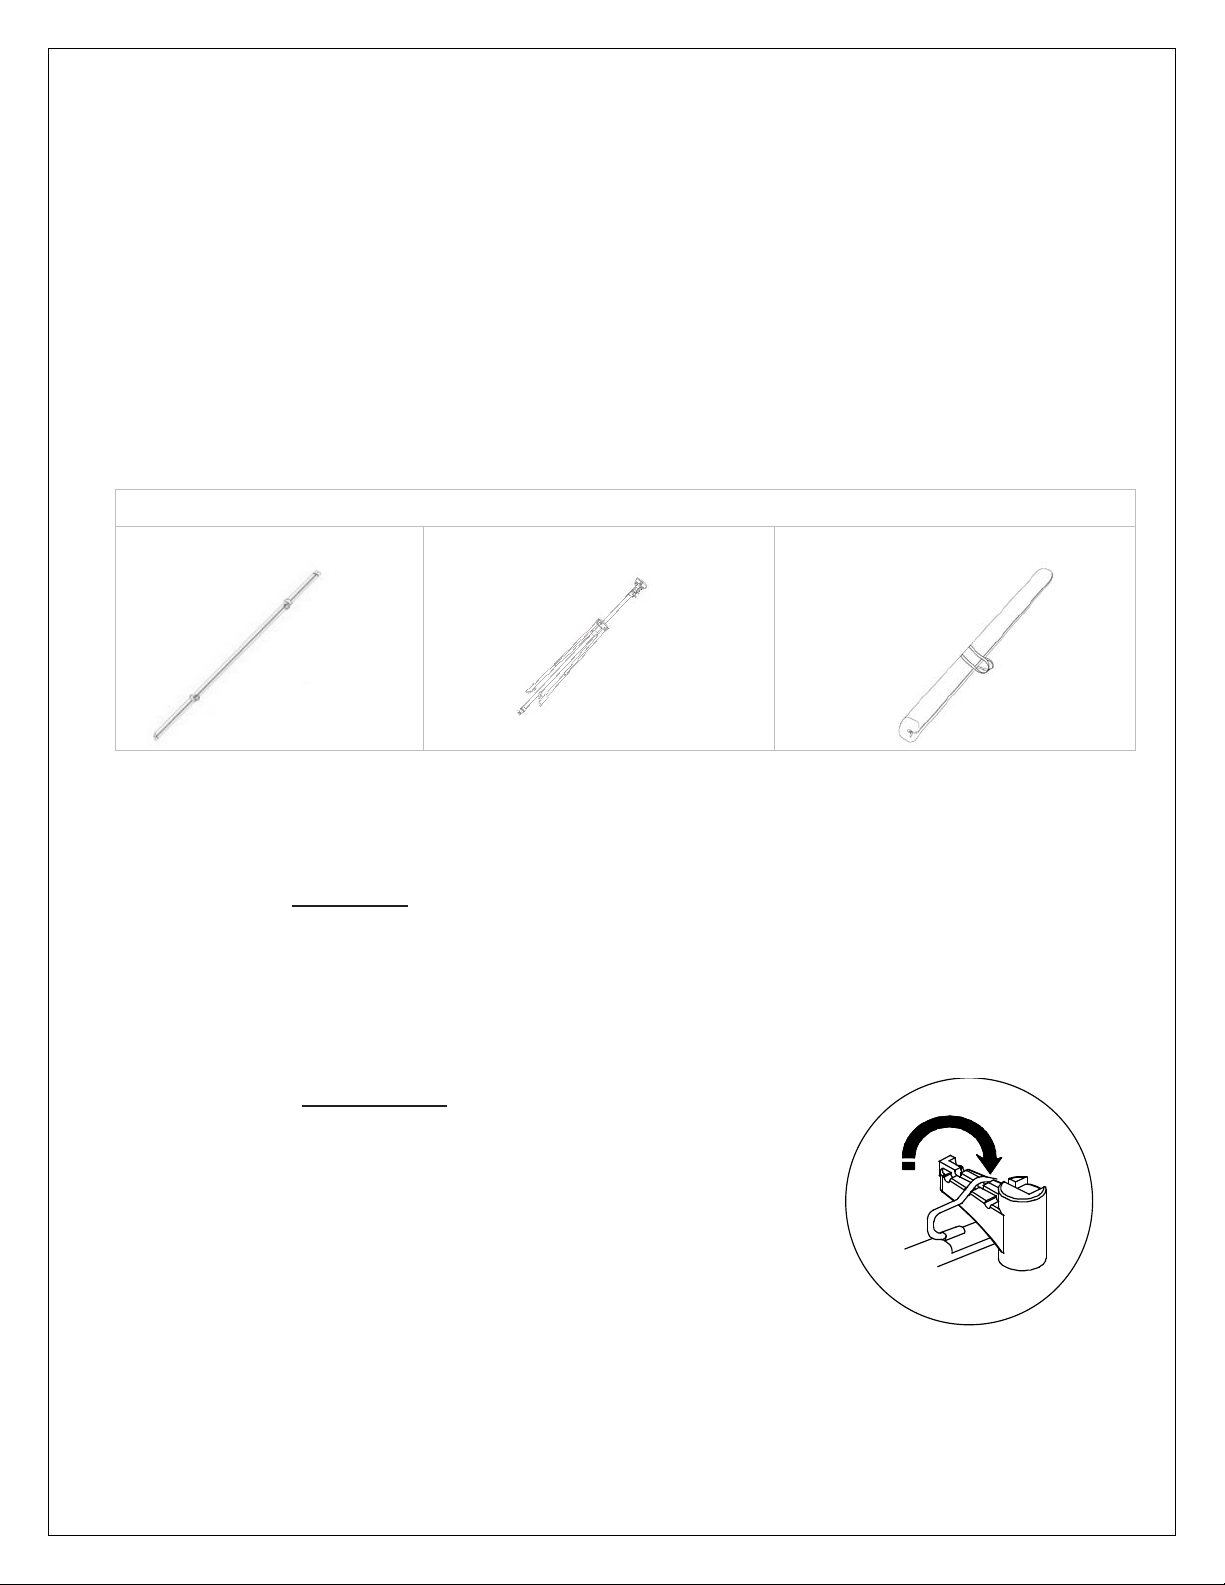
What’s included?
Screen Material (rolled)
Tripod Stand
Carrying bag
051319-BR 3
Tripod Screen Material Disassembly
1. Disconnect the projection screen from the tripod support and place it on a clean surface with the
projection side facing up.
2. Slowly roll-up the screen material until it is fully rolled as shown below.
3. Make sure to tie the material using the Velcro straps attached.
4. Next, fold the tripod legs into position to put away.
Hanging the screen material to the wall
1. Mark the location of where the screen is going to be installed.
2. Use a nail or self-tapping screw for the wall.
3. Hang the projection screen by the material handle onto the nail or screw.
For a local Elite Screens contact or Technical Support, please visit
www.elitescreens.com
