Loading ...
Loading ...
Loading ...
USEFUL FUNCTIONS
64
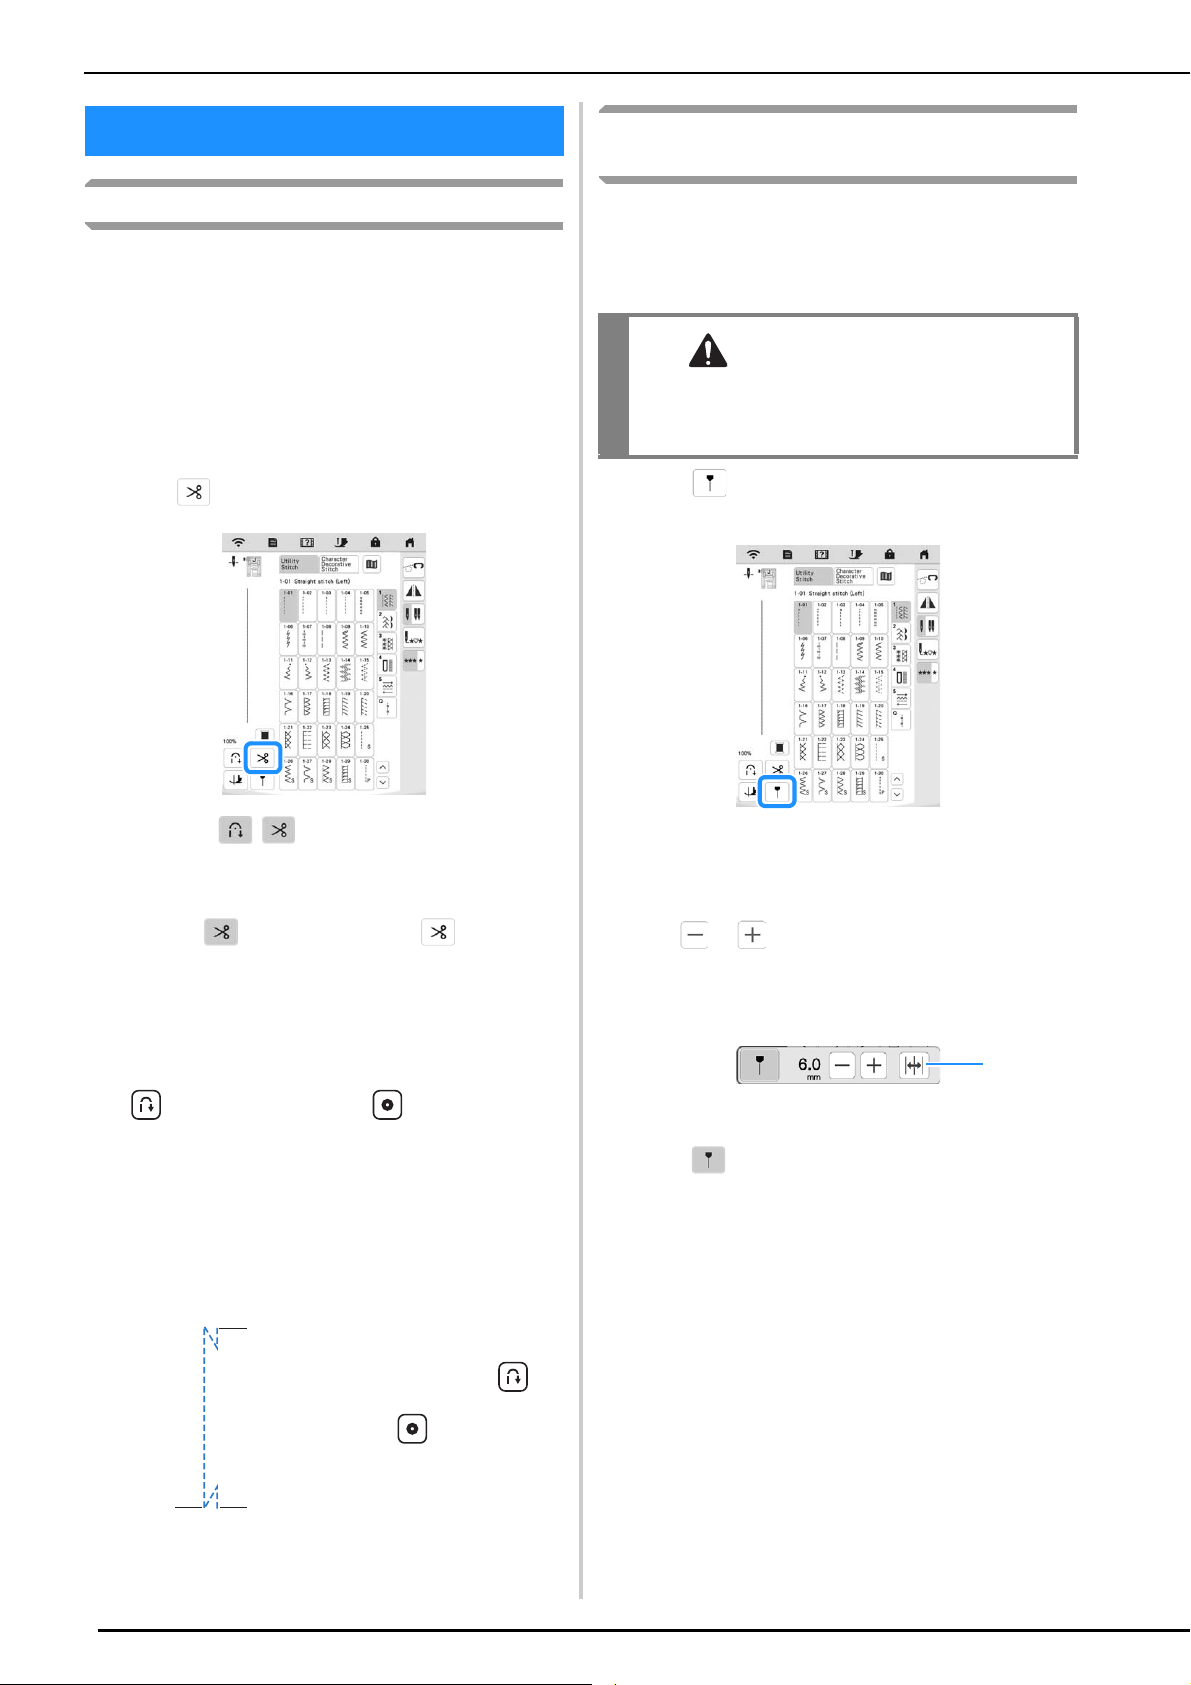
Automatic Thread Cutting
After selecting a stitch pattern, turn on the automatic
thread cutting function before sewing, and the machine
will automatically sew reinforcement stitches (or
reverse stitches, depending on the stitch pattern) at the
beginning and end of sewing, and trim the threads at
the end of sewing. This function is useful when sewing
buttonholes and bar tacks.
a
Select a stitch pattern.
b
Press to set the automatic thread cutting function.
You get
, and the machine is set for
automatic thread cutting function and automatic
reverse/reinforcement stitching.
* To turn off the automatic thread cutting function,
press again, so it appears as .
c
Set the fabric in the start position and start sewing.
The machine will automatically sew reverse stitches
(or reinforcement stitches) and then continue sewing.
d
Once you have reached the end of the stitching, press
(Reverse stitch button) or (Reinforcement
stitch button) once.
If stitching, such as buttonholes and bar tacking, that
includes reinforcement stitching has been selected, this
operation is unnecessary.
After the reverse stitching (or reinforcement stitching)
has been done, the machine stops, and the threads
are cut.
Adjusting the Needle Drop Point with the
Guideline Marker
The red guideline marker indicates the sewing position
on the fabric. You can adjust the sewing position by
moving the guideline marker while checking the
guideline marker on the fabric.
a
Press to display the guideline marker.
The guideline marker scale appears.
* Depending on the setting of “Initial Position” in the
settings screen, the initial needle drop point is
scaled as either 0.0 mm or 3.5 mm.
b
Use or to move the needle drop point.
Adjust the position from 15.5 mm (5/8 inch) to the
right of the left needle to -3.5 mm (-1/8 inch) to the
left of the left needle.
1 Press to flip the guideline marker position on the center
needle position.
c
Press again to stop using the guideline marker.
USEFUL FUNCTIONS
1 The point where the
“Start/Stop” button was
pressed.
2 The point where
(Reverse stitch button)
or (Reinforcement
stitch button) was
pressed.
3 The thread is cut here.
32
1
CAUTION
• The guideline marker is a laser; therefore, do
not stare at the laser light directly. Otherwise
it may cause blindness.
1
Loading ...
Loading ...
Loading ...