Loading ...
Loading ...
Loading ...

Displaying Watermark Images
Import the SDP file in which the watermark image
has been preconfigured to the camera recorder in
advance.
The watermark setting menu will be displayed in
the [Overlay Settings] menu screen only when the
SDP file for broadcast is selected in [Overlay
Settings] B [Layout].
1
Set [Overlay Settings]
B [Watermark] to
“On”.
2
Select [Overlay Settings]
B [Position].
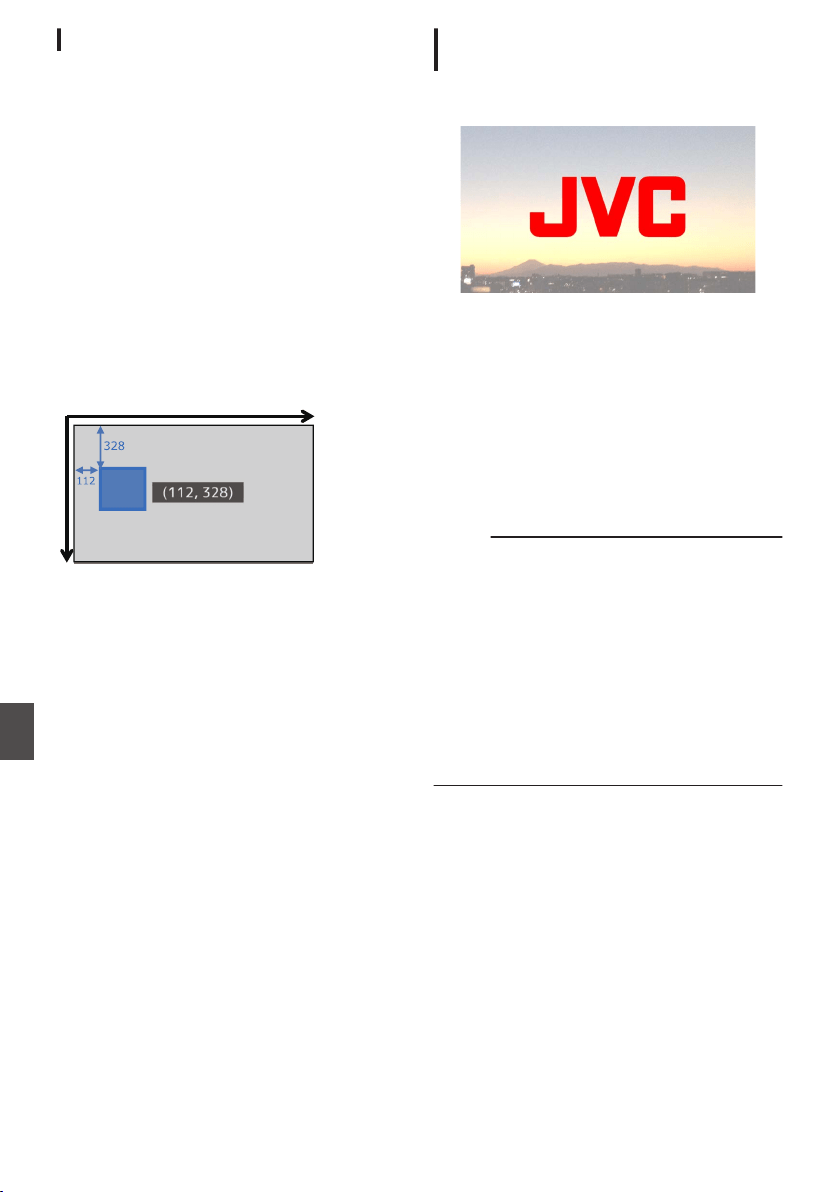
The watermark position setting screen appears.
0
The position is moved 2 steps at a time.
0
The displayed coordinates shows the
position at the top left of the watermark
image.
3
Use the cursor to move the watermark and
press the Set (
R) button
.
Horizontal
Direction
Vertical Direction
Displaying Images on the Whole Screen
(Full Screen Graphic Function)
Announcement and advertising images can be
displayed across the whole screen.
.
Importing Images for Display to the Camera
1
Prepare the image for display.
JPEG (extension .jpg) and PNG
(extension .png) formats are supported.
2
Copy the image file to the root directory of
the SD card.
0
Use
an SD card of a recordable specification
in the current camera recording settings.
0
Up to 50 image files can be displayed.
0
The order of display by file name can be
specified.
Memo :
0
Add a two-digit number of 01 to 50 at the start of
the file name. Files will be displayed in the order
starting from those having the smallest number
in the file name.
Example: When 01flower.png, 02car.jpg,
13red.png are imported, they are displayed in
the order of 01flower.png B 02car.jpg B
13red.png.
0
Only alphanumeric characters and underscore
(_) can be used for the third character onwards
in the file name.
0
Enter not more than 31 characters for the file
name.
3
Select [Overlay Settings]
B [Full Screen
Graphic].
4
Insert the SD card where the image files are
copied into the SD card slot A or B of the
camera, and select [Import Graphic
W] or
[Import Graphic
Y] to import.
0
Once import is performed, all images
previously imported will be deleted.
0
To delete the imported image files, select
[Overlay Settings] B [Full Screen Graphic] B
[Delete Graphic].
216
Broadcast Overlay A L
Overlay
A
L
Loading ...
Loading ...
Loading ...
