
Loading ...
Loading ...
Loading ...
Trimming Recorded Clips
It is possible to crop (trim) the necessary parts of a
clip that is recorded to the recording media.
The trimmed clip is saved as a separate file to the
recording media and the original clip remains
intact.
1
Switch to Media mode.
Switch the mode using the [MODE] selection
button on the side operation panel.
2
Move the cursor to the clip to be trimmed.
Move the cursor to the clip to be trimmed using
the cross-shaped button (JKH I).
.
2
3
Press the [ONLINE/3] button.
The action selection screen is displayed.
4
Select [Trim This Clip], and press the Set
button (
R).
Playback of the selected clip starts.
.
Jan 24,2019
3840x2160
30p 140M
282min
12 :34 :56
00: 00:00.00
1000/2000
0
4030 20 10 0
30min
11:22:33.00
11:23:44.00
00: 08:22
TRIM
OUT
IN
Trim This Clip
Delete Clips...
FTP Upload...
Delete OK Mark...
Add OK Mark...
Deselect All
Select Range
A
B
C
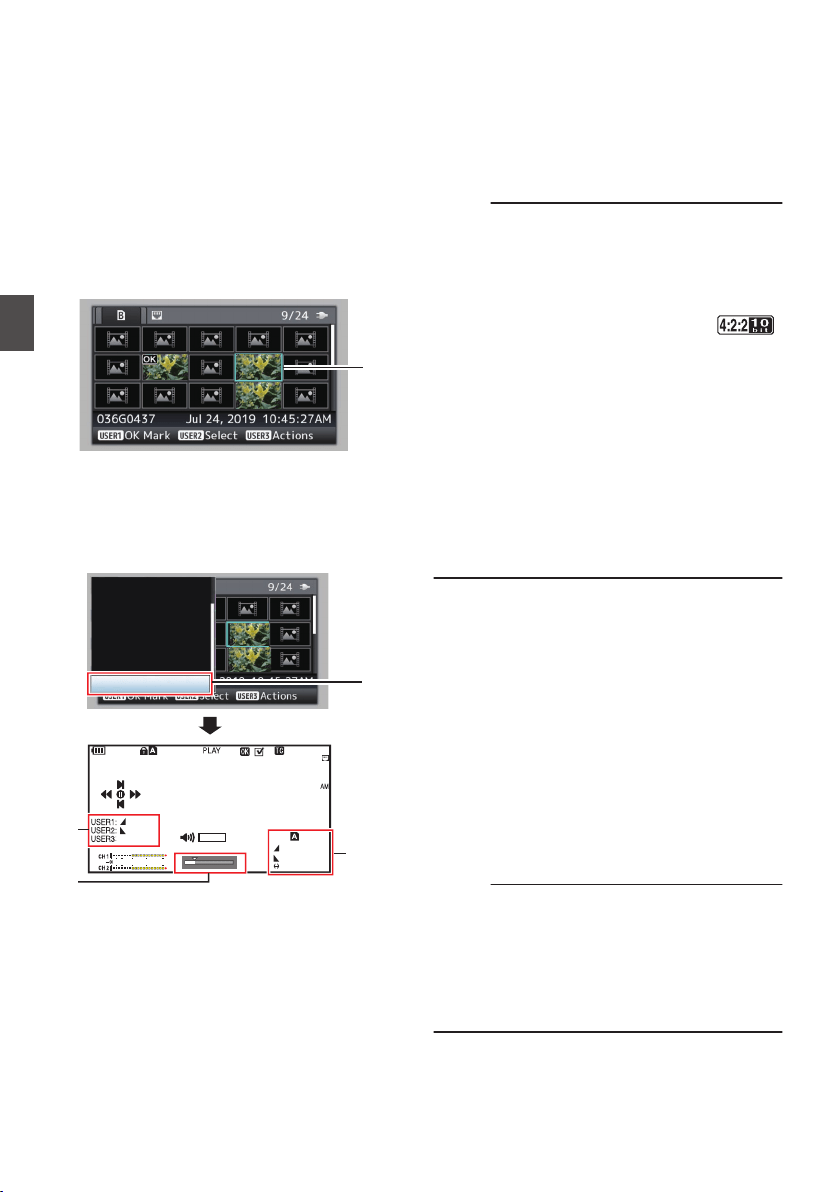
4
A
Guide
Operation guide
B
Position bar
6
: Current position of the video
7
: Position to start trimming (in point)
8
: Position to end trimming (out point)
C
Trimming information
W or Y : Indicates the available space in
the storage media (W or Y)
7
: Indicates the time code of the in
point
8
: Indicates the time code of the out
point
9
: Indicates the duration from the in
point to the out point
Memo :
0
The
trimmed
clip will be saved to the same card
slot as that of the original clip.
0
[Duration] appears in yellow if the duration is 10
minutes or longer. Trimming cannot be
performed in this case.
0
When [System] B [Record Set] B [Record
Format] B [WFrame Rate] is set to “
70M (XHQ)”, [Duration] appears in yellow if the
duration is 6 minutes or longer. Trimming
cannot be performed in this case.
0
When [System] B [Record Set] B [Record
Format] B [System] is configured to “4K EXT
(SSD)” or “4K”, [Duration] appears in yellow if
it is 3 minutes or longer. Trimming cannot be
performed in this case.
0
[Duration
] appears in yellow if the duration is
longer than the recordable time on the storage
media. Trimming cannot be performed in this
case.
0
When trimming starts, the display switches to
the Media Display screen.
5
Specify the in point.
0
Operate
buttons such as H/I or J/K to move
the video to the in point.
(A P100 [Playing back] )
0
Specify the in point by pressing the [FOCUS
ASSIST/1] button at the point you want to
start trimming.
6
Specify the out point.
0
Operate buttons such as H/I or J/K to move
the video to the out point.
(A P100 [Playing back] )
0
Specify the out point by pressing the [OIS/2]
button at the point you want to end trimming.
7
Perform trimming.
Press the [ONLINE/3] button to perform
trimming.
Memo :
0
While trimming is in progress, you can press the
[CANCEL] button to return to the thumbnail
screen.
0
When trimming the in and out point, the in point
trimmed may be up to one second before the
specified in point and the out point trimmed may
be up to one second behind the specified out
point.
106
Trimming Recorded Clips
Playback
Loading ...
Loading ...
Loading ...