Loading ...
Loading ...
Loading ...

7
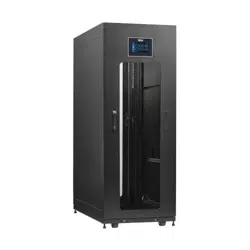
Enclosure Installation
1
2
Placement
Use the casters to move the enclosure for a short distance over a level,
smooth, stable surface by pushing it from the front or rear (not the side
panels). Do not attempt to roll the enclosure over long distances. The
enclosure should be moved close to its installation location inside its
shipping container before it is unpacked. (Use a forklift or pallet jack
to move the shipping container.) WARNING: Do not push or pull the
enclosure at the side panels or pull the enclosure toward you.
If required, the enclosure can be lifted by attaching 4 user-supplied M8
diameter eye bolts to the threaded holes near the upper corners of the
enclosure frame. Use steel bolts with an ISO strength rating of 8.8 or
higher. The 4 bolts can support the weight of the enclosure and up to
1000 lb. (450 kg) of installed equipment. WARNING: Only experienced
equipment operators should attempt to lift the enclosure. Use
appropriate equipment and follow all applicable safety procedures
and regulations.
Leveling
WARNING: Level the enclosure before attempting to install equipment. The casters are not designed to provide
long-term support for the enclosure. Use the levelers to provide long-term support. Install the enclosure in a
structurally sound area with a level oor that is able to bear the weight of the enclosure, all equipment that will be
installed in the enclosure and any other enclosures and/or equipment that will be installed nearby.
1
After the enclosure has been moved to the installation location, use
a carpenter’s level to check the slope of the oor. If the oor slopes
more than 1%, choose an alternate installation site.
2
Use an 18 mm open-end wrench to lower each leveler
A
until it
reaches the oor. (There are 4 levelers, 2 at the front and 2 at the
rear.) Make sure each leveler contacts the oor solidly.
Note: Lower a leveler by turning it clockwise; raise a leveler by turning it
counter-clockwise.
FLOOR
A
Loading ...
Loading ...
Loading ...