Loading ...
Loading ...
Loading ...

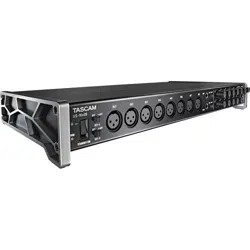
TASCAM US-16x08
7
Installing the dedicated software
To use this unit with a Windows computer, you must install a
driver and Settings Panel software. With a Mac, you do not have
to install a driver, but you do need to install the Settings Panel
software to use the DSP mixer function.
Download the latest dedicated software for the operating
system you are using from the TEAC Global Site (http://
teac-global.com/).
i With a Windows computer, when you install the driver, the
Settings Panel software will also be installed at the same
time.
i With a Mac, just install the Settings Panel software. The
standard OS driver will be used, so there is no need to install
a dedicated driver.
i With an iOS device, there is no need to install dedicated
software.
CAUTION
Restarting the computer might be necessary after
installation or uninstallation completes. Save your data and
conduct other necessary steps in other applications before
quitting them.
Installing the driver and Settings Panel for
Windows
CAUTION
•
Complete the installation of the driver on the computer
before connecting the unit to it with the USB cable.
•
If you already connected the unit to the computer using
the USB cable, and the “Found New Hardware Wizard” is
already running on the computer, close the Wizard and
disconnect the USB cable.
1. Download the latest driver for the operating system you are
using from the TEAC Global Site (http://teac-global.com/)
and save it on the computer to be used with the unit.
2. Uncompress the saved driver (zip file) on the computer
desktop or another location.
3. Double-click the “US-16x08_Installer.exe” file in the folder
that appears after uncompression to automatically launch
the installation software.
4. When a “Security Warning” or “User Account Control” screens
appear, click the “Run” or “Yes” button.
5. Next, select the language and click the “OK” button.
6. When the “Setup Wizard” screen appears, click the “Next”
button.
7. Read the contents of the License Agreement, and select
“Iaccept the agreement” if you agree to the terms. Then,
click the “Next” button.
8. Next, click the “Install” button.
9. When the “Installation Wizard” screen appears, click the
“Next” button.
10. Next, click the “Install” button to start installation.
Loading ...
Loading ...
Loading ...
