Loading ...
Loading ...
Loading ...
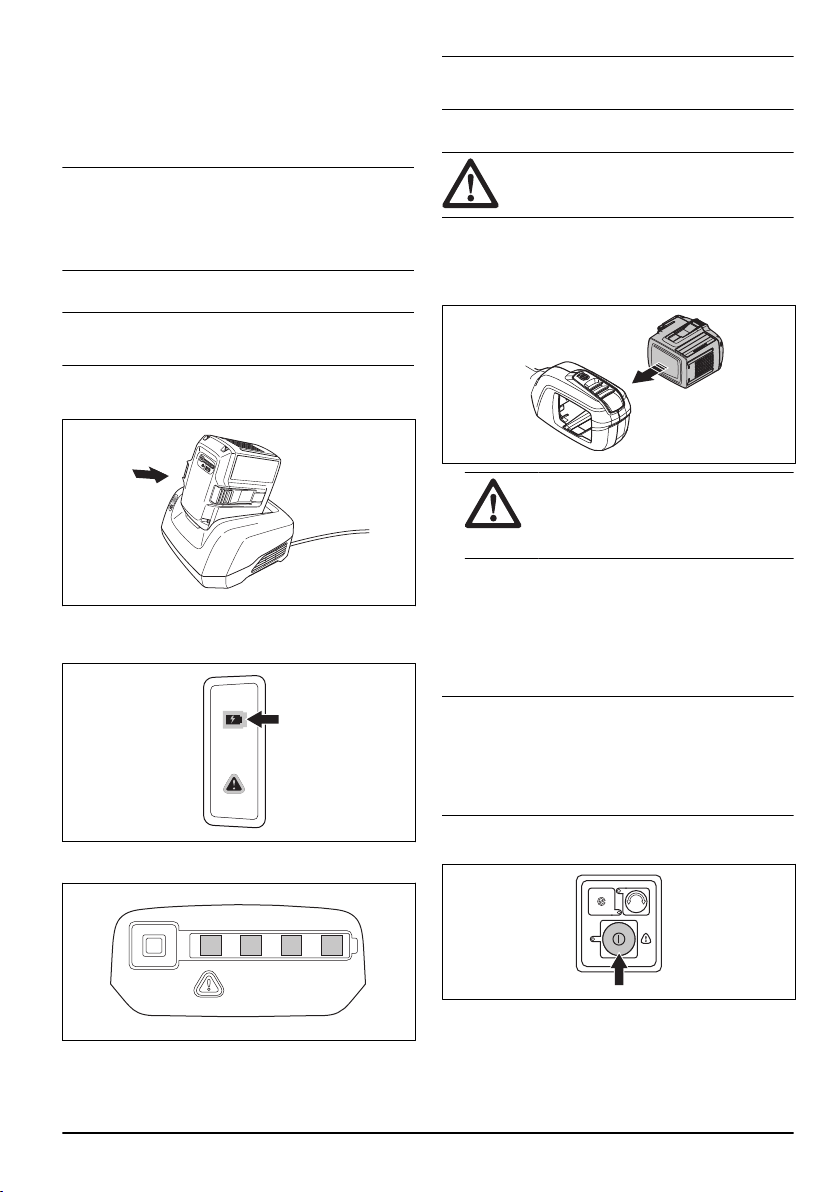
To connect the battery charger
1. Connect the battery charger to the voltage and
frequency that is specified on the rating plate.
2. Put the plug in a grounded socket outlet. The LED
on the battery charger flashes green one time.
Note: The battery does not charge if the battery
temperature is more than 50 °C/122 °F. If the
temperature is more than 50 °C/122 °F, the battery
charger makes the battery become cool before the
battery charges.
To charge the battery
Note: Charge the battery if it is the first time that you
use it. A new battery is only 30% charged.
1. Make sure that the battery is dry.
2. Put the battery in the battery charger.
3. Make sure that the green charging light on the
battery charger comes on. That means that the
battery is connected correctly to the battery charger.
4. When all LEDs on the battery come on, the battery is
fully charged.
5. To disconnect the battery charger from the mains
socket, pull the plug. Do not pull the cable.
6. Remove the battery from the battery charger.
Note:
Refer to the battery and battery charger
manuals for more information.
To connect the battery to the product
WARNING: Only use Husqvarna
original batteries with the product.
1. Make sure that the battery is fully charged.
2. Push the battery into the battery holder of the
product. The battery locks into position when you
hear a click.
CAUTION: If the battery does not
move easily into the battery holder, the
battery is not installed correctly. This can
cause damage to the product.
3. Make sure that the battery is installed correctly.
Battery information
Refer to the operator's manual of the battery for
information about how to use the battery.
To start the product
Note:
The product identifies the cutting attachment
when the cutting attachment is changed, is started and
the throttle is pressed. The product stops and the LED
flashes until the throttle is released and moves back to
its initial position. The cutting attachment is at this time
identified and prepared for operation.
1. Press and hold the start button until the green LED is
lit.
2. Use the power trigger to control the speed.
757 - 007 - 09.11.2022
23
Loading ...
Loading ...
Loading ...