
Loading ...
Loading ...
Loading ...
Sanding Metals ........
When sandlng me_als,_sparks or hot fragments could 2. Remove all traces of wood dust from inside the unit
cause:a fire::!To av0id this: : :_: : before sanding metals.
:::li_Disconnect any_:duStColtectinghosefromthe sandeil &Remove all traces of metal dust from inside the unit
before sanding wood again.
Precautions To Take When Sanding Paint .... •........
Sanding of lead based paint is not recommended. It is
difficult to controlthe contaminated dust that Could cause
lead poisoning.
It is also difficult to identify whether or not a paint con-
tains tead_Therefore, we recommend the following pre-
cautions when sanding all paints:
1. Protect your lungs, Wear a dust mask or respirator at
all times. Wear 0niy dust masks that are Suitable for
w0rking:in lead paint sanding environments. Ordinary
painting masks do not offer this protection.
2. Do notallow children or pregnantwomen to enterthe work
area until paint sanding jobis complete and work area is
clean.
3. To prevent ingesting contaminated paint particles: Do
not eaL drink, or smoke in a work area where paint is
4,
,
being sanded. After sanding paint, wash and clean up
before eating, drinking or smoking. Do not leave food,
drinks, or tobacco products in the work area where
dust car settle on them.
Protect the environment when sanding paint. Use a
dust collection system if possible. Seal the work area
with plastic if necessary. Do not track paint dust out-
side the work area.
Thoroughly clean the work area upon completion of
paint sanding project. If project lasts for an extended
period of time, clean work area often. Items such as
sanding dust, vacuum filter bags, plastic drop cloths, etc.
should be placed in a sealed container and disposed of
properly. Clean all items exposed to sanding dust.
Basic Sanding Operation
Sanding Sleeve Selection
Selecting the correct size diameter, correct size grit, and
correct type sanding sleeve is an extremely important
step in achieving a high quality sand_ed finish. Aluminum
oxide, silicon carbide, and other synth etic abrasives are
best for power sanding. Natural abrasives, such as flint
and garnet, are too soft for economical use in power
sanding.
In general, coarse grit will:remove the most material and
finer grit will produce the best finish in all sanding operat
lions. The condition of the surface to be sanded will
determine which grit will do the job. If the surface is
rough, start with a coarse grit and sand until the surfaCe
is uniform. Medium grit may then be used to remove
scratches left by the coarser grit and finer grit used for
finishing of the surface, Always continue sanding with
each grit until surface is uniform.
NOTE: Do Not use sander without a sanding sleeve.
Doing so willdamage the rubber drum.
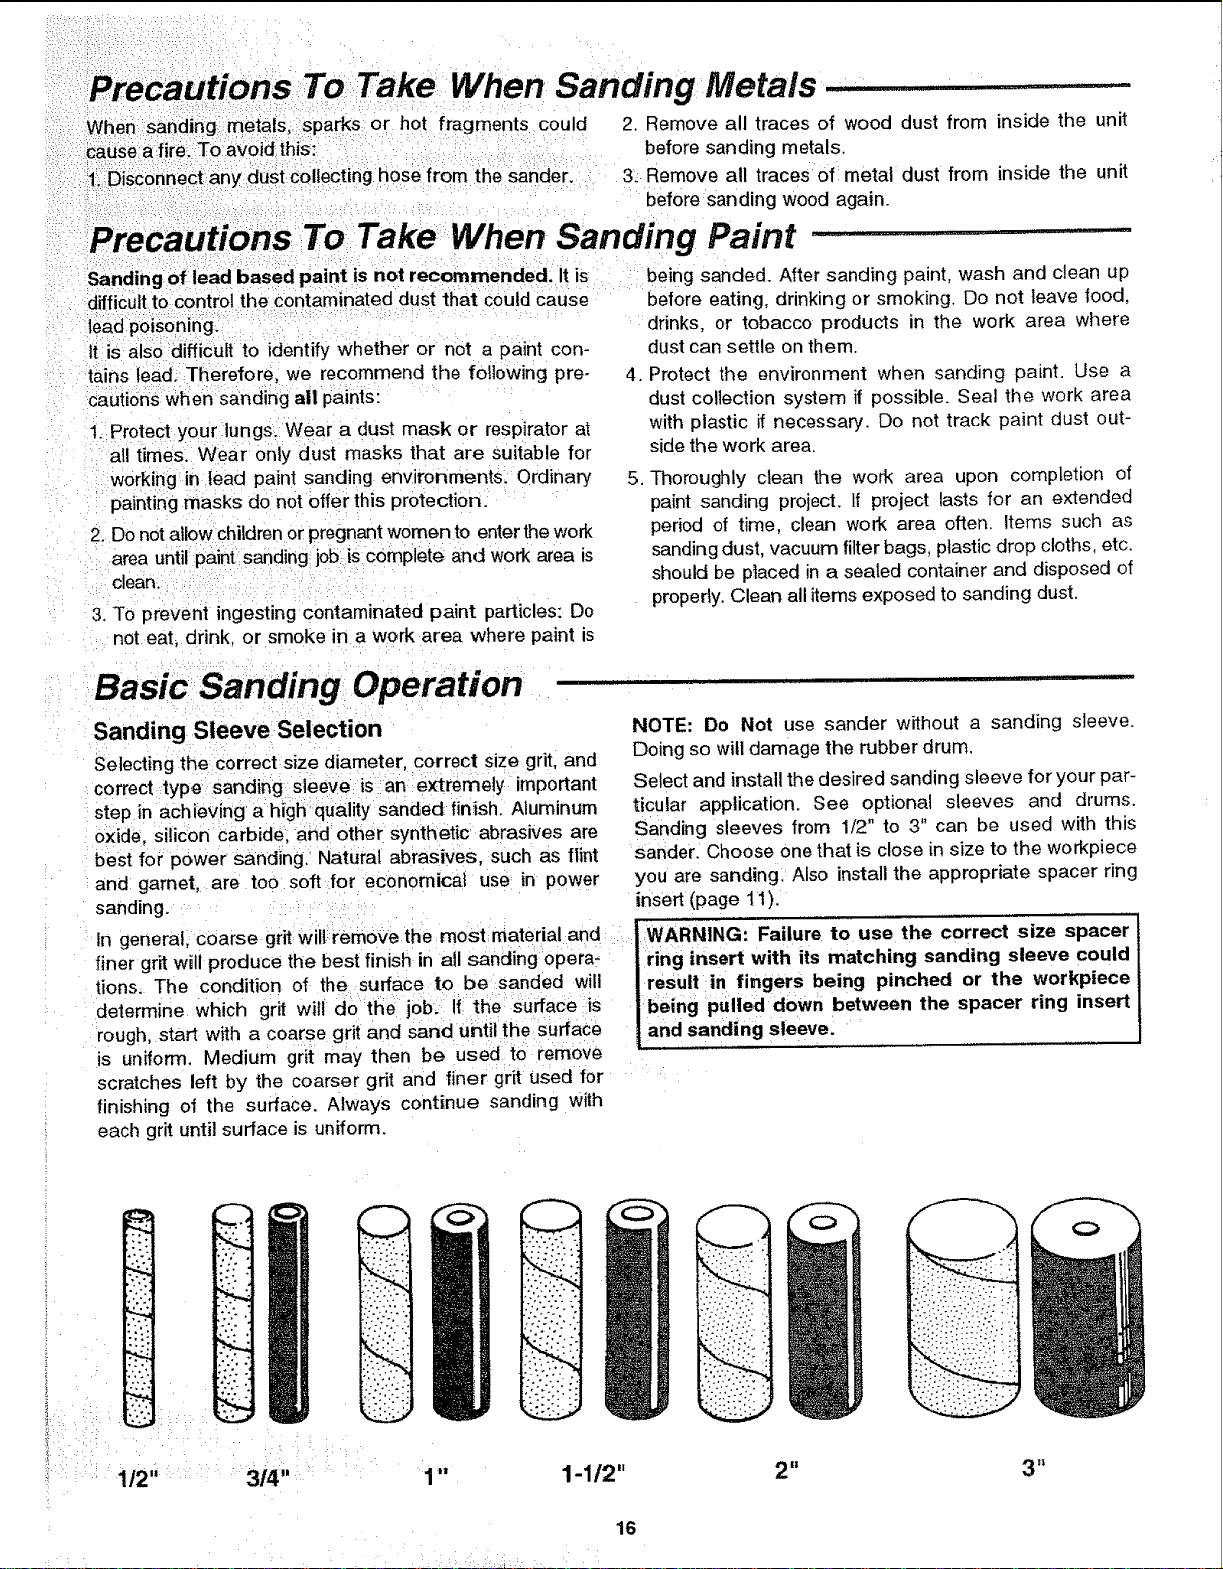
Select and install the desired sanding sleeve for your par-
ticular application. See optional sleeves and drums.
Sanding sleeves from 1/2" to 3" can be used with this
sander. Choose one that is close in size to the workpiece
you are sanding. Also install the appropriate spacer ring
insert (page 11).
WARNING: Failure to use the correct size spacer
ring insert with its matching sanding sleeve could
result in fingers being pinched or the workpiece
being pulled down between the spacer ring insert
and sanding sleeve.
o
1" 1-1/2" 2" 3"
16
Loading ...
Loading ...
Loading ...