Loading ...
Loading ...
Loading ...
10
1. Cobra Gas Griddle Toasters have been
designed to provide simplicity of operation and
100% safety protection.
2. Improper operation is therefore almost
impossible, however bad operation practices
can reduce the life of the appliance and
produce a poor quality product. To use this gas
griddle toaster correctly please read the
following sections carefully before use.
Lighting the Pilot Burners.
Using the Griddle.
Using the Toaster.
1. Depress the gas control knob and rotate anti-
clockwise to the ‘PILOT’ position.
2. Whilst holding the control knob depressed, press
the piezo ignition button adjacent to the gas
control knob, until the pilot burner ignites. Pilot
ignition can be viewed through openings in the
control panel.
3. Hold in the gas control knob for approximately
10 seconds, then release. The pilot burner should
remain alight. If not repeat Items 1 to 3.
4. Repeat Items 1 to 3 to light the second pilot
burner.
5. ‘FULL’ flame can now be achieved by rotating
the gas control knob anti-clockwise to the first
stop.
6. ‘LOW’ flame can be achieved by depressing
and rotating the gas control knob fully anti-
clockwise.
1. Light the pilot burners as shown above.
2. Turn the gas controls to the ‘FULL’ flame position.
If starting from a cold start, allow the griddle
plate to preheat for 10 minutes before using.
3. Place the product to be cooked onto the
griddle plate.
4. For intermediate heat, position the gas control
knob between the ‘HIGH’ and ‘LOW’ positions to
achieve the desired heat.
5. During idle periods, the burners can be turned
down to maintain an appropriate griddle plate
temperature or the gas controls can be set to
the ‘PILOT’ position as required.
1. Light the pilot burners as shown above.
2. If starting from cold, set the burners to the ‘FULL’
flame position and allow 5 minutes preheat
before commencing toasting.
3. Adjust the rack position to the
desired height.
4. Place the product on the rack
to toast.
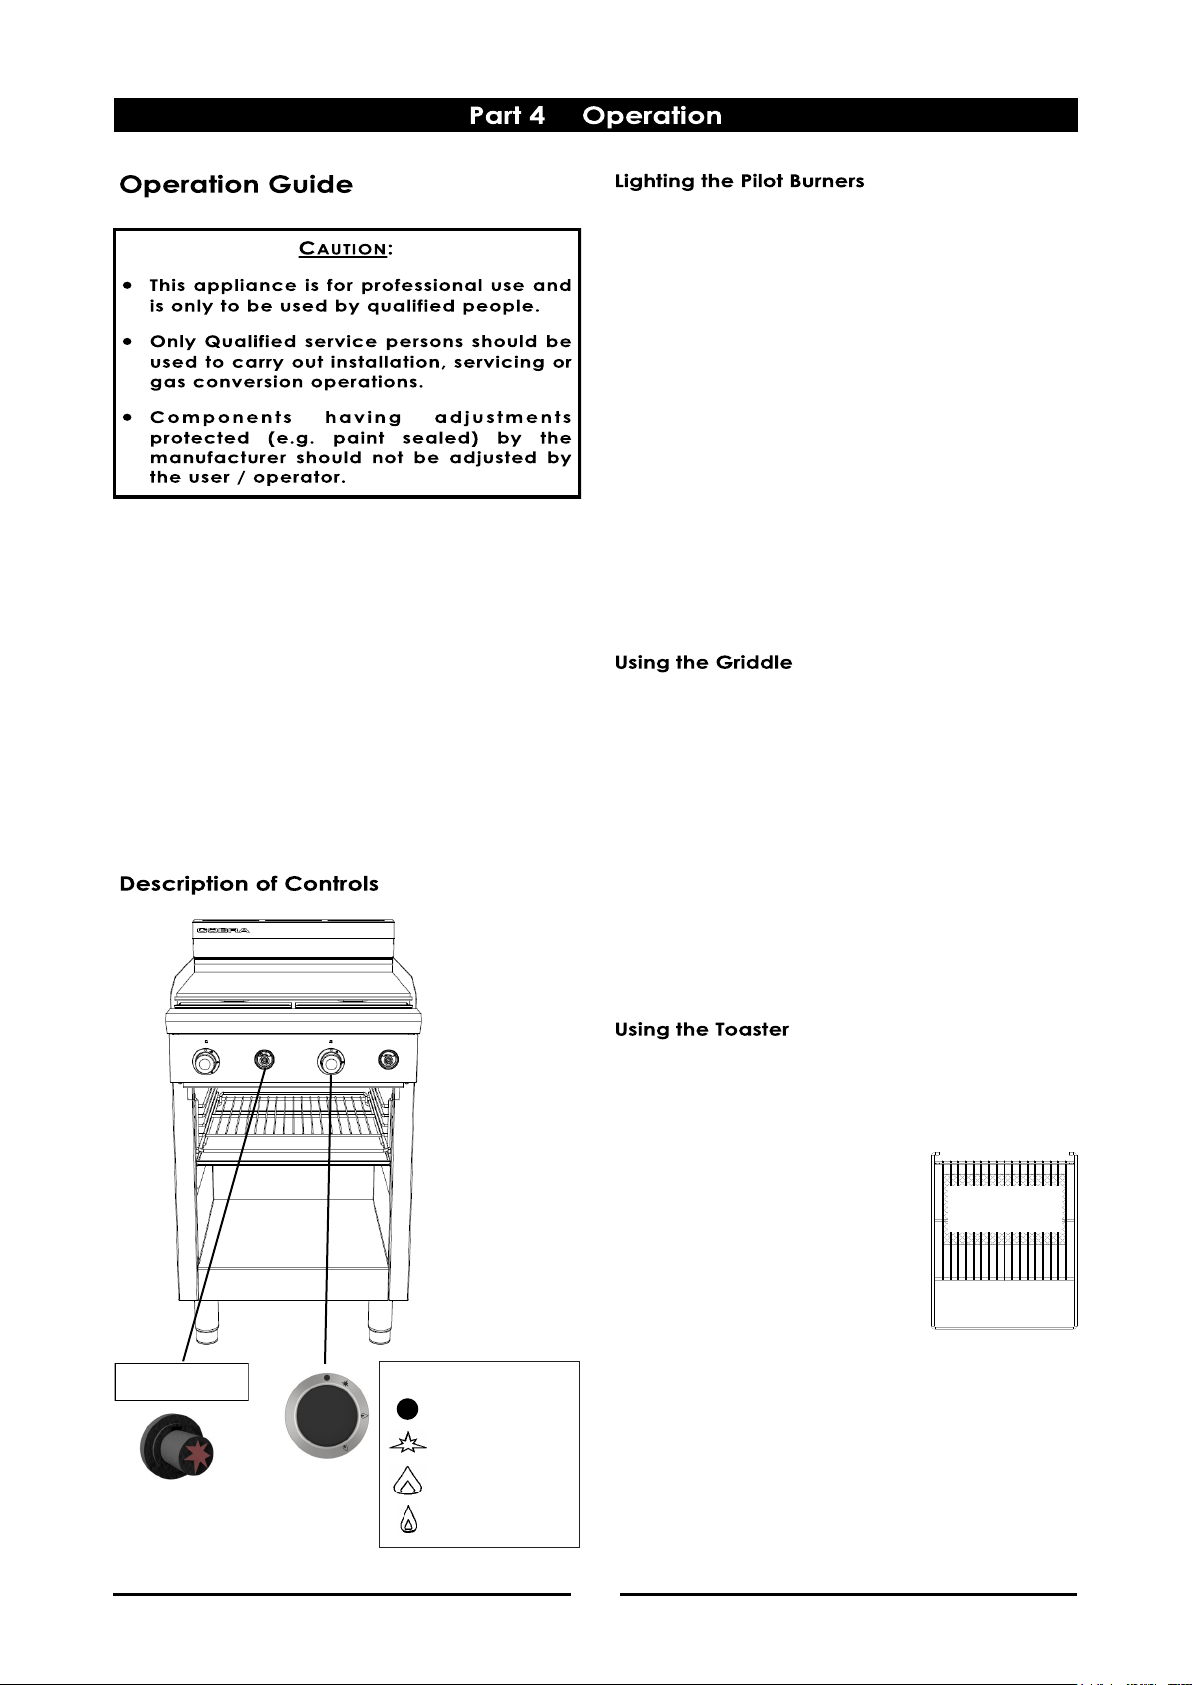
5. Best toasting results are
achieved using the shaded
area shown on the diagram
opposite.
6. With the main burners alight, the individually
controlled burners can be operated to suit food
quantity requirements.
7. Each burner is operated by an ‘OFF’ / ‘PILOT’ /
‘HIGH’ / ‘LOW’ gas control. The ‘HIGH’ position is
recommended for most grilling, cheese melting
functions and the ‘LOW’ position for a reduced
heat setting.
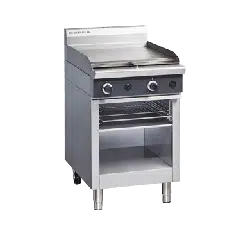
Piezo Igniter
Gas Control Knob
OFF Position.
Pilot Burner.
HIGH Flame.
LOW Flame.
Optimum
Toasting Area
Loading ...
Loading ...
Loading ...