Loading ...
Loading ...
Loading ...
Configuring Picture Options
Activating Picture Options
t, Press the MENU button to display the menu.
Press the ENTER _ button to select "Picture".
2. Press the • or • button to select "Picture Options", then press the ENTER
button.
:_ Press the • or • button to select a particular item. Press the ENTER
button.
>- When you are satisfied with your setting, press the ENTER _ button.
>- In PC mode, you can only make changes to the "Color Tone" and "Size" from
among the items in "Picture Options".
Setting the Color Tone
t, Follow the "Activating Picture Options" instructions numbers 1 and 2.
2. Press the • or • button to select "Color Tone", then press the ENTER
button.
3.
Press the • or • button to select "Cool2", "Cooll ", "Normal", "Warm1" or
"Warm2". Press the ENTER _ button.
>- "Warm1" or "Warm2" is only activated when the picture mode is "Movie".
>- Settings can be adjusted and stored for each external device you have
connected to an input of the TV.
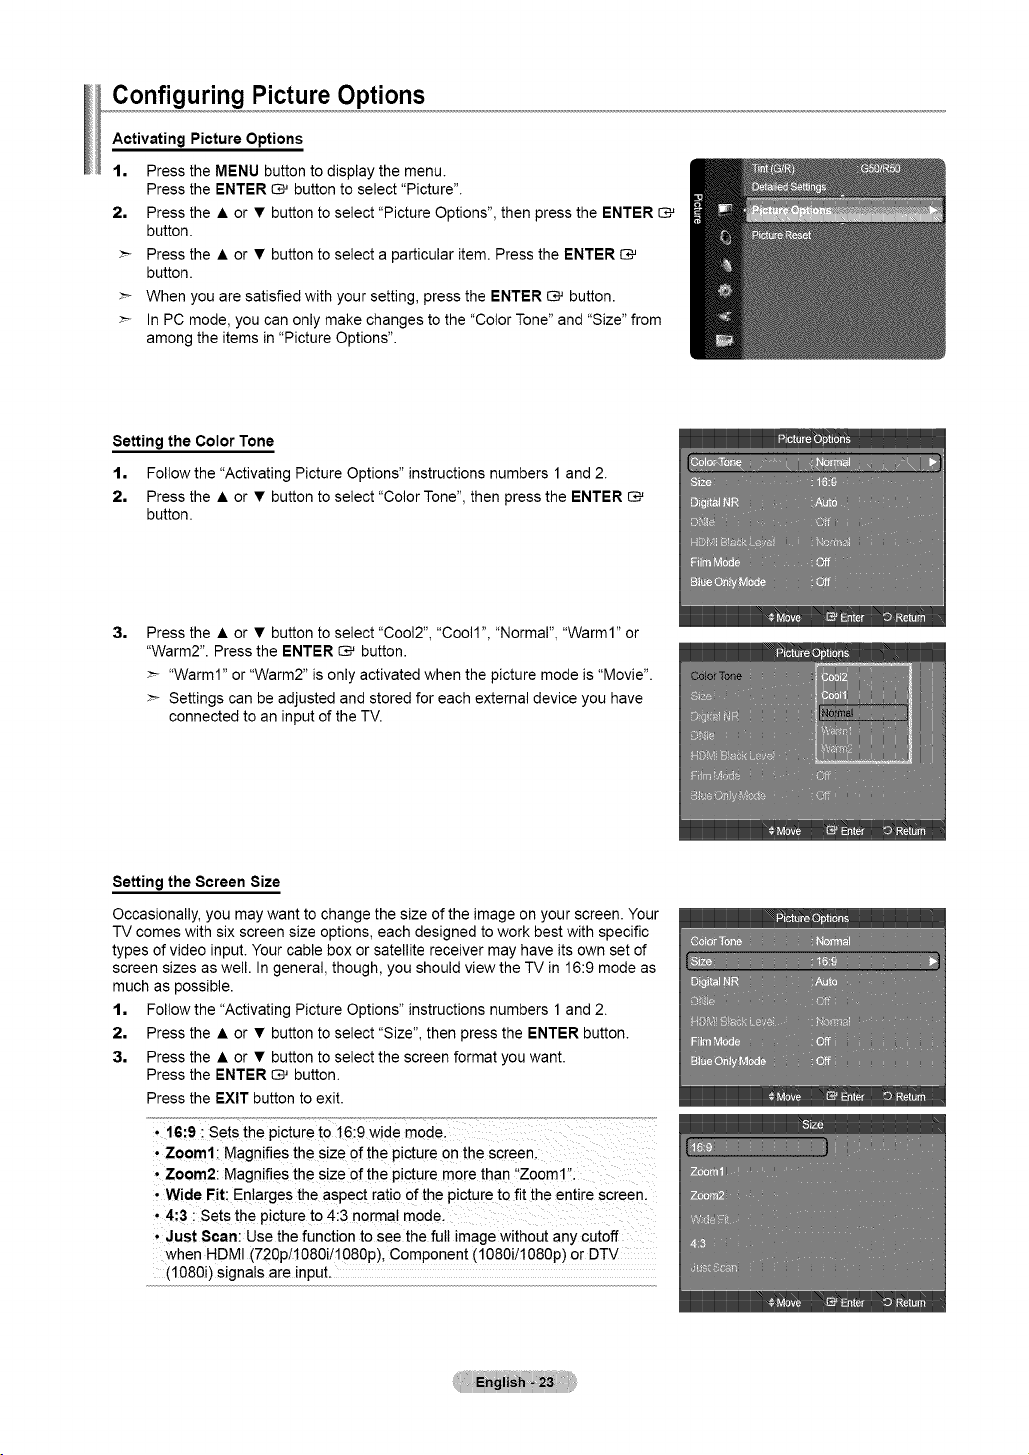
Setting the Screen Size
Occasionally, you may want to change the size of the image on your screen. Your
TV comes with six screen size options, each designed to work best with specific
types of video input. Your cable box or satellite receiver may have itsown set of
screen sizes as well. In general, though, you should view the TV in 16:9 mode as
much as possible.
t, Follow the "Activating Picture Options" instructions numbers 1 and 2.
2. Press the • or • button to select "Size", then press the ENTER button.
3, Press the • or • button to select the screen format you want.
Press the ENTER _ button.
Press the EXIT button to exit.
• 16:9 : Sets the picture to 16:9 wide mode.
• Zoom1: Magnifies the size of the picture on the screen.
• Zoom2: Magnifies the size of the picture more than "Zoom1 '.
• Wide Fit: Enlarges the aspect ratio of the picture to fit the entire screen.
• 4:3 : Sets the picture to 4:3 normal mode.
• Just Scan: Use the function to see the full image without any cutoff
when HDMI (720p/1080i/1080p), Component (108Oi/1O8Op) or DTV
(1080i) signals are input.
Loading ...
Loading ...
Loading ...