Loading ...
Loading ...
Loading ...
Operation 9
Notice
The capacity of the built-in battery
diminishes with time. If the projector
functions only with external power
supply, the built-in battery is defective.
Contact an authorised service centre to
replace the built-in battery.
Power on and setup
1 Press and hold on the projector for
3 seconds to switch the projector on or off.
• When the projector is switched on, the
LED on the projector turns blue if the
projector is not being charged.
• When charging, the LED on the
projector turns red regardless of the
projector switching on and off.
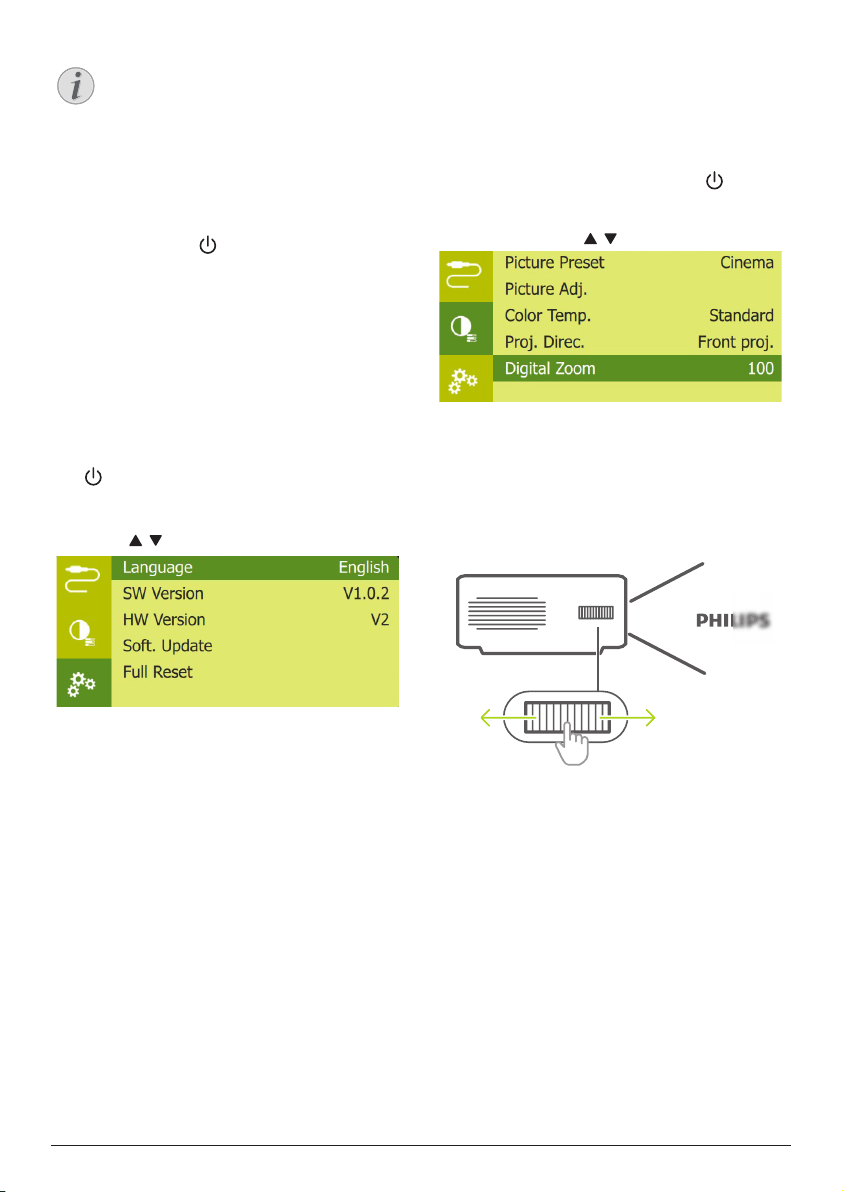
Set up the language
1 When the projector is turned on, press
on the projector to access the settings
menu, then navigate to select Language,
and press OK.
2 Press / to select a language.
Changing screen size
The projection screen size (or size of images) is
determined by the distance between the lens
of the projector and the projection surface.
• You can also use the digital zoom to
reduce the screen size up to 50%. When
the projector is turned on, press on the
projector to access the settings menu, then
navigate to select Digital Zoom, and press
OK. Then press / to adjust image size.
• The projection image size is to up to 65’’.
• The projection distance is 80 cm to 200 cm.
Image sharpness adjustment
To adjust image focus, turn the focus
adjustment knob on the side of the projector.
Loading ...
Loading ...
Loading ...