Loading ...
Loading ...
Loading ...
Change settings 11
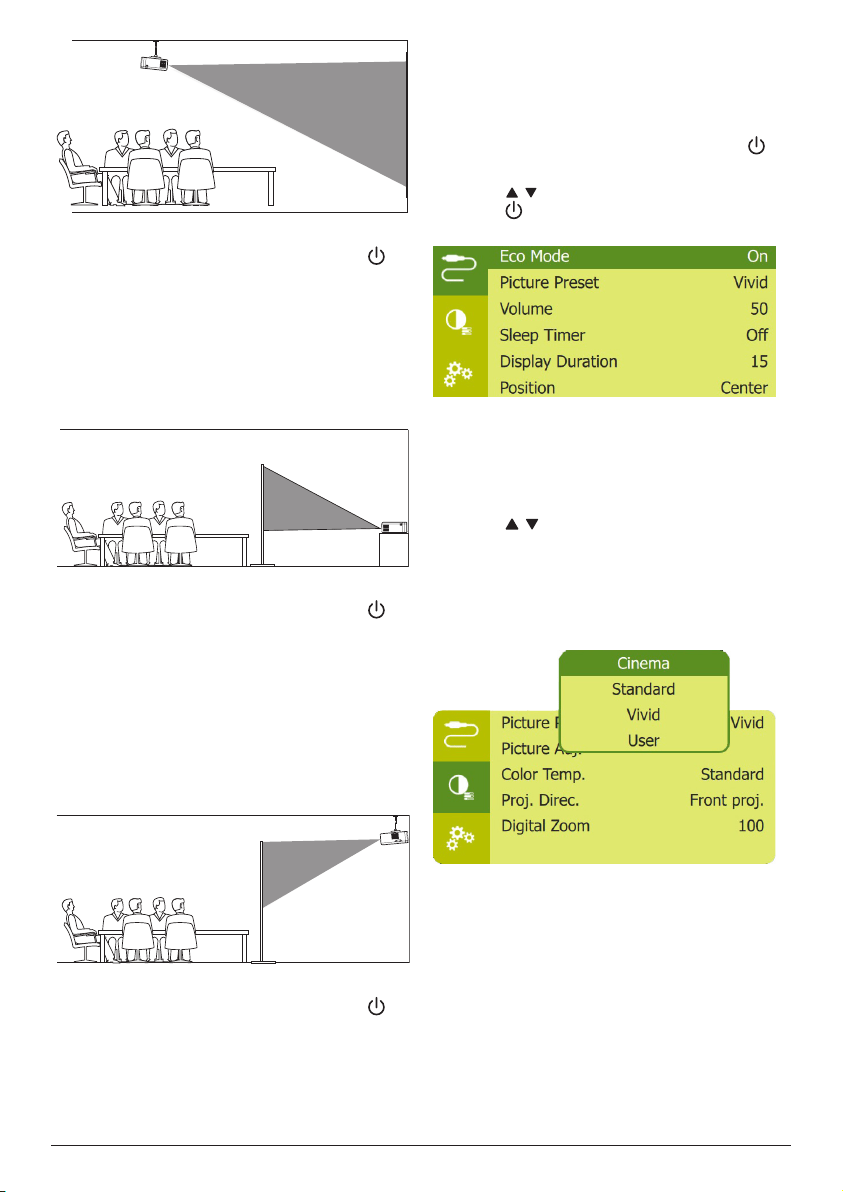
2 To adjust projection to the correct position,
when the projector is turned on, press on
the projector to access the settings menu,
then navigate to select Proj. Direc. - Rev.
front proj., then press OK.
Rear table
1 Place the projector on a table behind the
projection screen. A special rear projection
screen is required.
2 To adjust projection to the correct position,
when the projector is turned on, press on
the projector to access the settings menu,
then navigate to select Proj. Direc. - Rear
proj., then press OK.
Rear ceiling
1 Mount the projector on ceiling with upside
up behind the projection screen. To mount
the projector on ceiling behind the screen,
a projector mount and a special rear
projection screen is required.
2 To adjust projection to the correct position,
when the projector is turned on, press on
the projector to access the settings menu,
then navigate to select Proj. Direc. - Rev.
rear proj., then press OK.
5 Change settings
This section helps you change the settings of
the projector.
1 When the projector is turned on, press
on the projector to access settings menu.
2 Press / to navigate menu options, then
press on the projector to confirm the
settings.
Language settings
Select your desired language for on-screen
menu.
• Navigate to Language, and press OK, then
press / to select a language.
Picture settings
• Picture Preset: Select a predefined color
brightness setting for picture and video
display.
• Picture Adj.: Adjust Brightness/Contrast/
Saturation/Toneburst/Sharpness with the
values from 0 to 100.
Loading ...
Loading ...
Loading ...