
Technical Support and E-Warranty Certificate www.vevor.com/support
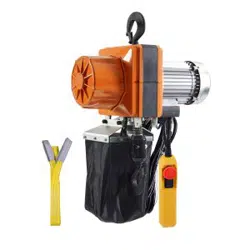
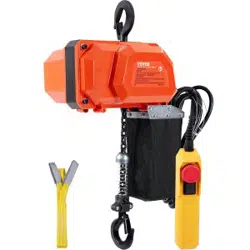
ELECTRIC HOIST
USER MANUAL
We continue to be committed to provide you tools with competitive price.
"Save Half", "Half Price" or any other similar expressions used by us only represents an
estimate of savings you might benefit from buying certain tools with us compared to the major
top brands and doses not necessarily mean to cover all categories of tools offered by us. You
are kindly reminded to verify carefully when you are placing an order with us if you are
actually saving half in comparison with the top major brands.

- 1 -
MODEL:WX440-1 / WX880-1 / WX1320-1 / WX2200-1
YX440-1 / YX880-1 / YX1320-1 / YX1760-1 / YX2200-1
Have product questions? Need technical support? Please feel free to
contact us:
CustomerService@vevor.com
NEED HELP? CONTACT US!
This is the original instruction, please read all manual instructions
carefully before operating. VEVOR reserves a clear interpretation of our
user manual. The appearance of the product shall be subject to the
product you received. Please forgive us that we won't inform you again if
there are any technology or software updates on our product.
ELECTRIC HOIST
- 2 -
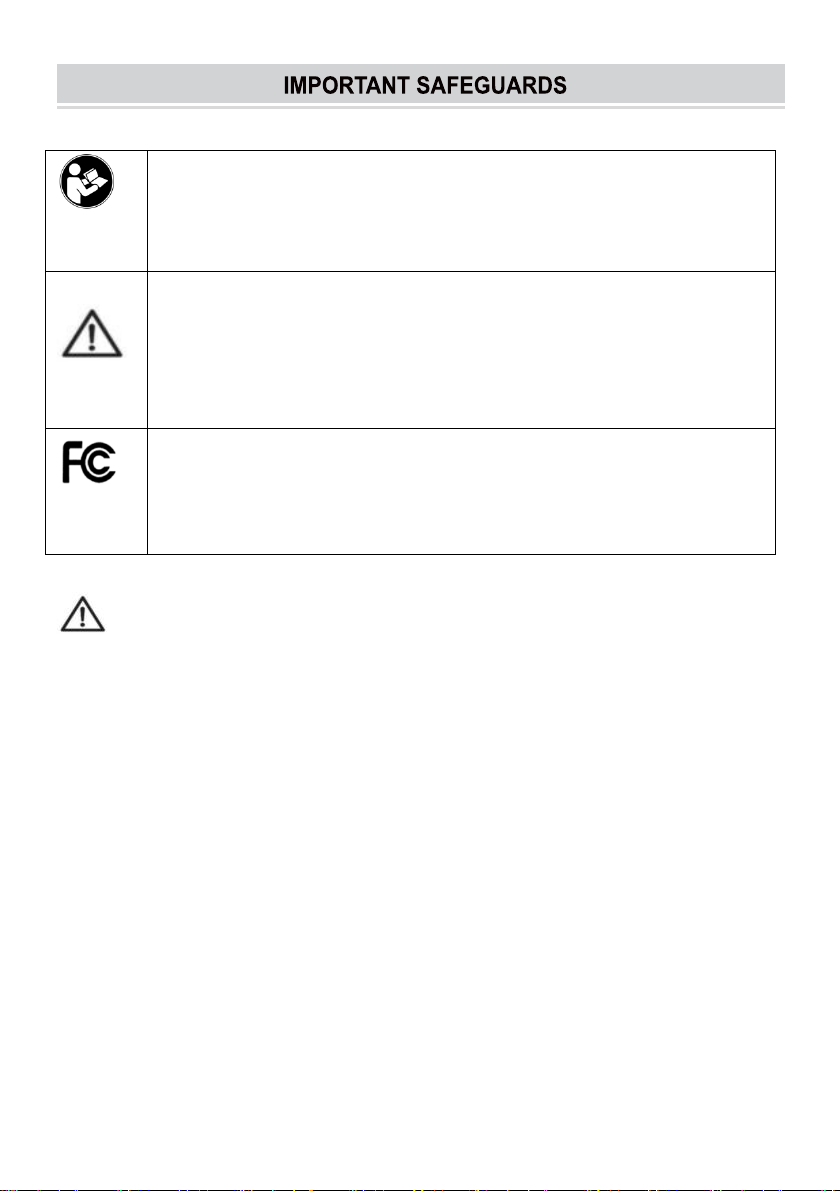
Warning-To reduce the risk of injury, user must read
instructions manual carefully.
This symbol, placed before a safety comment, indicates a kind
of precaution, warning, or danger. Ignoring this warning may
lead to an accident. To reduce the risk of injury, fire, or
electrocution, please always follow the recommendation
shown below.
This device complies with Part 15 of the FCC Rules. Operation is
subject to the following two conditions:(1)This device may not cause
harmful interference, and (2)this device must accept any interference
received, including interference that may cause undesired operation.
WARNING:Read all safety warnings, instructions, illustrations and
specifications provided with this machine. Failure to follow all instructions
listed below may result in electric shock, fire and/or serious injury.
Basic Safety Information
1.Please read the operation manual carefully before using the electric
hoist.
2.To Reduce the Risk of Electric Shock or Injury, Use Indoors Only.
3.The installation position of the electric hoist must be selected at the place
that meets the needs and is convenient for operation.
4.Regularly check whether the hoist is firmly installed.
5. Please do not overload and do not use the hoist when the weight of the
lifted object is not clear.
6.Do not operate hoist with twisted, kinked, or damaged wire rope. Inspect
wire rope carefully before every use.
7.During lifting, it is not allowed to pull or lift heavy objects at an angle to
- 3 -
avoid danger.
8. Do not operate a damaged or malfunctioning hoist. Inspect hoist
carefully and test operation before every use.
9. Do not lift people or lift loads over people. Falling loads can injure or kill
people.
10.No one is allowed to stand under the lifting object when lifting the heavy
object with the hoist.
11.When operating the wire rope, please wear thickened gloves, and do
not let the wire rope slip through your hand, so as to avoid slipping or
stabbing.
12.This electric hoist shall not carry people in any way or be used as an
elevator lifting tool.
13. The operator should not operate the electric hoist under the condition
of drinking, taking medicine or being ill.
14.Do not modify or weld the parts of the electric hoist at will.
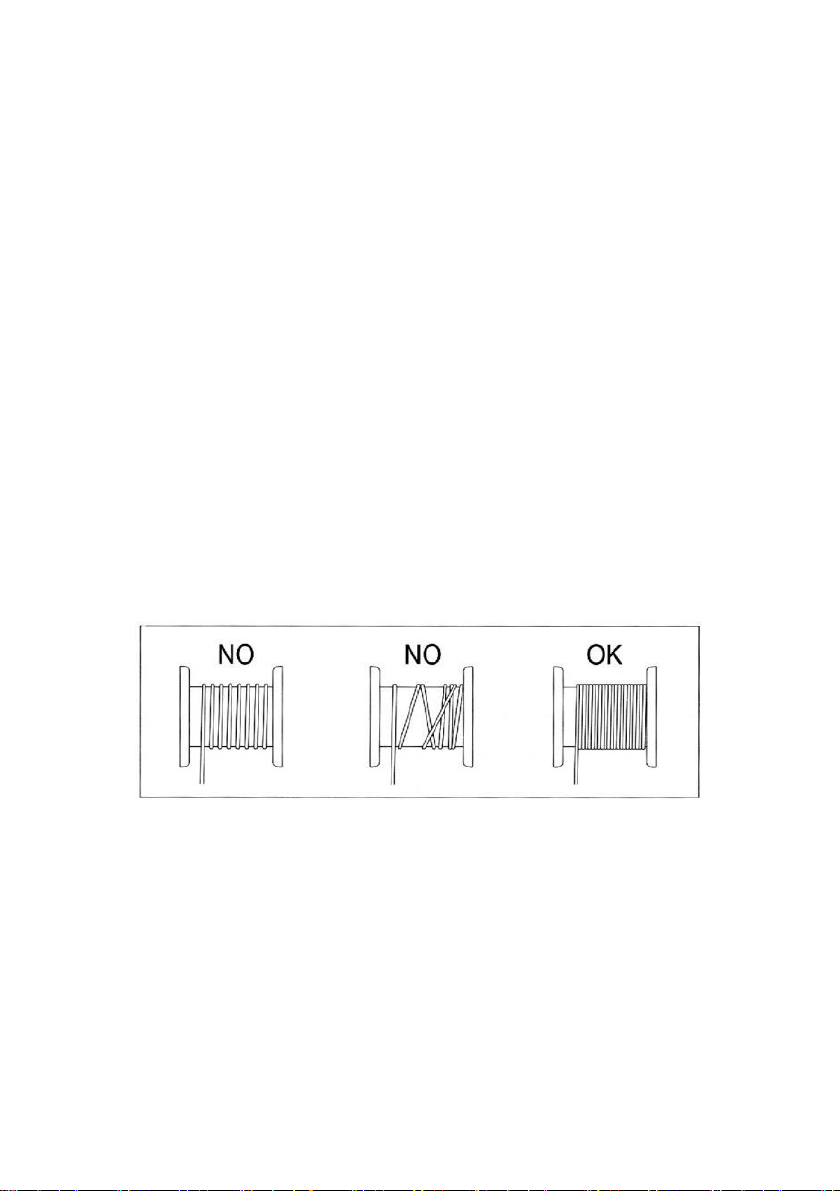
15.When lifting the hoist, ensure that at least 3 coils of wire rope are
retained on the rope barrel to prevent the wire rope from falling off the rope
barrel due to excessive stress.
16. Before starting the work,make sure that the steel cable is correctly
winded around the reel and the pitch is equal to the cable diameter.
17.The warnings, precautions, and instructions discussed in this instruction
manual cannot cover all possible conditions and situations that may occur.
It must be understood by the operator that common sense and caution are
factors which cannot be built into this product, but must be supplied by the
operator.
SAVE THESE INSTRUCTIONS

- 4 -
Model
WX440-1
WX880-1
WX1320-1
WX2200-1
YX440-1
YX880-1
YX1320-1
YX1760-1
YX2200-1
Control
Mode
Wireless Control
Wire Control
Load
Capacity /
lb
220/440
440/880
660/1320
1100/2200
220/440
440/880
660/1320
880/1760
1100/2200
Net
Weight /
kg
9.25
15
15.9
25.9
9.4
14.5
15.3
16.5
25.2
Input
Power / W
480
850
1150
1600
480
850
1150
1450
1600
Cable
Diameter
/ mm
3
4
4
6
3
4
4
5
6
Voltage
120V/60Hz
Lifting
Height
6/12 m
Lifting
Speed
5/10 (m/min)
Work
Rate
20% 10min
Insulating
Grade
B
- 5 -
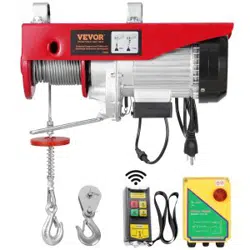
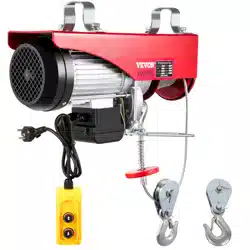
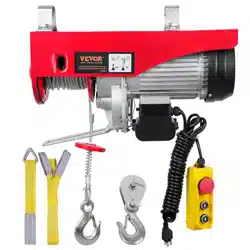
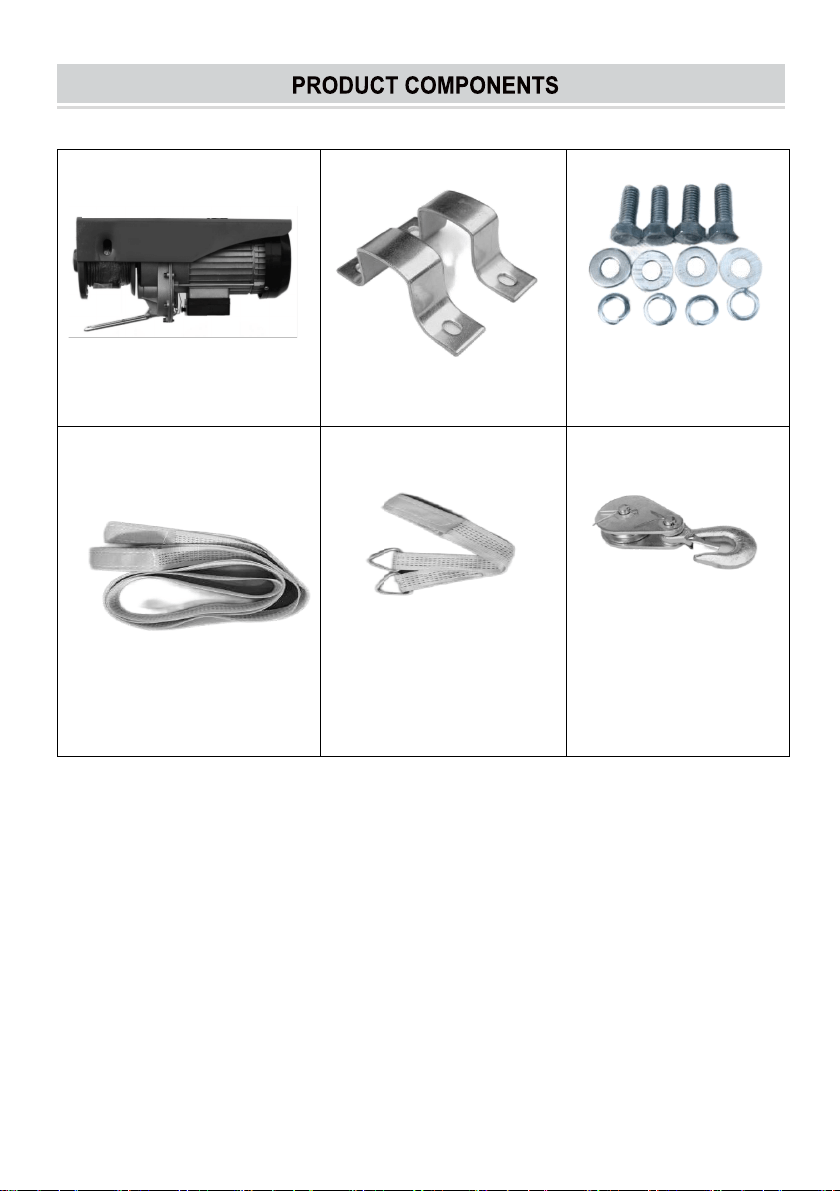
A. electric hoist(x1)
B.fixing ring(X2)
C. screw/gasket/
gasket ring(X4)
D. sling 4 meter(x1)
E.sling 1 meter with
ring(x1)
F.hook(x1)
used in double line
mode
- 6 -
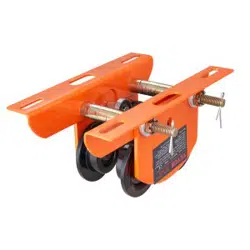
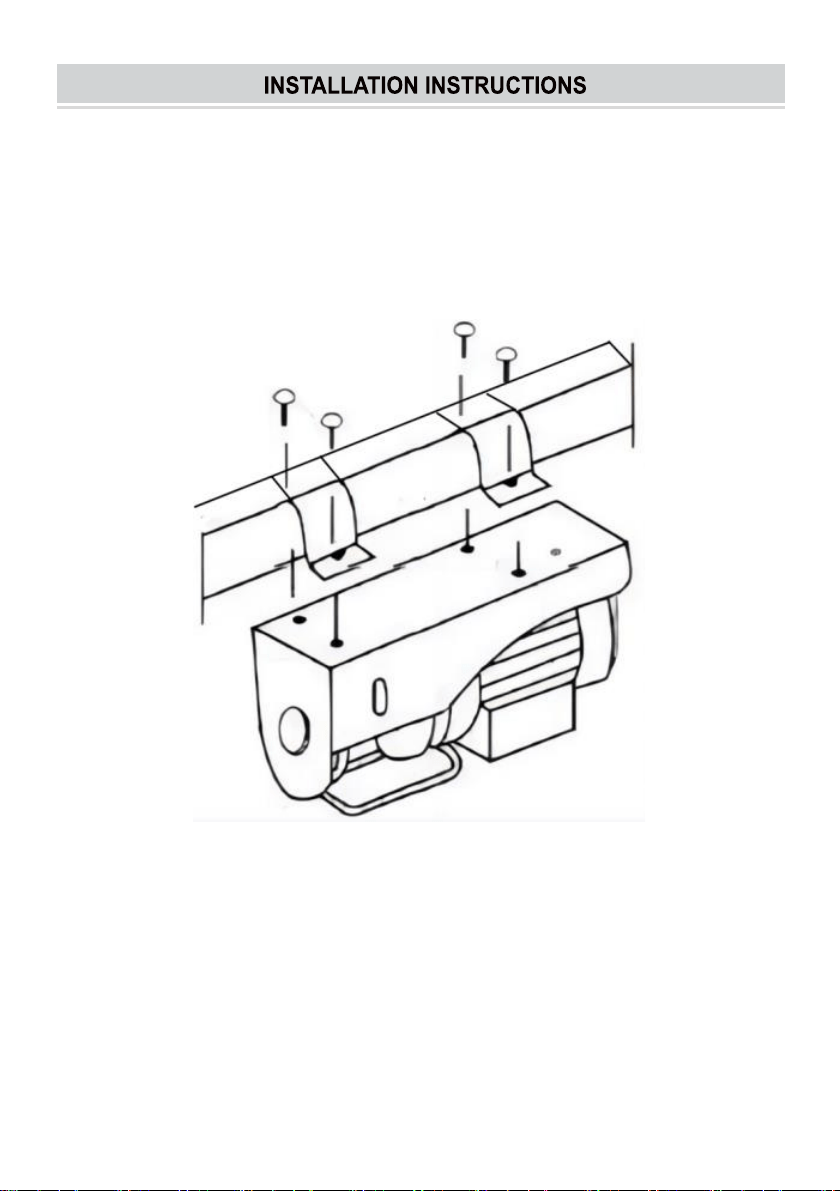
1.Install the electric hoist (A) on the beam with fixing rings (B) and
screw/gasket/gasket ring (C), and pay attention to screw tightening.
Note: The installation position must be strong enough to support the load of
the electric hoist during operation.
- 7 -
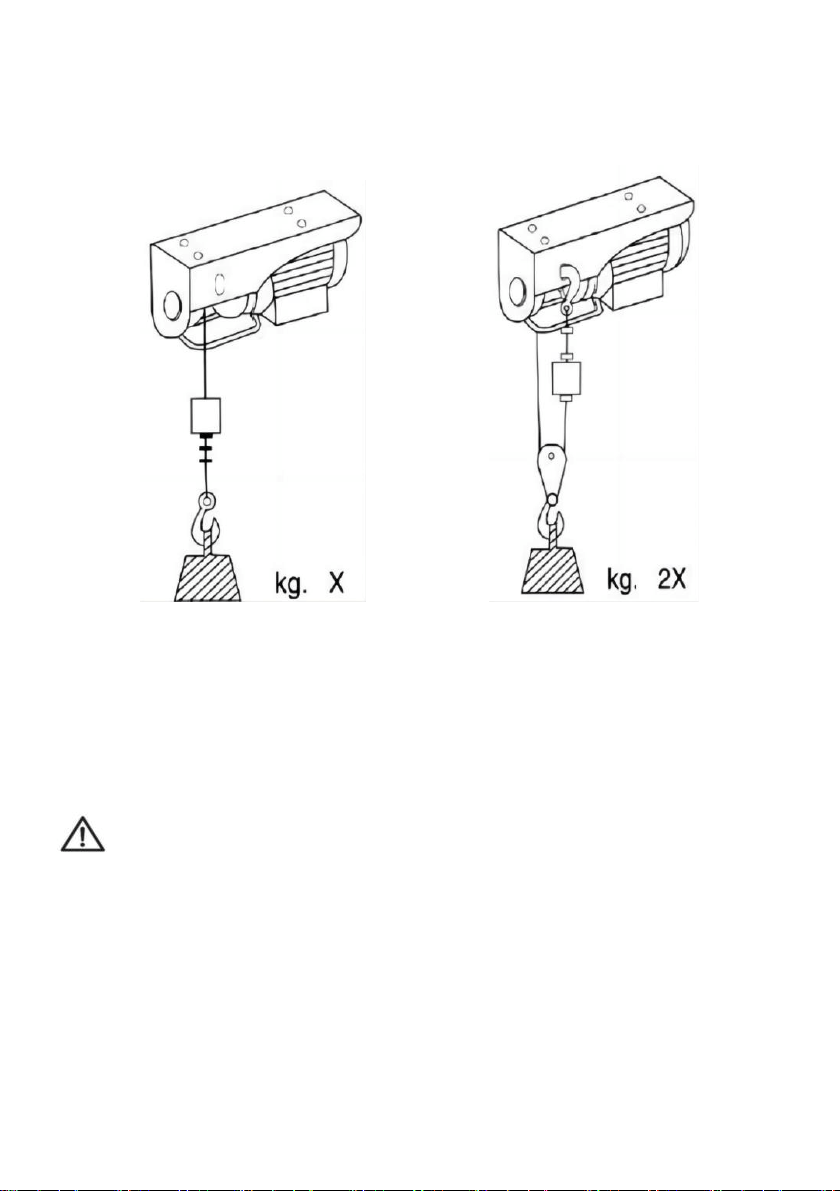
2.It can be installed into single line mode or double line mode as required.
More load is available in double line mode, but will need to be replaced
with a new hook in the accessory pack (F).
single line mode double line mode
3.Be sure to tear off the tape wrapped around the rope drum before the
machine can be tested. If the machine is tested in a hurry, it may cause the
wire rope rewinding and damage the limit frame.
WARNING:Gloves, safety helmet and steel-toed work boots
should be worn during installation and use.
- 8 -
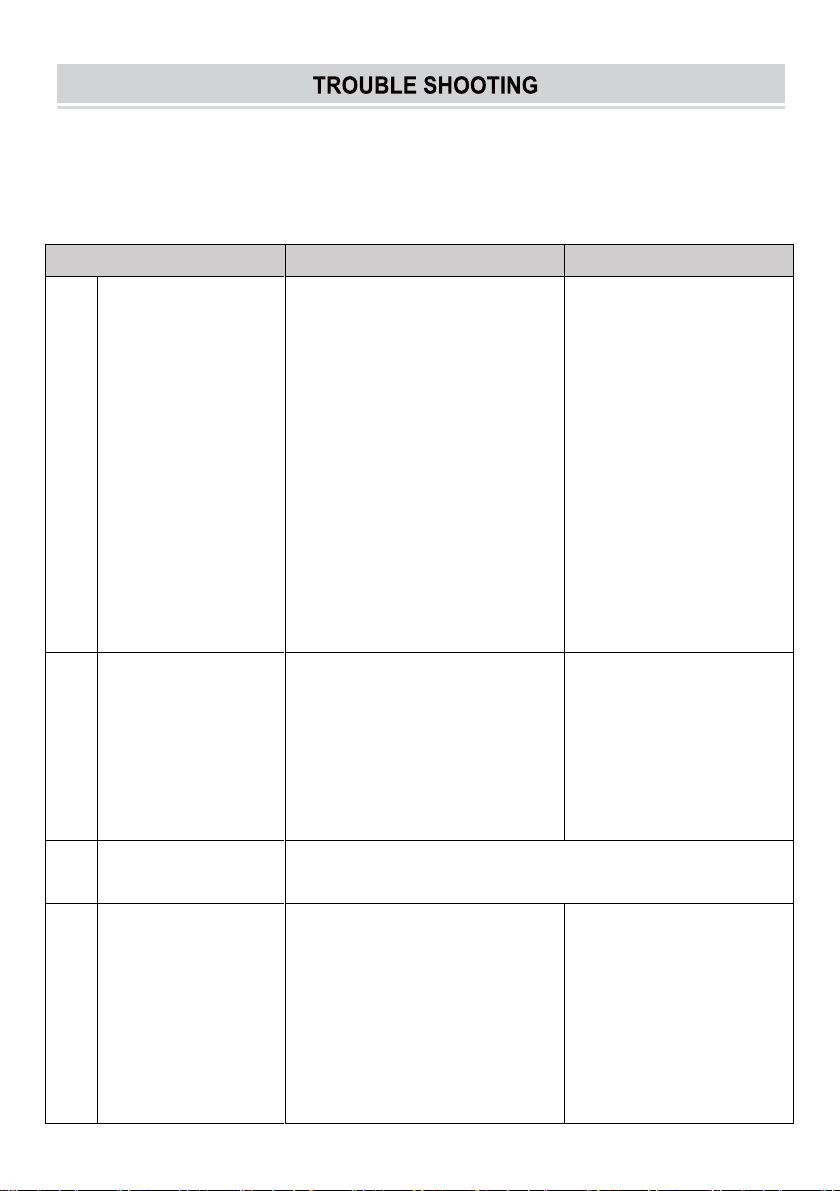
Electric hoist after long-term use or improper operation may occur a variety
of failures;common failure causes and elimination methods see the
following table.
Common Failure
Cause Analysis
Handling Suggestion
1
Press the remote
control button to
switch but the
motor does not
turn.
1.The power supply is
disconnected.
2.The cable connection
position is broken or loose.
3. The switch is faulty.
4.Capacitor damage.
5.If the rise button fails, it
may be that the limit frame is
not reset or the switch is out
of order.
6.The emergency stop
switch is not reset.
1.Turn on the power.
2.Check the cable
connection and repair
it.
3.Repair or replace the
switch.
4.Replace a Capacitor.
5.Check the limit frame
or the travel switch.
6. Reset the
emergency stop
switch.
2
After pressing the
remote control
button to switch,
the motor is noisy
and can not start
normally.
1.The power supply voltage
is too low.
2.Capacitor damage.
3.The remote control switch
is in poor contact.
1.Adjust the power
supply voltage.
2.Replace the
capacitor..
3.Repair or replace the
switch.
3
Brake failure or
excessive slip.
Please contact the sales unit or the company.
4
Excessive noise
during operation.
1.Poor lubrication.
2.Gear or bearing is
damaged.
3.Poor assembly or parts are
damaged.
1.Add grease.
2.Check and replace
the gear or bearing.
3.Check whether the
parts are properly
assembled and repair
the damaged parts.

- 9 -
5
Electrification of
machine casing.
1.The ground is faulty or
ungrounded.
2.Ground the internal
conductor with the housing.
1.Check and repair the
ground cable.
2.Check and repair the
internal cables.
6
The limit
mechanism is
faulty and the
lifting instruction is
contrary to the
execution result.
Improper operation caused
the wire rope to reverse wrap
around the drum.
Press the lift switch to
make the hook drop to
the bottom and the
wire rope completely
out of the rope barrel,
and then start the
normal work.

- 10 -
Maintenance
1. Check the screws fixing the electric hoist regularly.
2. Remove dust or corrosive liquid accumulated on the cable in time
3. The newly purchased electric hoist is filled with lubricating oil for lifetime
maintenance. There may be a small amount of oozing when operating the
miniature electric hoist, especially during the first operation. This is normal,
do not need to refuel the electric hoist.
4. Check the wire rope regularly. If the wire rope is worn, replace it in time.
5. Repair or replacement of hoist components must be performed only by a
qualified technician using only
identical replacement parts with the same rating.
6. Note the following regarding specific components:
a. Replace damaged or worn hooks. Do not repair them by welding or
reshaping.
b. Replace or repair all critical parts that are cracked, broken, bent,
excessively worn, or missing.
c. Replace missing or illegible warning labels.
d. Replace pitted or burned electrical contacts as complete sets.
e. Keep controller function labels on pendant control stations and master
switches legible.
7. Do not repair load-sustaining members by welding. Replace them as
needed.
8. Lubricate all moving parts regularly using grease.
9. After maintenance work is completed and before restoring the hoist to
normal operation:
a. Reinstall guards;
b. Reactivate safety devices;
c. Remove replaced parts and loose material;
d. Remove maintenance equipment.
Frequent Inspection
Perform the procedures in this section BEFORE INITIAL USE and AT

- 11 -
LEAST MONTHLY. Inspection is needed more often for heavily used
hoists.
1. Check operating mechanisms for proper operation, proper adjustment,
and unusual sounds such as, but not limited to, binding noise of the wire
rope and bearing squeal.
2. Check hoist upper limit device without a load on the hook at the
beginning of each shift. Exercise care. Run the load block into its limit
device at slow speed.
3. Frequent Braking System Inspection
a. The braking system must automatically stop and hold up to the rated
load if the operating controls are released and in the event of complete
power failure.
b. Braking systems must limit the speed of load during lowering, with or
without power, to prevent uncontrolled or rapid lowering.
4. Frequent Hook Inspection
Check hooks for the following problems:
a. distortion, such as bending, twisting, or increased throat opening;
b. wear;
c. cracks, nicks, or gouges;
d. latch engagement (if equipped);
e. damaged or malfunctioning latch (if equipped);
f. hook attachment and securing means.
5. Frequent Hoist Rope Inspection.All ropes should be visually inspected
by the operator or other designated person at the start of each shift.
6. Check wire rope reeving.
WARNING! TO PREVENT SERIOUS INJURY FROM HOIST
FAILURE: Do not use damaged equipment. If any defect or damage is
noted, have the problem corrected before further use.
Periodic (Thorough) Inspection
The procedures in this section AT LEAST YEARLY. Inspection is needed
more often for heavily used hoists.
Remove or open access covers to allow inspection of components.

- 12 -
1. First, follow all Frequent Inspection procedures.
Additionally:
2. Check fasteners for evidence of loosening.
3. Check load blocks, suspension housings, clevises, yokes, suspension
bolts, shafts, gears, bearings, pins, rollers, and locking and clamping
devices for evidence of wear, corrosion, cracks, and distortion.
4. Check hook retaining nuts or collars, and pins, welds, or rivets used to
secure the retaining members for evidence of damage.
5. Check load sprockets, idler sprockets, drums, and pulleys for evidence
of damage and wear.
6. Check the motor brake and load brake for evidence of wear.
7. Check electrical apparatus for evidence of pitting or deterioration of
controller contacts.
8. Check supporting structure or trolley, if used, for evidence of damage.
9. Check warning label for legibility and replacement.
10. Check end connections of wire ropes for evidence of wear, corrosion,
cracks, damage, and distortion.
11. Check the hoist and hoist mounting for evidence of missing parts.
WARNING! TO PREVENT SERIOUS INJURY FROM HOIST
FAILURE: Do not use damaged equipment. If any defect or damage is
noted, have the problem corrected before further use.
Storage Inspection
1. A hoist that has been idle for a period of a month or more, but less than a
year, must be inspected before being used according to the Frequent
Inspection requirements.
2. A hoist that has been idle for a period of a year or more, must be
inspected according to the Periodic Inspection requirements and then
tested according to the procedure in the Testing section below before being
used.

- 13 -
Testing
1. Before use, test repaired hoists and hoists that have not been used for a
year or more.
2. Check all functions of the hoist, including lifting and lowering, with the
hoist unloaded first.
3. After testing in the unloaded state, attach a 200 Ib. load and retest to
check proper load control and to check brake operation.
4. Test the trip-setting of limit devices under no-load conditions. Test first by
hand, if practical, and then under slowest speed. Test with increasing
speeds up to maximum speed. Check that actuating mechanisms are
located so that they will trip the switches or limiting devices in sufficient
time to stop motion without causing damage to any part of the hoist.
Made In China