
Loading ...
Loading ...
Loading ...
34
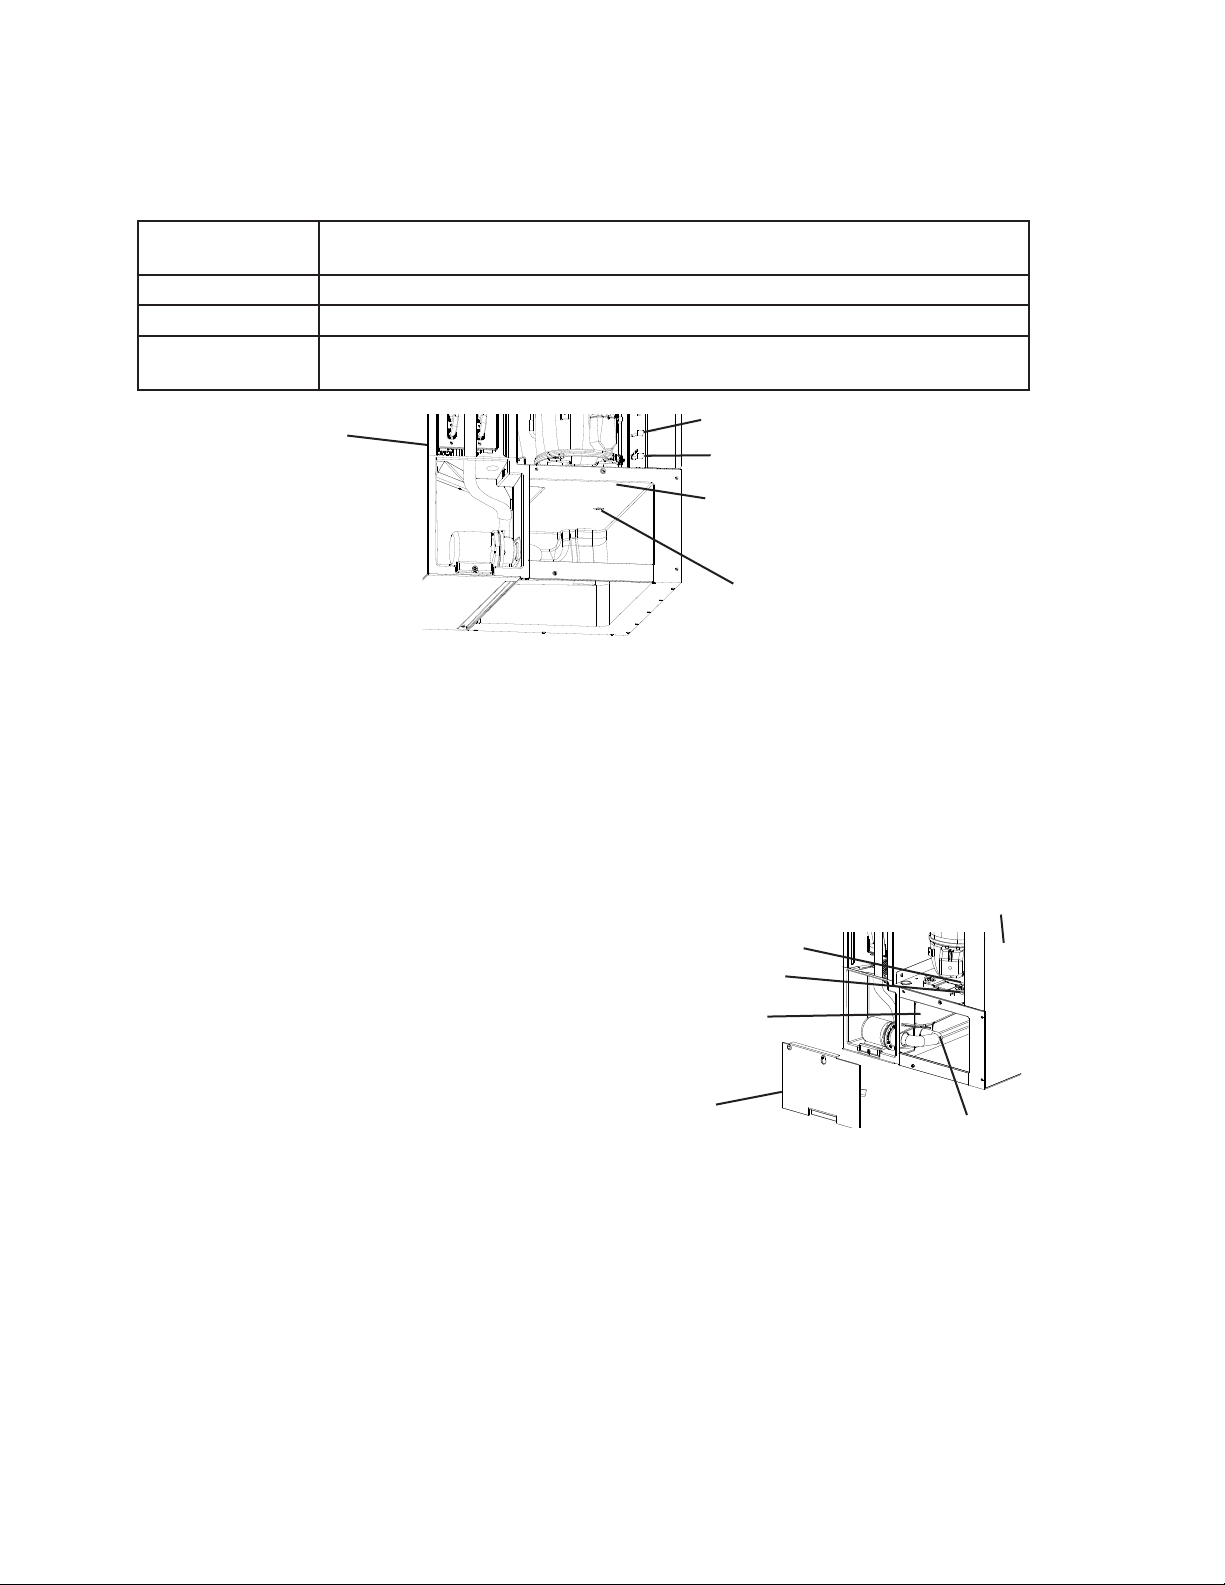
6) 1 min. ll cycle begins. Place an object 5" to 7" (127 to 178mm) away from the bin
control lens. See Fig. 19. 15 sec. later, the icemaker shuts down. Remove the object
from the bin control lens. 30sec. later, the icemaker restarts.
For bin control shutdown times per cycle, see the table below.
Cycle at Bin
Control Activation Shutdown
1 min. Fill Cycle 15 sec. after activation.
Harvest Cycle If engaged 15 sec. or longer, at the end of harvest cycle.
Freeze Cycle 15 sec. after activation if activated at least 15 sec. before the 5-min. short cycle
protection timer terminates. Otherwise, at the end of the next harvest cycle.
7) Once the icemaker restarts, move the control switch to the "OFF" position, then turn off
the power supply.
8) If the control box was rotated, replace the control box in its correct position and secure
with the 2 control box mounting screws.
9) Replace the base cover, right side, top, and front panels in their correct positions.
10) Turn on the power supply, and allow the icemaker to operate for 10 min.
11) After 10 min., turn off the power supply, then remove the front panel.
12) Move the control switch to the "OFF"
position, then remove the base cover
and disconnect the rear pump tubing
connection to drain the water tank.
See Fig. 20.
13) After the water tank has drained, reconnect
the pump tubing.
14) Clean the dispenser unit/ice storage
bin liner using a neutral cleaner. Rinse
thoroughly after cleaning.
15) Replace the base cover in its correct position. Move the control switch to the "ON"
position. Replace all panels in their correct positions.
16) Turn on the power supply to start the automatic icemaking process.
17) On water-cooled models, conrm proper condenser drain outlet/return outlet
temperature as outlined in "II.F.2. Water-Cooled Condenser."
18) Return to "II.H.2. Post-Startup" and complete nal checklist.
Control Switch
Mode Switch
Water Tank
Base Cover
Disconnect This End
of Pump Tubing to
Drain Water Tank
Icemaker
Bin Control Lens
Compressor Base
Icemaker
Control Switch
Mode Switch
Fig. 19
Fig. 20
Loading ...
Loading ...
Loading ...