Loading ...
Loading ...
Loading ...
en-us Cooktop operation
40
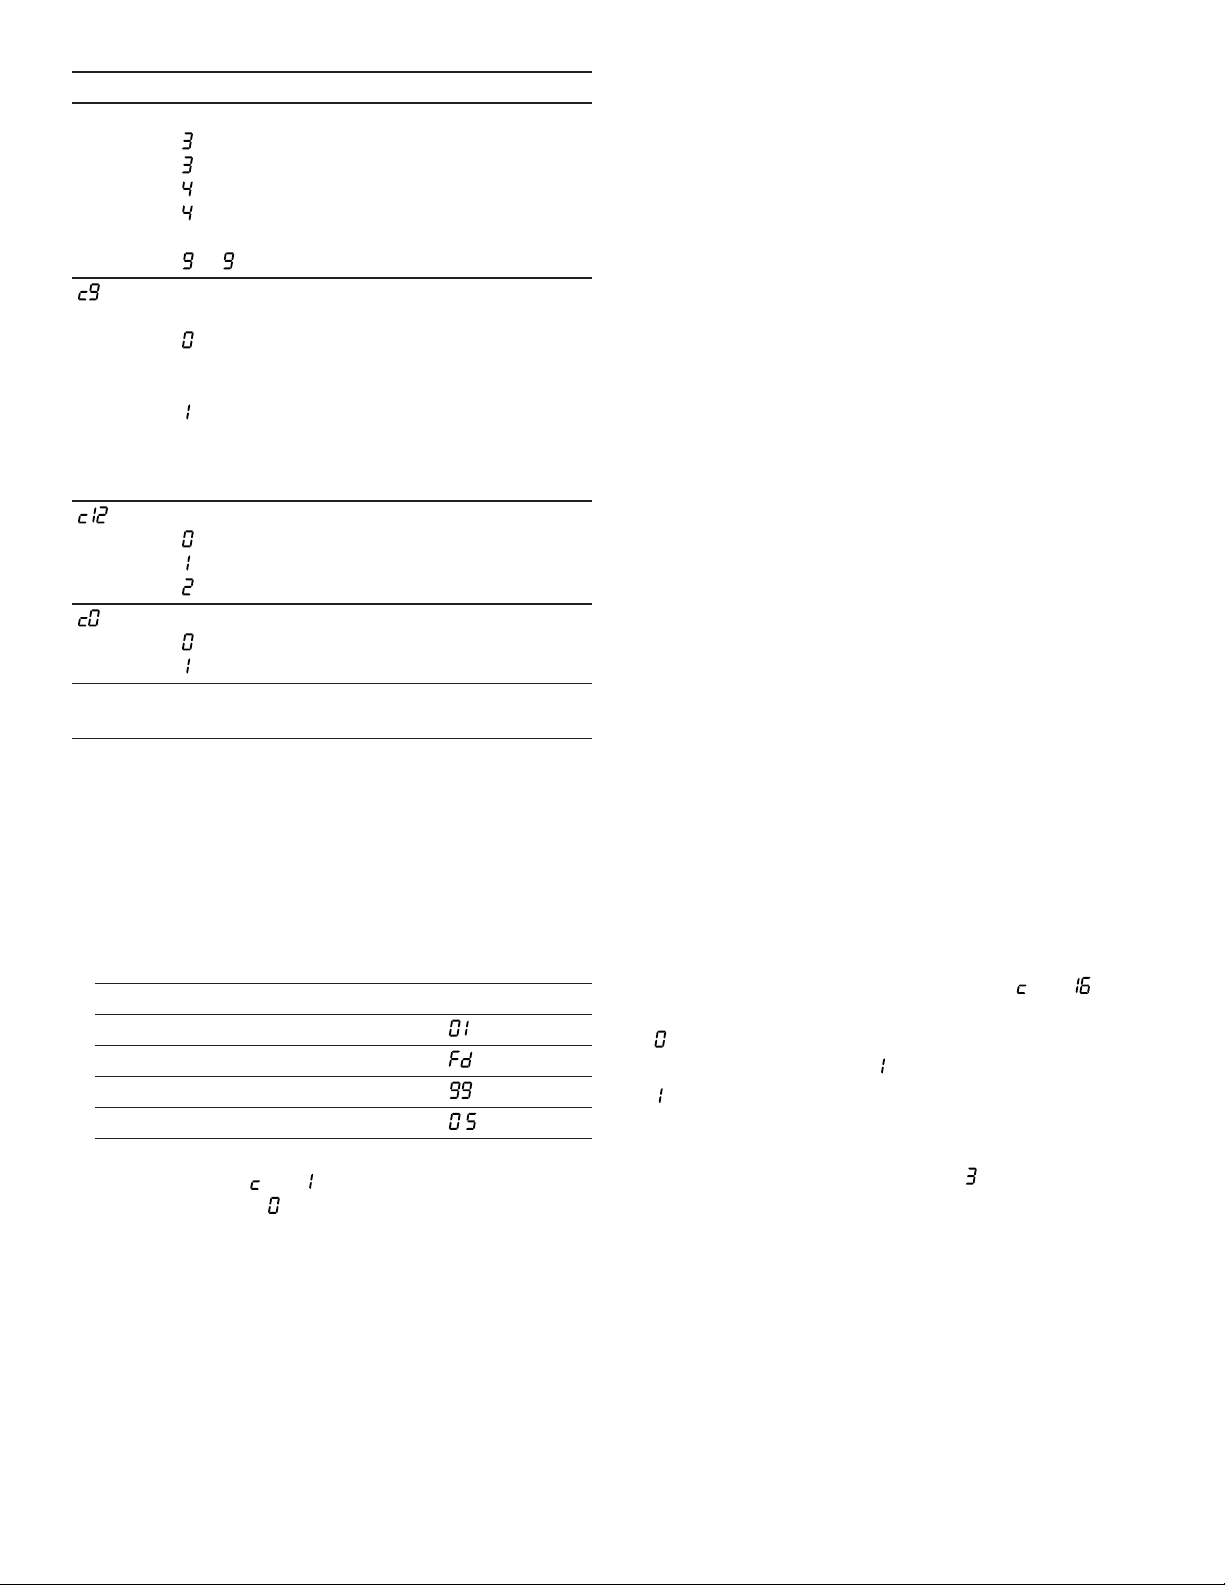
Display Function
...
– 3.000W recommended for 13A
. – 3.500W recommended for 16A
– 4.000W
. – 4.500W recommended for 20A
...
or . – Maximum power of the cooktop
Time for setting a cooking zone after
selection
– Unlimited: The last selected cooking zone
remains selected. You can adjust the settings
without having to select it again
1
.
– Limited: You can adjust the settings for
the selected cooking zone within 10seconds.
After 10seconds you have to select the
cooking zone again.
Results for suitability test for cookware
– Not suitable.
– Not ideal.
–Suitable.
Restore factory settings
– Off
1
– Restore appliance to factory settings
1
Factory setting
2
Factory setting (may vary according to model)
Changing the basic settings
Requirement:The cooktop is turned off.
1. Turn on the cooktop.
2. Within the next 10seconds, press KITCHEN TIMER for
about 4seconds.
The first four displays provide the product information.
To call up the individual displays, touch the control
panel.
Product information Display
Customer Support index (CI)
Production number
Production number1
Production number2 .
3. Press KITCHEN TIMER to access the basic settings.
a In the left display and flash alternately.
a In the timer display lights up.
4. Press KITCHEN TIMER repeatedly until the desired
setting lights up in the left display.
5. Set the desired option in the settings area.
6. Press KITCHEN TIMER for about 4seconds.
a The setting is saved.
8.18 Cooktop - Hood Sync
You can connect your appliance to a hood and, in this
way, control the functions of your hood via the cooktop.
If both appliances are HomeConnect® compatible, the
easiest way to connect the appliances is in the
HomeConnect® app. To do this, connect the two
appliances to HomeConnect® and follow the instructions
in the app.
Alternatively, you have the following options for connecting
the appliances together:
¡ Connecting the appliances directly.
¡ Connecting the appliances via your home network.
Notes
¡ Make sure you follow the safety instructions in the Use
and Care Guide for your hood and that these are
complied with even when operating the appliance via
the hood controls on the cooktop.
¡ If the appliance is being operated by means of the
controls on the hood, this mode of operation always has
priority. It is not possible to use the hood controls on the
cooktop during this time.
¡ In networked standby mode, your appliance requires a
maximum of 2W.
Connecting appliances directly
Connect the appliance directly to your hood to control the
hood via the cooktop. If you connect your cooktop directly
to the hood, it cannot be connected to your home network
as well and you will not be able to use HomeConnect®.
Note:Note the information for connecting the cooktop in
the Use and Care Guide for your hood.
Requirement:The hood is switched off.
1. Turn on the cooktop.
2. Press and hold KITCHEN TIMER for 4seconds.
a The product information is displayed.
3. Press KITCHEN TIMER repeatedly until and are
displayed alternately.
a lights up on the cooking zone display.
4. Select the settings value in the settings area.
a is blinking on the cooking zone display.
5. Within 2minutes, initiate the connection process on the
hood. Refer to the operating instructions of your hood.
a When the connection is completed lights up on the
cooking zone display.
a The hood control icons light up on the control panel.
6. Exit the basic settings.
Note:You can change the settings anytime in the basic
settings menu.
Connecting appliances via your home network
(Wi-Fi)
If the appliances are connected to each other via your
home network, you can operate the hood via the cooktop
controls or with HomeConnect®.
Loading ...
Loading ...
Loading ...