Loading ...
Loading ...
Loading ...
Reinstall the heat recovery core with its filters.
For EVO5 700 HRV HEPA and HRV 7.1 HEPA units only: The heat recovery core must be reinstalled BEFORE the core
bracket. Reinstall the HEPA filter but before reinstalling the prefilter, look at the installation date on HEPA filter frame. If there
are more than 6 months passed, discard the prefilter and install a new one, but keep the HEPA filter.
Reinstall the door, plug back the unit and turn it on.
NOTE: The unit will return to its previous setting after a 20-second delay for boot sequence.
Reset the wall control.
VQ0083
5.2 REGULAR MAINTENANCE (CONT’D)
5.3 ANNUAL MAINTENANCE
Perform this maintenance on the unit when the wrench icon appears on wall control screen for the fourth time (refer to tables in
5.1 Maintenance Cycles on previous page).
Perform steps to of the regular maintenance then continue with the followings:
Allow the heat recovery core to soak for 3 hours in a solution of warm water and mild soap (dishwashing liquid).
Rinse carefully, drain off water and reinstall with its filters.
For EVO5 700 HRV HEPA and HRV 7.1 HEPA units only: The heat recovery core must be reinstalled BEFORE the core
bracket. Discard HEPA filter and its prefilter and replace with new ones. DO NOT FORGET TO WRITE THE INSTALLATION
DATE ON NEW HEPA FILTER FRAME.
22
5. MAINTENANCE (CONT’D)
6. SERVICE PARTS
Description
Part
Number
Qty. in EVO5 700 HRV HEPA
and HRV 7.1 HEPA units
Qty. in EVO5 500 HRV
and HRV 5.1 units
HEPA filter (1 per kit)
and prefilter (2 per kit) kit
21293 1 -
Prefilter (2 per kit) 61561 1 -
Core filter 61563 2 2
All parts listed in the following table are available where you have bought your unit.
NOTE: Please note that parts not listed are not available; those parts require assembly knowledge that only manufacturer can garantee.
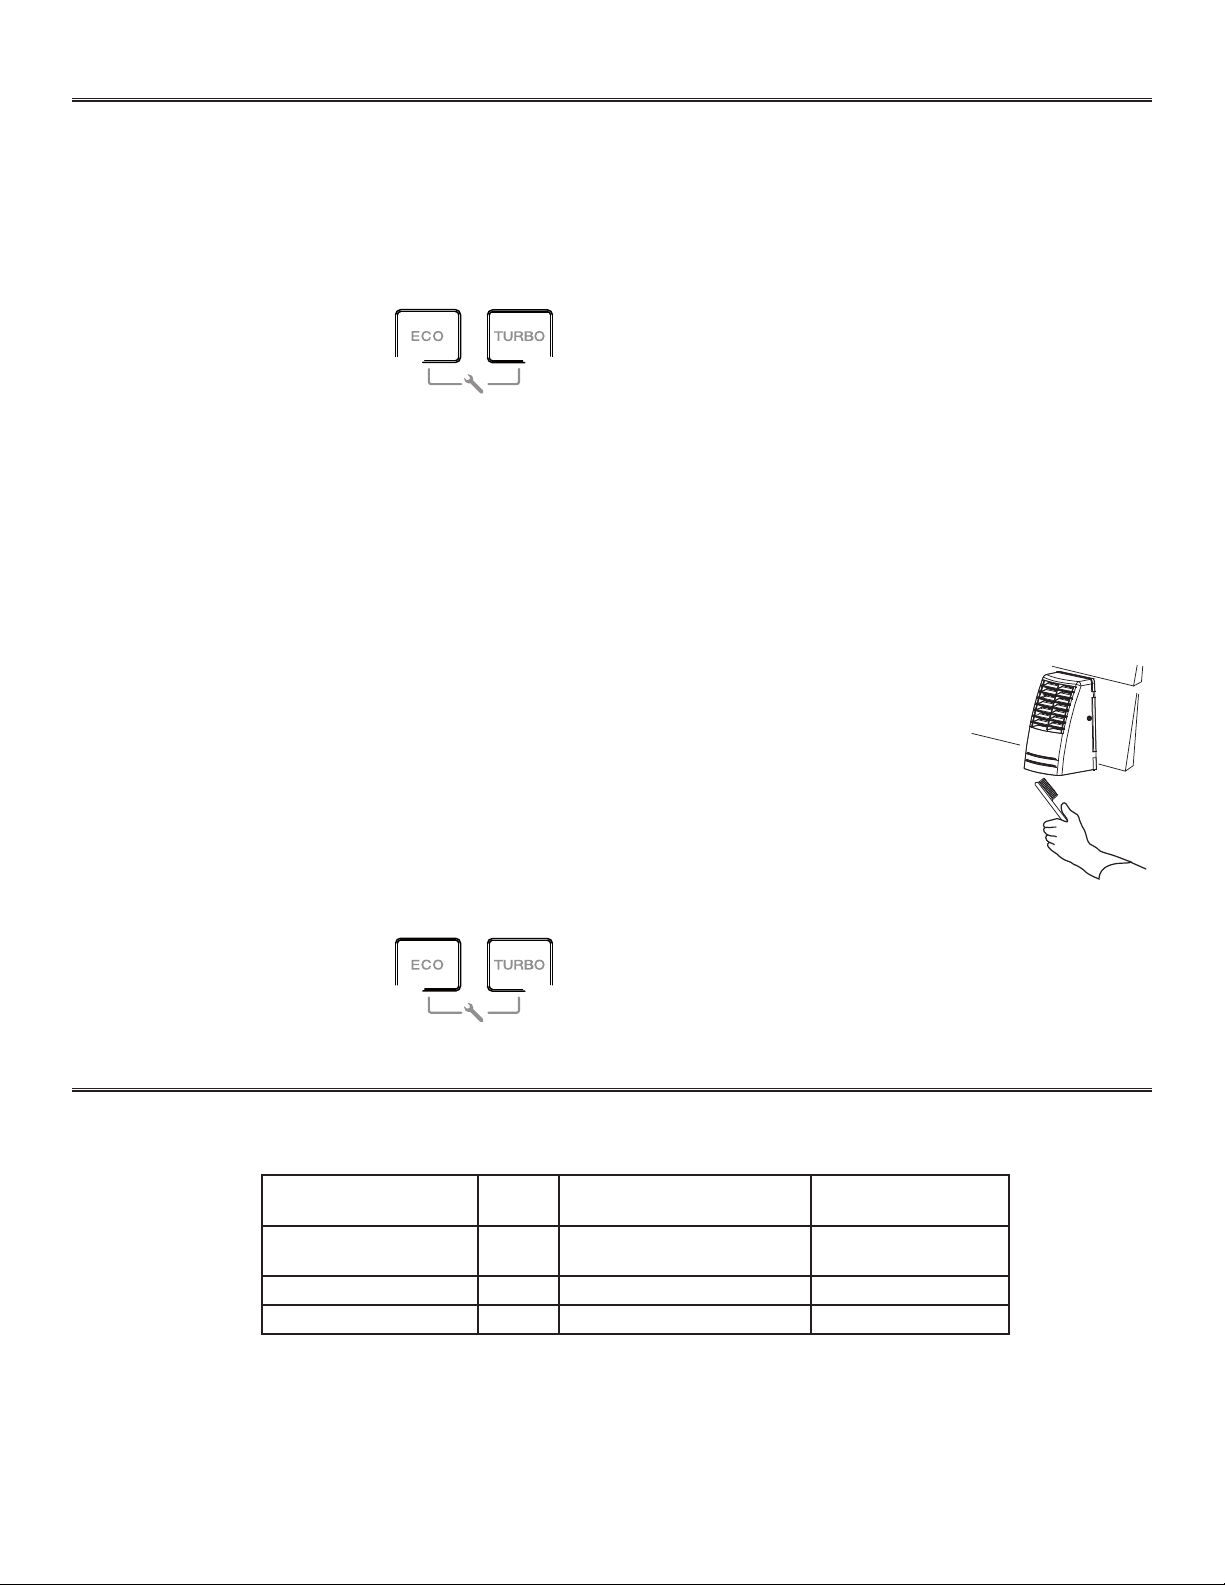
Check the exterior hood; make sure there are no leaves, twigs, ice or snow that could be drawn
into the vent. Clean if necessary.
VD0312
Reinstall the door, plug back the unit and turn it on.
NOTE: The unit will return to its previous setting after a 20-second delay for boot sequence.
Reset the wall control.
VQ0083
Loading ...
Loading ...