Loading ...
Loading ...
additional safety instructions for radial saws
CAUTION: Always disconnect the power cord before Before starting work, verify that no play exists
removing the guard, changing the cutting tool, changing the between the cohJmn & column support, Or m the
set-up or making adjustments. Shut off motor before
performing layout work on the saw table.
WARNING: DO NOT CONNECT POWER CORD UNTIL
THE FOLLOWING STEPS HAVE BEEN
SATISFACTORI LY COMPLETED:
I. Assembly and alignment.
II. Examinatior and operating familiarity with ON-OFF
switch, elevation control, yoke index and lock bevel
index and lock, carriage lock, guard clamp screw,
spreader and ant!kickback device, and miter index and
lock.
Ill, Review and Jnderstanding of al! Safety Instructions and
Operating P_ocedures thru-out manual.
INSTALLATION
1. Set carriage lock before moving the saw.
2. Bolt the saw to the floor if it tends to slip, walk, or
slide during normal operation.
3. Mount the saw so the table is approximately 39" above
the froor.
4. Mount the saw so the arm slopes slightly" downward to
the rear so the carriage will not roll forward due to
gravity.
5. If you attach any kind of table extensions over 24"
wide to either end of the saw, make sure you either bolt
the saw to the bench or floor as appropriate, or support
the outer end of the extension from the bench or floor,
as appropriate.
MINIMIZE ACCIDENT POTENTIAL
Most accidents are caused by FAILURE TQ FOLLOW
setup and operahng instructions:
(A) GENERAL
-- Avoid awkward hand positions, where a sudden slip
could ca use a hand to move into a sawblade or other
cutting tool. Never reach in back of or around the
cutt=ng tool with either hand to hold down the
workpiece, or for any other reason DO NOT place
fingers or hands in the path of the sawblade
-- Never saw, dado, mold, or rabbet unless [he proper
guard (complete with all its parts) is installed and set
Lip as instructed
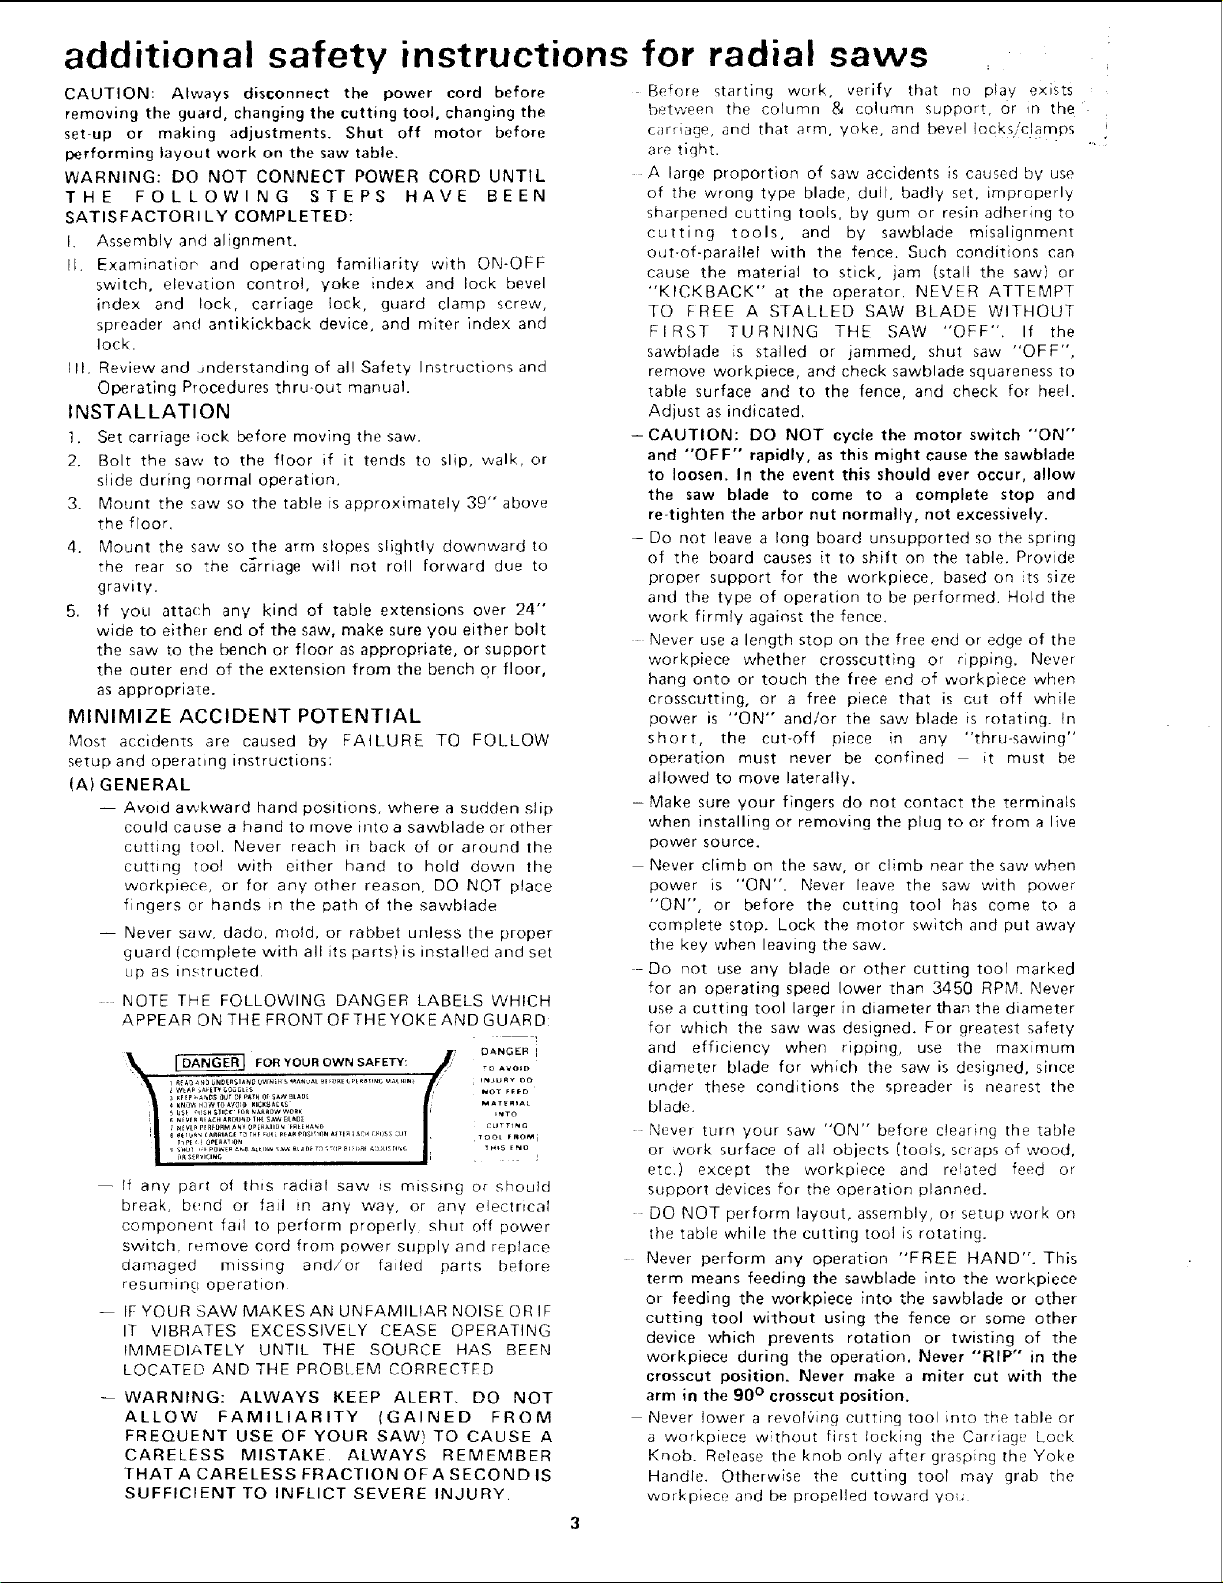
NOTE THE FOLLOWING DANGER LABELS WHICH
APPEAR ON THE FRONTOFTHEYOKEANDGUARD:
- I
7 DANGER i
_ FOR YOUR OWN SAFETY: TO AVO$D
I _ _ _ UNDERS_A_ OWN[B S MAN AL _[ F _[ £ Pt R_{_ _%1 HIN l_JU RY O O
2 WLA_ _A_I_OG_L_S NOT F_D
KF_P _A_DS {11JTOFPAIH OfSAP/ 9L,_D[
6 _V_ K_A_H AROU_O IH{ SAW B[_O[
i_p[ ( _OPEaATIO_
t_6S RVICING
Ifany parl of this radial saw _s missu_g or should
break, b(,nd or fail m any way, or any electrical
component fail to perform properly shot off power
switch rib,move cord from power supply and replace
damaged missmg and/or failed parts before
resuminq operation
IF YOUR SAW MAKES AN UNFAMILIAR NOISE OR IF
IT VIBRATES EXCESSIVELY CEASE OPERATING
gVIMEDIATELY UNTIL THE SOURCE HAS BEEN
LOCATED AND THE PROBLEM CORRECTED
WARNING: ALWAYS KEEP ALERT. DO NOT
ALLOW FAMILIARITY (GAINED FROM
FREQUENT USE OF YOUR SAW) TO CAUSE A
CARELESS MISTAKE ALWAYS REMEMBER
THATA CARELESS FRACTION OFASECONDIS
SUFFICIENT TO INFLICT SEVERE INJURY
can!age, and that arm, yoke, and bevel locks/clamps
are tight.
A large proportion of saw accidents is caused by use
of the w_ong type blade, dull, badly set, improperly
sharpened cutting tools, by gum or resh] adhering to
cutting tools, and by sawblade misalignment
out-of-parallel with the fence. Such conditions can
cause the material to stick, jam (stall the saw) or
"KICKBACK" at the operator, NEVER ATTEMPT
TO FREE A STALLED SAW BLADE WITHOUT
FIRST TURNING THE SAW "OFF". If the
sawblade [s stalled or jammed, shut saw "OFF".
remove workpiece, and check sawblade squareness to
table surface and to the fence, and check for heel.
Adjust as indicated.
-CAUTION: DO NOT cycle the motor switch "'ON"
and "OFF" rapidly, as this might cause the sawblade
to loosen. In the event this should ever occur, allow
the saw blade to come to a complete stop and
re-tighten the arbor nut normally, not excessively.
- Do not leave a long board unsupported so the spring
of the board causes it to shift on the table. Provide
proper support for the workpiece, based on ts size
and the type of operation to be performed. Hold the
work firmly against the fence.
Never use a length stop on the free end or edge of the
workpiece whether crosscutting or ripping. Neve_
hang onto or touch the free end of workpieee when
crosscutting, or a free piece that is cut off while
power is "ON" and/or the saw blade is rotating, tn
short, the cut-off piece m any "thru-sawing"
operation must never be confined it must be
allowed to move laterally.
- Make sure your fingers do not contact the terminals
when installing or removing the plug to or from a live
power source.
Never climb on the saw, or climb near the saw when
power is "ON". Never leave the saw with power
"ON", or before the cutting tool has come to a
complete stop. Lock the motor switch and put away
the key when leaving the saw.
-Do not use any blade or other cutting tool marked
for an operating speed lower than 3450 RPM. Never
use a cutting tool larger in diameter than the diameter
for which the saw was designed. For greatest safety
and efficiency when ripping, use the maximum
diameter blade for which tbe saw is designed, since
ur_der these conditions the spreader is nearest the
blade.
Never turn your saw "ON" before clearing the table
or work surface of all objects (tools, scraps of wood,
etc.) except the workpiece and reated feed or
support devices for the operation planned.
DO NOT perform layout, assembly, or setup work on
the table while the cutting tool is rotating.
Never perform any operation "FREE HAND". This
term means feeding the sawblade into the workpiece
or feeding the workpiece into the sawblade or other
cutting tool without using the fence or some other
device which prevents rotation or twisting of the
workpiece during the operation. Never "RIP" in the
crosscut position. Never make a miter cut with the
arm in the 90 ° crosscut position.
Never lower a revolving cutting tool into the table or
a workpiece w thout first locking the Carriagu Lock
Knob. Release the knob only after graspng the Yoke
Handle. Otherwise the cutting tool may grab the
workpiece and be propelled toward yo_
Loading ...
Loading ...
Loading ...