
Loading ...
Loading ...
Loading ...
5. Enter a new name and press Enter or click outside of the field
6. Click Save.
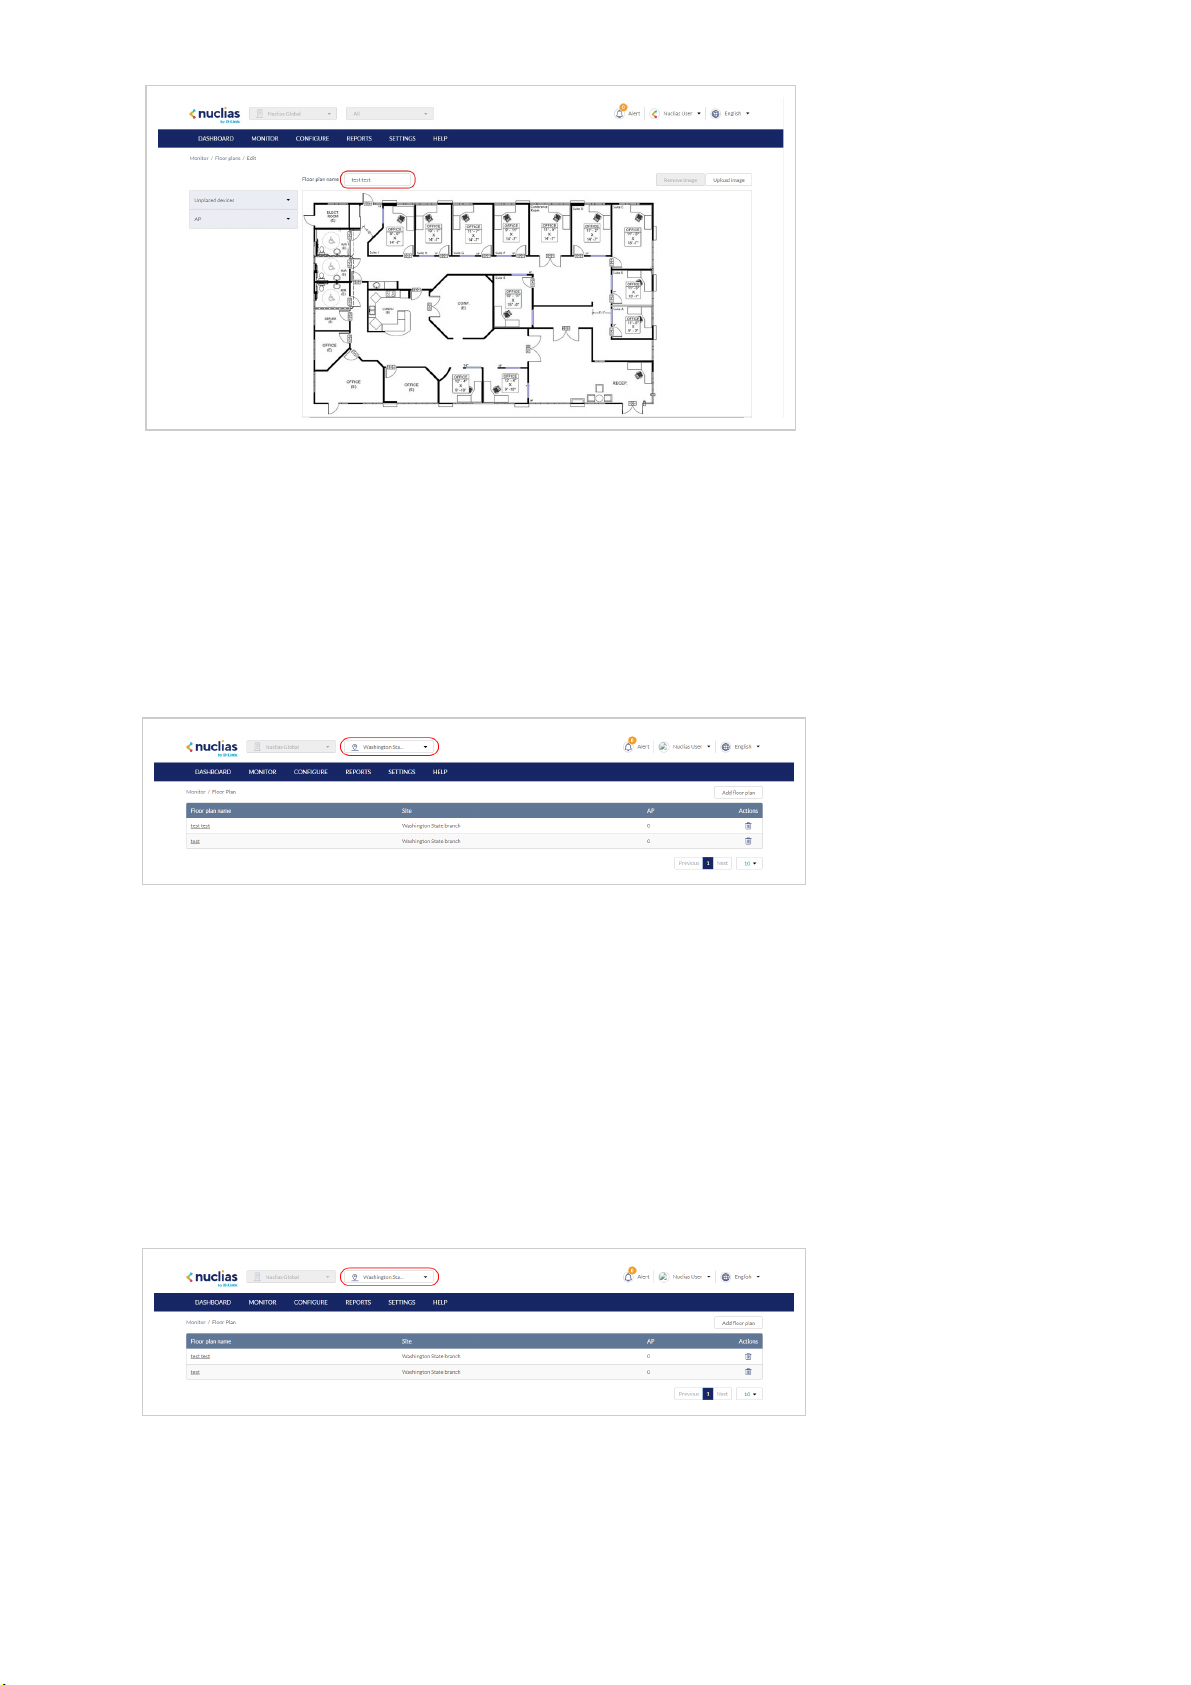
Adding a Custom Floor Plan Image
1. Navigate to Monitor > Floor Plan.
2. Select a Site from the Site menu.
Note: Selecting a Site will only show floor plans created for the selected Site. Select All to show all floor plans for all
Sites.
3. From the floor plan list, click on the floor plan name.
4. On the floor plan page, click Upload image.
5. In the Upload Image window click Browse and navigate to the floor plan image you want to use.
6. Click Upload.
7. Click Save.
Removing a Custom Floor Plan Image
1. Navigate to Monitor > Floor Plan.
2. Select a Site from the Site menu.
Note: Selecting a Site will only show floor plans created for the selected Site. Select All to show all floor plans for all
Sites.
3. From the floor plan list, click on the floor plan name.
4. On the floor plan page, click Remove image.
5. When prompted to confirm, click Delete.
Note: Deleting a custom image will restore the default floor plan image.
6. Click Save.
Loading ...
Loading ...
Loading ...