Loading ...
Loading ...
Loading ...
OPERATION
Stopping the Engine
1. Release the Forward Clutch Bail
to stop the wheels and tines from
turning.
2. Move Engine Throttle Lever to
STOP position to stop the engine.
Startingthe Engine
1. Do not engage (hold) the Forward
Clutch Bail against the handlebar
when starting engine.
2. Both wheels must be in the
WHEEL DRIVE position (see Figure
3-2).
3; Mov_ the Choke Lever to the
FULL CHOKE position (move lever
in direction of arrowhead located on
lever). NOTE: If restarting a warm
engine after a short shutdown, move
Choke Lever to NO CHOKE position.
4. Move the Engine Throttle Lever
fully up to fast (Rabbit) position
which is used for starting.
5:_Place your left hand on the gaso-
line tank (to avoid hot surfaces) to
stabilize the tiller when starting.
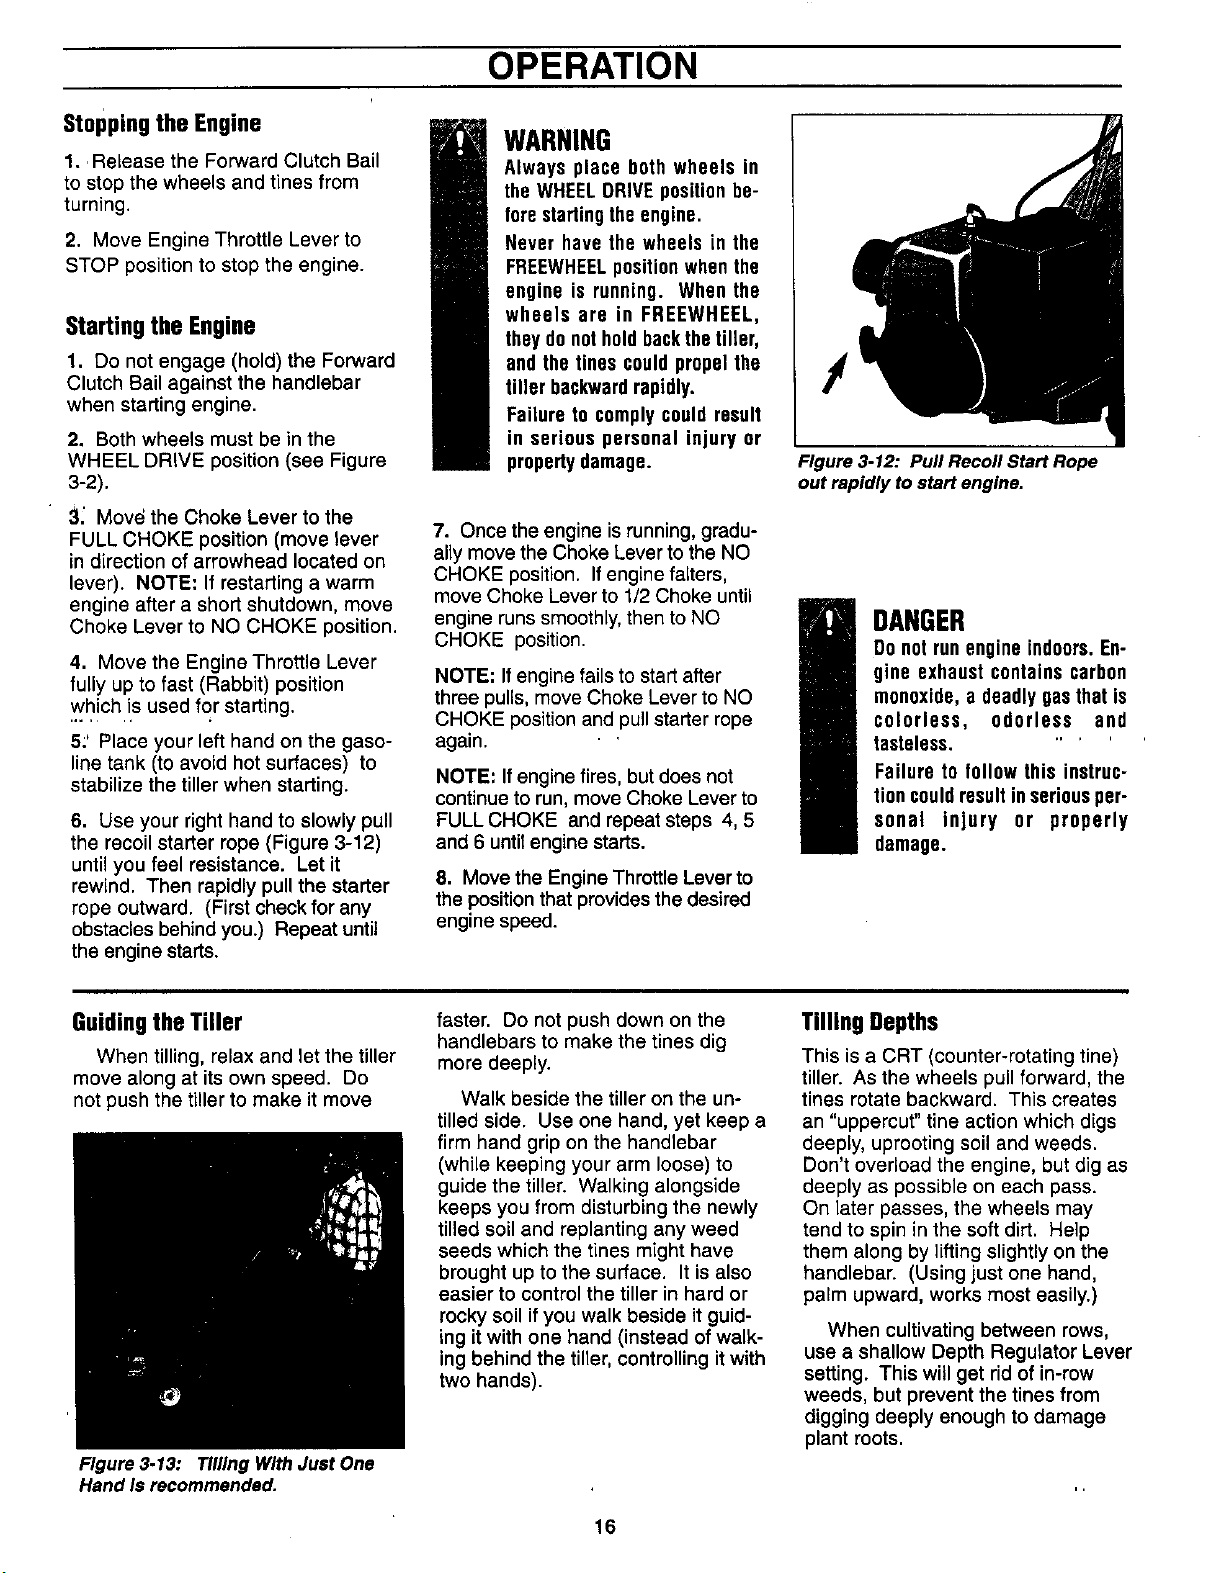
6. Use your right hand to slowly pull
the recoil starter rope (Figure 3-12)
untilyou feel resistance. Let it
rewind. Then rapidly pull the starter
rope outward. (First check for any
obstaclesbehindyou.) Repeat until
the engine starts.
WARNING
Always place both wheels in
the WHEELORIVEpositionbe-
fore startingthe engine.
Never have the wheels in the
FREEWHEELpositionwhenthe
engine is running. When the
wheels are in FREEWHEEL,
theydo nothold backthetiller,
and the tines could propelthe
tiller backwardrapidly.
Failure to complycould result
in serious personal injury or
propertydamage.
7. Once the engine is running, gradu-
ally move the Choke Lever to the NO
CHOKE position. If engine falters,
move Choke Lever to 1/2 Choke until
engine runs smoothly, then to NO
CHOKE position.
NOTE: If engine fails to start after
three pulls, move Choke Lever to NO
CHOKE position and pull starter rope
again.
NOTE: If engine fires, but does not
continue to run, move Choke Lever to
FULL CHOKE and repeat steps 4, 5
and 6 until engine starts.
8. Move the Engine ThrottleLever to
the positionthat provides the desired
engine speed.
Figure 3-12: Pull Recoil Start Rope
out rapidly to start engine.
DANGER
Do not runengine indoors.En-
gine exhaust contains carbon
monoxide,o deadlygasthat is
colorless, odorless and
tasteless. "
Failure to follow this instruc-
tion couldresultinseriousper-
sonal injury or properly
damage.
Guiding the Tiller
When tilling, relax and let the tiller
move along at its own speed. Do
not push the tiller to make it move
Figure3.13: TIIIIngWlthJustOne
Hand Is recommended.
faster. Do not push down on the
handlebars to make the tines dig
more deeply.
Walk beside the tiller on the un-
tilled side. Use one hand, yet keep a
firm hand grip on the handlebar
(while keeping your arm loose) to
guide the tiller. Walking alongside
keeps you from disturbing the newly
tilled soil and replanting any weed
seeds which the tines might have
brought up to the surface. It is also
easier to control the tiller in hard or
rocky soil if you walk beside it guid-
ing it with one hand (instead of walk-
ing behind the tiller, controlling it with
two hands).
TillingDepths
This is a CRT (counter-rotating tine)
tiller. As the wheels pull forward, the
tines rotate backward. This creates
an "uppercut" tine action which digs
deeply, uprooting soil and weeds.
Don't overload the engine, but dig as
deeply as possible on each pass.
On later passes, the wheels may
tend to spin in the soft dirt. Help
them along by liftingslightly on the
handlebar. (Using just one hand,
palm upward, works most easily.)
When cultivating between rows,
use a shallow Depth Regulator Lever
setting. This will get rid of in-row
weeds, but prevent the tines from
digging deeply enough to damage
plant roots.
16
Loading ...
Loading ...
Loading ...