Loading ...
Loading ...
Loading ...
Theuseofanyextensioncordwillcausesomeloss
ofpower.Tokeepthistoaminimumandtoprevent
over-heatingandmotorburn-out,usethefollowing
tableto determinetheminimumwiresize(A.WoG)
extensioncord.
Useonly3wireextension¢ordswhichhave3-prong
groundingtypeplugsand3-polereceptacleswhich
acceptthetoolsplug.
Extension Cord Length Wire Size A.W.G.
Up to 100 Ft.............................. !4
100-200 Ft.................................. 12
200-400 Ft.................. ............... 8
CONTENTS
WARRANTY ....................................... 2
GENERAL SAFETY INSTRUCTIONS
FOR POWER TOOLS ............................ 2
ADDITIONAL SAFETY INSTRUCTIONS
FOR TABLE SAWS ........................... 3
MOTOR SPECIFICATIONS AND ELECTRICAL
REQUIREMENTS ............................ 5
UNPACKING AND CHECKING CONTENTS ., 6
Tools Needed ............................... 6
List of Loose Parts ........................... 7
ASSEMBLY .......................................... 7
Installing Handwheels ........................... 7
Adjusting Blade Insert ....................... 8
Checking Heeling or Parallelism of
Saw Blade to Miter Gauge Groove ............ 9
Adjusting Parallelism of Saw Blade to Miter
Gauge Groove ................................ 9
Adjusting 90 Degree Bevel Stop ............. 10
Adjusting Bevel Pointer ........................ 11
Adjusting 45 Degree Bevel Stop ............. I2
Installing Table Extensions ................. 12
Aligning Table Extensions ................... 13
To Raise Extension ...................... 13
To Lower Extension .............................. 14
Leveling Extensions ........................ 14
To Lower Outer Edge of Extension ........ 14
TO Raise Outer Edge of Extension .......... 14
Aligning Table Extensions with Front of Table I5
To Move Outer Edge of Extension Back ..... 15
To Move Outer Edge of Extension Forward , 15
Installing Blade Guard ........................ 16
Aligning Spreader ............................... 17
Attaching Rip Fence ........................... 18
Aligning Rip Fence ....................... 19
Adjusting Miter Gauge ...................... 19
Mounting Saw to Legs or Bench ............. t9
,,u,u,H ' ' ="'111
UNPACKING AND
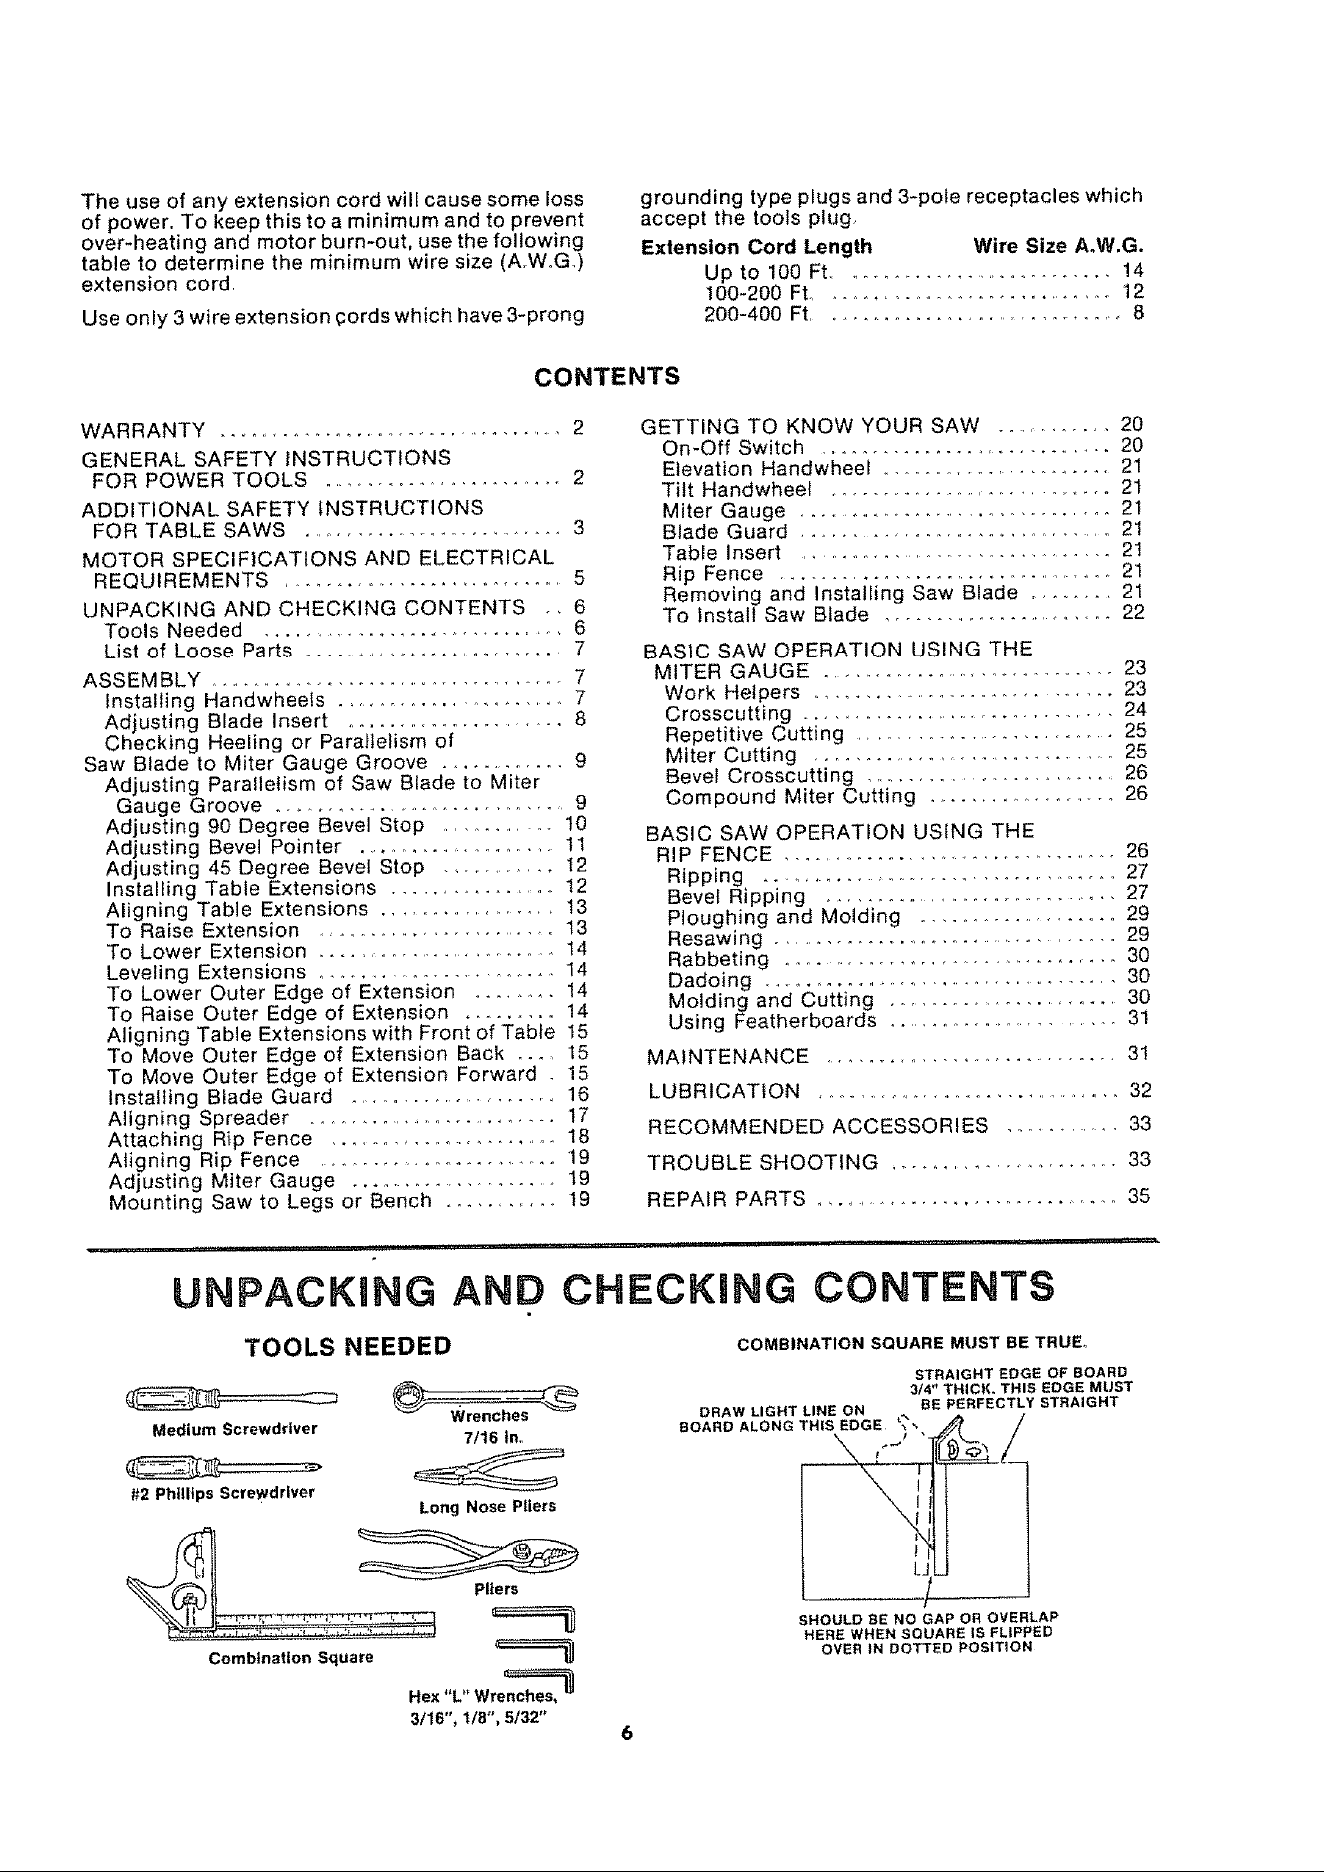
TOOLS NEEDED
Medium Screwdriver 7/16 tn.
#2 Phillips Screwdriver
Long Nose Pliers
Combination Square
Hex "L" Wre_
3/16", t/8", 5/32"
GETTING TO KNOW YOUR SAW ........... 20
On-Off Switch ................................. 20
Elevation Handwheel ......................... 21
Tilt Handwheel .................................. 21
Miter Gauge ................................ 21
Blade Guard .............................. 21
Table Insert ................................... 21
Rip Fence .................................... 21
Removing and Installing Saw Blade ......... 21
To Install Saw Blade ........................... 22
BASIC SAW OPERATION USING THE
MITER GAUGE .................................. 23
Work Helpers ................................ 23
Crosscutting .................................. 24
Repetitive Cutting ............................. 25
Miter Cutting ............................... 25
Bevel Crosscutting ............................... 26
Compound Miter Cutting ..................... 26
BASIC SAW OPERATION USING THE
RIP FENCE ..................................... 26
Ripping ...................................... 27
Bevel Ripping ..................................... 27
Ploughing and Molding ...................... 29
Resawing ...................................... 29
Rabbeting .................................. 30
Dadoing ..... .................................. 30
Molding and Cutting ......................... 30
Using Featherboards ........................... 31
MAINTENANCE ............................... 31
LUBRICATION ..................................... 32
RECOMMENDED ACCESSORIES ............. 33
TROUBLE SHOOTING ......................... 33
REPAIR PARTS .................................. 35
CHECKING CONTENTS
COMBINATION SQUARE MUST BE TRUE°
STRAIGHT EDGE OF BOARD
3t4" THICK. THIS EDGE MUST
DRAW LIGHT LINE ON BE PERFECTLY STRAIGHT
THIS EDGE _'_
BOARD ALONG "} ",
SHOULD BE NO GAP OR OVERLAP
HERE WHEN SQUARE IS FLIPPED
OVER tN DOTTED POSITION
Loading ...
Loading ...
Loading ...