Loading ...
Loading ...
Loading ...
43BDL4510D_50BDL4510D_55BDL4510D
18
Monitor information
Shows information about your display, including Input
source, Resolution, Model name, SW version, serial number,
operation hours and MAC address.
Monitor information
Model name
Serial NO.
Operation hours
SW Version
MAC address
XXXX
XXXX
XXXX
XXXX
XXXX
HDMI EDID
Switch HDMI EDID type: {HDMI 1.4}, {HDMI 2.0}.
OSD Rotation
Landscape/Portrait
Language
Set OSD menu language.
Conguration2 reset
Reset all settings in Conguration2 menu to the factory
preset values.
5.2.6. Option
IR Control
Keyboard Control
Off Timer Off
Off
Off
5 Sec
Date and Time
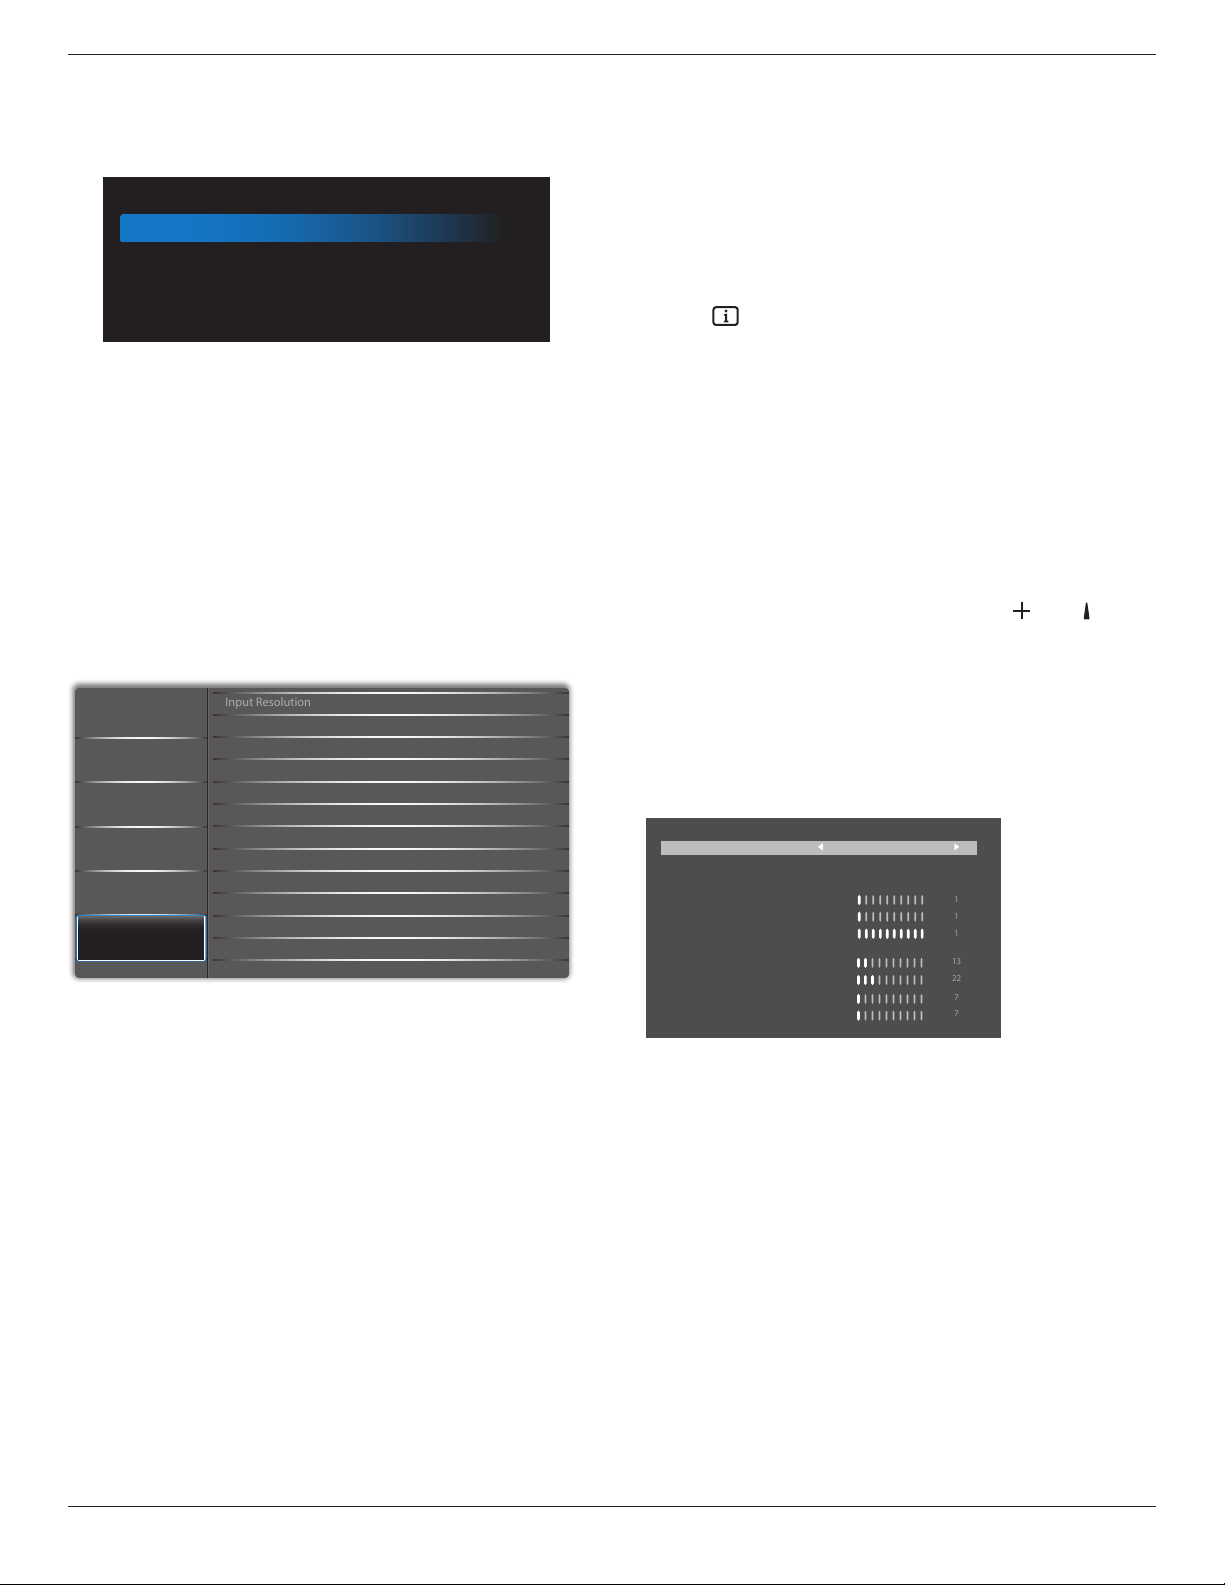
Input Resolution
Tiling
Schedule
Auto Signal Detection
Power Save
USB Autoplay
Slideshow Duration
HDMI with One Wire
Audio
Screen
Picture
Configuration 1
Configuration 2
Option
Input resolution
Set the resolution of the VGA input. This is only required
when the display is unable to detect the VGA input
resolution correctly.
NOTE: This item is functional for VGA input only.
The options are:
•{1024x768 / 1280x768 / 1360x768 / 1366x768}
•{1400x1050 / 1680x1050}
•{1600x1200 / 1920x1200}
•{Auto}: Determines the resolution automatically.
The selected settings will become eective after turning o
the power and turning it on again.
IR control
Select the operation mode of the remote control when
multiple displays are connected via an RS232C connection.
•{Normal} - All displays can be operated normally by the
remote control unit.
•{Primary} - Designate this display as the primary display
for remote control operation. Only this display can be
operated by the remote control. (In primary mode, IR
key will always be processed regardless the monitor id/
group settings).
•{Secondary} - Designate this display as the secondary
display. This display can not be operated by the remote
control, and will only receive the control signal from the
primary display via the RS232C connection.
•{Lock All} / {Lock all but Volume} / {Lock all but Power}
/ {Lock all except PWR & VOL}- Lock the remote control
function of this display. To unlock, press and hold
the [
] INFO button on the remote control for 6 (six)
seconds.
Keyboard control
Choose to enable or disable the display keyboard (control
buttons) function.
•{Unlock} - Enable the keyboard function.
•{Lock All} / {Lock all but Volume} / {Lock all but Power}
/ {Lock all except PWR & VOL} - Disable the keyboard
function.
NOTE: “Keyboard Control Lock Mode” This function
completely disables the access to all Keyboard
Control functions. To enable or disable the
keyboard control lock, press both [
] and
[
]
buttons and hold down continuously for more than
3 seconds.
Tiling
With this function you can create a single large-screen
matrix (video wall) that consists of up to 225 sets of this
display (up to 15-sets on the vertical and 15-sets on the
horizontal sides). This function requires a daisy-chain
connection.
1
1
1
13
22
7
7
O Timer
Set automatically power o time (in hours).
Date and time
Set the current date and time for the display’s internal clock.
NOTES:
The denition and behavior of the Daylight saving time:
The current implementation of daylight saving is a reminder
tool for the user who doesn’t know how to adjust the clock
of daylight saving.
It does not adjust the real time clock automatically. The
problem is that there are no standard rules on when to
adjust the clock dened by region or country. To solve this
problem, the user must be able to set the daylight saving
start/end date. When daylight saving correction is on (user
selectable) then the real time clock should be adjusted at
the time set of the daylight saving on/o date. At the start
date of daylight saving, the clock should be adjusted 1 hour
Loading ...
Loading ...
Loading ...