Loading ...
Loading ...
Loading ...
MOTOR
LUBRICATION AND MAINTENANCE
1. The sleeve bearings, in both end shields of the
motor, have been lubricated at the factory with
correct lubricant. No other part of the motor
requires lubrication.
2. Re-lubricate motor bearings in accordance with
the instructions on the nameplate. Be sure to
wipe off dirt or grit if present around oil hole caps
to prevent any possibility of foreign material
contaminating the oil wicks that supply the
bearings with oil. Use a good grade of medium
weig ht mineral oil, such as automobile engine oil,
SAE 20.
3. If disassembly of the motor is necessary, it should
be returned to your nearest Sears retail or mail-
order store in order to prevent voiding the
guarantee.
.
NOTE: The speed of this motor cannot be
regulated or changed.
Every effort should be made to prevent foreign
material from entering the motor. When operated
under conditions likely to permit accumulations
of dust, dirt, or waste within the motor, a visual
inspection should be made at frequent intervals.
Accumulations of dry dust can usually be blown
out successfully.
NOTE: Motors used on wood-working tools are
particularly susceptible to the accumulation of
sawdust and wood chips and should be blown out
or "vacuumed" frequently to prevent interference
with normal motor ventilation and proper
operation of the centrifugally-operated starting
switch.
MAINTENANCE
WARNING: TO AVOID iNJURY, TURN SWITCH
"OFF" AND REMOVE PLUG FROM POWER
SOURCE OUTLET BEFORE MAiNTAiNING OR
LUBRICATING YOUR SAW.
Do not allow sawdust to accumulate inside the saw.
Frequently blow out any dust that may accumulate
inside the saw cabinet and the motor.
Frequently clean your cutting tools with Craftsman
Gum and Pitch Remover.
A coat of automobile-type wax applied to the table
will help to keep the surface clean and allow
workpieces to slide more freely.
If the power cord is worn or cut, or damaged in any
way, have it replaced immediately.
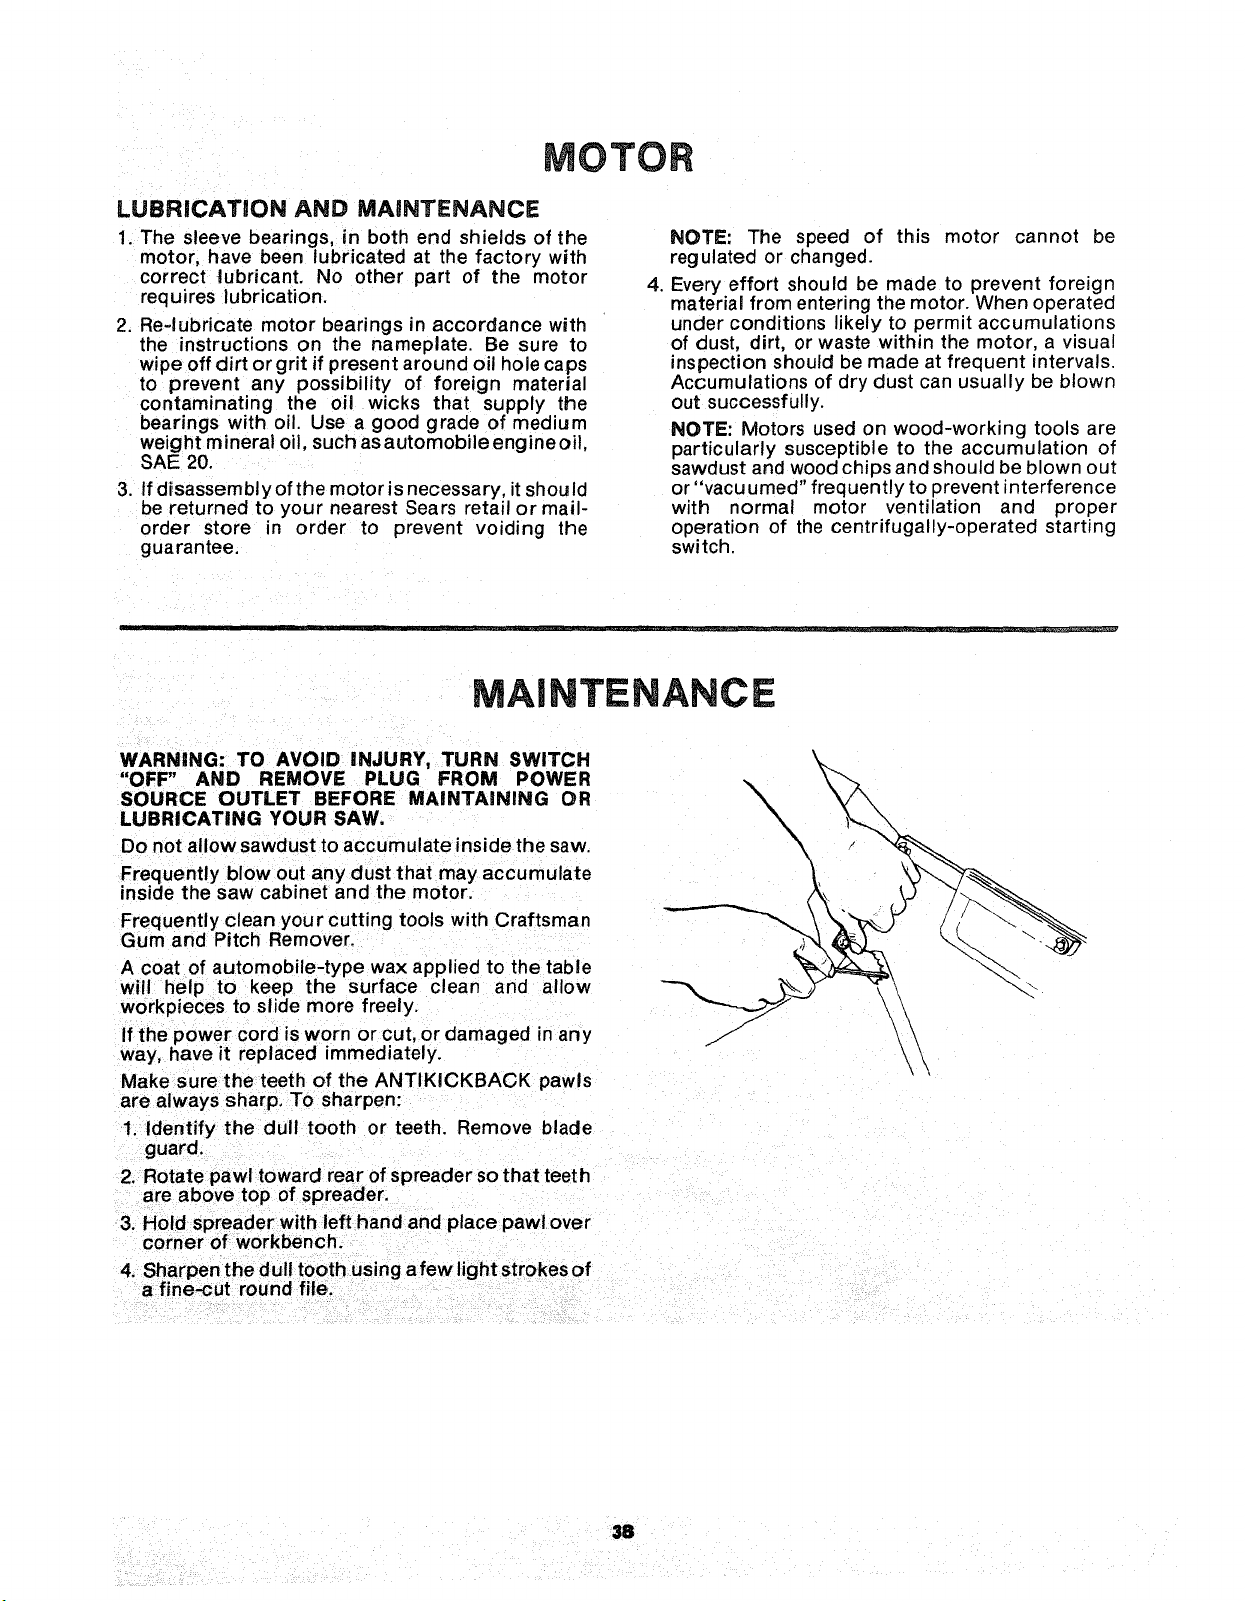
Make sure the teeth of the ANTIKICKBACK pawls
are always sharp. To sharpen:
1. Identify the dull tooth or teeth. Remove blade
guard.
2. Rotate pawl toward rear of spreader so that teeth
are above top of spreader.
3. Hold spreader with left hand and place pawl over
corner of workbench.
4. Sharpen the dull tooth using a few light strokes of
a fine-cut round file.
i!ii iiii!i iiiiiiiiiii!ii! iii!i i!!i , iii! i ii iii
38
Loading ...
Loading ...
Loading ...